
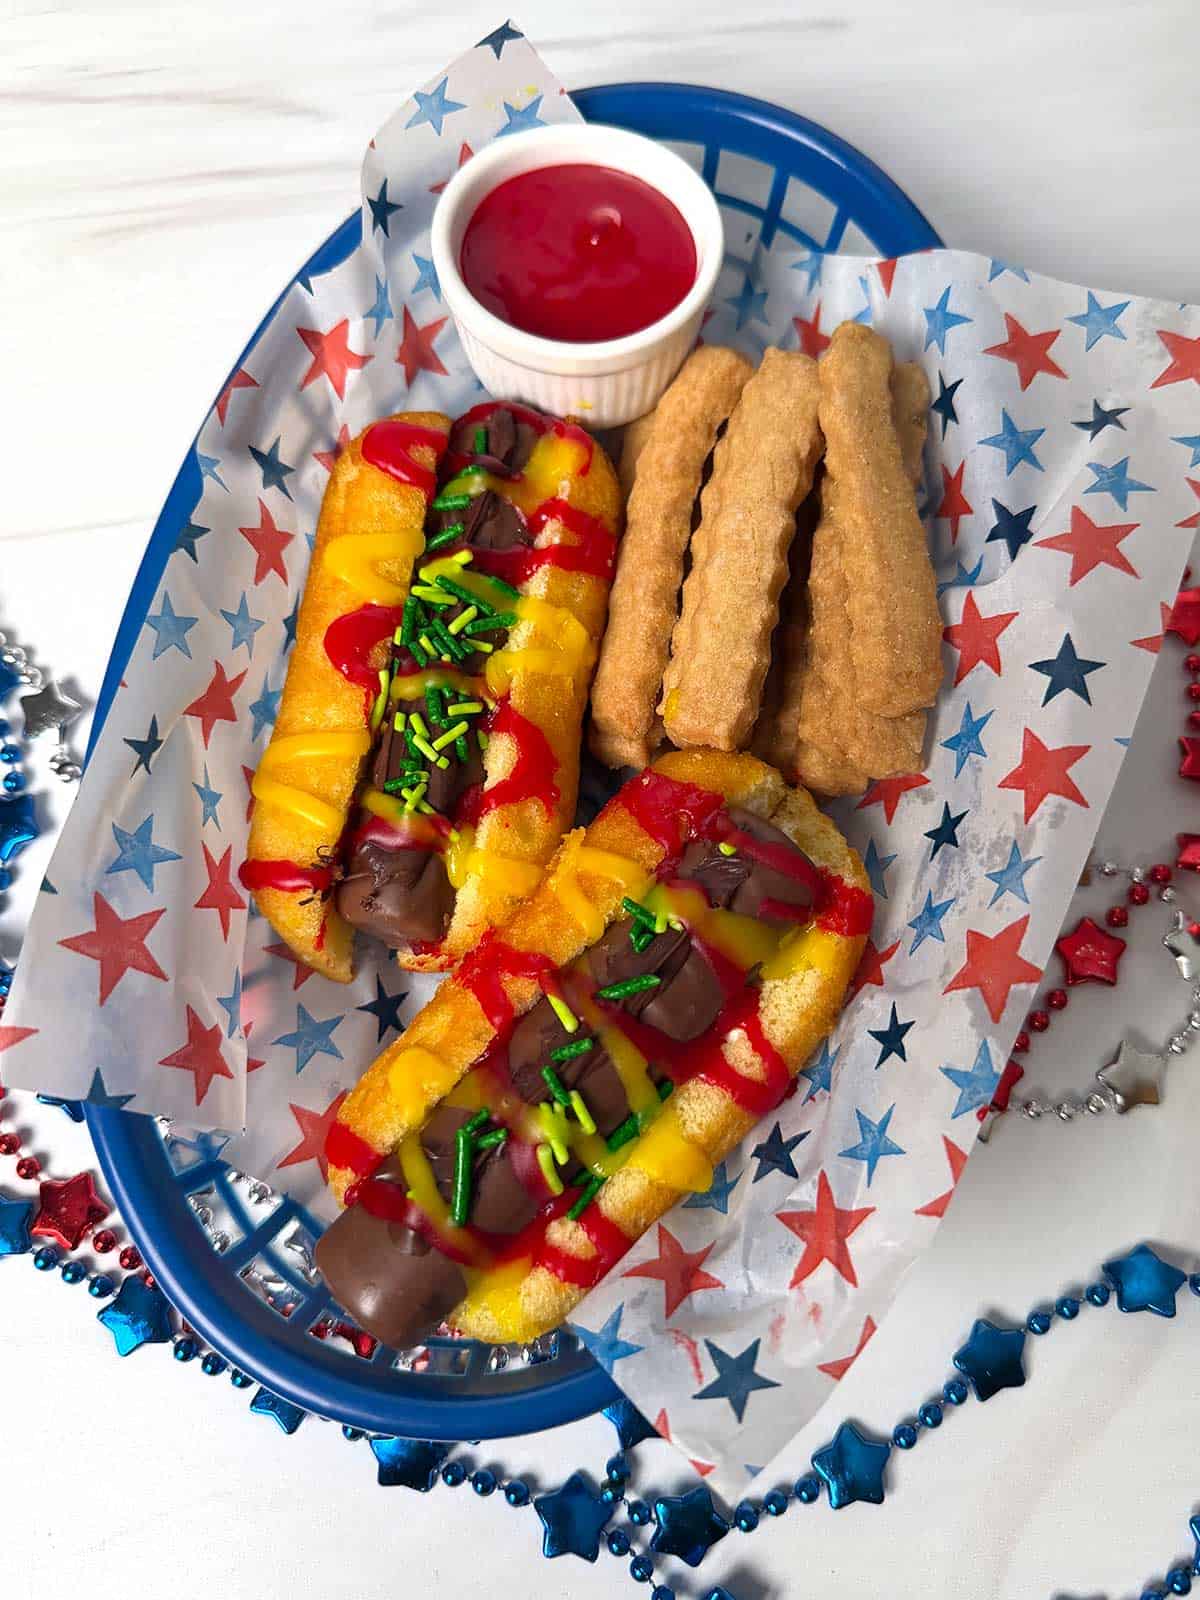
Brighten your summer holidays with these easy-to-make Twinkie Dogs. This creative, no-bake dessert turns classic childhood favorites into a show-stopping novelty treat. Resembling traditional ballpark hot dogs, they combine soft, golden Twinkie sponge cake with a satisfyingly crunchy Twix center. Top the Twinkie Dogs with green jimmies for pickle relish, and red and yellow cookie icing for ketchup and mustard, and you'll have a dessert that is guaranteed to bring smiles to kids and adults alike.
Quick Look at the Recipe
- Ready in: 10 minutes, depending on how many you make
- Makes: I made six, but it's easy to make as many as you like
- Difficulty: Easy
- Make-Ahead Friendly: Yes
- Kid-Friendly: Yes
Jump to:
Why You'll Love This Recipe
- No Baking Required: Keep your kitchen cool in the hot summer months. The entire recipe relies on clever assembly rather than turning on your oven.
- Perfect Texture Contrast: The combination of the soft, cream-filled Twinkie "bun" and the crunchy, caramel-laden Twix "hot dog" creates a perfect textural contrast.
- Festive: Dressed up with red and yellow decorating icing alongside bright green jimmies, these Twinkie dogs instantly fit right in to your summer barbecues and cookouts.
- Easy to Scale: Assembly is quick and straightforward, whether you're making a small batch for your family or a large platter for a neighborhood block party.
Ingredients - Here's What You'll Need
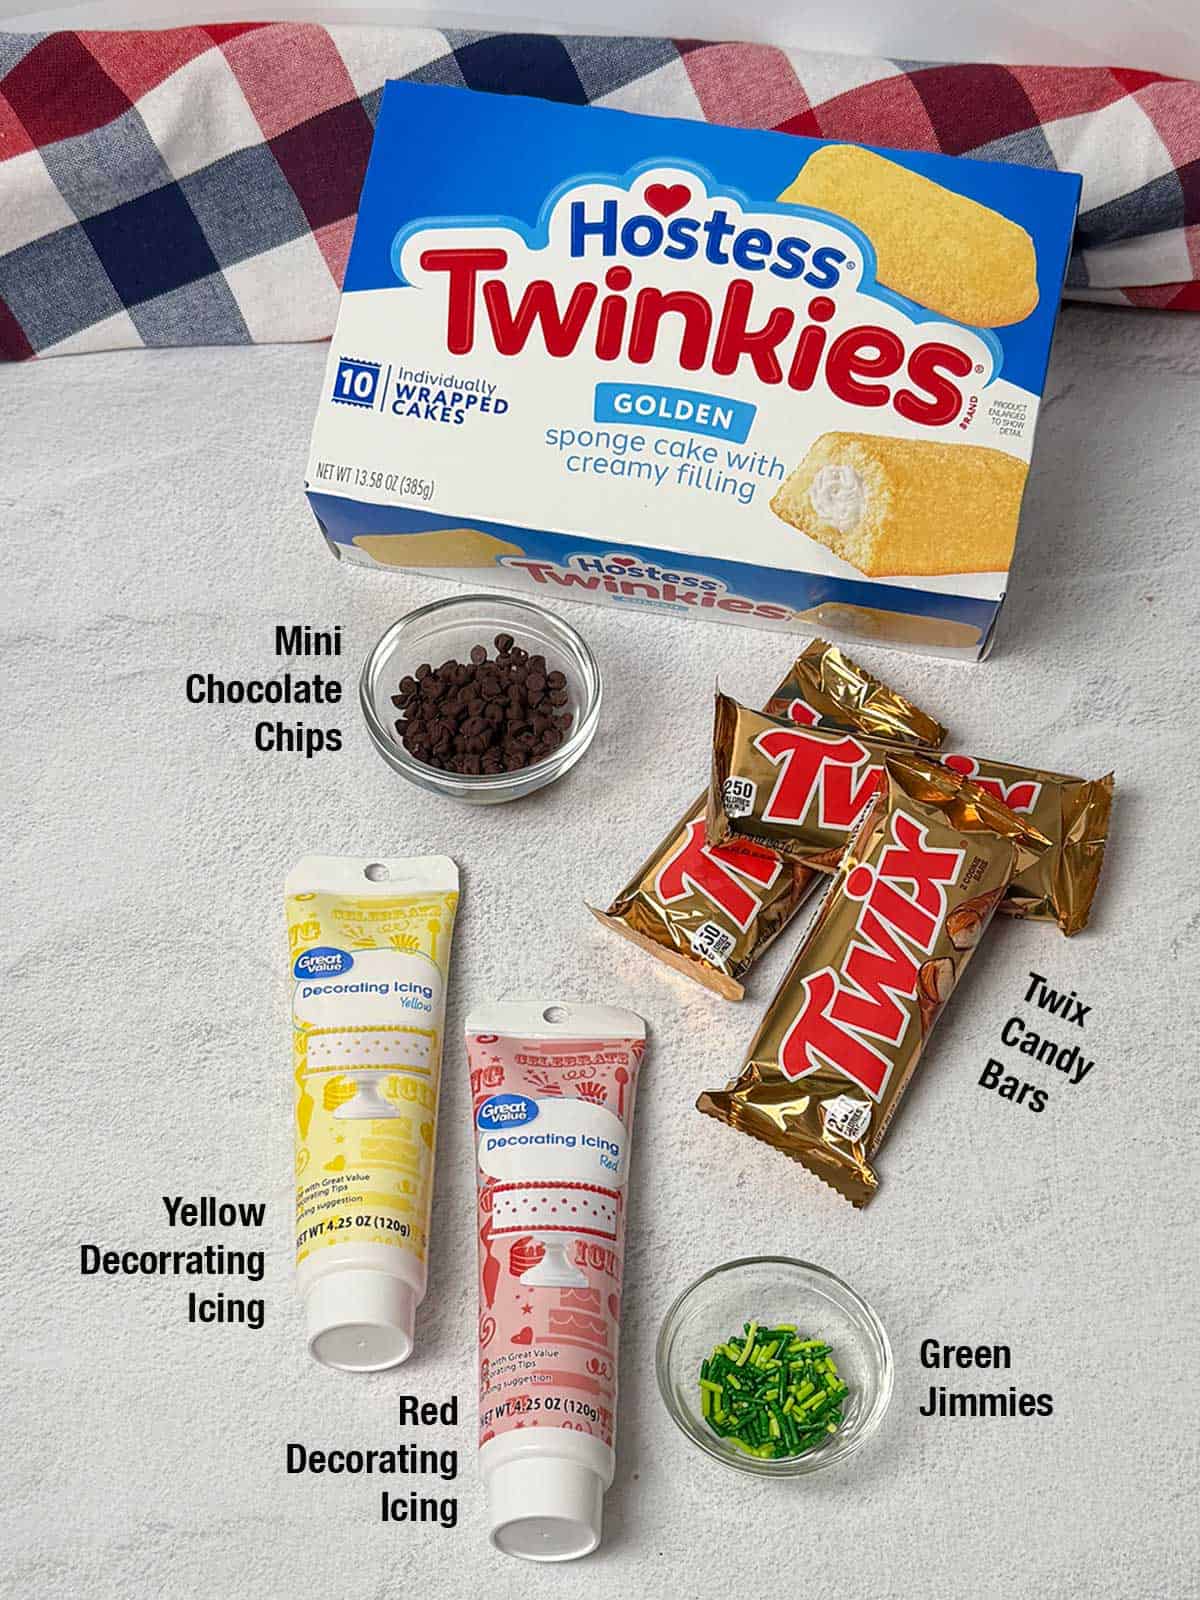
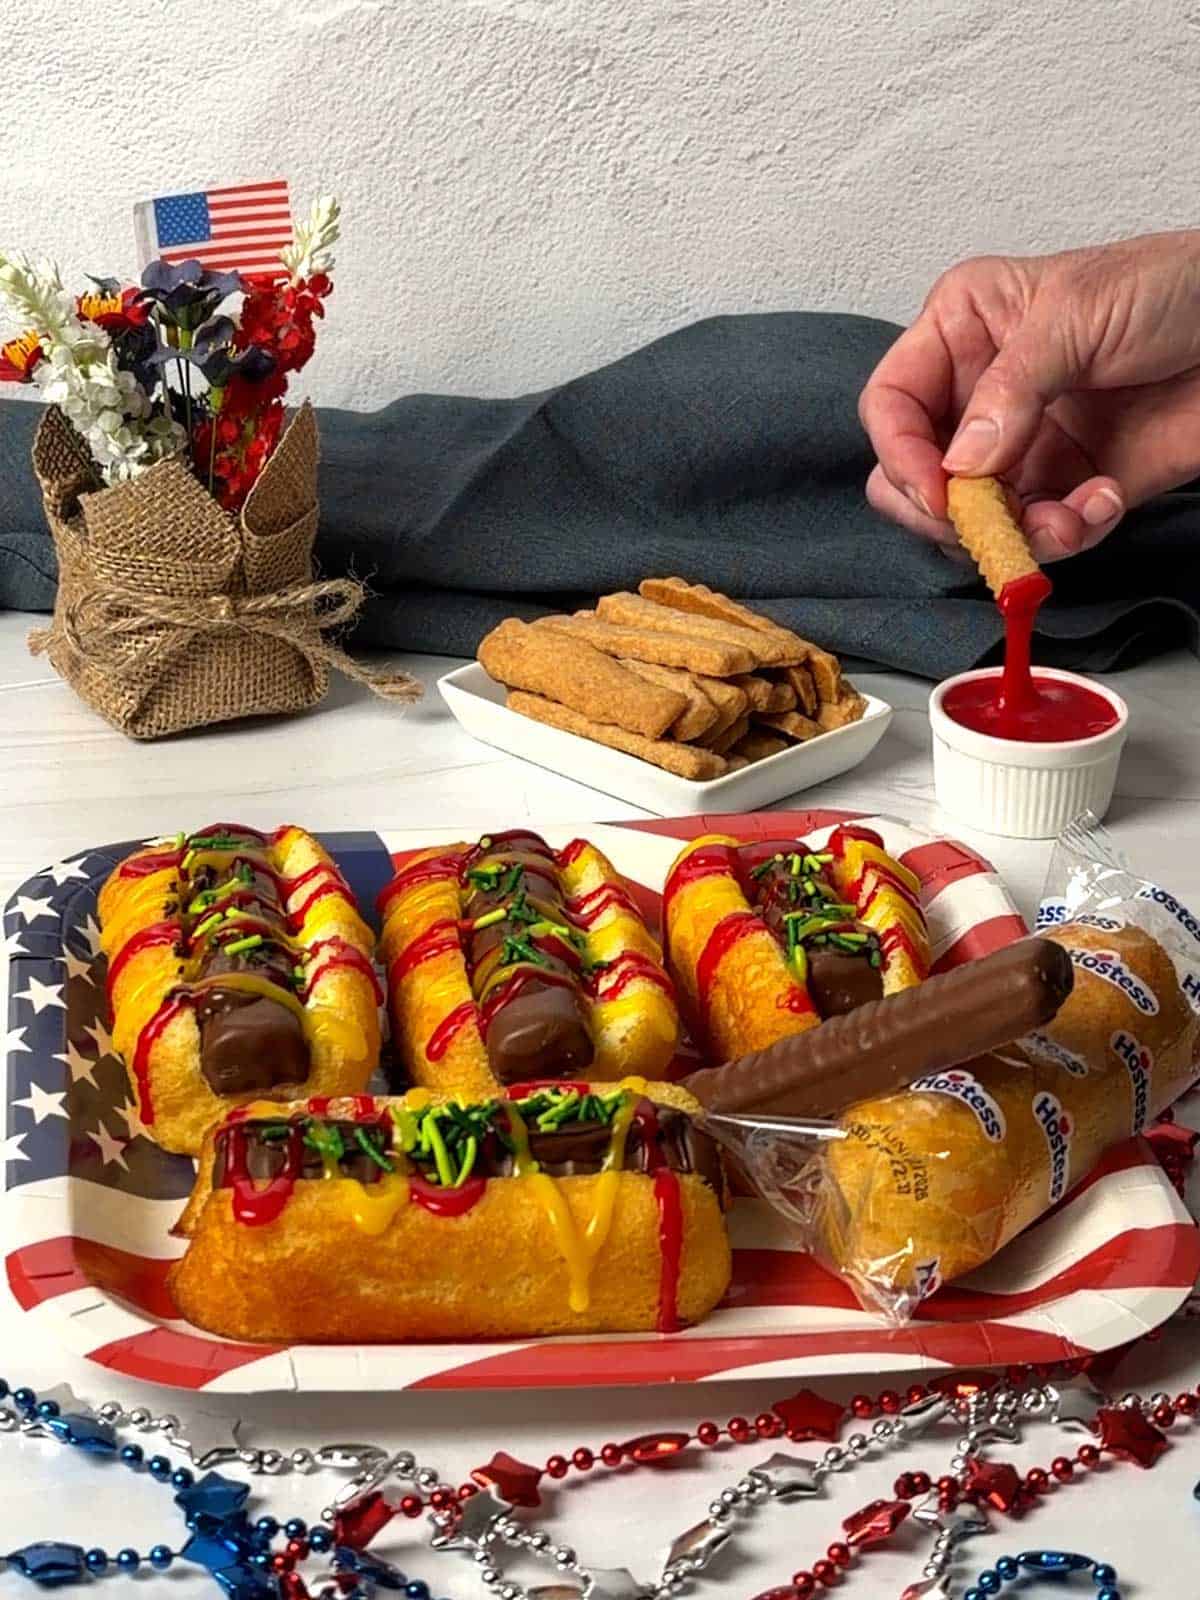
- The Bun: The Twinkie, when sliced lengthwise down the middle, mimics the perfect "hot dog bun"
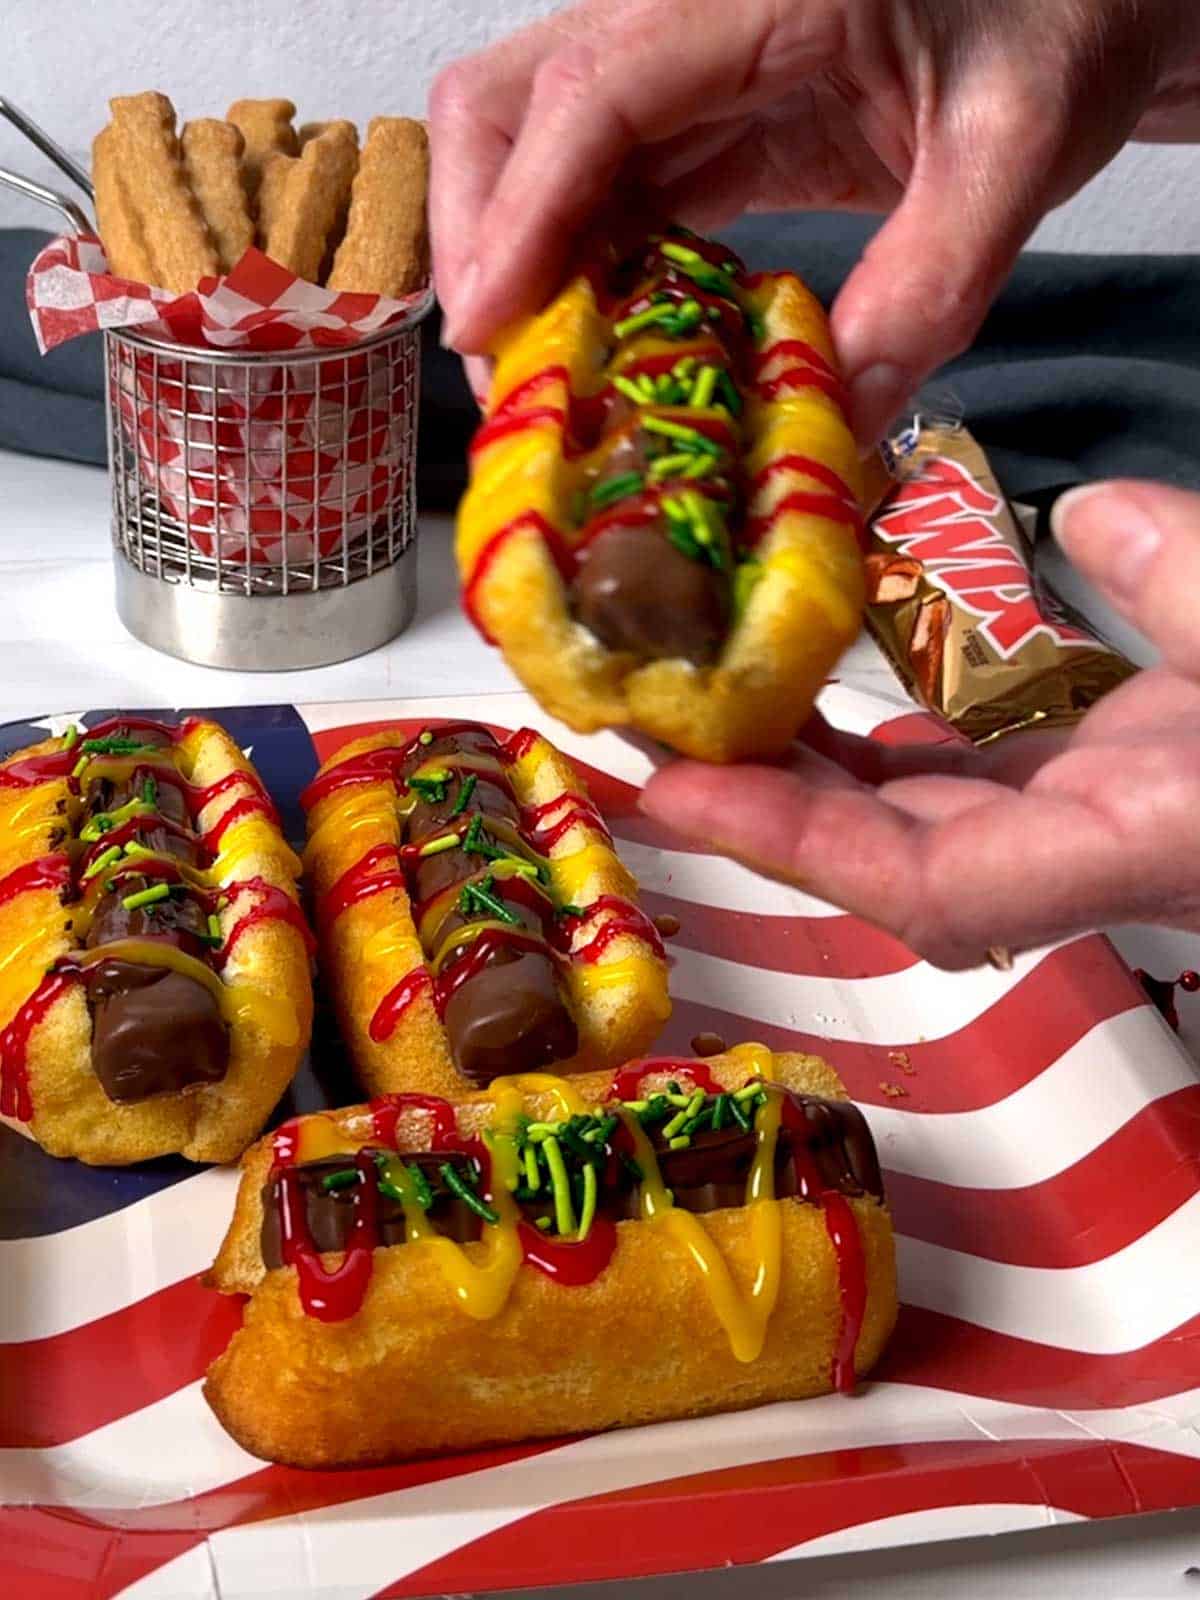
- The Hot Dog: Standard-size Twix bars serve as the chocolatey "hot dog."
- The Condiments: Imagine the Twinkie's cream filling as "mayonnaise," with green jimmies serving as pickle relish, and decorating icing providing the finishing wavy lines to simulate "ketchup and mustard" drizzles.
- The Glue: A small amount of melted chocolate spread over the top of the Twix bar holds the sprinkles securely in place.
How to Make Twinkie Dogs - Step-by-Step
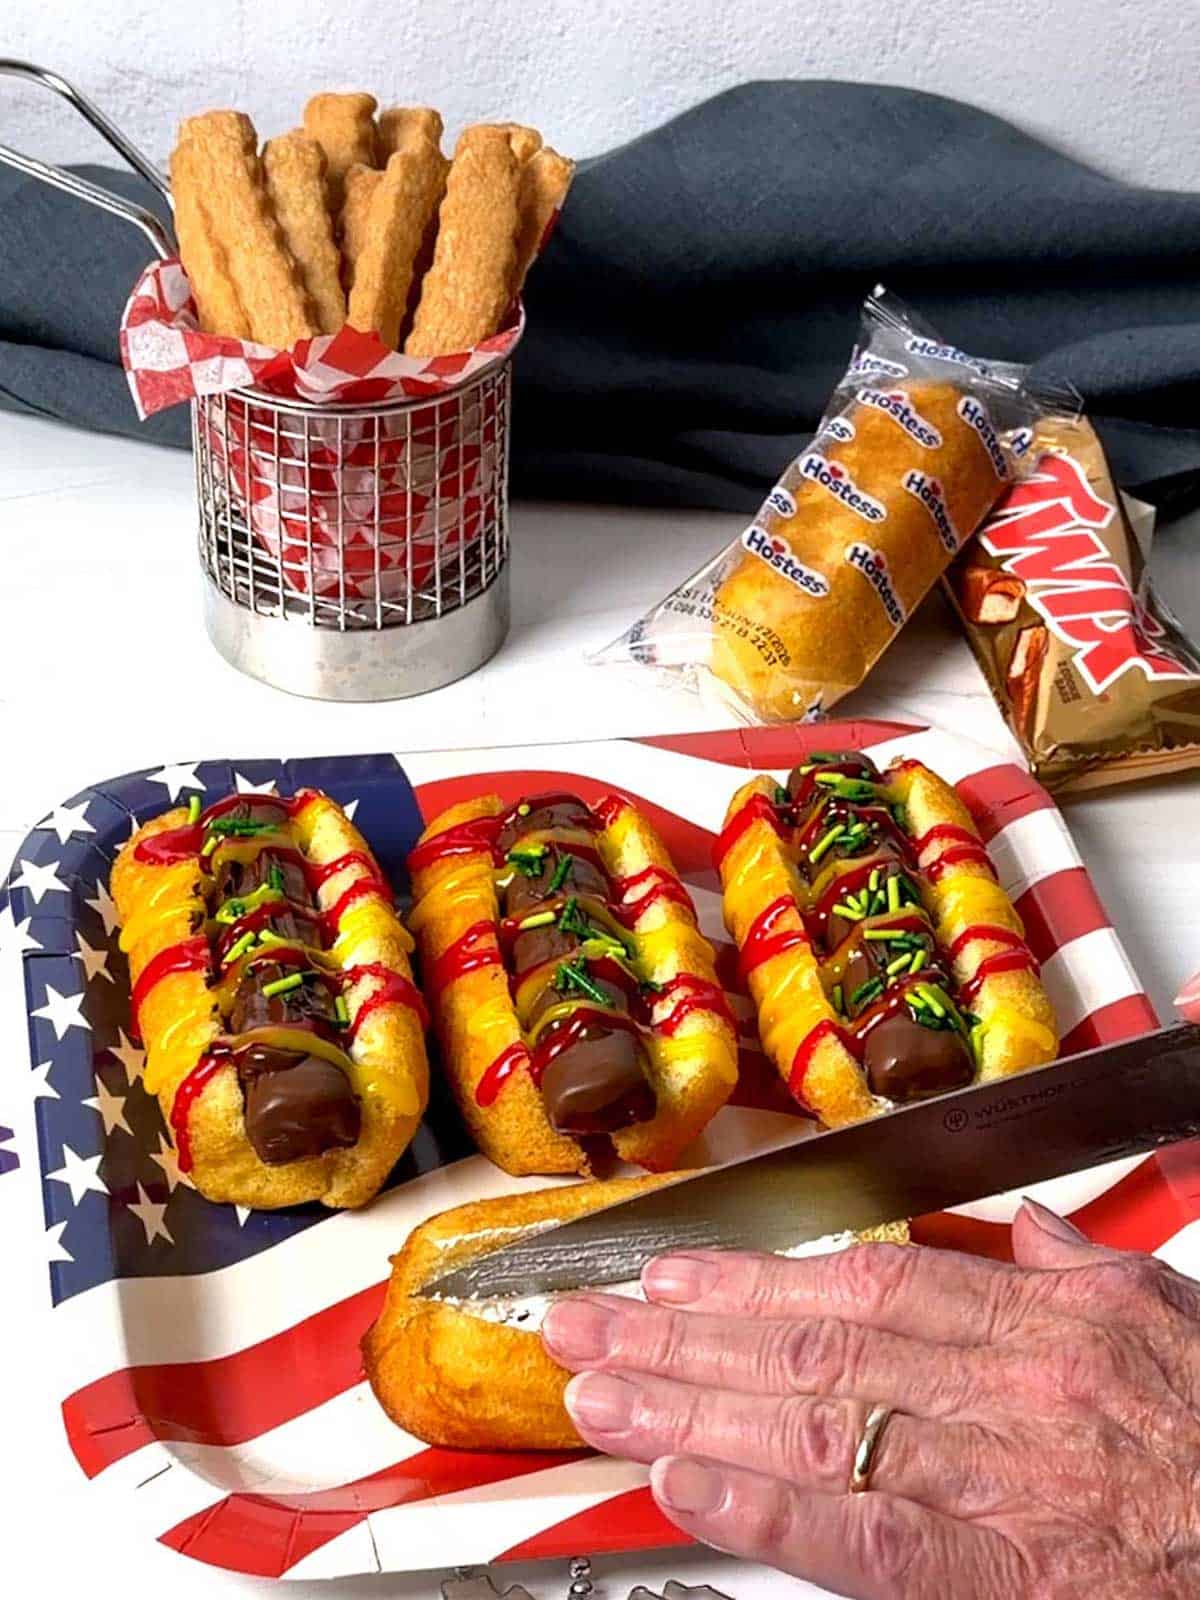
- Prepare the Buns: Place the Twinkies on a clean workspace or parchment paper. Using a sharp knife, carefully slice each Twinkie lengthwise down the center, being careful not to cut all the way through. Gently press the sides outward to create a secure pocket.
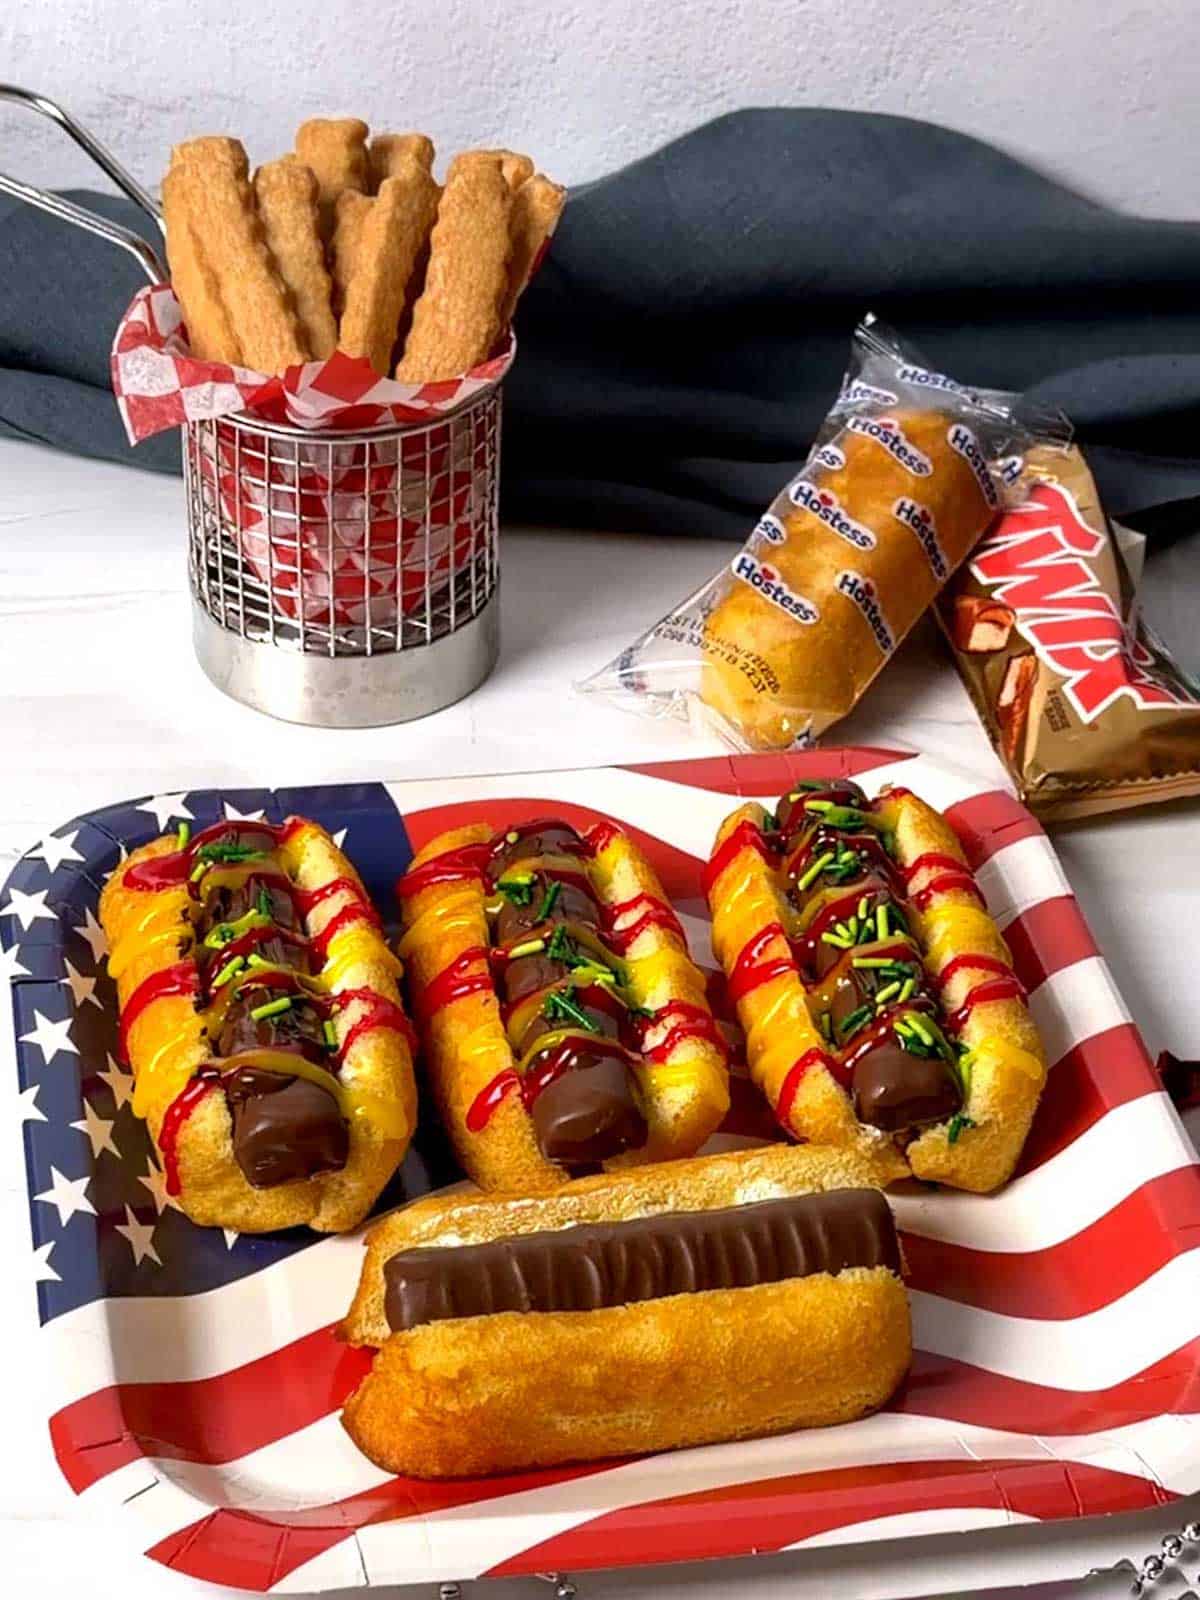
- Insert the "Hot Dog": Unwrap the Twix bars and place one bar snuggly inside the opening of each sliced Twinkie, nesting it deeply into the cream filling.
- Add the "Relish": Lightly spread a thin layer of melted chocolate along the exposed top of the Twix bar. Immediately scatter the green jimmies over the melted chocolate so they adhere, creating your sweet "relish."
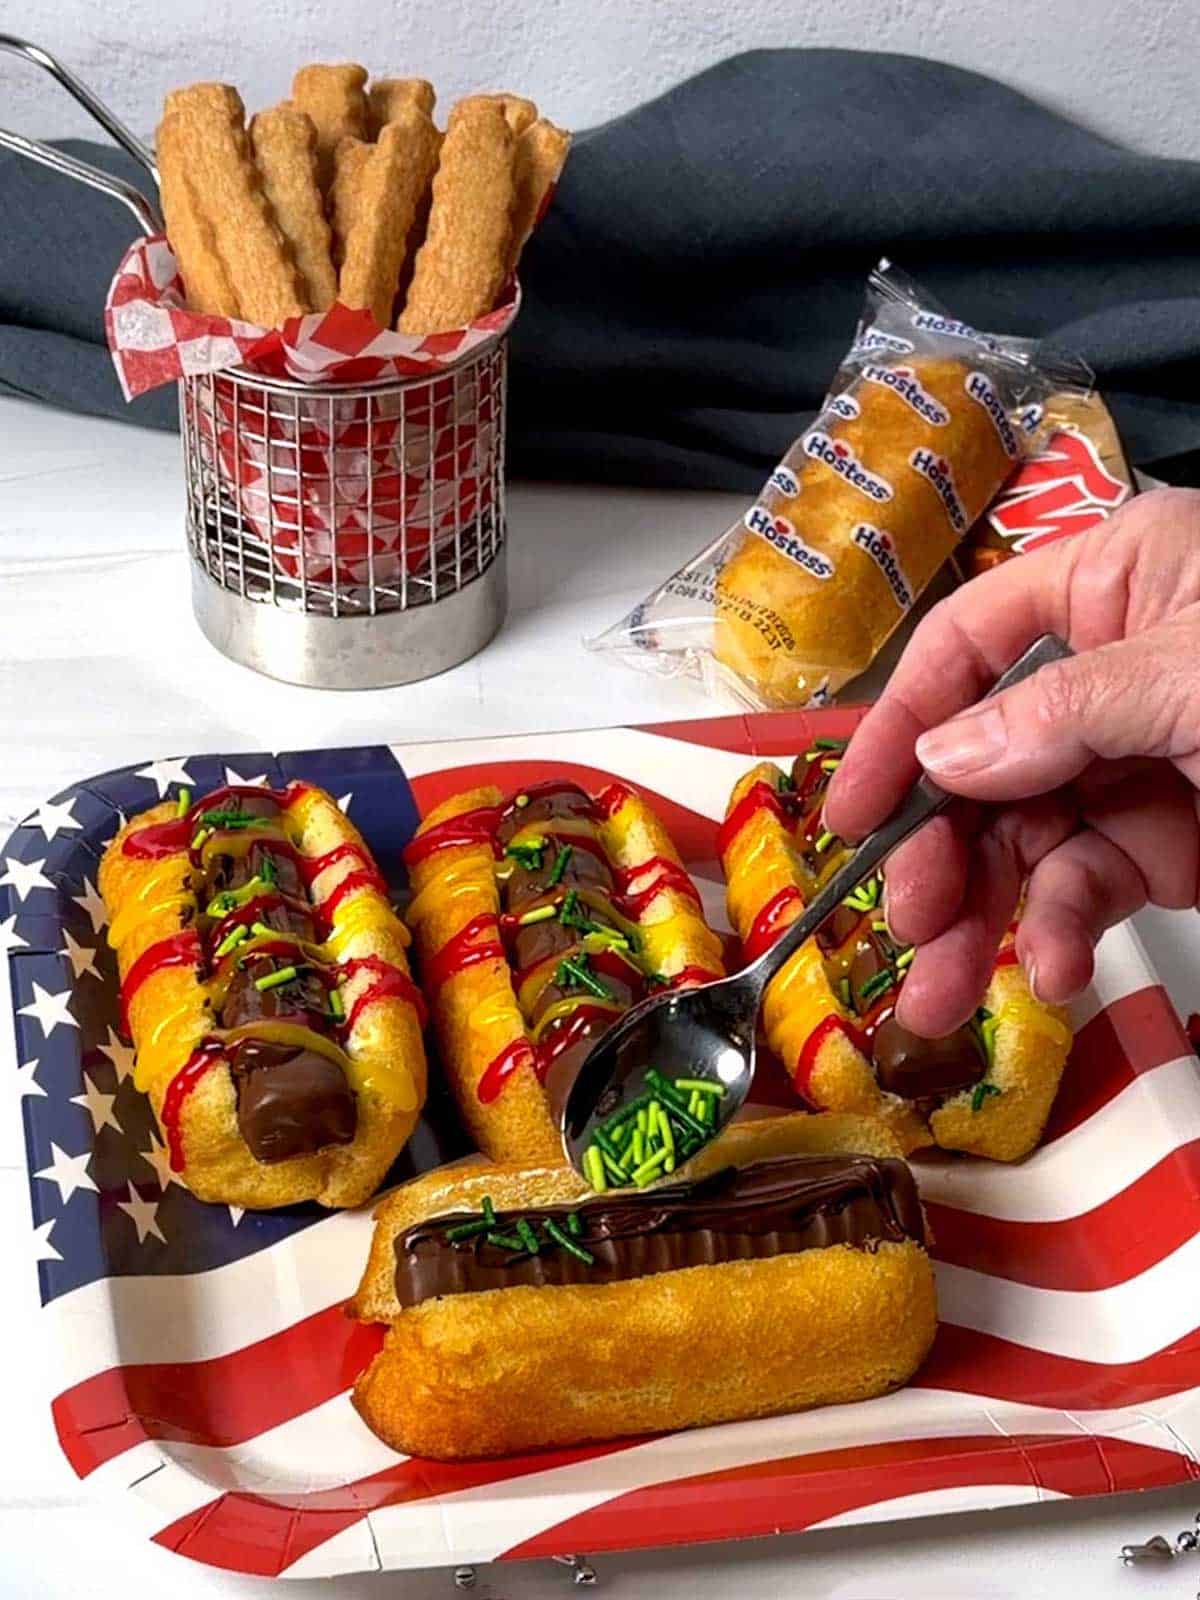
- Apply the Condiments: Transfer the decorating icing to a piping bag with a #5 round tip. Pipe a zigzag motion down the length of the candy bar. Apply the red icing first for the "ketchup," followed by the yellow icing for the "mustard."

- Set and Serve: Allow the icing and melted chocolate to fully set at room temperature for about 15 to 20 minutes before transferring them to your serving platter. For a festive presentation, assemble the Twinkie Dogs in a lined, fast-food-style basket with "cookie fries" and a side of red decorating icing "ketchup."
Twinkie Dogs are the ultimate proof that festive holiday desserts don't have to be complicated to be unforgettable. With simple store-bought ingredients and a touch of culinary creativity, you can deliver a fun, nostalgic treat. These Twinkie Dogs will be the star of the show, whether you're celebrating the 4th of July or hosting a casual backyard barbecue. Yum!
In Case You're Wondering...
Yes. Assemble the Twinkie Dogs several hours before your event. Keep them covered at room temperature. However, avoid refrigerating them for extended periods. The ambient moisture can cause the sponge cake to become sticky and the cookie icing to weep.
Absolutely. Standard snack-size Tootsie Rolls and Kit Kat bars work well to mimic the "hot dog" shape.
No. You can use the opening in the decorating icing to create a zigzag effect. However, the zigzag lines will likely be thicker depending on the icing you use. You can also use a Ziploc bag with a small snip in the corner.
Yes. Red and yellow candy melts work well as a substitute.
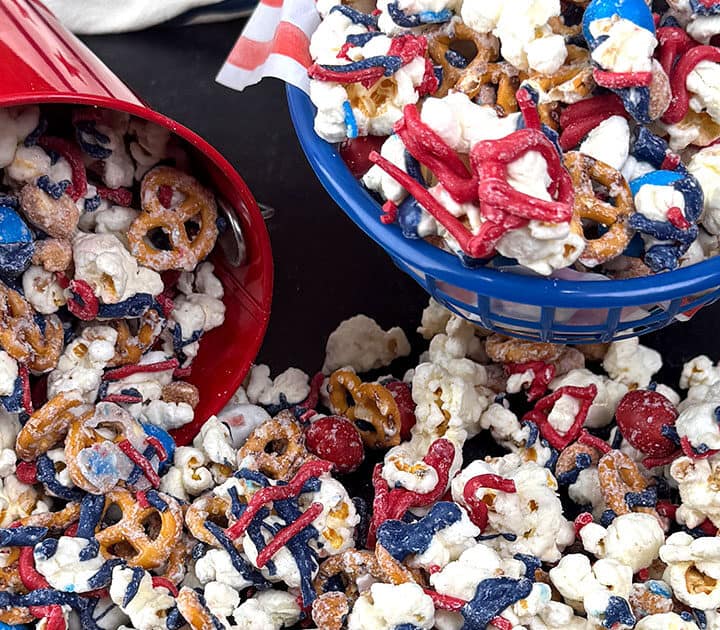
Other Festive Summer-Time Desserts

Did you make this recipe? We'd love to know how it turned out! Leave a review below. Then, share a picture on Instagram and tag @pudgefactor so we can see it.
Don't forget to follow us on Pinterest, Facebook, YouTube, Flipboard, and Instagram.
Thank you so much for visiting PudgeFactor. We hope you'll come back!
Recipe
Want to Save This Recipe?
Enter your email & I'll send it to your inbox. Plus, enjoy weekly doses of culinary inspiration as a bonus!
By submitting this form, you consent to receive emails from Pudge Factor.

Quick and Easy Twinkie Dogs
Equipment
- Sharp knife
- Disposable piping bag with #5 round tip (optional)
Ingredients
- 6 Twinkies
- 6 Standard-size Twix Bars (See Tip 1)
- 1 Tablespoon Mini chocolate chips, melted
- 1 Tablespoon green jimmies
- Red decorating icing (See Tip 2)
- Yellow decorating icing (See Tip 2)
Instructions
- Place the Twinkies on a clean workspace or parchment paper. Using a sharp knife, carefully slice each Twinkie lengthwise down the center, avoiding a cut all the way through the bottom. Gently press the sides outward to create a secure pocket.
- Unwrap the Twix bars and place one bar snugly into the opening of each sliced Twinkie, nesting it deep in the cream filling.
- Lightly spread a thin layer of melted chocolate along the exposed top of the Twix bar. Immediately scatter the green jimmies over the melted chocolate so they adhere, creating your sweet "relish."
- Transfer the decorating icing to disposable pastry bags with #5 round tips. Pipe a zigzag motion down the length of the candy bar. Apply the red icing first for the "ketchup," followed by the yellow icing for the "mustard." (See Tip 3)
- Allow the icing and melted chocolate to fully set at room temperature for about 15 to 20 minutes before transferring them to your serving platter. Assemble them in a lined, fast-food-style basket with cookie "fries" and a side of red decorating icing "ketchup" for the ultimate visual presentation!
- Yield: Six Twinkie Dogs (See Tip 4)
Video
Tips/Notes
- You can substitute standard-sized tootsie rolls or KitKat bars for the Twix.
- You can substitute red and yellow melting wafers for the decorating icing.
- Rather than using piping bags and tips, you can use the opening in the decorating icing. However, the zigzag will likely be much thicker. You can also use a Ziploc bag with a small snip in the corner.
- Feel free to make as many or as few Twinkie Dogs as you need. I made six, but could have easily made fewer or more.
Leave a Reply