
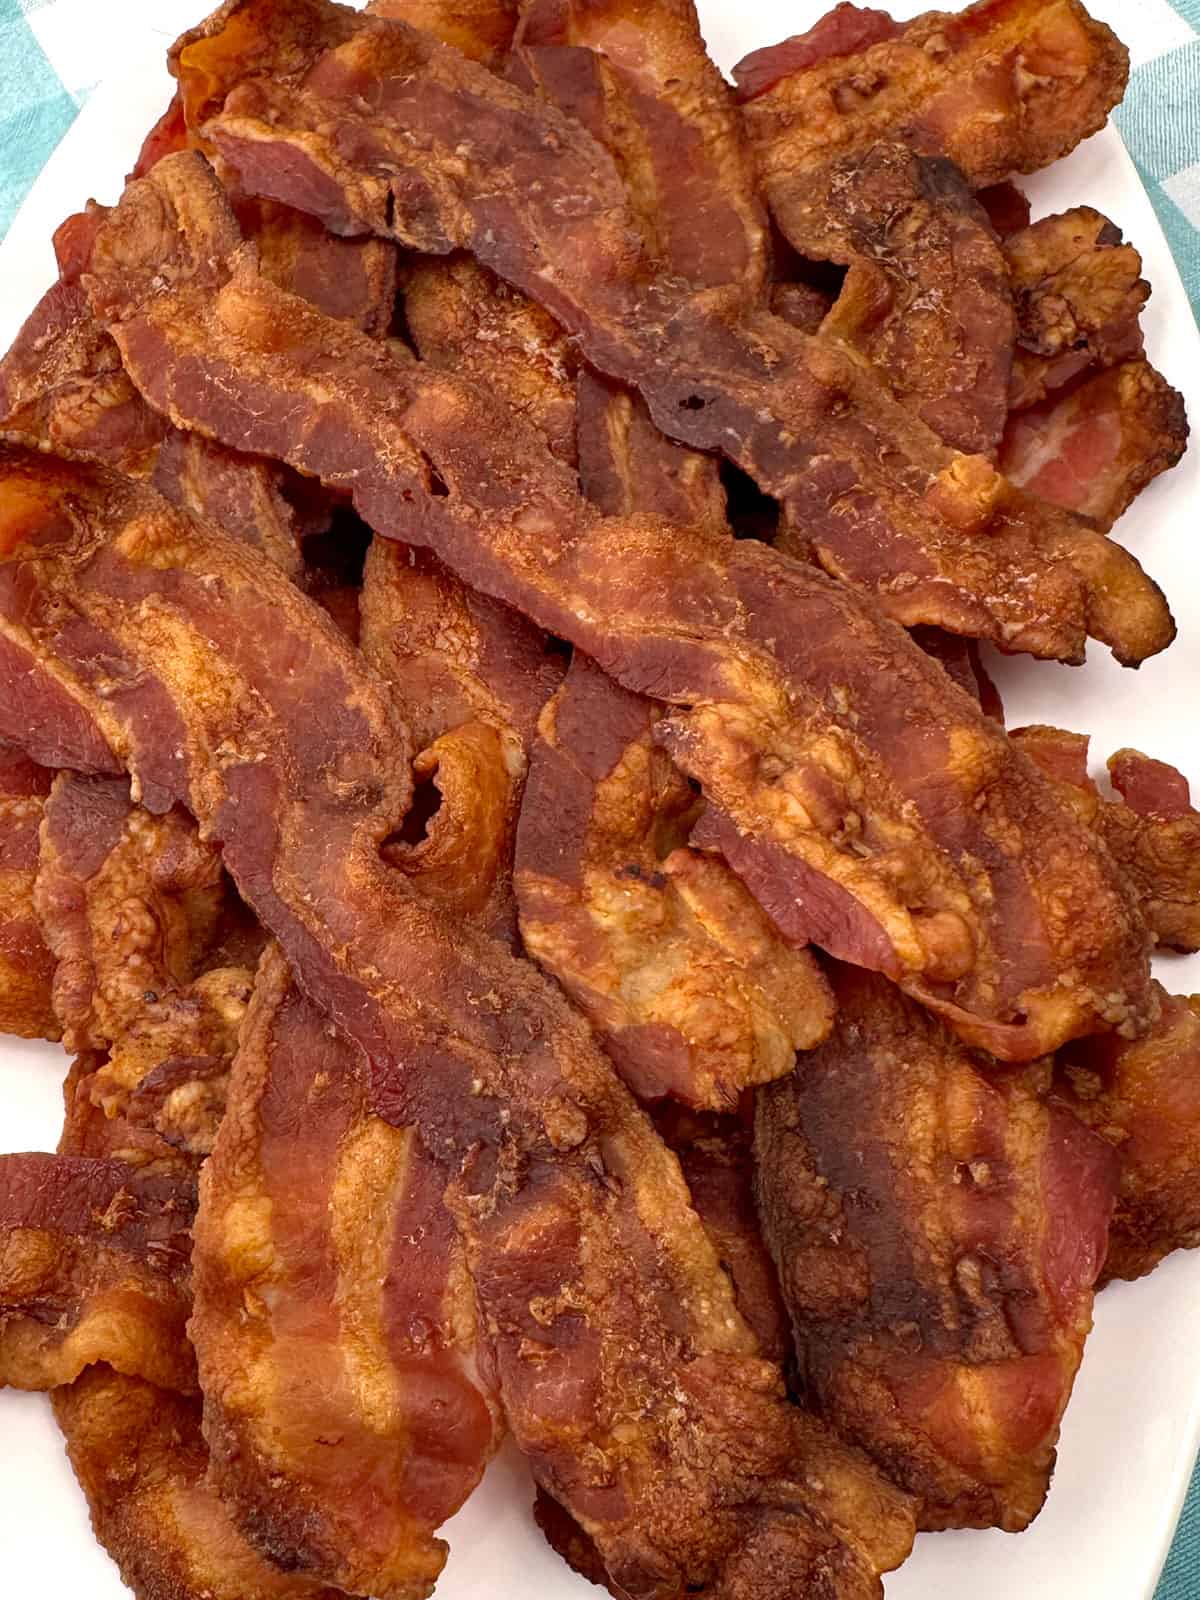
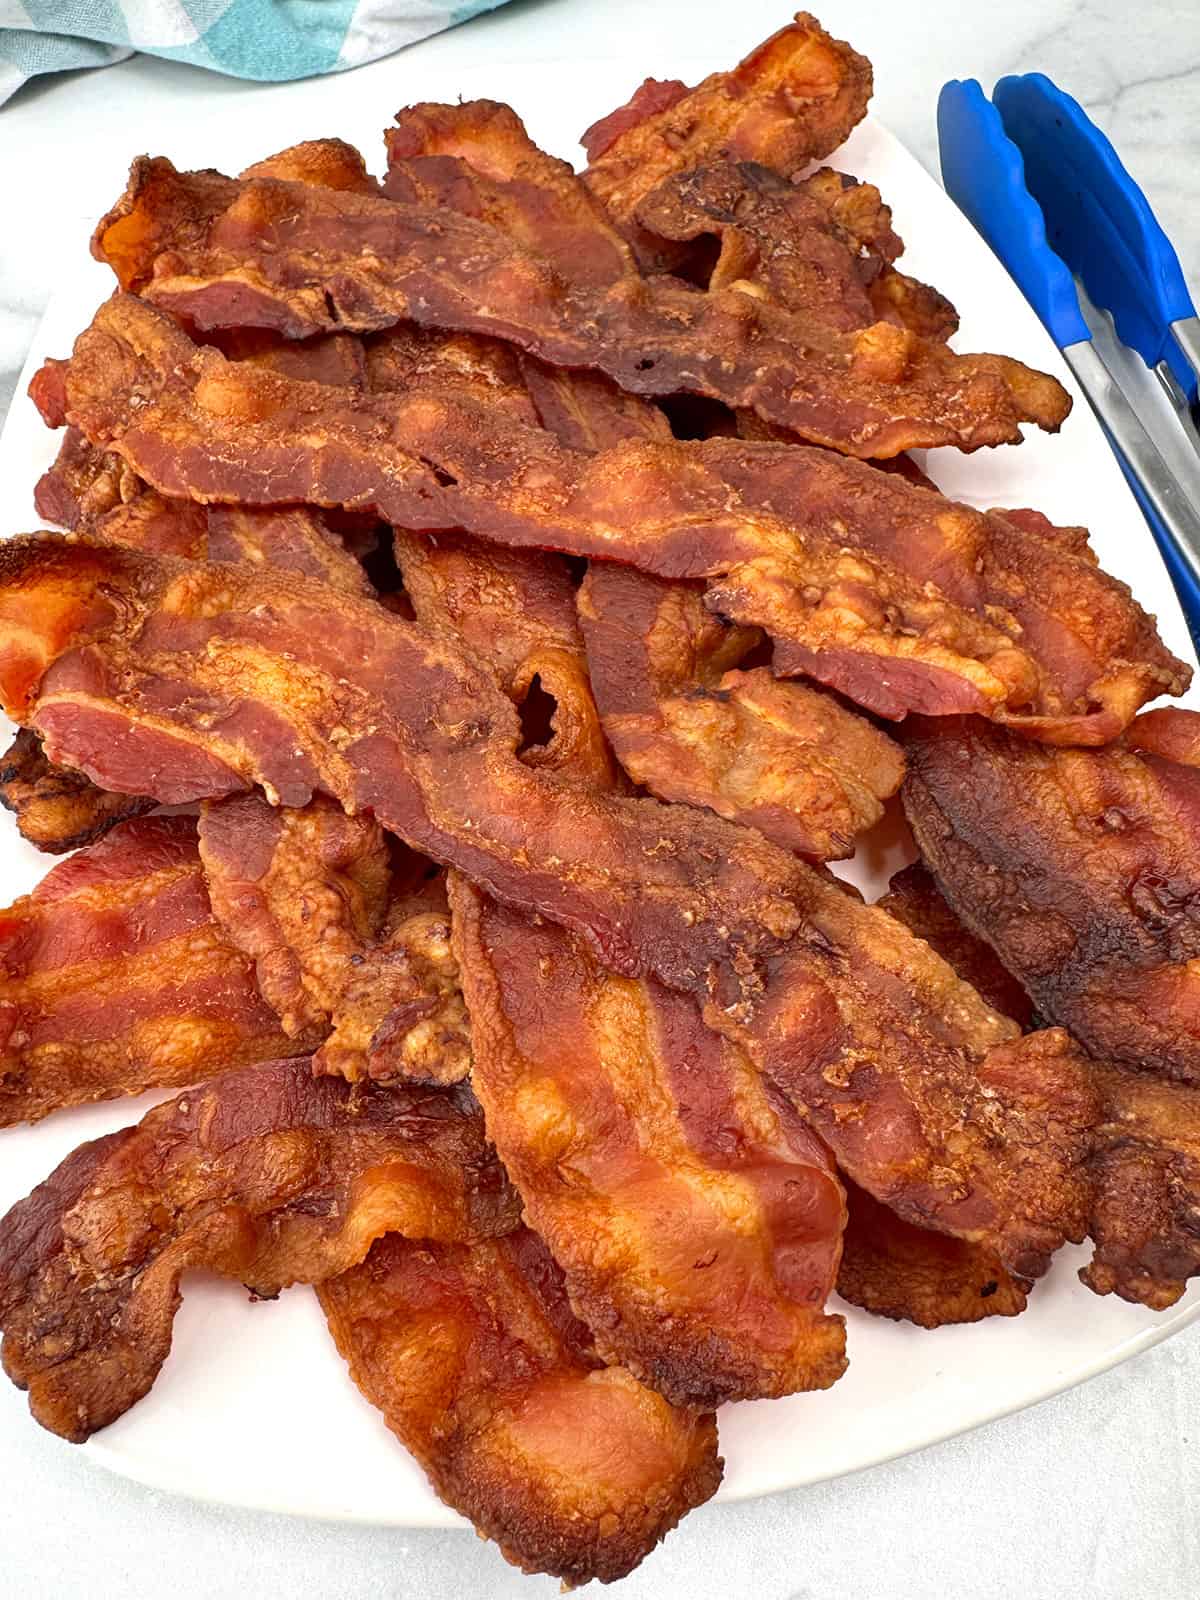
Craving the perfect crunch without the greasy stovetop cleanup? Our Easy No-Mess Crispy Oven Baked Bacon recipe is the ultimate kitchen hack for busy mornings. By using a simple sheet-pan method, you can achieve uniform, golden-brown perfection every single time-no flipping required and no oil splatters on your counters. Whether you're meal prepping for the week or hosting a big family brunch, learning how to cook bacon in the oven is the most efficient way to get restaurant-quality results with minimal effort.
Jump to:
Why You'll Want to Make Bacon in the Oven
- Hands-Off Convenience: Eliminates the need for constant monitoring and frequent flipping, allowing you to focus on other tasks.
- Minimal Cleanup: A foil-lined baking sheet contains the grease and makes disposal quick and easy.
- No Grease Splatter: Keeps your stovetop and counters clean by containing all the popping oils inside the oven.
- Uniform Texture: The indirect heat ensures slices stay flat and cook evenly from end to end without curling or burning in spots.
- Large Batch Cooking: You can cook an entire package of bacon at once, which is much more efficient than working in small batches with a skillet.
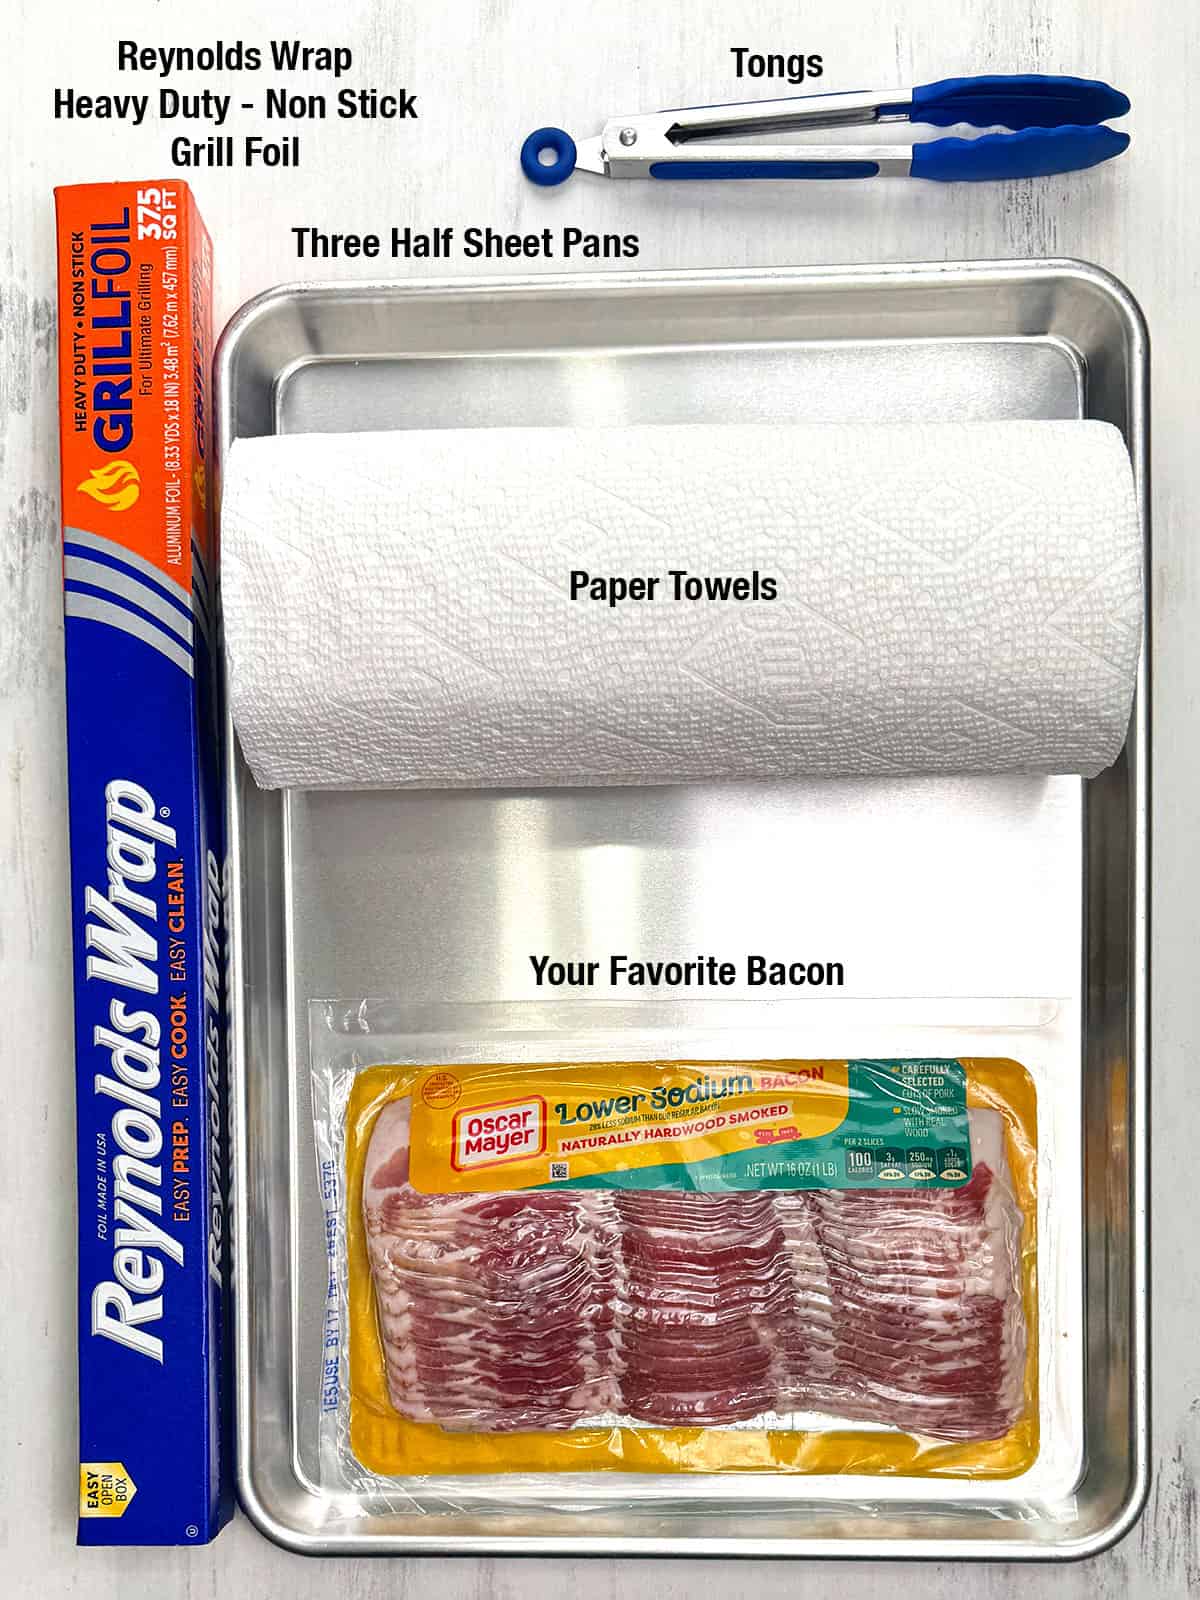
Here's What You'll Need
Steps to Make Oven Bacon
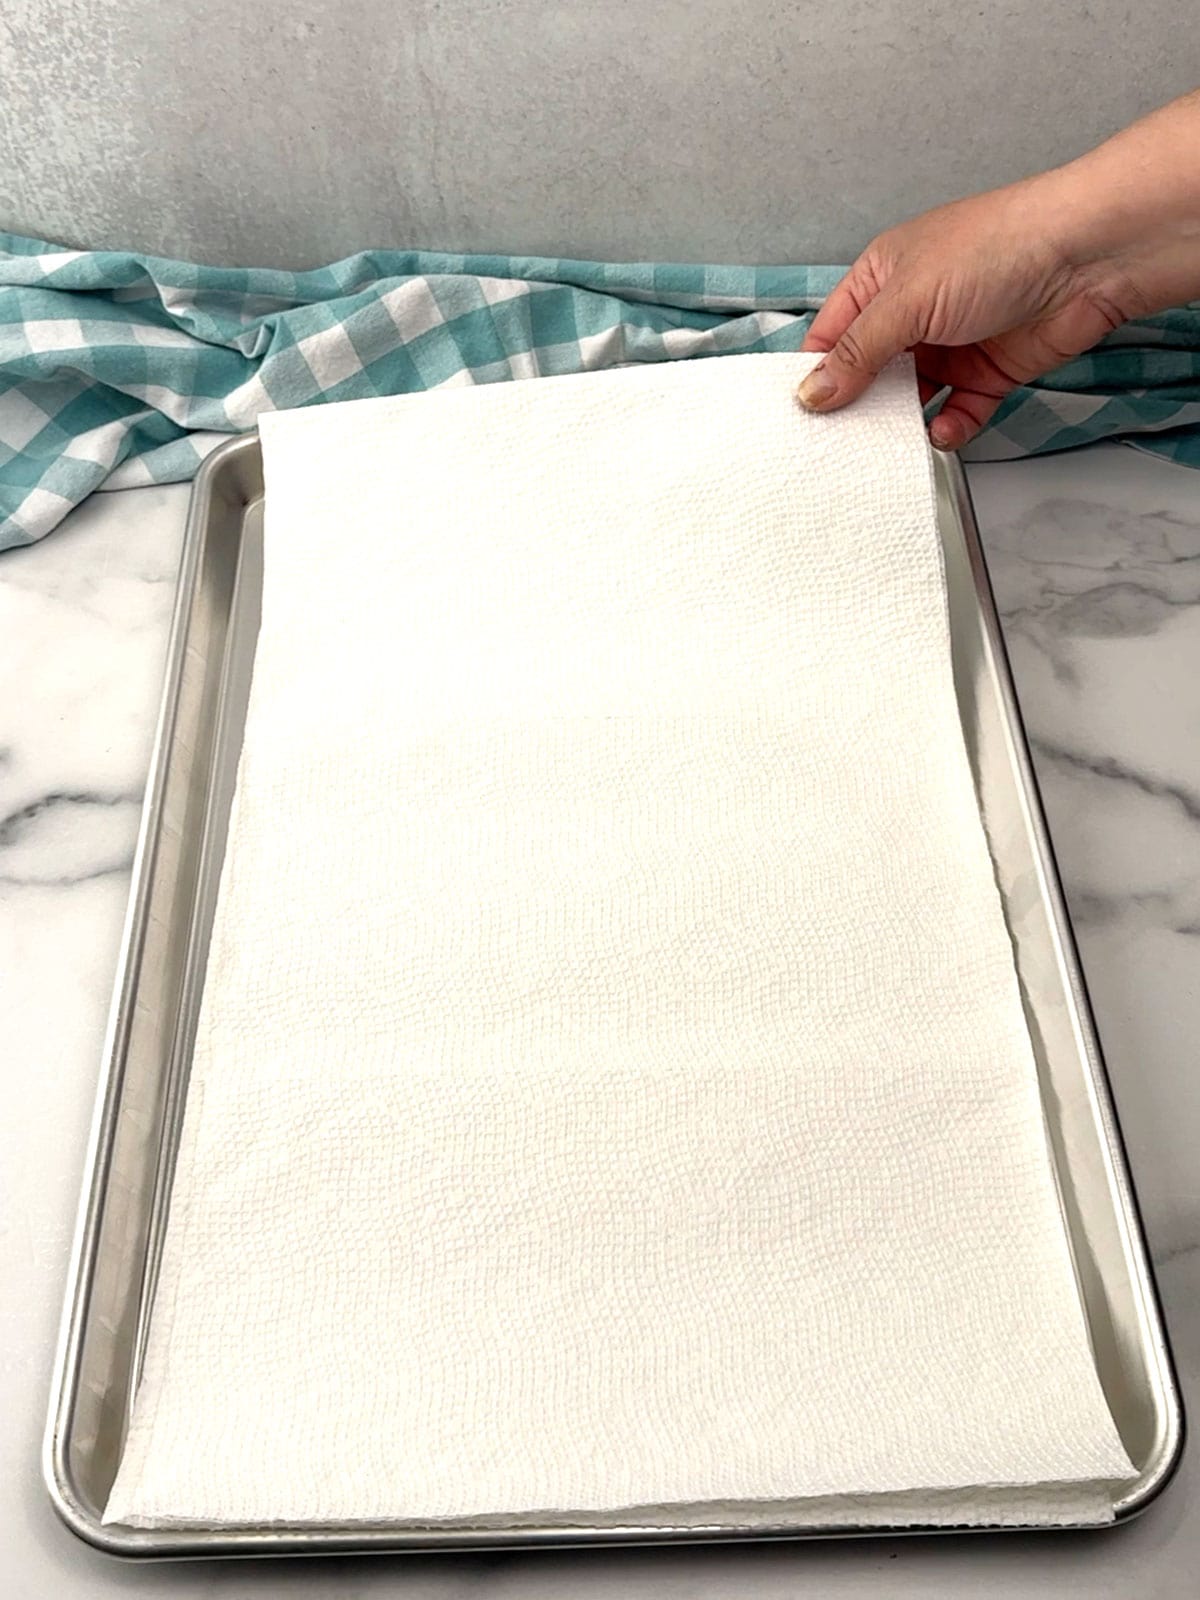
- Preheat the oven to 400°F. Line one of the half-sheet pans with a double layer of paper towels and set aside.
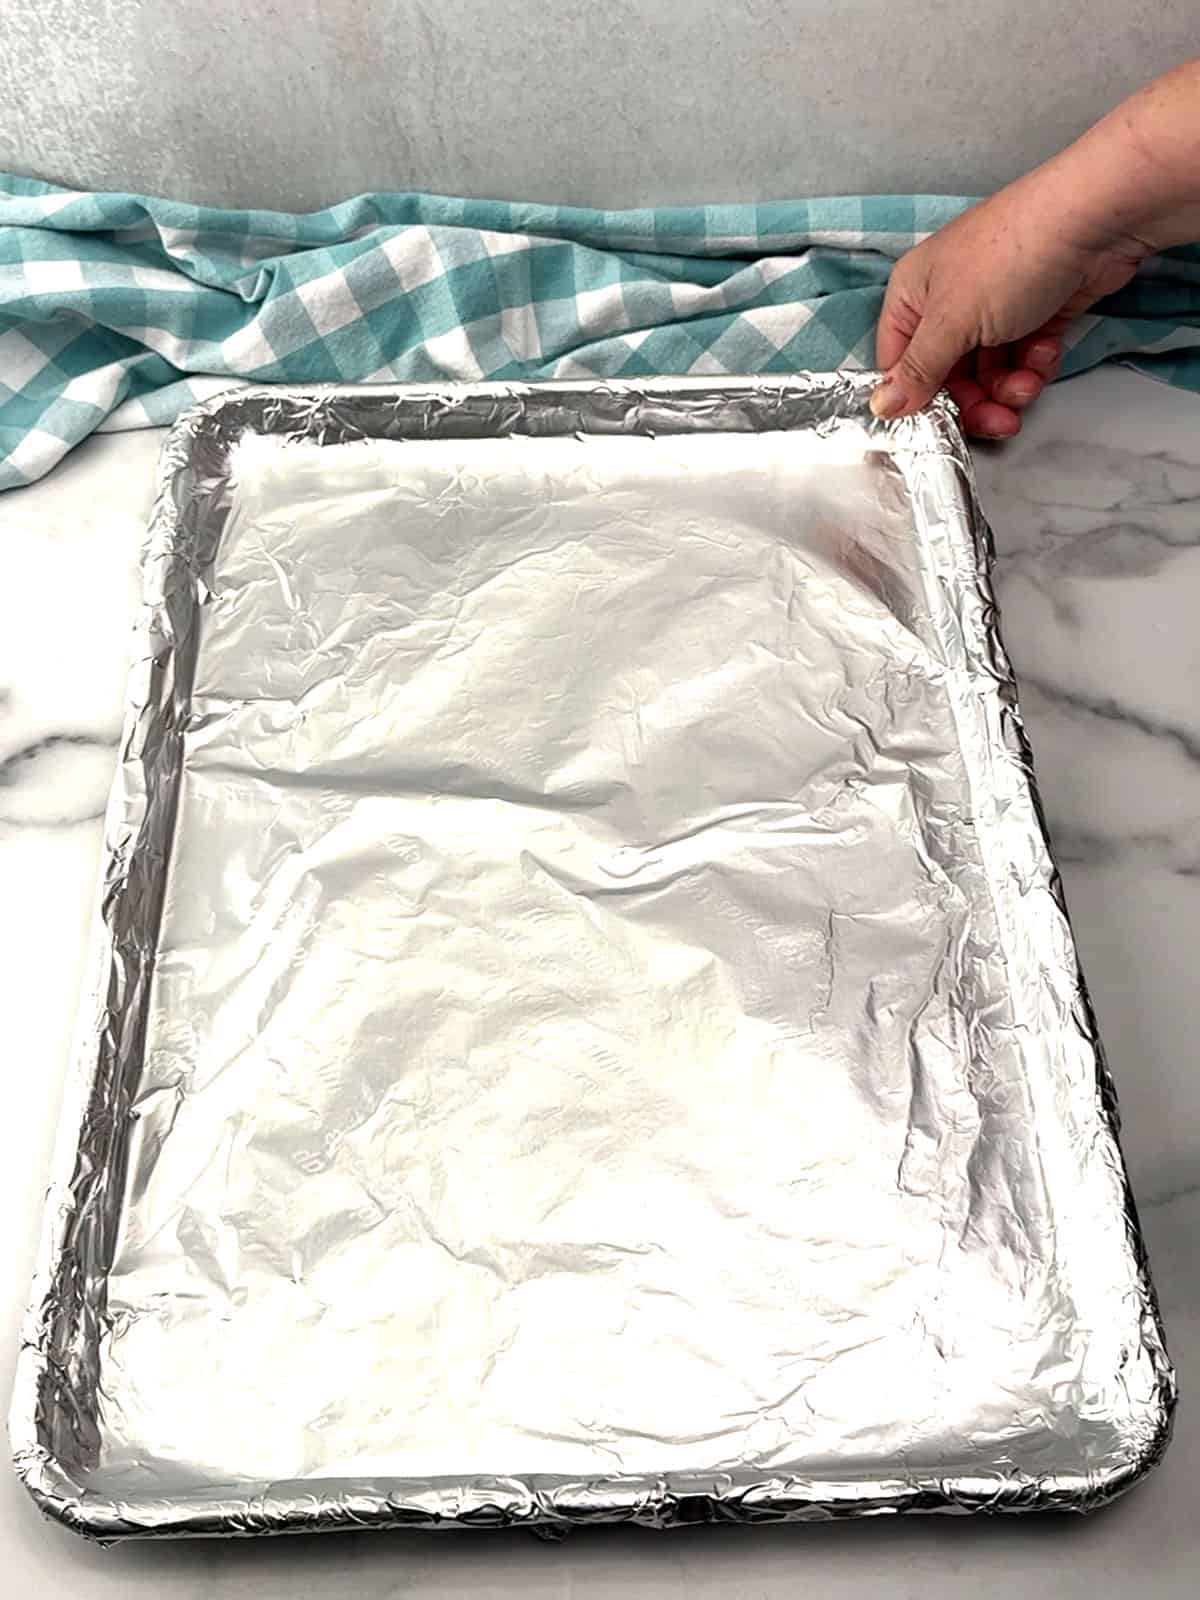
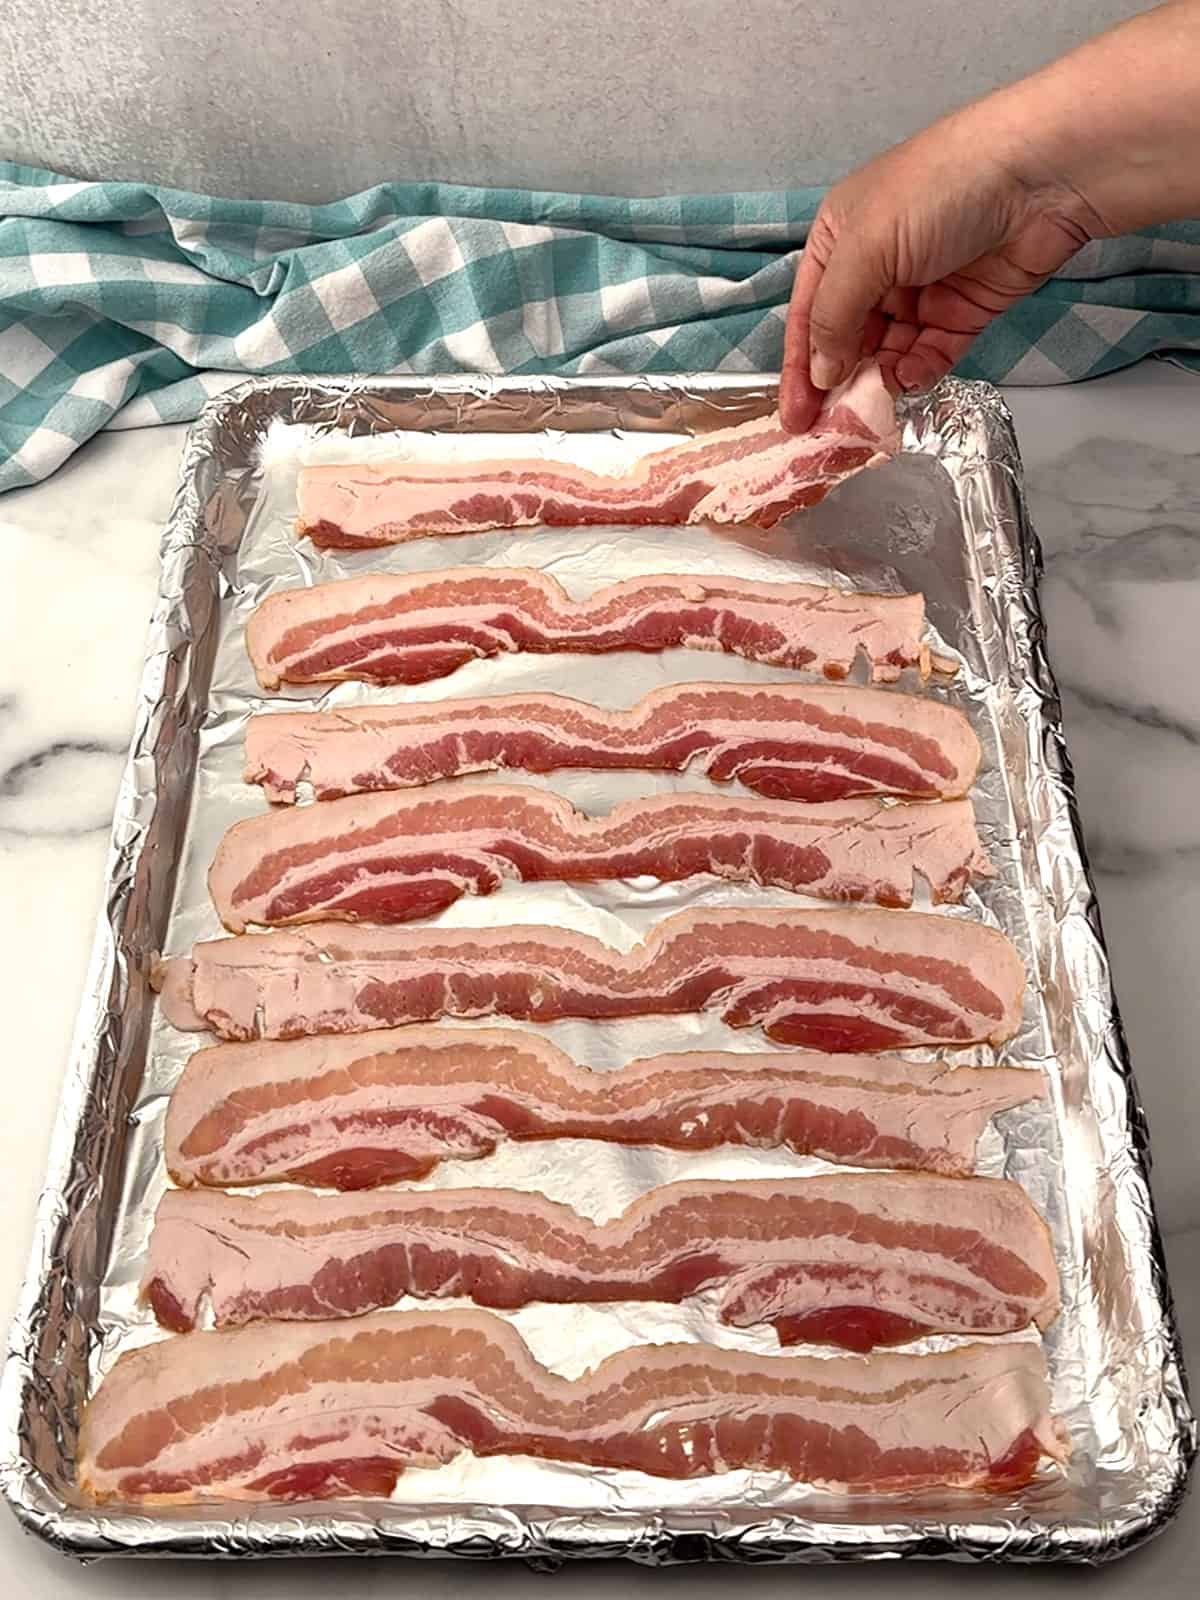
- Line the other two half-sheet pans completely with Reynolds Wrap, Heavy-Duty, Non-Stick, Grilling Foil. Make sure to wrap the foil up and over the sides. Also, take care not to tear or poke any holes in the foil.
- Divide one pound of bacon evenly between the two pans, making sure the slices aren't touching. This will help them get crispy. Bake the pans, one at a time, in a 400°F oven for 20 minutes.
- Remove the first pan from the oven and bake the second pan for 20 minutes.
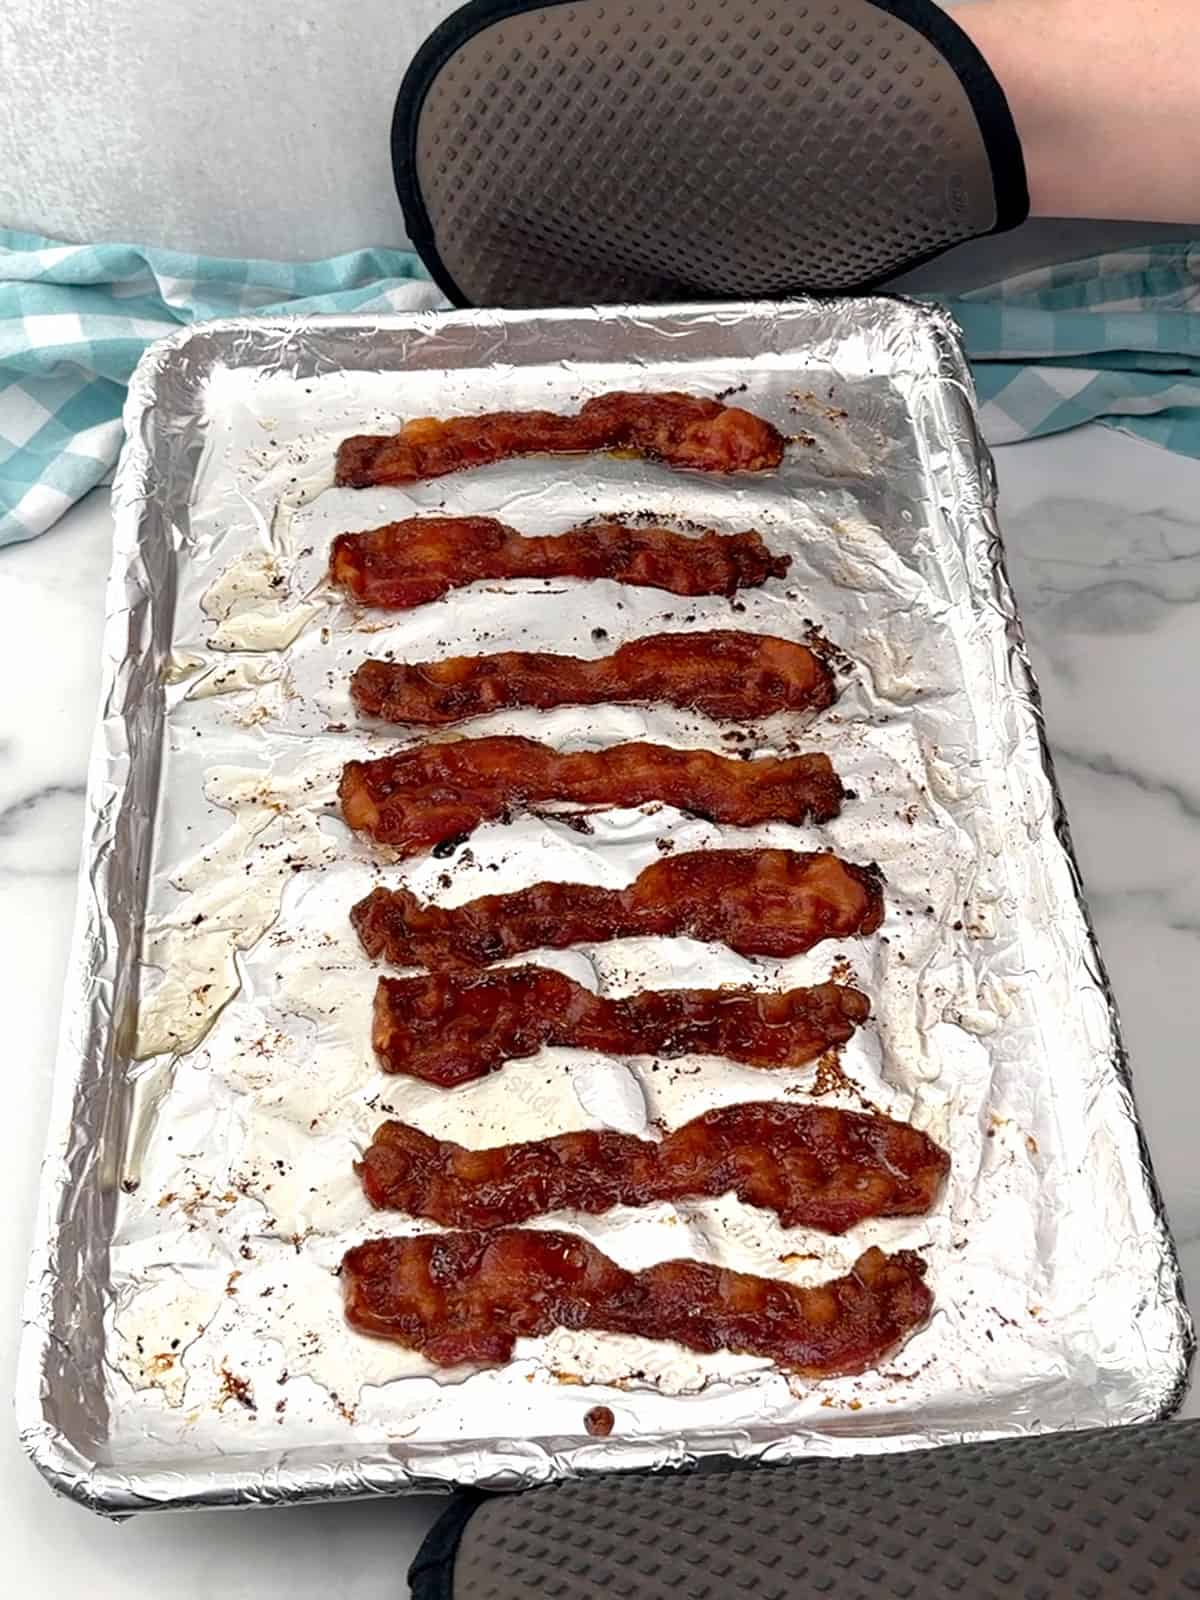
- Immediately use a pair of tongs to transfer the bacon to the paper-towel-lined sheet pan. Set the baking pan aside, allow it to cool, and the bacon grease to solidify before unwrapping the foil from the pan and throwing it away.
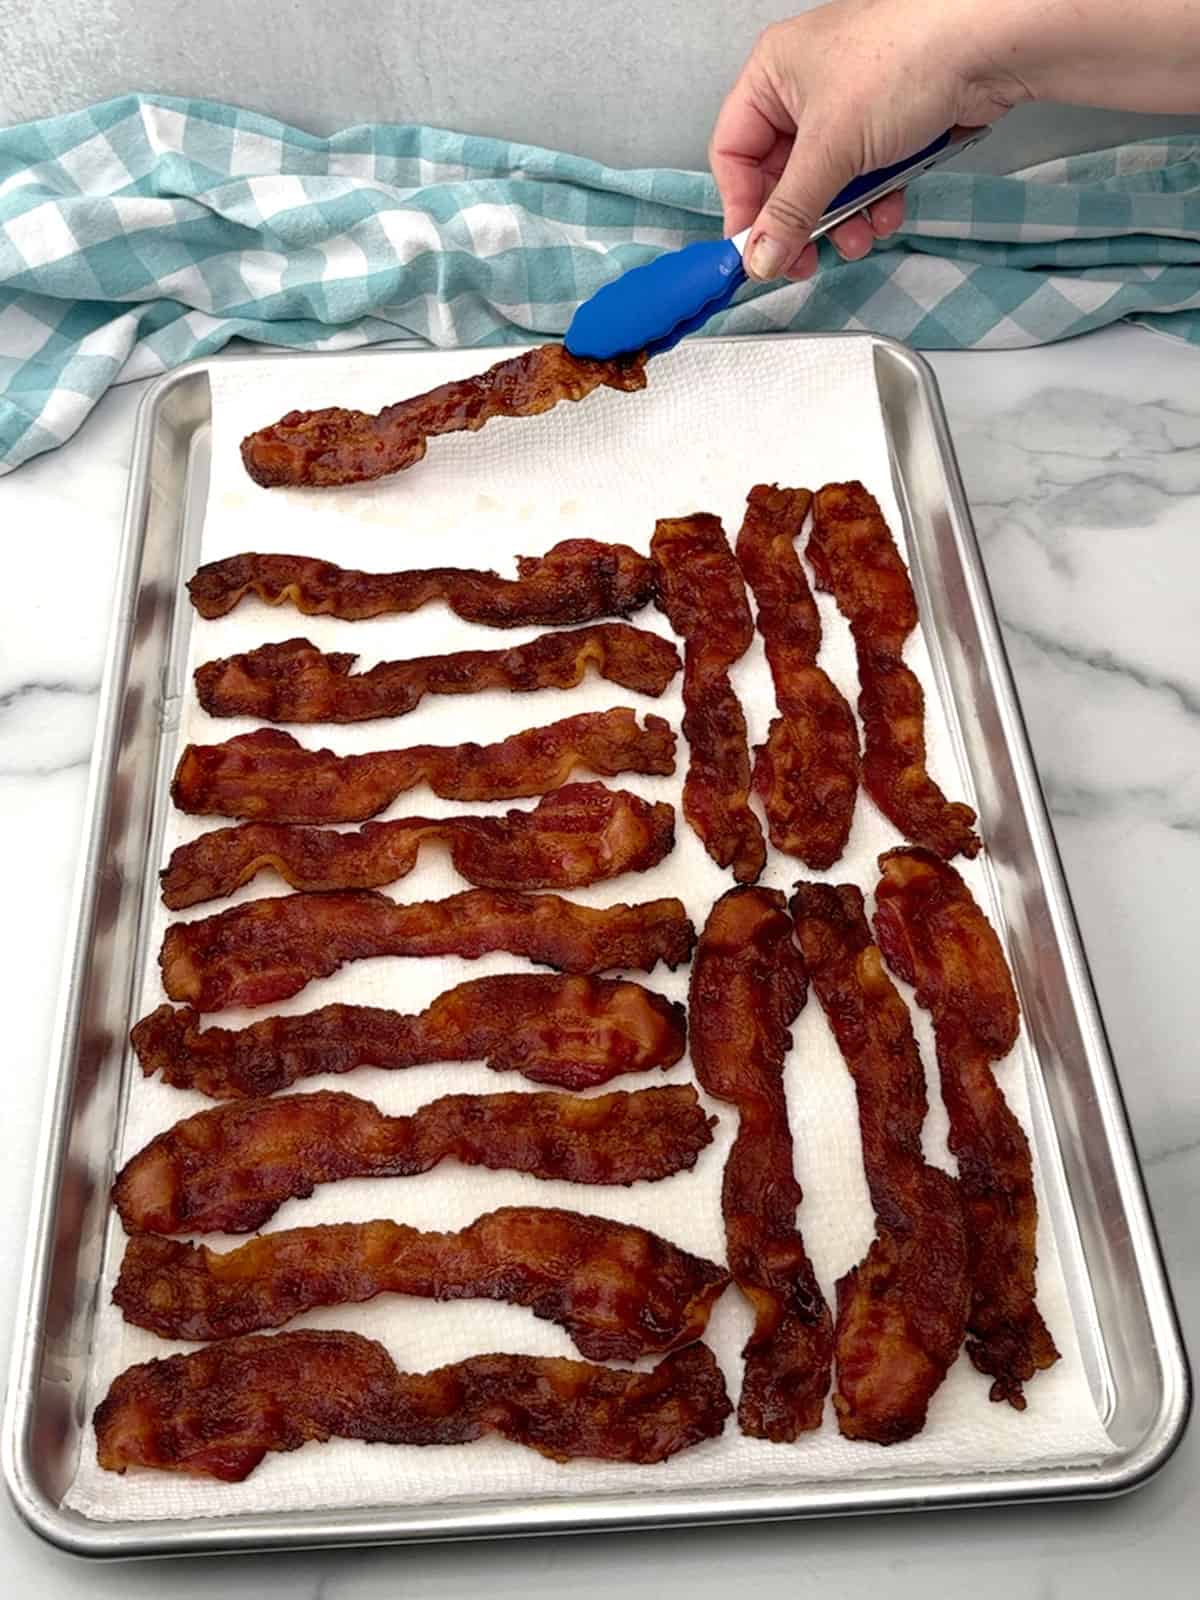
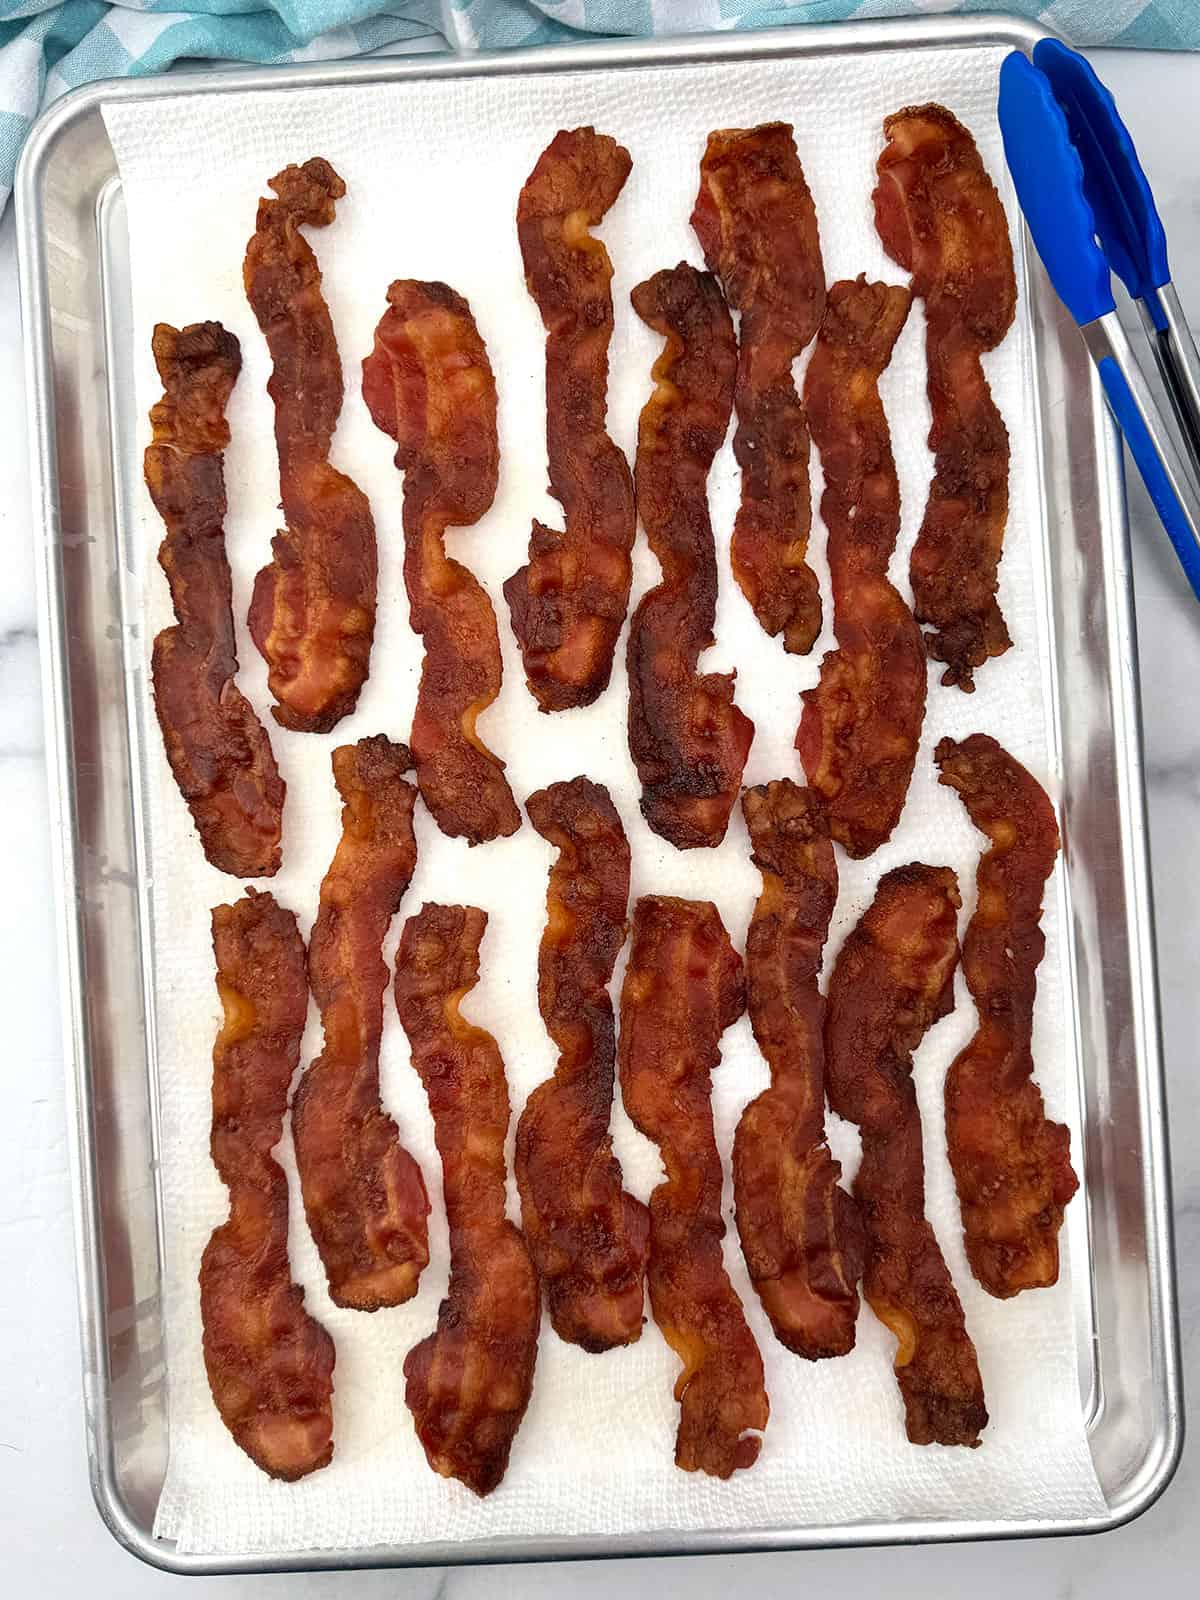
- Cover the bacon with another double layer of paper towels to soak up the grease on top. Once the second pan of bacon is cooked, transfer the slices to the paper towel-lined pan and return the paper towels to cover it.

Mastering Easy No-Mess Crispy Oven-Baked Bacon is a total game-changer for any home cook looking to simplify their breakfast routine. By skipping the stovetop splatter and opting for the precision of the oven, you get perfectly rendered, golden-brown slices with virtually zero cleanup. This reliable method ensures consistent results every time. Give this sheet-pan technique a try today and experience just how effortless restaurant-quality bacon can be!
Frequently Asked Questions
For most ovens, 400°F (200°C) is the sweet spot. It is hot enough to render the fat quickly and create a crisp texture without burning the edges before the center is done.
Generally, it takes 15 to 25 minutes. Thin-cut bacon may be done in as little as 12 minutes, while thick-cut slices often require 20 minutes or more. It is best to start checking for your preferred level of crispiness around the 15-minute mark.
Store leftovers in an airtight container in the refrigerator for up to 4 to 5 days. To maintain the crunch, reheat them in a toaster oven or a dry skillet for a minute rather than using the microwave, which can make the bacon chewy.
You certainly can, but be prepared for more scrubbing. Cooking directly on a metal sheet pan works perfectly fine for the bacon itself, but the rendered fat can "bake on" to the pan, making it difficult to clean. Using Reynolds Wrap Heavy-Duty Non-Stick Grilling Foil is the ultimate choice for lining a half-sheet pan because its specialized non-stick coating ensures that even sugar-cured or thick-cut bacon releases effortlessly without tearing. The heavy-duty gauge is significantly more durable than standard foil, preventing accidental punctures or tears that allow grease to leak onto your pan, while its extra-wide dimensions provide seamless, edge-to-edge coverage for total containment of rendered fat.
Recipe Tips and Tricks
- Avoid Overcrowding: While you can fit a lot on a half-sheet pan, make sure the slices aren't overlapping or touching. If they touch, they will steam instead of crisping, leaving you with "rubbery" spots where the meat was joined. That's why this recipe calls for dividing the bacon between two pans.
- Drain Immediately: Once you pull the pan out, move the bacon to a paper towel-lined sheet pan right away. If the slices sit in the hot grease in the pan, they will continue to cook and can quickly go from "crispy" to "burnt" or become overly oily.
- Save the Liquid Gold: Don't toss the rendered fat! Carefully pour the warm grease through a fine-mesh strainer into a glass jar. This "bacon gold" is incredibly flavorful for sautéing Brussels sprouts, frying eggs, or even using as a base for a warm spinach salad dressing.
- Let the Grease Solidify: To ensure a truly mess-free cleanup, allow the bacon grease to cool and completely solidify in the pan before attempting to remove the foil. Wait about 20 minutes until the drippings have hardened into a semi-solid state. Once it's set, you can simply fold the heavy-duty foil inward to seal the grease inside and toss the entire bundle into the trash without a single drop hitting your countertop or clogging your drain.
Great Bacon Recipes
- Easy Bacon Egg and Cheese Breakfast Sliders
- Crispy Cheese and Bacon Potato Rounds
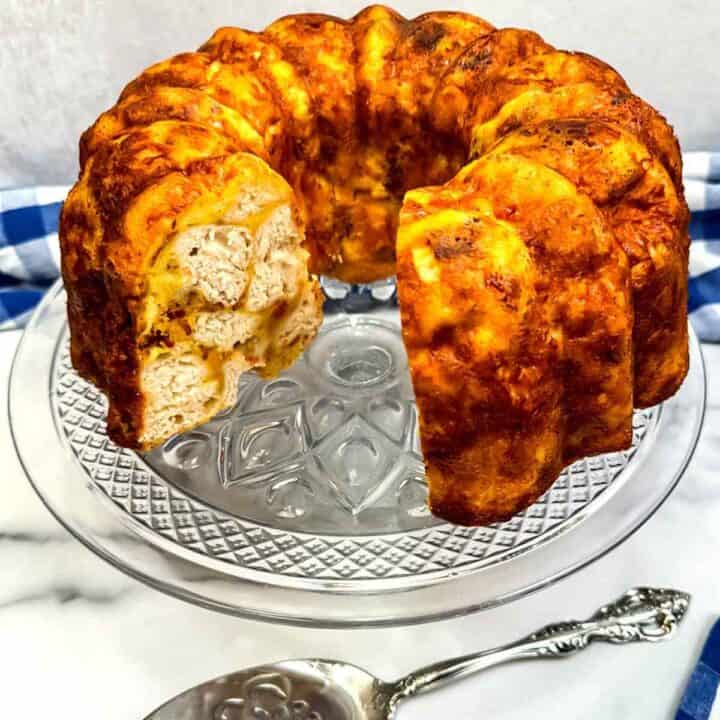
- Bacon, Egg & Cheese Biscuit Bundt Cake
- The Ultimate Easy Warm Bacon Cheese Dip (Perfect Party Appetizer!)
- Easy Chicken Bacon Ranch Mac & Cheese
- Bacon Jalapeño Popper Dip (With Video)
- Irresistible Easy Cheesy Bacon Ranch Potatoes
- Easy Bacon, Egg, & Cheese Breakfast Quesadilla


Did you make this recipe? We'd love to know how it turned out! Leave a review below. Then, share a picture on Instagram and tag @pudgefactor so we can see it.
Don't forget to follow us on Pinterest, Facebook, YouTube, Flipboard, and Instagram.
Thank you so much for visiting PudgeFactor. We hope you'll come back!
Recipe
Want to Save This Recipe?
Enter your email & I'll send it to your inbox. Plus, enjoy weekly doses of culinary inspiration as a bonus!
By submitting this form, you consent to receive emails from Pudge Factor.

Easy No-Mess Crispy Oven Baked Bacon
Equipment
- 3 half sheet pans
- Reynolds Wrap Heavy-Duty Non-Stick Grilling Foil
- Paper Towels
- Tongs
Ingredients
- 1 lb Bacon1
Instructions
- Preheat the oven to 400°F. Line one of the half-sheet pans with a double layer of paper towels and set aside.
- Line the other two half-sheet pans completely with Reynolds Wrap Heavy-Duty Non-Stick Grilling Foil. Make sure to wrap the foil up and over the sides.
- Divide one pound of bacon2 evenly between the two pans, making sure the slices aren't touching. This will help them get crispy. Bake the pans, one at a time, in a 400°F oven for 20 minutes3.
- Remove the first pan from the oven, and bake the second pan for 20 minutes. Immediately use a pair of tongs to transfer the cooked bacon to the paper-towel-lined sheet pan. Cover the cooked bacon with another double layer of paper towels to soak up the grease on top. Once the second pan of bacon is cooked, transfer the slices to the paper towel-lined pan and return the paper towels to cover the slices for a few minutes before serving.
- Set the baking pans aside, allow them to cool and the bacon grease to solidify before unwrapping the foil from the pan and throwing away.
- Yield 16 slices
Tips/Notes
- When buying bacon, I don't have a specific brand I prefer, I typically buy what's on sale. However, I always opt for low sodium bacon.
- One standard pound of bacon has 16 slices, so you should have eight slices per pan. One pound of thick-cut bacon has fewer slices and the number of slices can vary by brand. If you are using thick-cut bacon, still divide the pound evenly between the two pans.
- If using thick-cut bacon, the cooking time could be longer.


Leave a Reply