
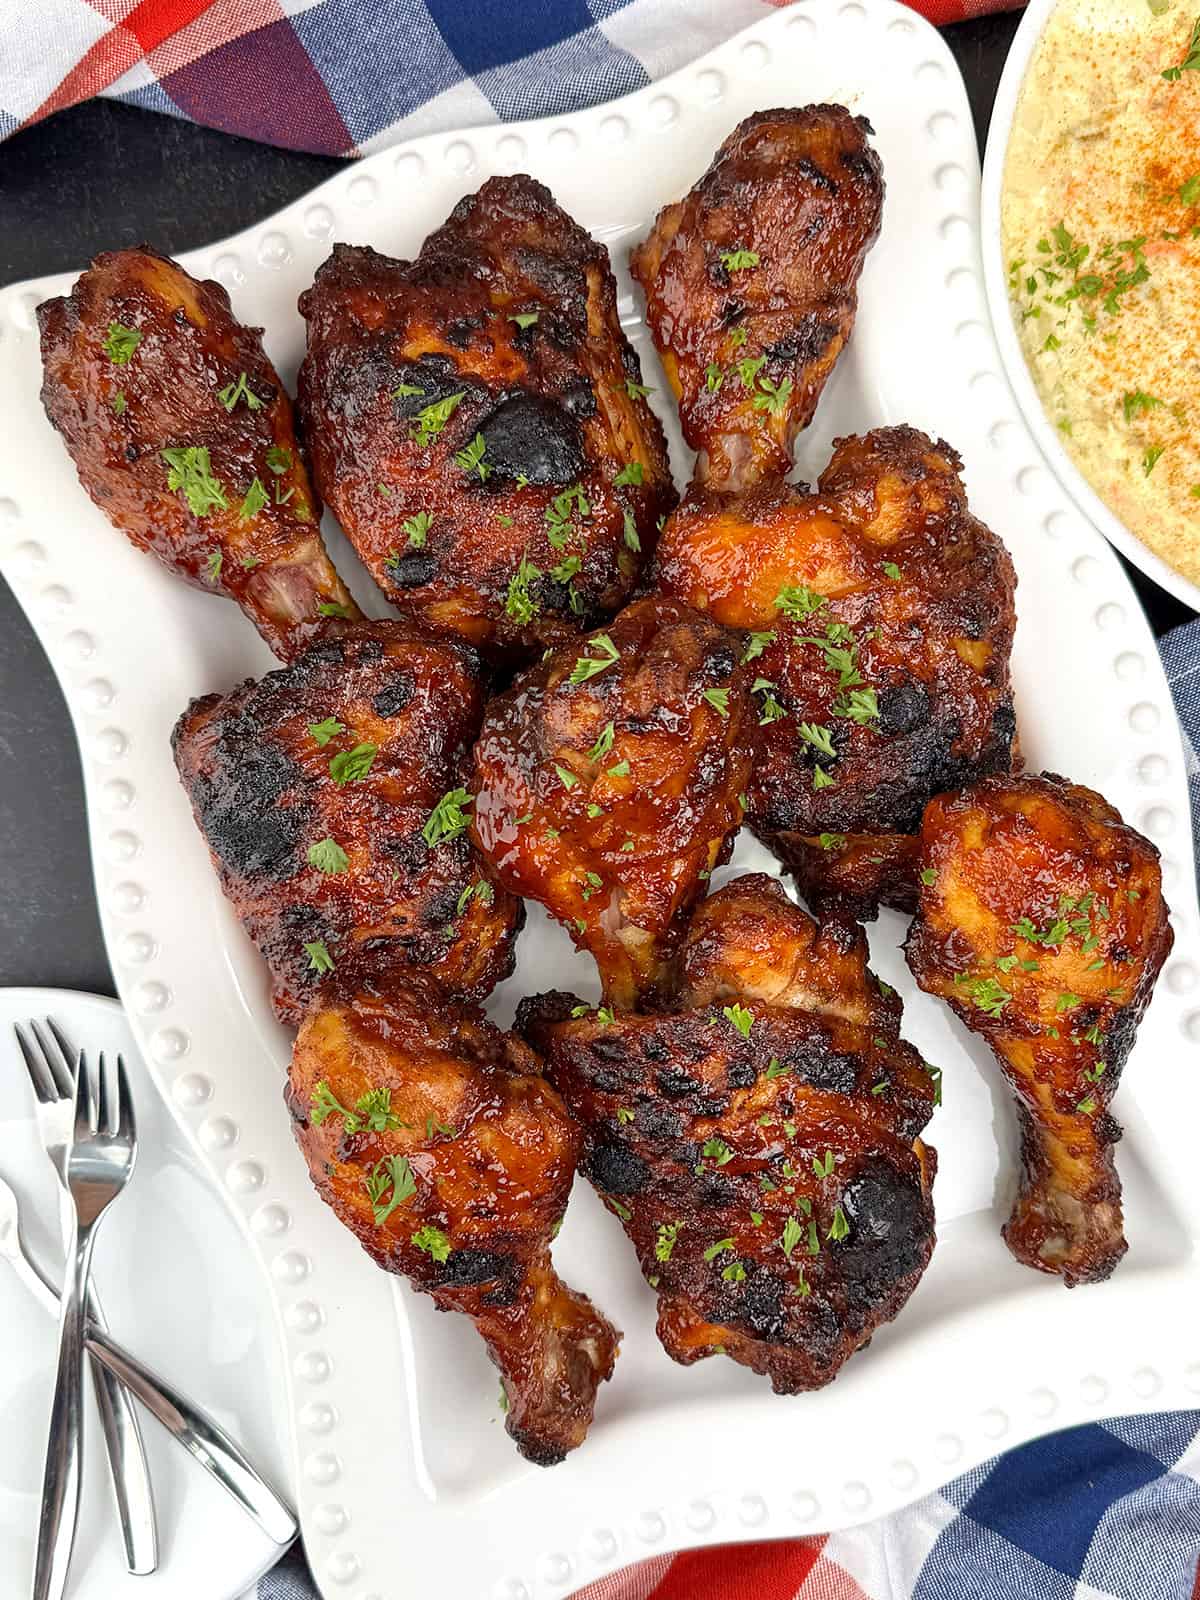
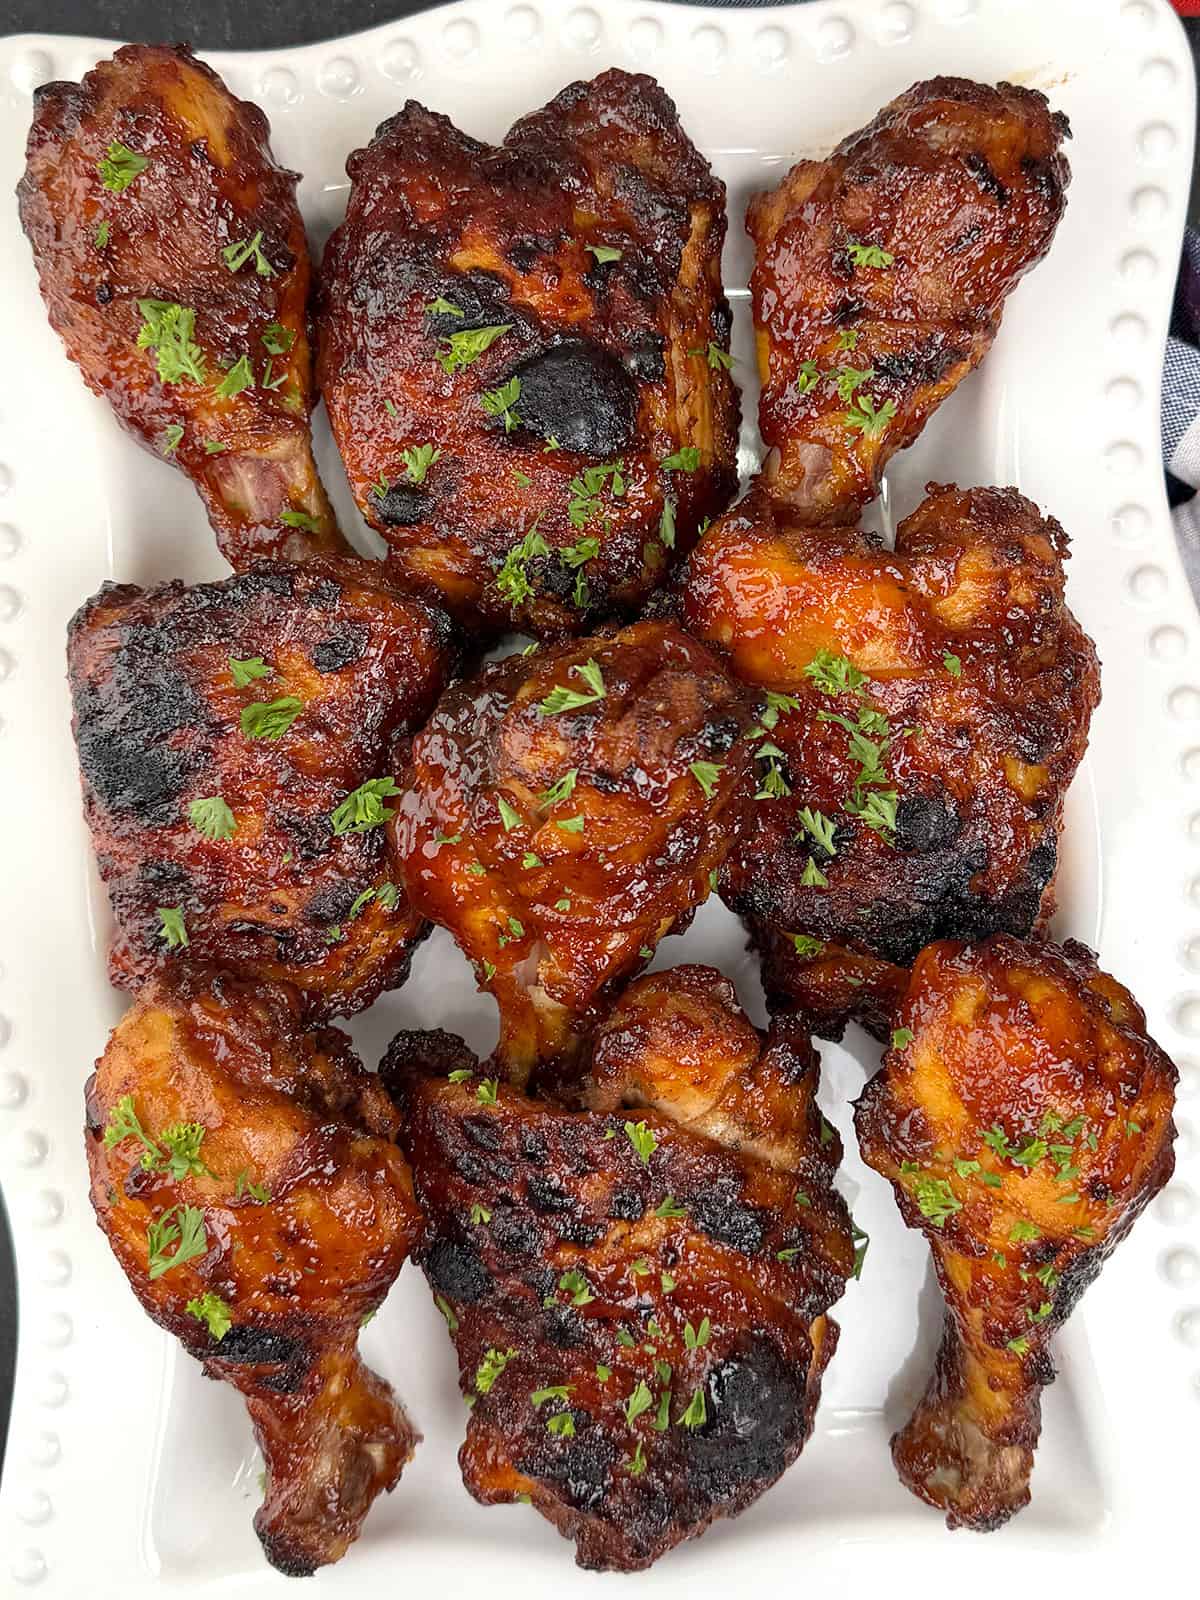
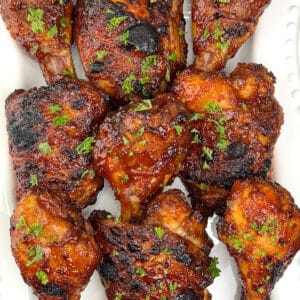
Skip the charcoal and the mess with this effortless Oven Baked BBQ Chicken Legs & Thighs. Ideal for busy evenings, this method maximizes flavor with minimal prep, ensuring your chicken stays moist while the barbecue sauce thickens into a delicious, finger-licking coating. It's a foolproof, one-pan method that delivers juicy results every time, making it a perfect addition to your weekly rotation.
Jump to:
Why You'll Want to Make Oven Baked BBQ Chicken
- Grill-Quality Flavor Indoors: Achieve that classic smoky, charred taste and sticky caramelized glaze using just your oven-no charcoal or propane required.
- Foolproof Juiciness: This method uses specific temperature control to ensure the meat stays tender and succulent on the inside while the skin gets perfectly tacky on the outside.
- Year-Round Versatility: Rain or shine, you can enjoy authentic barbecue flavors in the middle of winter or on a rainy summer evening.
- Family Favorite: With its sweet and savory profile, this dish is a guaranteed hit with both kids and adults, making it a reliable "crowd-pleaser" for any weeknight.
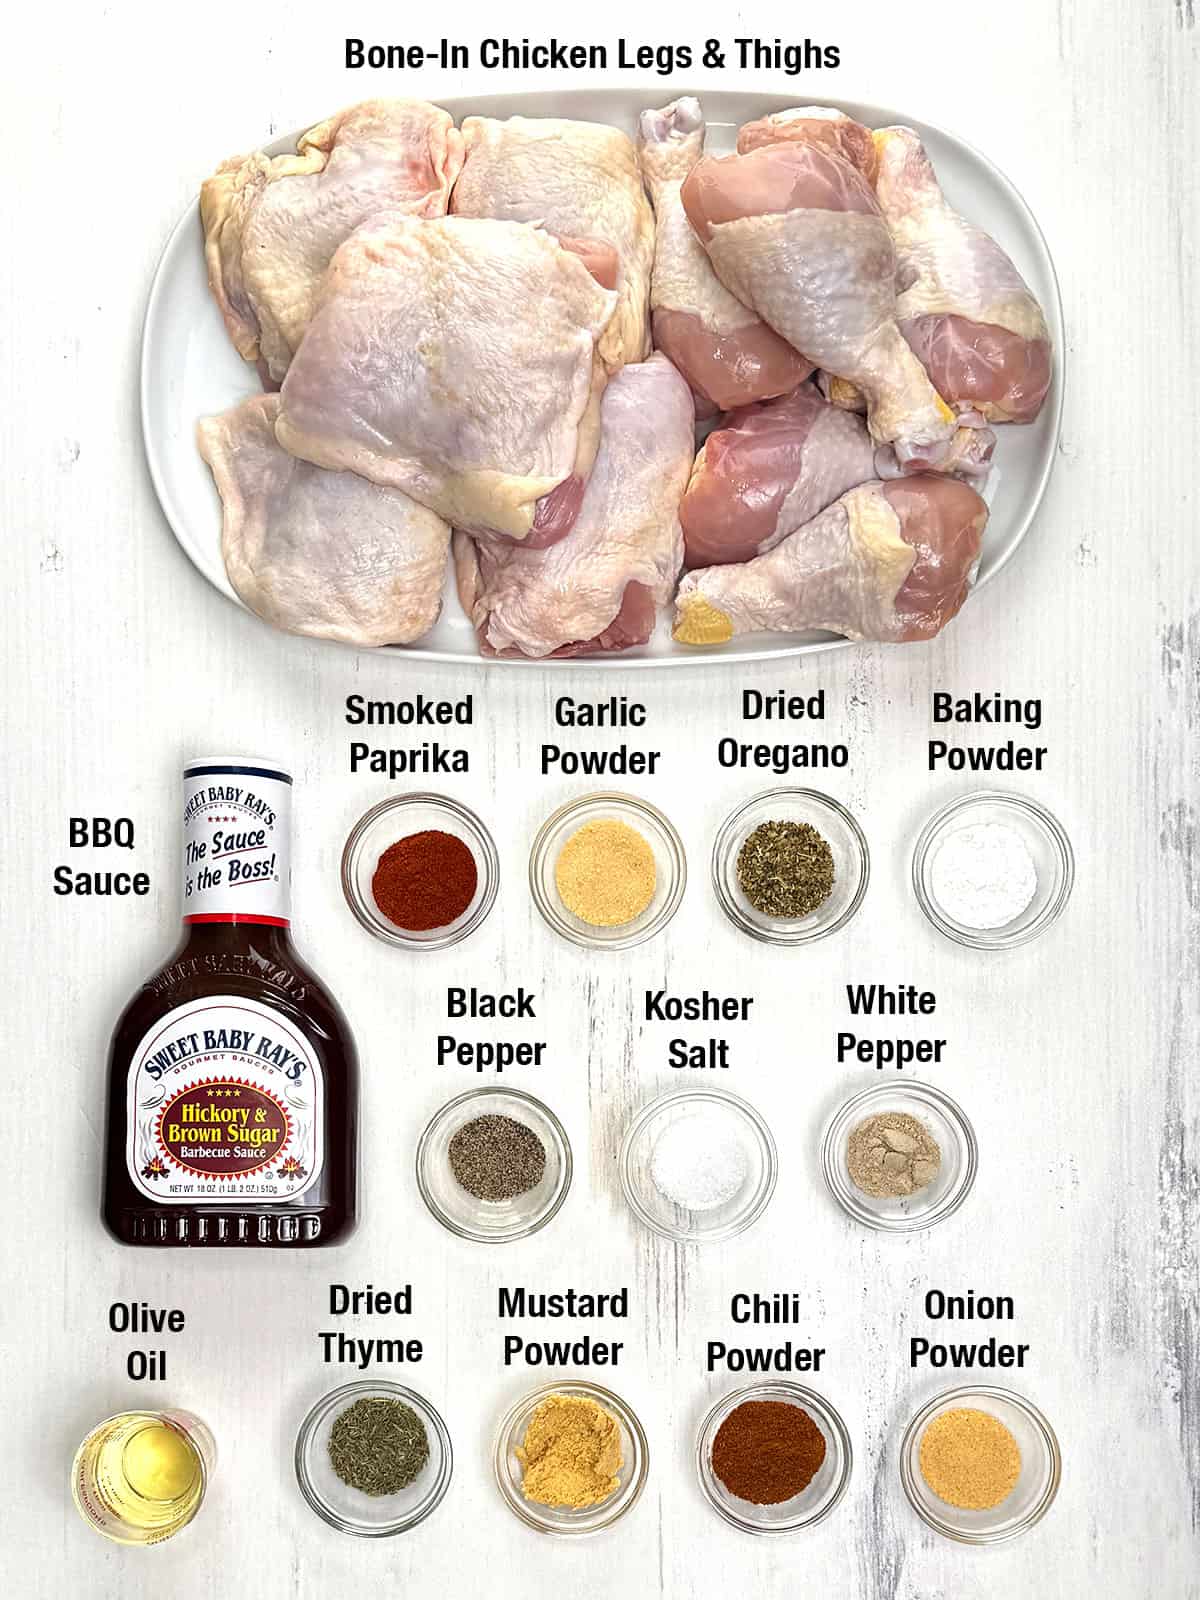
Ingredients - Here's What You'll Need
Steps to Make Oven Baked BBQ Chicken Legs & Things
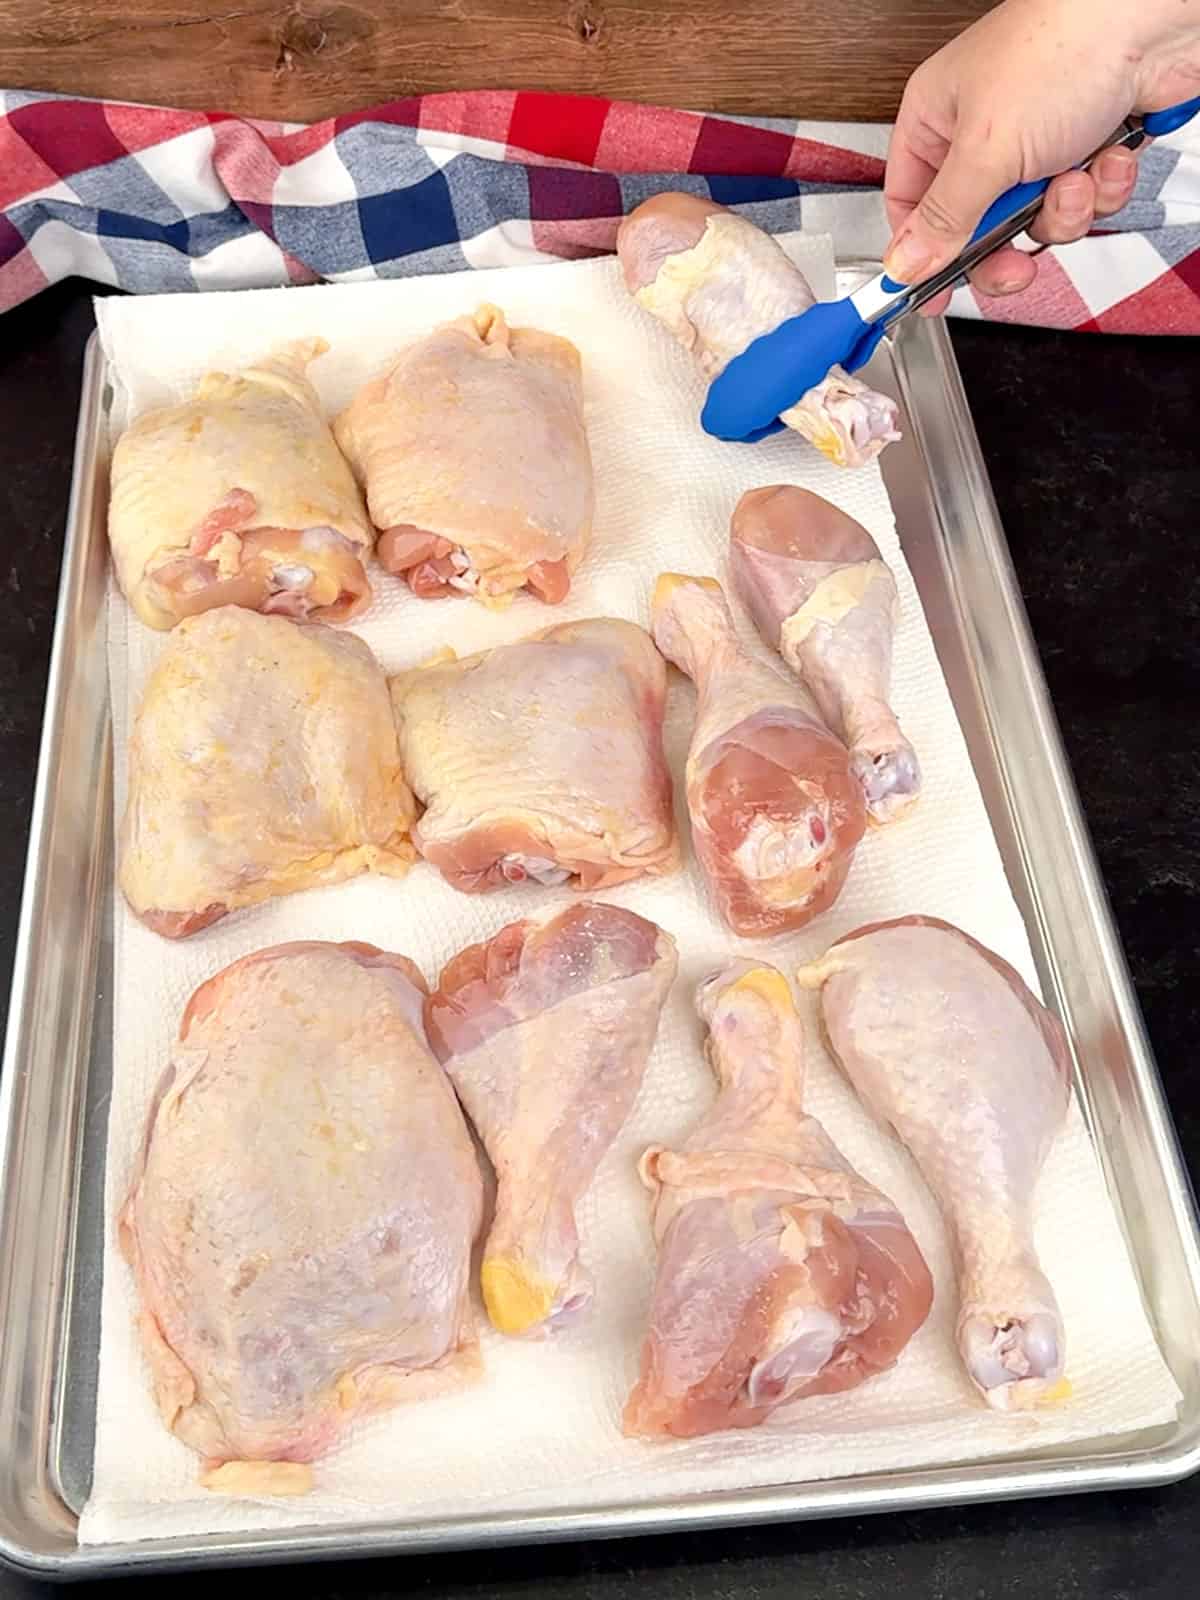
- Preheat the oven to 400°F. Line a half sheet pan with a triple layer of paper towels and place the chicken pieces in a single layer. Then, cover the top of the chicken with another triple layer of paper towels. Gently press down on the chicken pieces to dry them as much as possible.
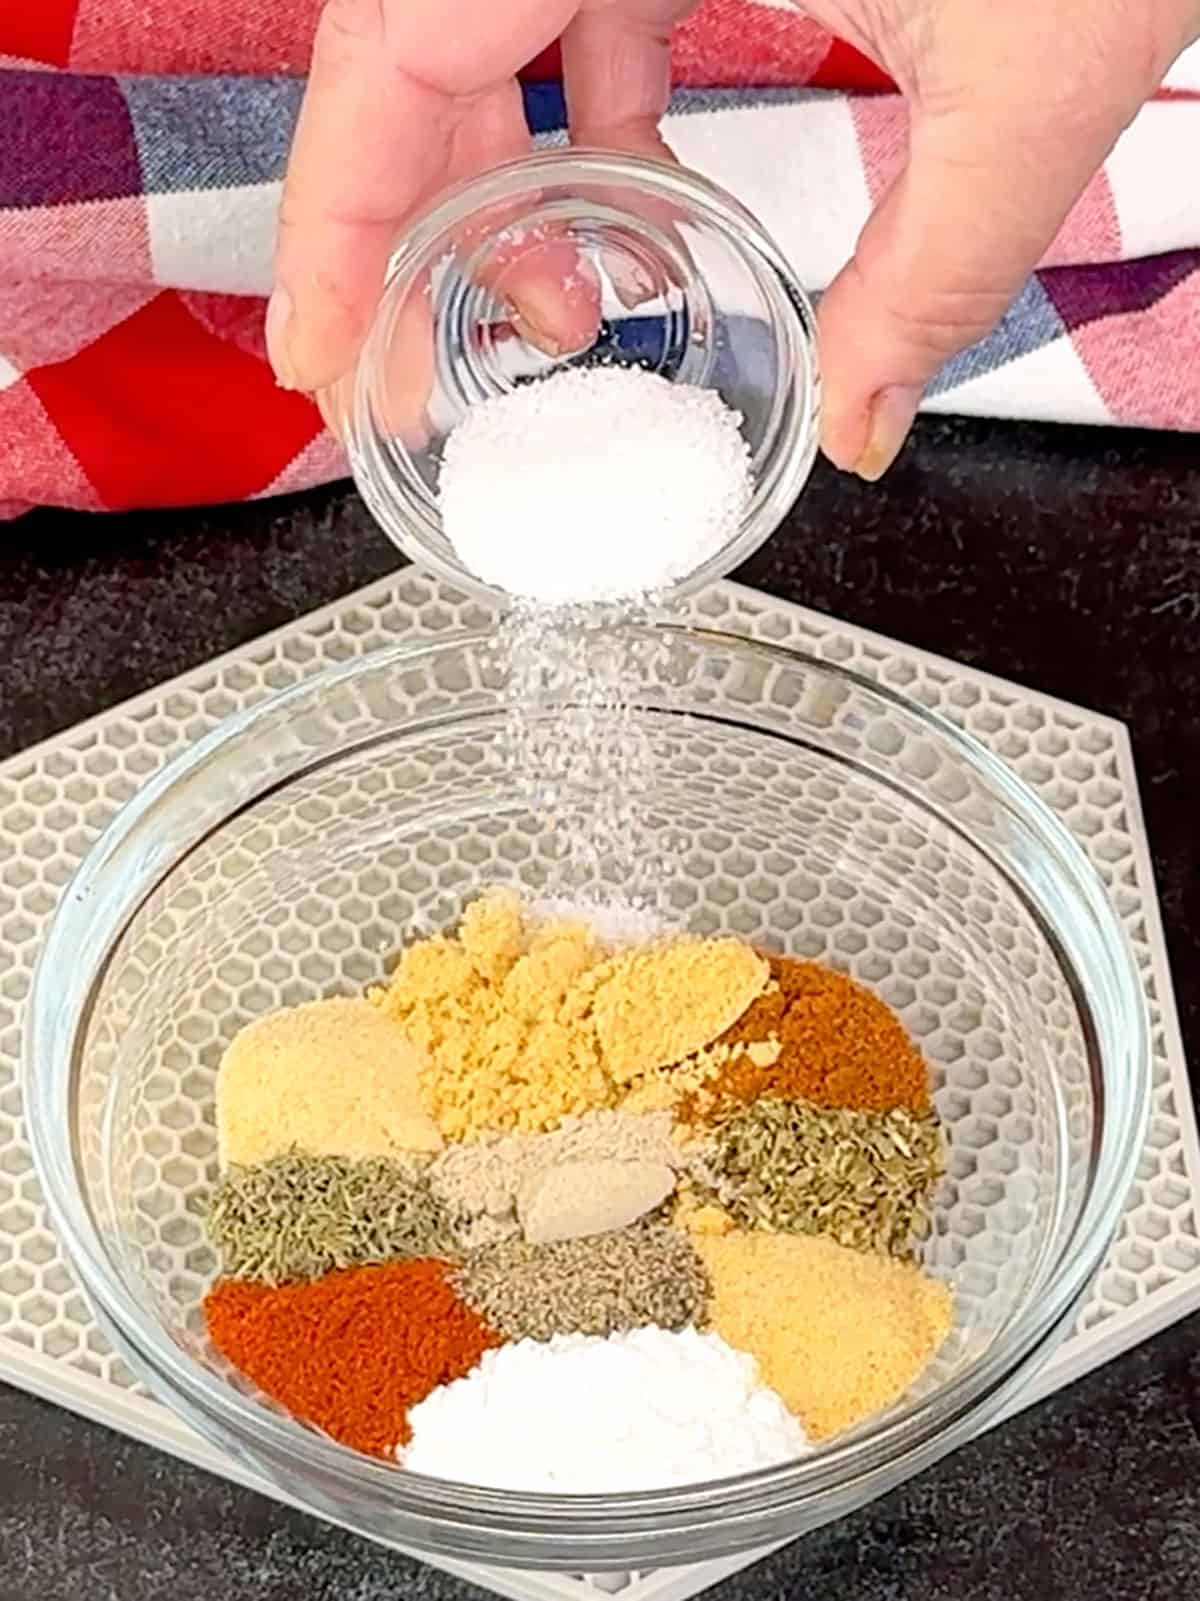
- In a small bowl combine baking powder, garlic powder, onion powder, chili powder, smoked paprika, dried thyme, dried oregano, mustard powder, white pepper, black pepper, and Kosher salt.
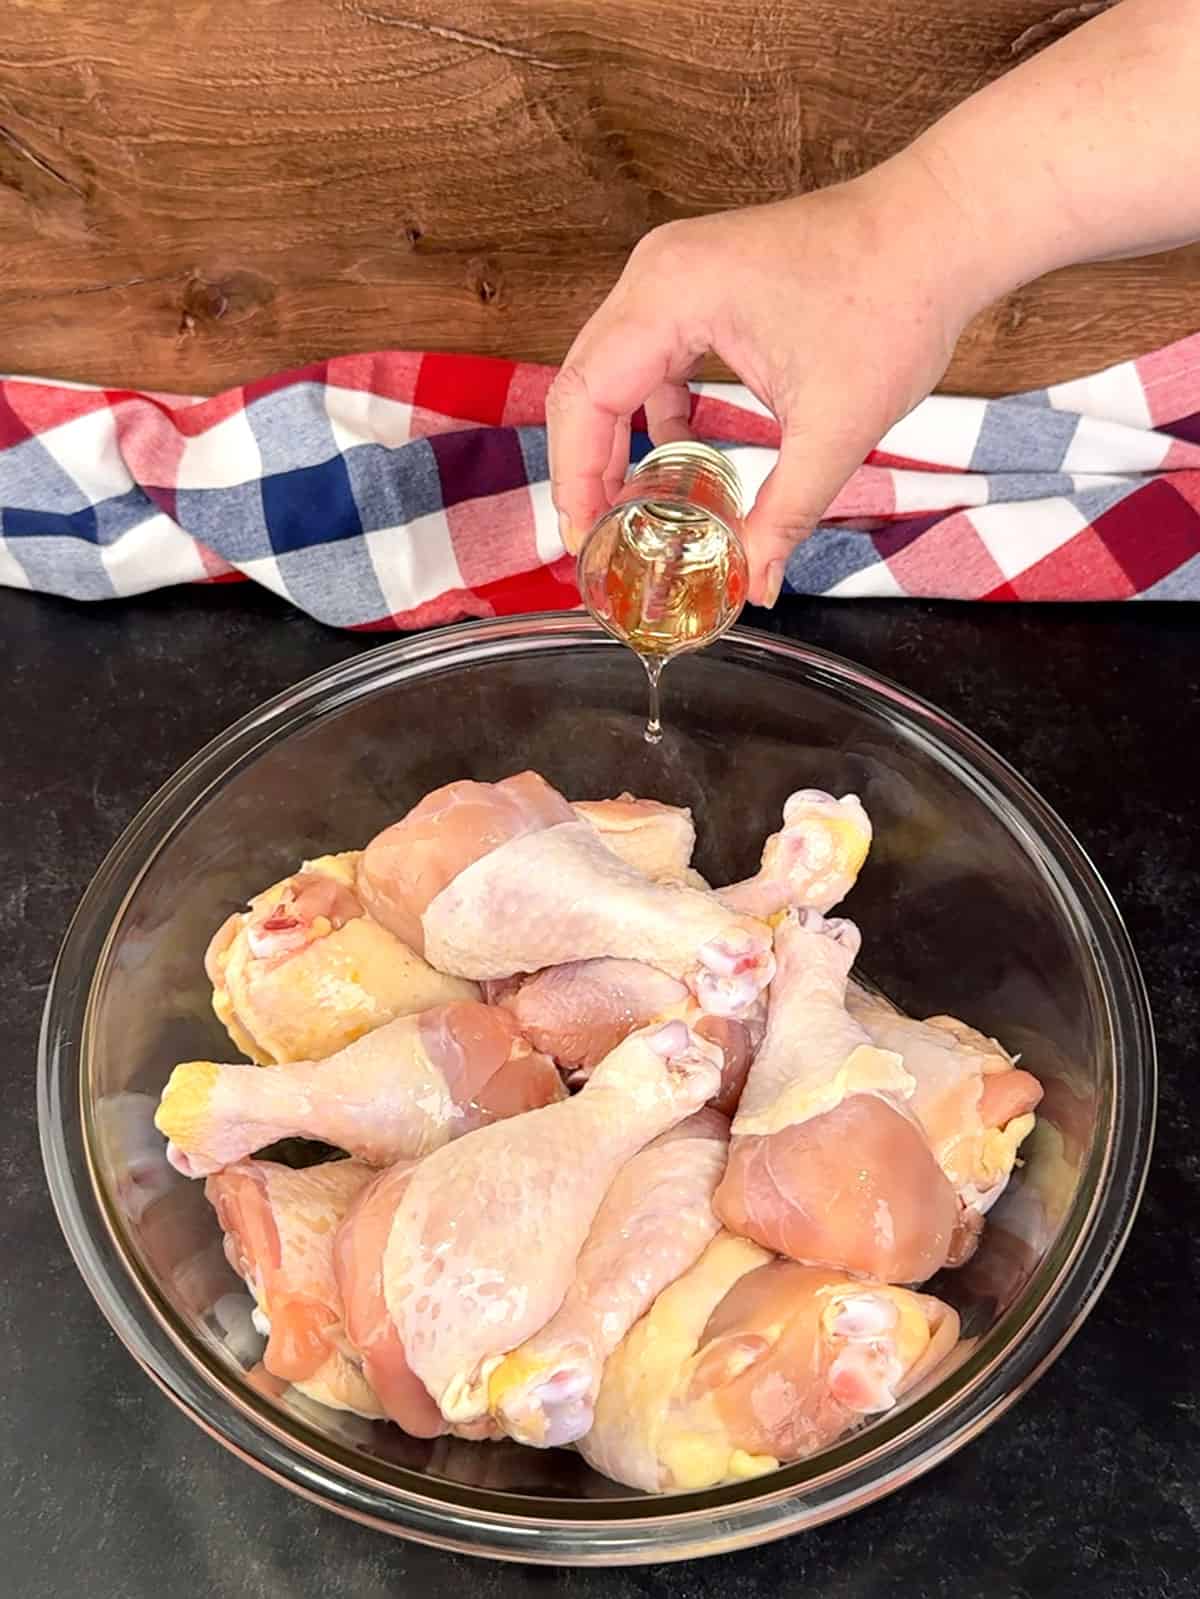
- Once the chicken is dry, place the pieces in a large bowl. Then, pour the olive oil over the chicken. Put on a pair of vinyl gloves and use your hands to toss the chicken so that all the pieces are well coated in the oil.
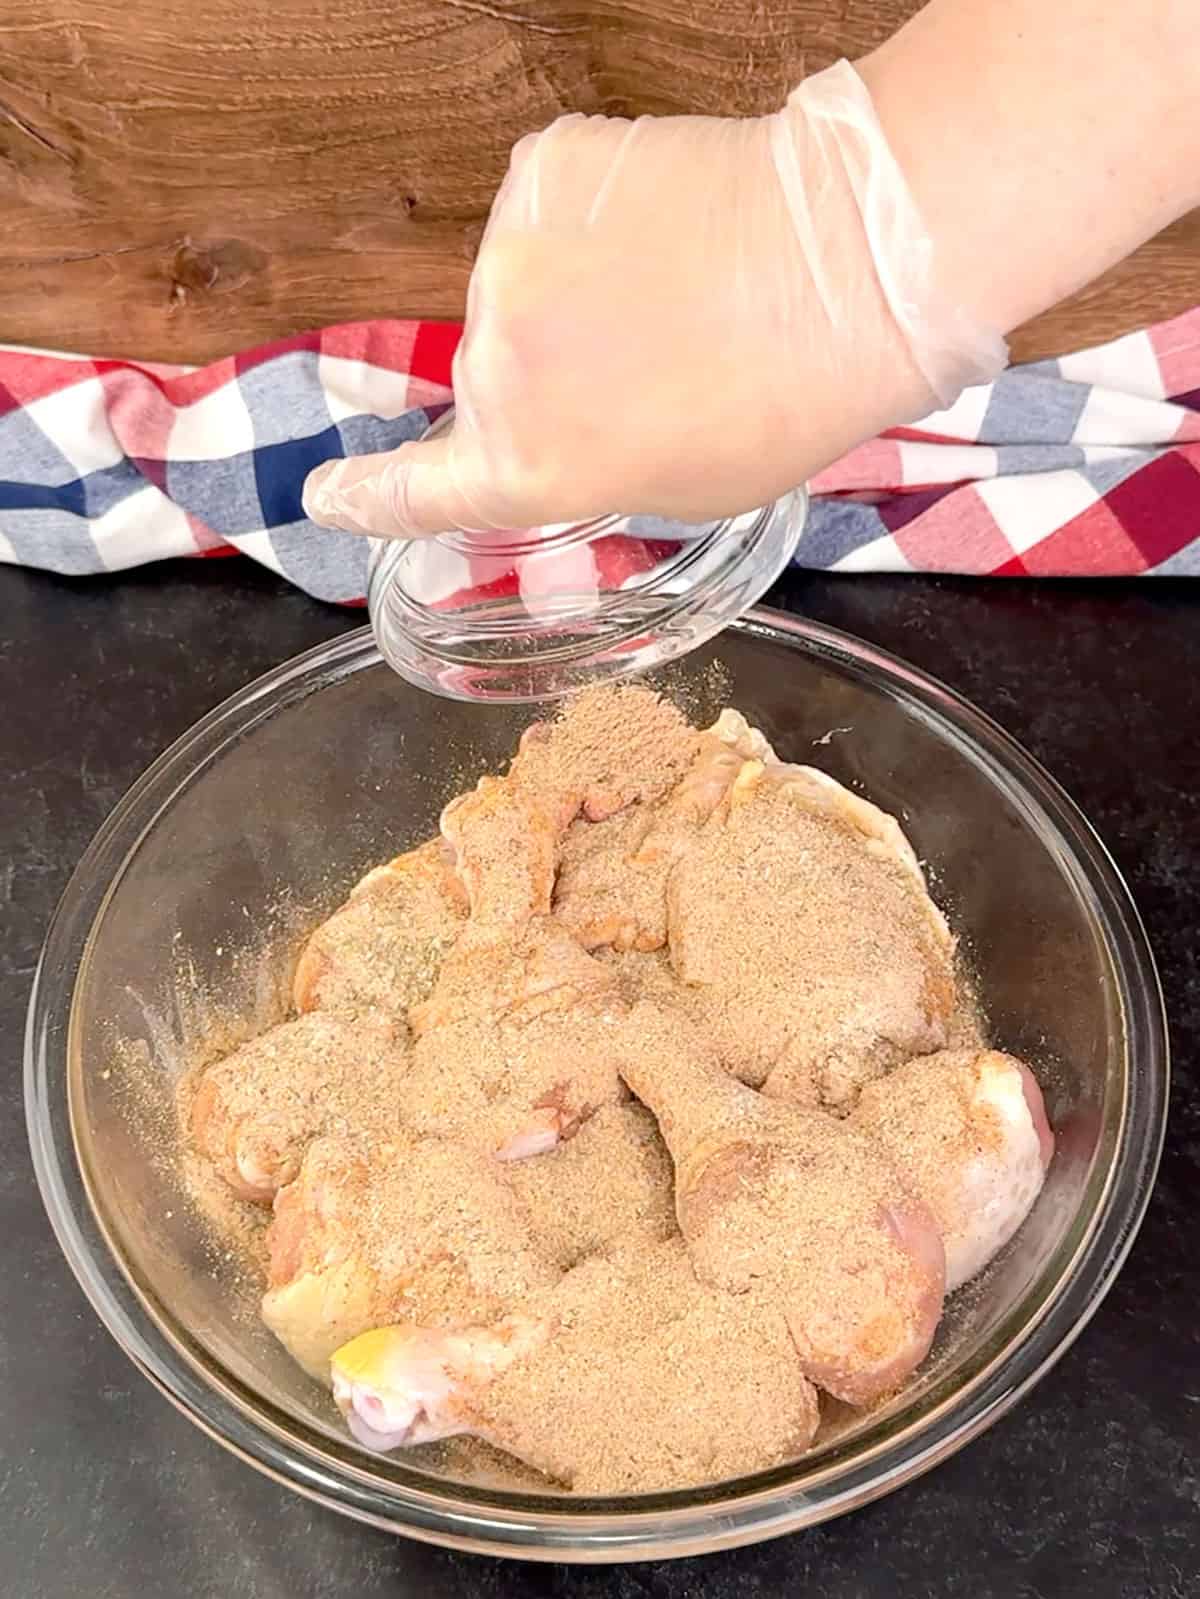
- Sprinkle the mixed spices over the chicken and use your gloved hands to toss the chicken again, so that all of the pieces are well coated in the spice mixture.
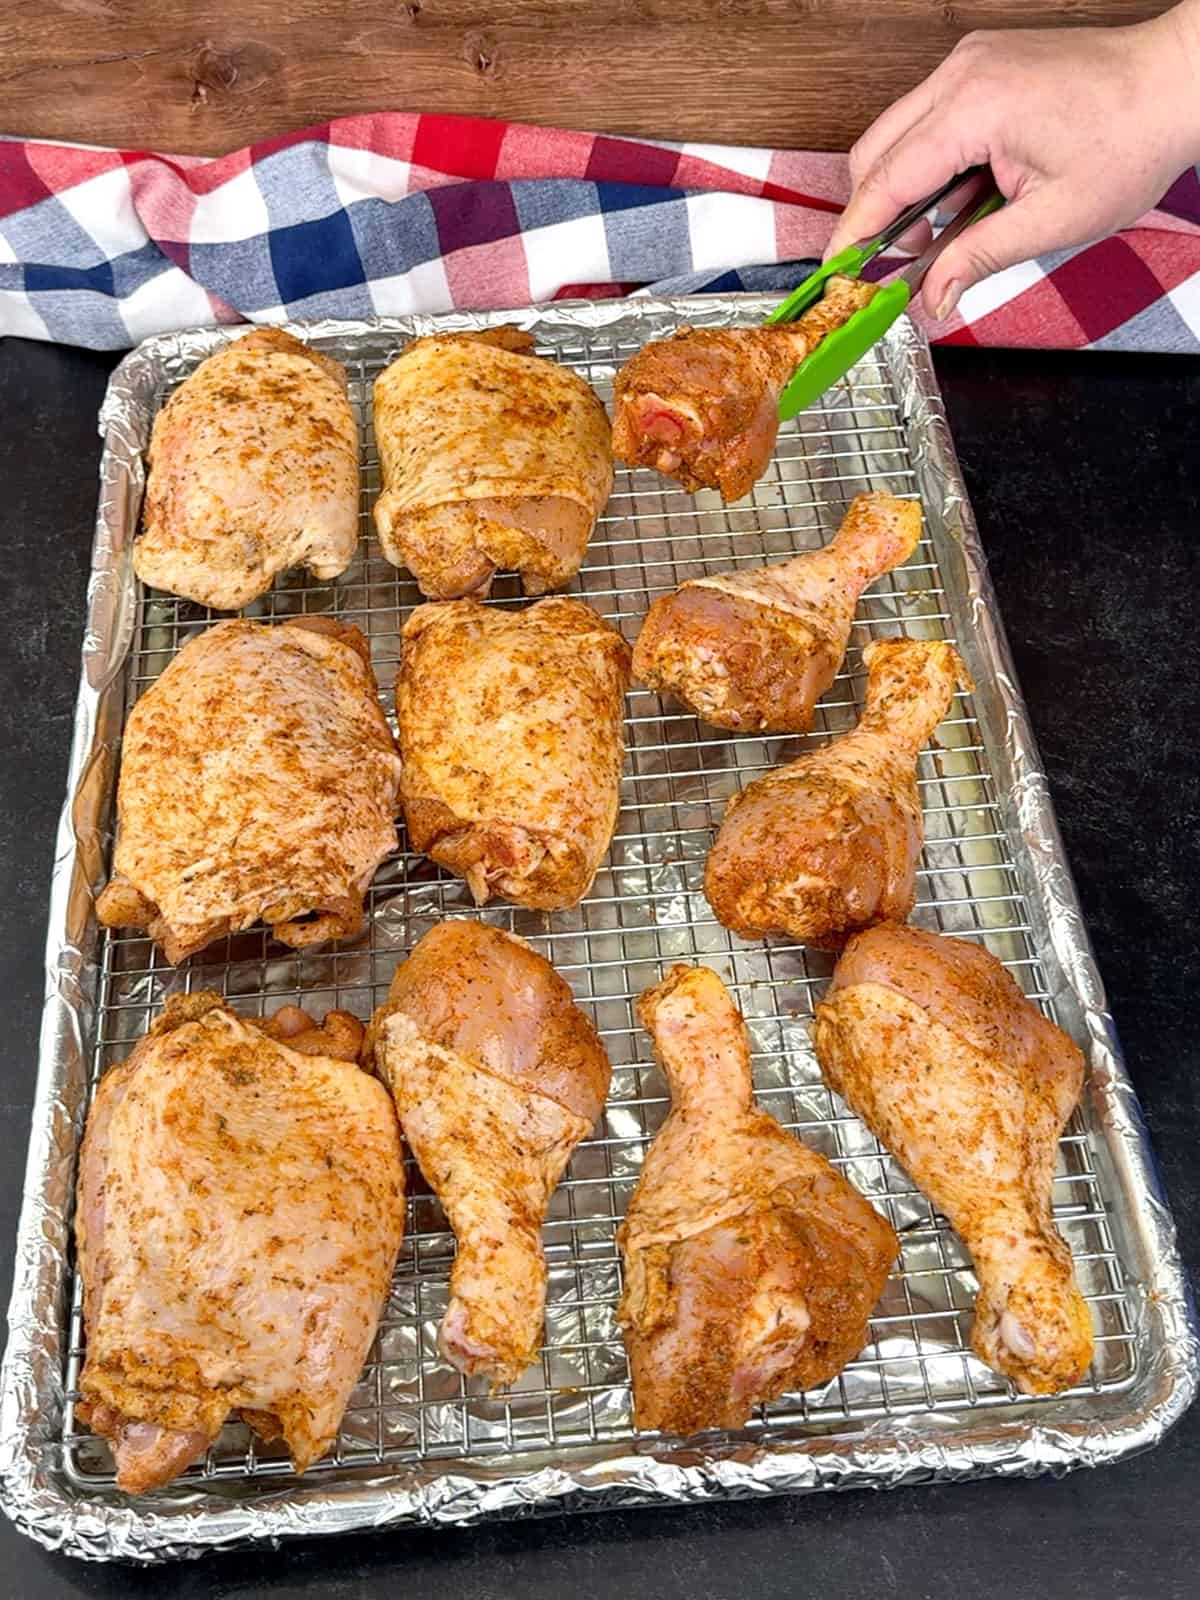
- Line a half sheet pan with extra-wide heavy-duty aluminum foil. Place a half sheet wire rack inside the pan and generously spray the rack with non-stick cooking spray. Then, use a pair of tongs to transfer the prepared chicken pieces to the wire rack. Allow the chicken to rest for 30 minutes before baking, this helps the flavors of the dry rub season the meat all the way to the bone.
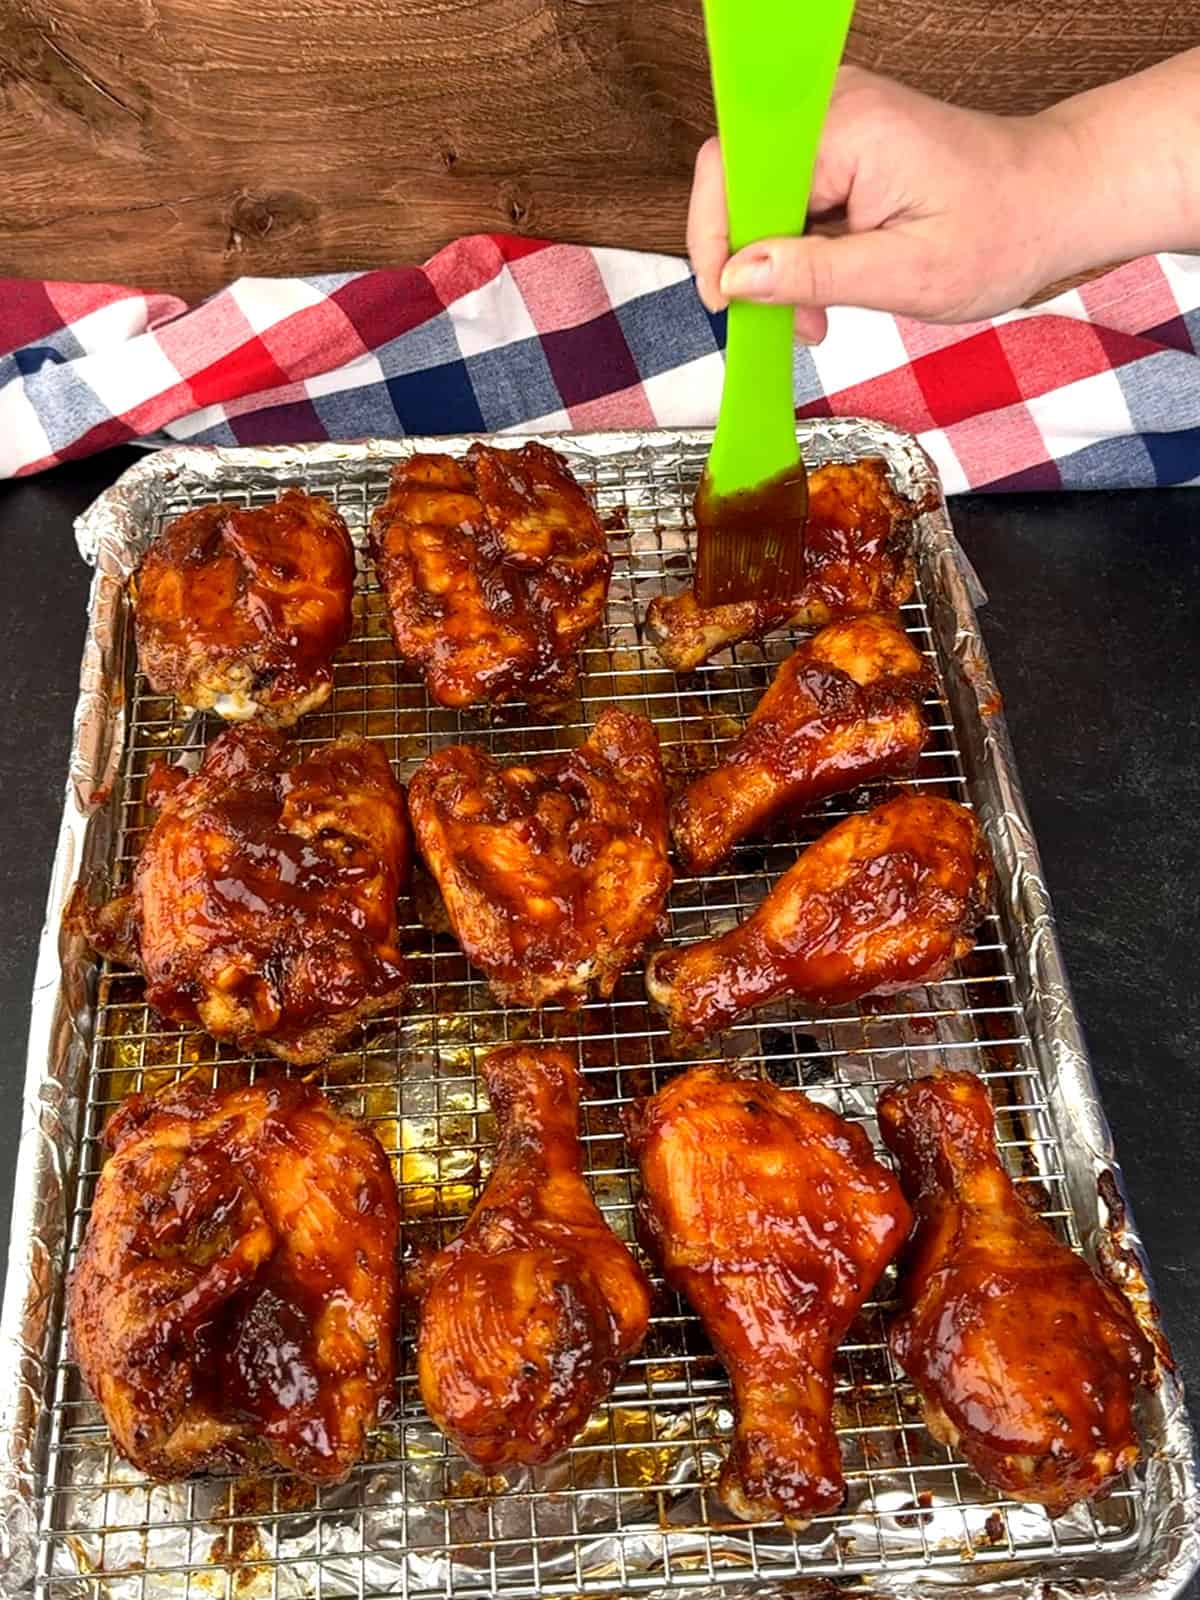
- Bake the chicken in a 400°F oven for 25 minutes. Remove the pan from the oven and increase the oven temperature to 425°F. Brush both sides of the chicken pieces with about half of the barbecue sauce, using tongs to turn the pieces. Make sure the skin side is facing down when you are finished. (It's ok if you have a little bit of sauce left, you can use it before broiling the chicken.) Once the oven temperature reaches 425°F, return the pan and bake for 10 minutes.
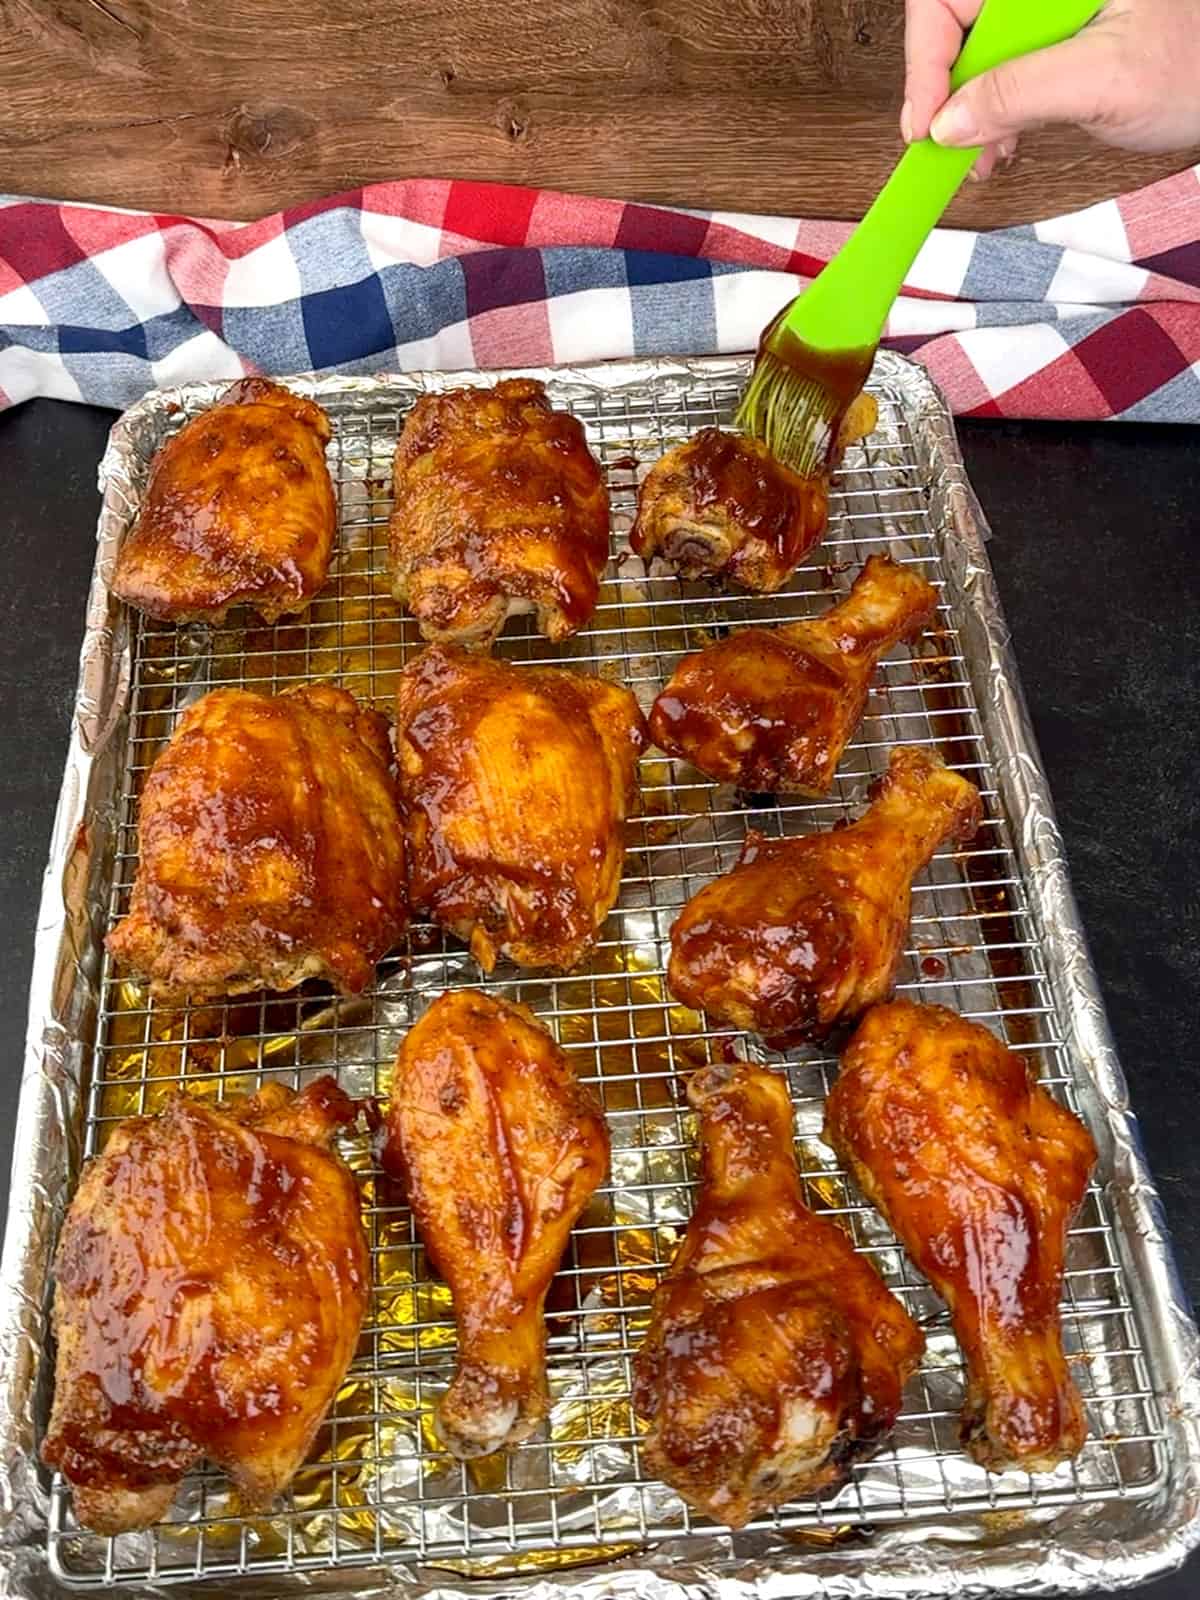
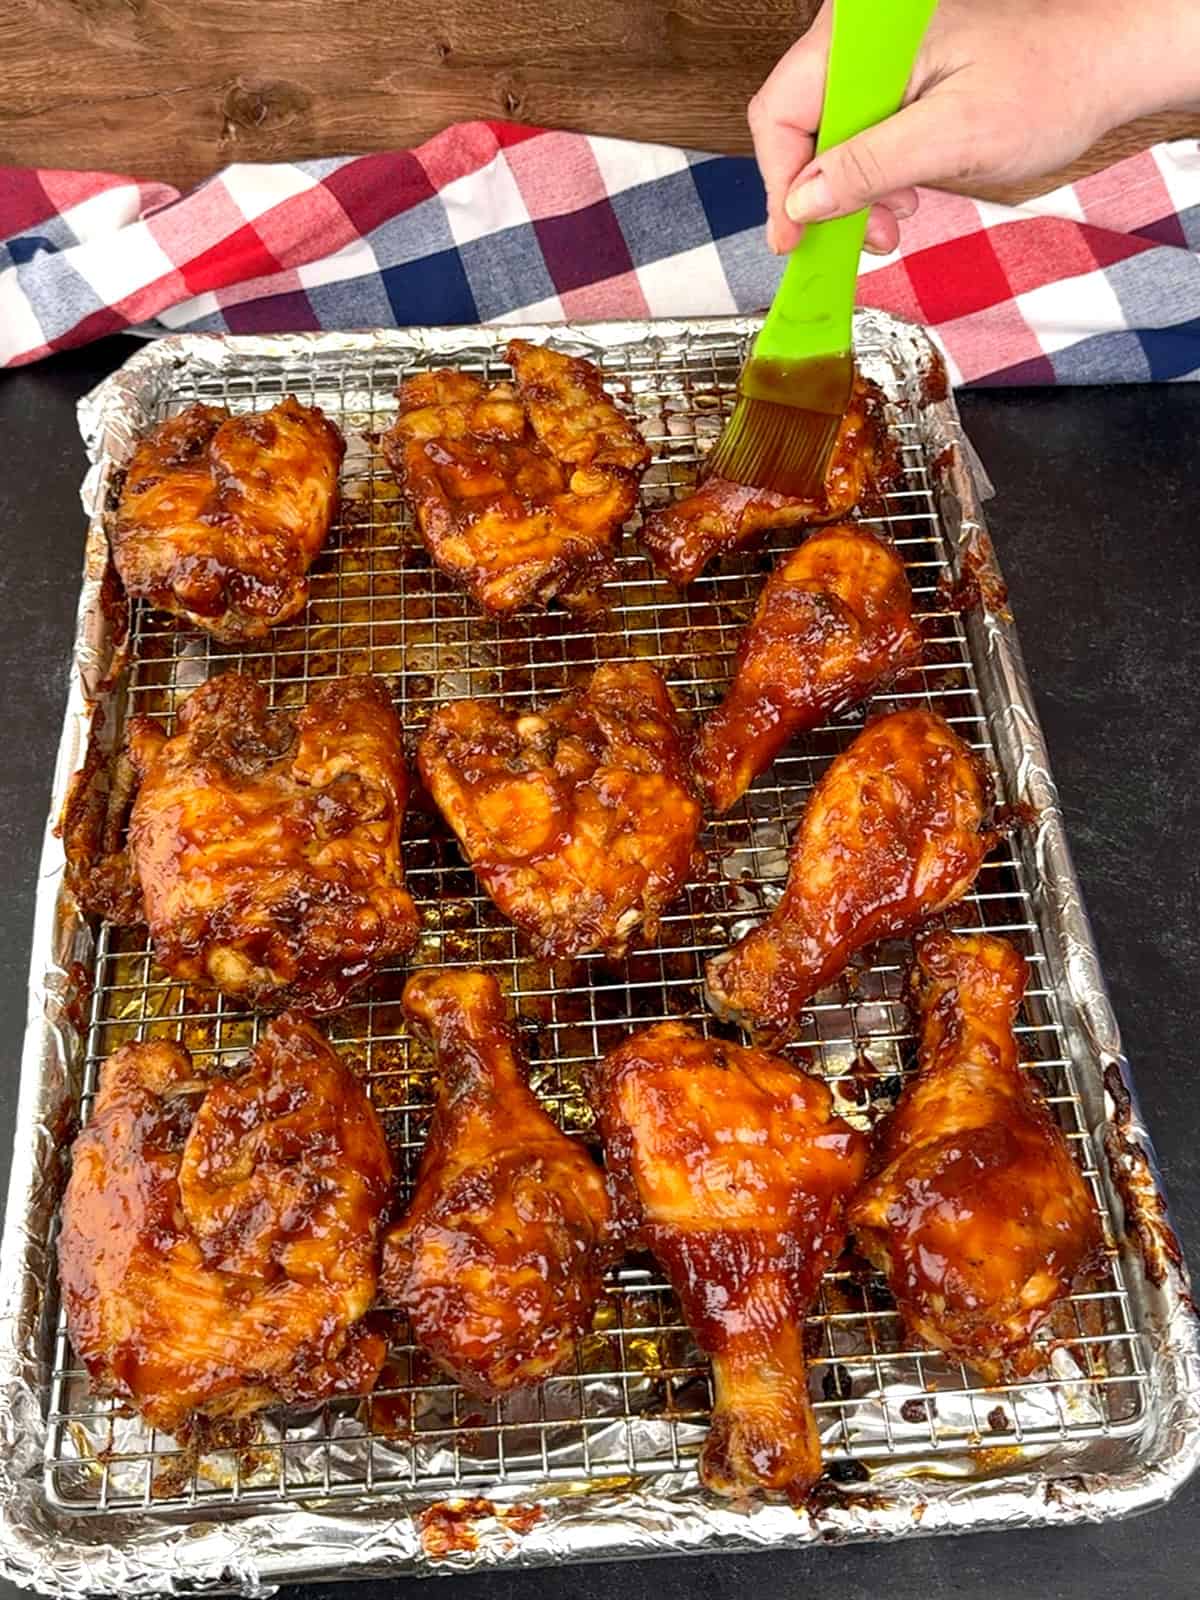
- After 10 minutes, remove the pan from the oven, and again, brush both sides with the remaining sauce, making sure the skin side is facing up when you are finished. Return the pan to the oven and bake for 10 more minutes, or until the internal temperature reaches 165°F.
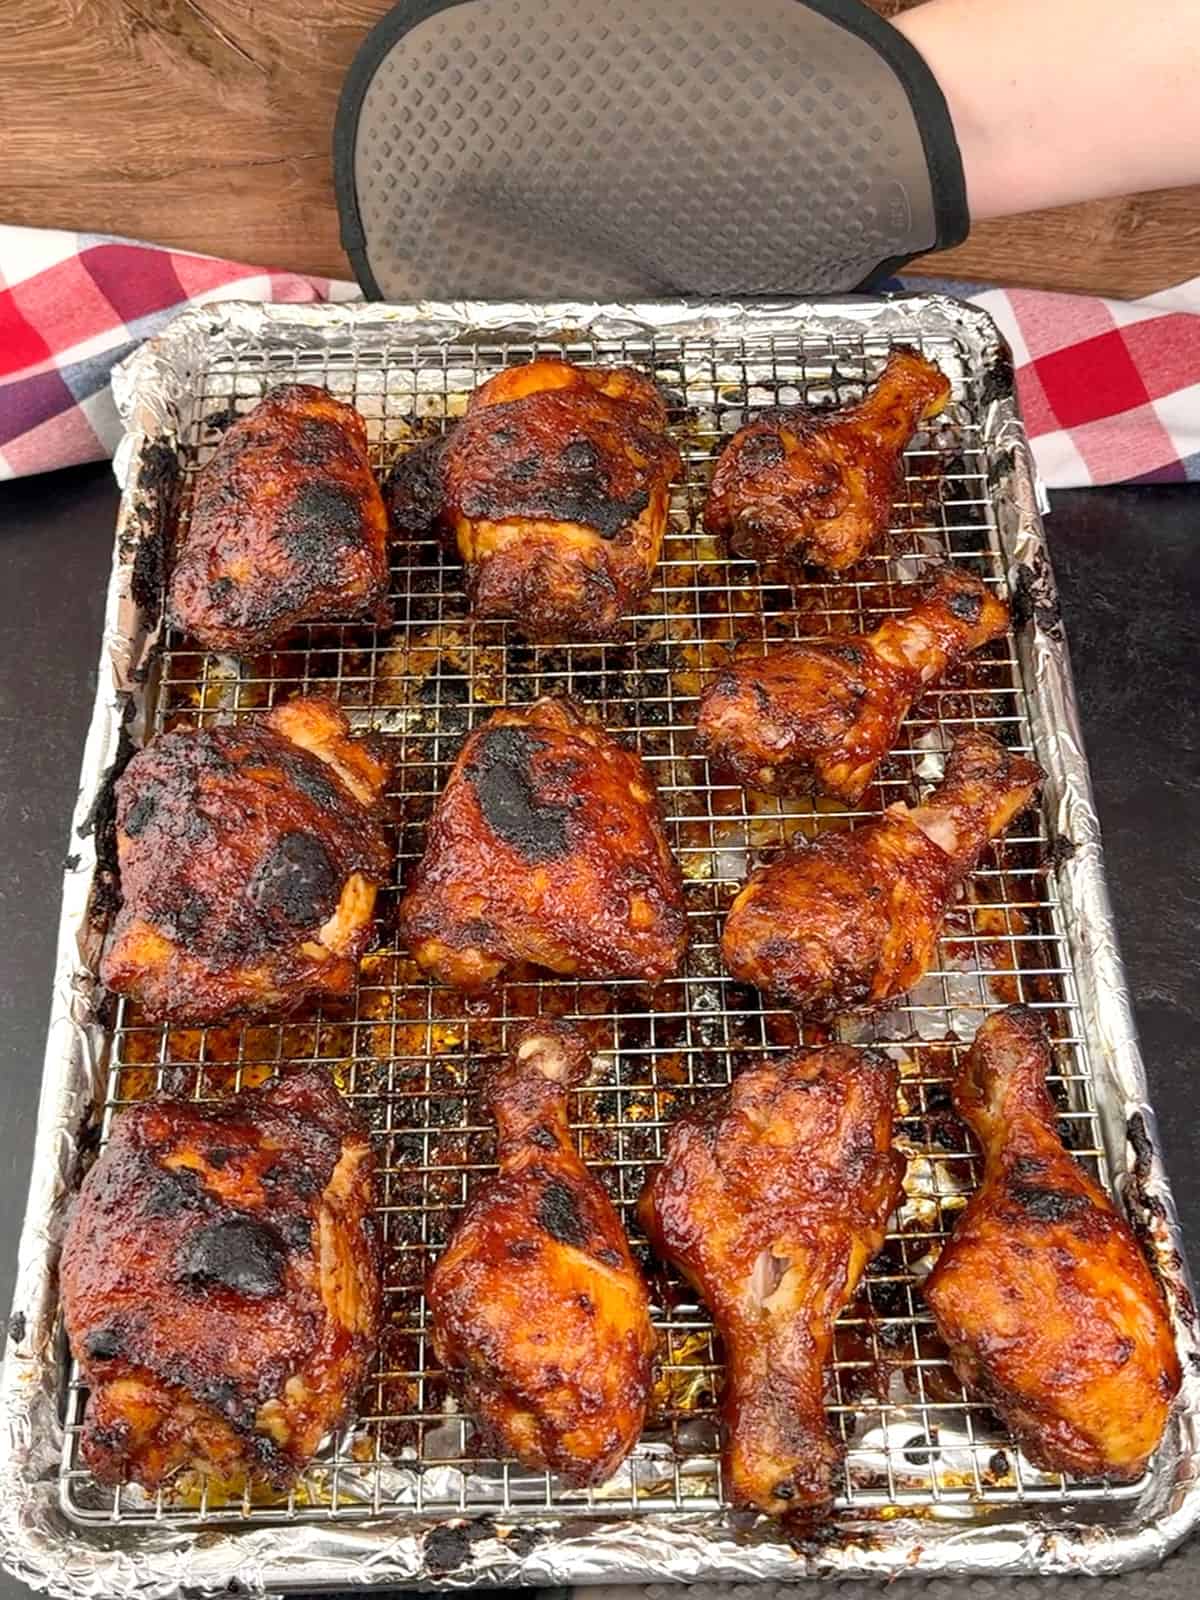
- Remove the pan from the oven and set the broiler to high. Turn the chicken pieces skin side down and brush with any remaining sauce. Broil the chicken for 3-5 minutes, make sure to keep an eye on it. The sauce can go from caramelized to burnt in a matter of seconds.
- Remove the pan from the oven and flip the pieces over with a pair of tongs, making sure the skin side is facing up this time. Brush any remaining sauce over the pieces. Return the pan to the oven and broil for 3-5 minutes, again make sure to keep an eye on it. (The first round of broiling will likely take longer than the second.) Allow the chicken to rest for 5-10 minutes before serving.
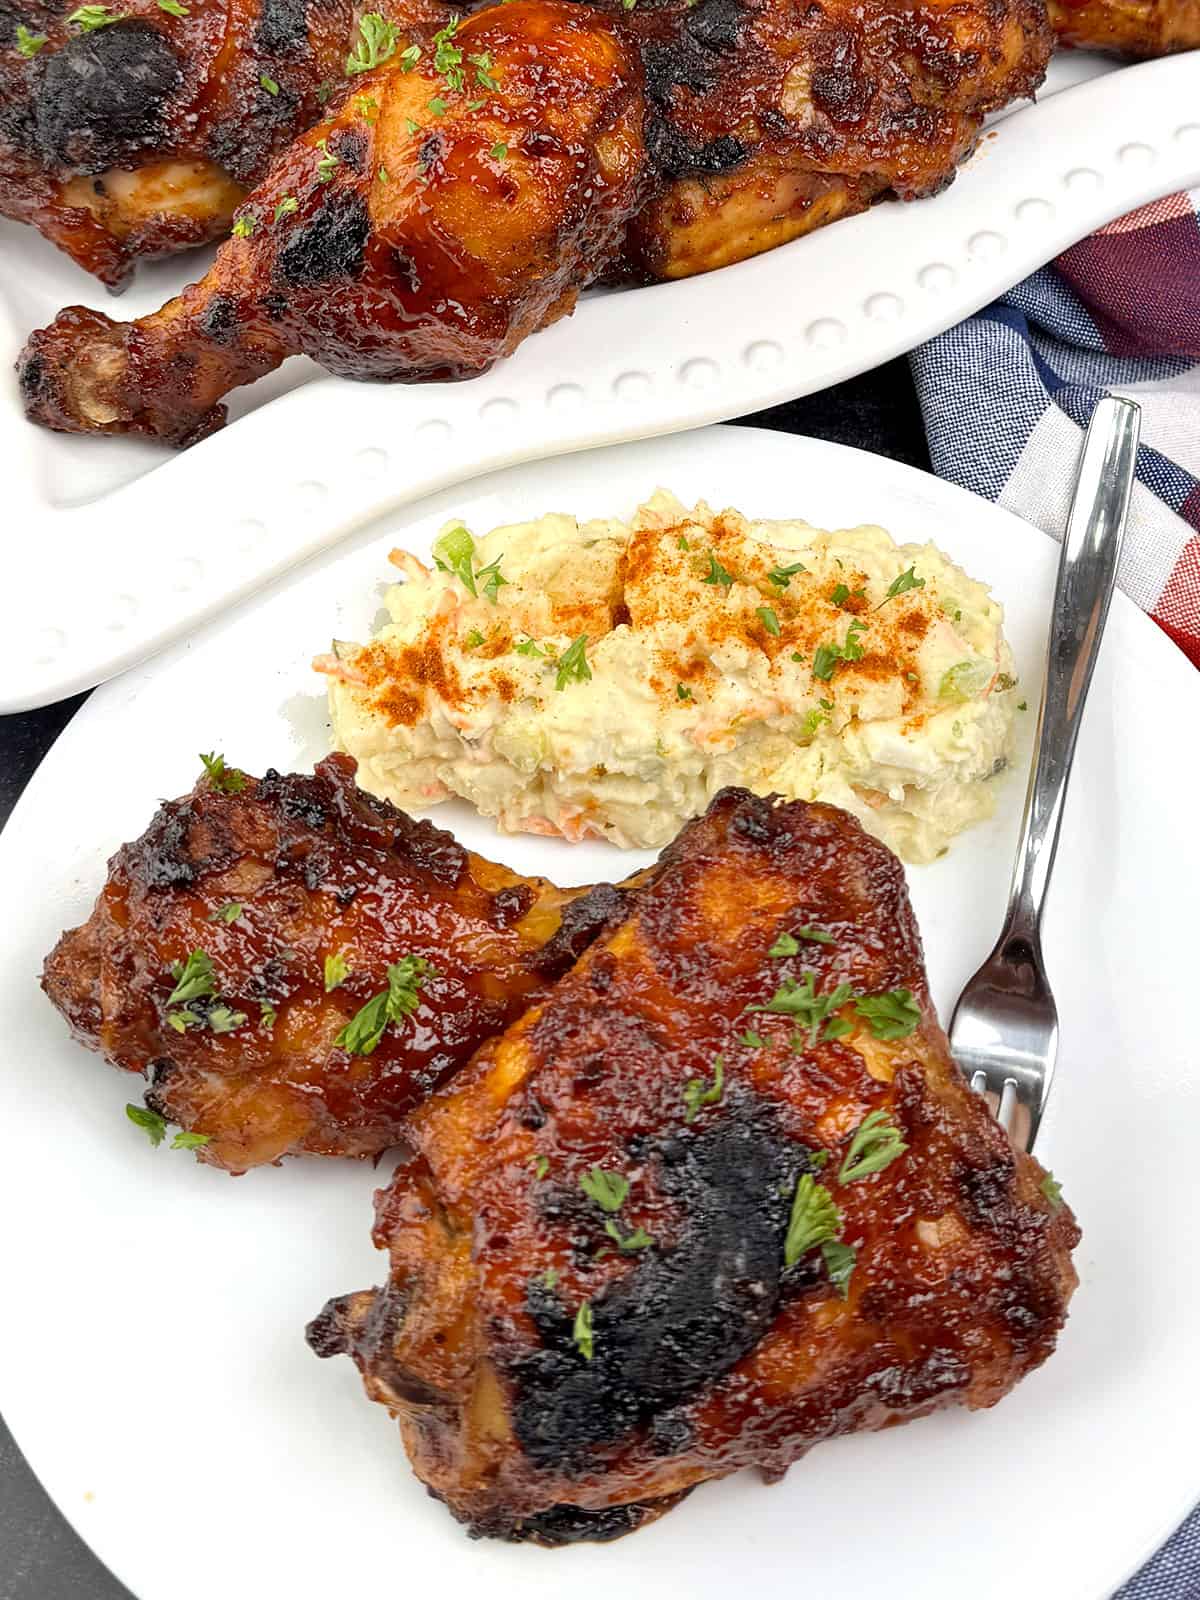
This Oven Baked BBQ Chicken is proof that you don't need a backyard grill to achieve spectacular, finger-licking results. By mastering the simple technique of layering the sauce and finishing under the broiler, you've unlocked the secret to professional-grade barbecue from the comfort of your kitchen. It's simple, delicious, and consistently satisfying-exactly what a home-cooked meal should be.
Frequently Asked Questions
For the best texture, pat the chicken completely dry with paper towels before seasoning. Tossing the chicken in a small amount of baking powder mixed with the dry rub to help break down the skin's proteins. And for a final finish, popping the pan under the broiler for a few minutes at the very end gives the chicken skin a crispy caramelized charred look.
Yes, you can partially prepare it in advance. Once you season the chicken with the dry rub you can keep it refrigerated for up to 24 hours in advance of baking. This actually helps the flavor penetrate deeper into the meat.
For the best results, bake the chicken uncovered. This allows the heat to circulate evenly, helping the skin crisp up and the sauce to caramelize.
Store leftovers in an airtight container in the refrigerator for up to 3-4 days. To maintain the best texture, reheat the leftovers in the oven at 350°F or in an air fryer until warmed through. Microwaving is faster but can make the skin rubbery and the sauce runny.
Recipe Tips and Tricks
- The "Dry-Rub-First" Method: For the deepest flavor, apply a dry rub to the chicken at least 30 minutes (or up to 24 hours) before baking. This seasons the meat all the way to the bone, whereas the sauce mainly flavors the surface.
- Use an Oven-Safe Wire Rack: If possible, place a wire cooling rack inside your rimmed baking sheet. Elevating the chicken allows hot air to circulate underneath, preventing the bottom of the meat from sitting in juices and getting soggy.
- The "Broiler Blast" Finish: For that authentic charred look, turn the broiler on high for the final few minutes of cooking. Watch it like a hawk, as the sugars in the sauce will go from bubbly to burnt very quickly.
- Let the Meat Rest: Once you pull the pan out of the oven, let the chicken sit for 5-10 minutes before serving. This allows the juices to redistribute, ensuring the first bite is as succulent as possible.
Other Great BBQ Recipes
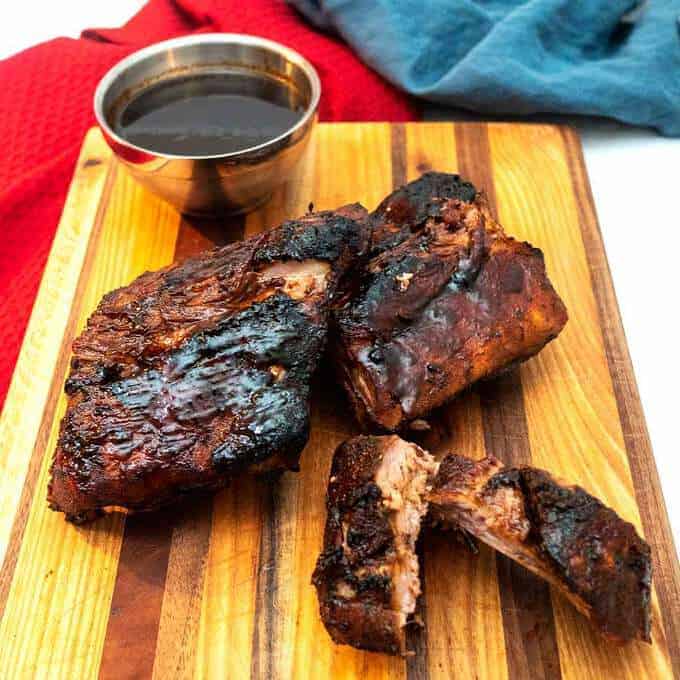
- Fall-Off-the-Bone Oven-Baked Ribs
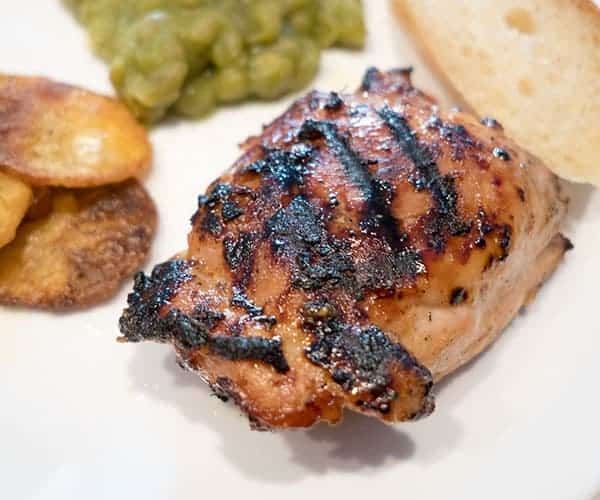
- Grilled Honey Mustard Chicken Thighs
- Sous Vide Baby Back Ribs with Balsamic Honey Barbecue Sauce
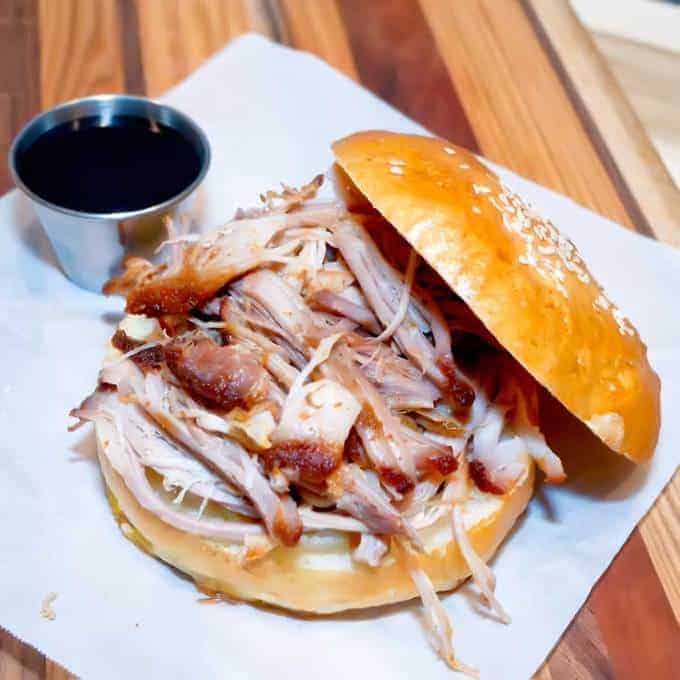
- Slow Roasted Pulled Pork
- Sous Vide Pulled Pork with Balsamic Sauce
- Grilled Baby Back Ribs with Bourbon Infused Grilling Sauce
- Easy Slow Cooker Barbecue Shredded Beef Sliders
- Grilled Herb Shrimp


Did you make this recipe? We'd love to know how it turned out! Leave a review below. Then, share a picture on Instagram and tag @pudgefactor so we can see it.
Don't forget to follow us on Pinterest, Facebook, YouTube, Flipboard, and Instagram.
Thank you so much for visiting PudgeFactor. We hope you'll come back!
Recipe
Want to Save This Recipe?
Enter your email & I'll send it to your inbox. Plus, enjoy weekly doses of culinary inspiration as a bonus!
By submitting this form, you consent to receive emails from Pudge Factor.
Oven Baked BBQ Chicken Legs & Thighs
Equipment
- 2 half sheet pans
- Paper Towels
- Small Bowl
- Small Whisk or fork
- Extra wide heavy-duty aluminum foil
- half-sheet wire rack
- non-stick cooking spray
- Large Bowl
- Vinyl Gloves
- Tongs
- Basting Brush
Ingredients
- 4 lbs Chicken Legs and Thigh Pieces1
- 3 TBS Olive Oil
- 1 teaspoon Baking Powder
- 1 teaspoon Garlic Powder
- 1 teaspoon Onion Powder
- 1 teaspoon Chili Powder
- 1 teaspoon Smoked Paprika
- 1 teaspoon Dried Thyme
- 1 teaspoon Dried Oregano
- 1 teaspoon Mustard Powder
- ½ teaspoon White Pepper
- ½ teaspoon Black Pepper
- 1 teaspoon Kosher Salt
- 1 ½ c BBQ Sauce
Instructions
- Preheat the oven to 400°F. Line a half-sheet pan with a triple layer of paper towels, then place the chicken pieces in a single layer. Then, cover the top of the chicken with another triple layer of paper towels. Gently press down on the chicken pieces to dry them as much as possible.
- In a small bowl combine baking powder, garlic powder, onion powder, chili powder, smoked paprika, dried thyme, dried oregano, mustard powder, white pepper, black pepper, and Kosher salt. Set aside until ready to use.
- Once the chicken is dry, place the pieces in a large bowl. Then, pour the olive oil over the chicken. Put on a pair of vinyl gloves and use your hands to toss the chicken until all the pieces are well coated in the oil.
- Sprinkle the mixed spices over the chicken and use your gloved hands to toss the chicken again, so that all of the pieces are well coated in the spice mixture.
- Line a half-sheet pan with extra-wide, heavy-duty aluminum foil. Place a half-sheet wire rack inside the pan and generously spray the rack with non-stick cooking spray. Then, use a pair of tongs to transfer the prepared chicken pieces to the wire rack. Allow the chicken to rest for 30 minutes before baking; this helps the flavors of the dry rub to season the meat all the way to the bone.
- Bake in a 400°F oven for 25 minutes. Remove the pan from the oven and increase the oven temperature to 425°F. Brush both sides of the chicken pieces with about half of the barbecue sauce, using tongs to turn the pieces. Make sure the skin side is facing down when you are finished. (It's ok if you have a little bit of sauce left, you can use it before broiling the chicken.) Once the oven temperature reaches 425°F, return the pan and bake for 10 minutes.
- After 10 minutes, remove the pan from the oven, and again, brush both sides with the remaining sauce, making sure the skin side is facing up when you are finished. Return the pan to the oven and bake for 10 more minutes, or until the internal temperature reaches 165°F.
- Remove the pan from the oven and set the broiler to high. Turn the chicken pieces skin side down and brush with any remaining sauce. Broil the chicken for 3-5 minutes, make sure to keep an eye on it. The sauce can go from caramelized to burnt in a matter of seconds.
- Remove the pan from the oven and flip the pieces over with a pair of tongs, making sure the skin side is facing up this time. Brush any remaining sauce over the pieces. Return the pan to the oven and broil for 3-5 minutes, again make sure to keep an eye on it. (The first round of broiling will likely take longer than the second.) Allow the chicken to rest for 5-10 minutes before serving.
- Yield 6 servings
Tips/Notes
- For this recipe I made five thighs and six legs.


Leave a Reply