
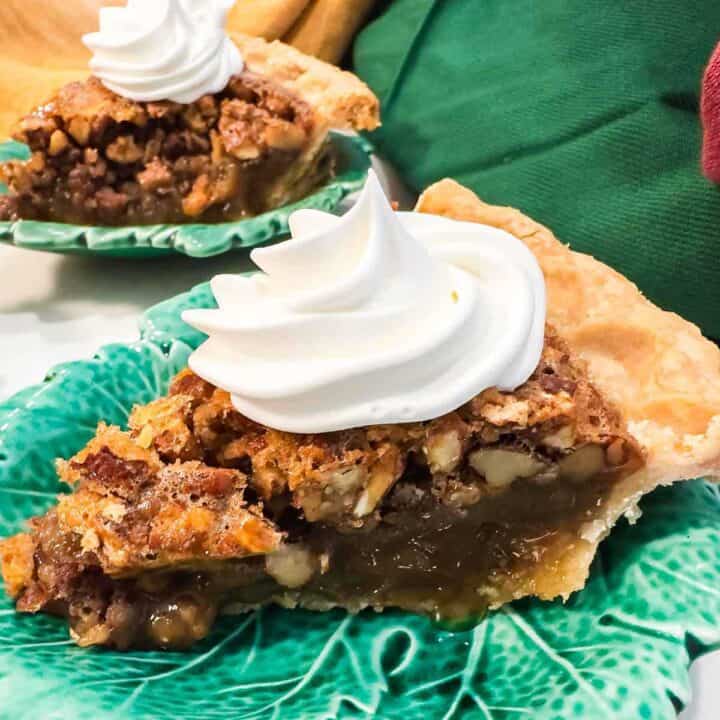
Say goodbye to runny, deflated disasters! Stabilized whipped cream is the holy grail of whipped creams. It's fluffy, light, and holds its shape for hours, making it perfect for piping, frosting, and topping all your favorite desserts. No more weeping cakes or soggy sundaes!

Regular whipped cream is made by whipping heavy cream with sugar until it's light and airy. But over time, the air bubbles in the cream can burst, causing it to deflate and weep liquid. Stabilized whipped cream is made with the same basic ingredients, but with the addition of a stabilizing agent. This agent helps to bind the air bubbles together, so your whipped cream stays nice and fluffy for much longer.
Jump to:
Why You'll Want To Make Stabilized Whipped Cream
- It holds its shape: No more worrying about your whipped cream deflating or weeping.
- It's perfect for piping: Stabilized whipped cream is stiff enough to pipe beautiful decorations and borders.
- It's more versatile: You can use it for frosting cakes, topping cupcakes, filling pastries, and even making ice cream.
- It lasts longer: Stabilized whipped cream will stay fresh in the refrigerator for up to 2 days, whereas regular whipped cream will start to weep after a few hours.
Ingredients - Here's What You'll Need for Stabilized Whipped Cream
- Heavy Whipping Cream: Boasts a higher fat content (around 36%) compared to regular cream, which allows it to trap air beautifully during whipping, resulting in a rich, voluminous froth that holds its shape like a champ. Just make sure the heavy cream is really cold before whipping.
- Powdered Sugar: Has much finer granules than granulated sugar. This means it dissolves into the cream more easily, preventing the formation of sugar crystals that can weigh down the whipped cream and make it dense. As a result, you get a lighter, airier, and fluffier whipped cream. It also contains cornstarch, which acts as a thickener and stabilizer. This helps to prevent the whipped cream from weeping or deflating.
- Vanilla Extract: Enhances the natural sweetness of the cream. It's complex flavor profile complements the sweetness of the cream without overpowering it. It adds a touch of floral, warm, and slightly woody notes that elevate the whipped cream from simple to sophisticated.
- Unflavored Gelatin: Acts as a stabilizer, trapping air bubbles within the cream and preventing them from escaping. This translates to sturdy, long-lasting whipped cream that holds its shape for hours, even under warm temperatures.
- Water: Water is needed to bloom the unflavored gelatin. This is the traditional method and involves sprinkling the gelatin powder over cold water (typically in a 1:5 ratio, gelatin to water) and letting it sit for 5-10 minutes. This allows the gelatin to hydrate, absorbing the water and becoming spongy.

Steps to Make Stabilized Whipped Cream
- Place a metal bowl and beaters for an electric hand mixer in the freezer for at least 30 minutes.

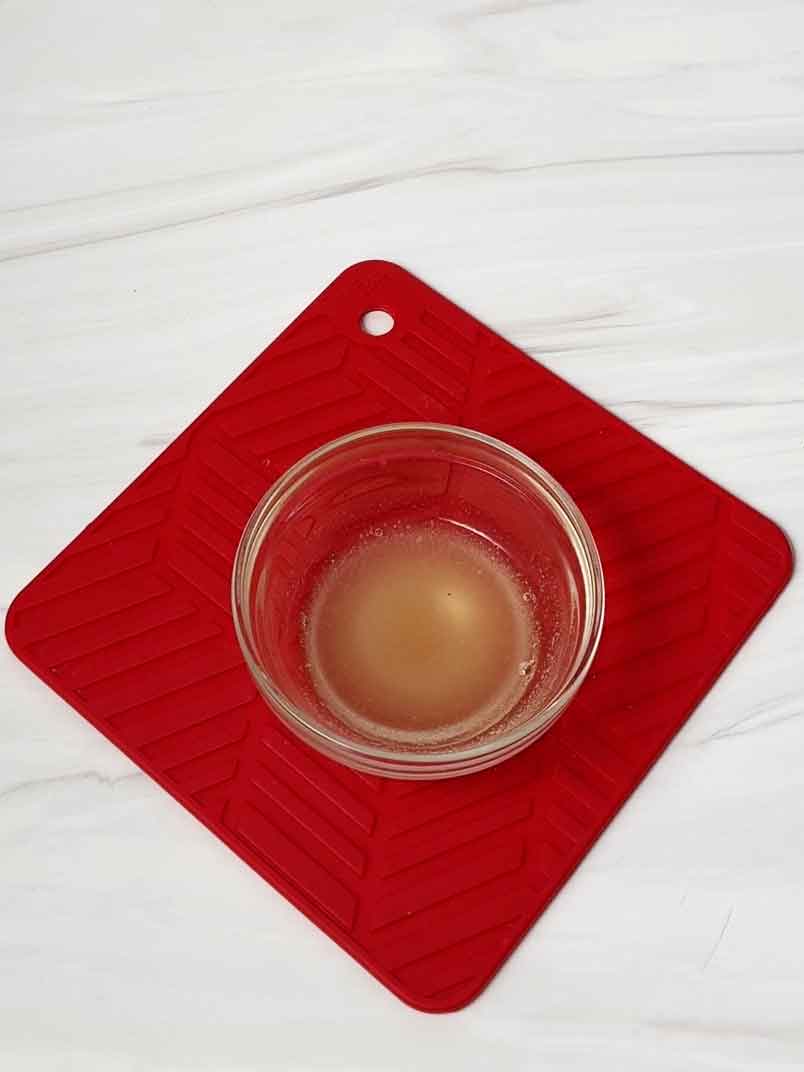
- To bloom the gelatin, place the cold water into a small microwave proof bowl.

- Then sprinkle the unflavored gelatin over the water.

- Let this sit for 5-10 minutes to allow the gelatin to bloom.
- After half an hour has passed, take the metal bowl and beaters out of the freezer. Then pour the cold heavy whipping cream into the bowl.

- Add the vanilla extract.

- Then add the powdered sugar.

- Using an electric hand mixer, beat the cream until soft peaks form.

- Place the bowl with the gelatin in the microwave for 5 seconds to liquify it. Then, while the mixer is running, slowly add the gelatin to the partially whipped cream.
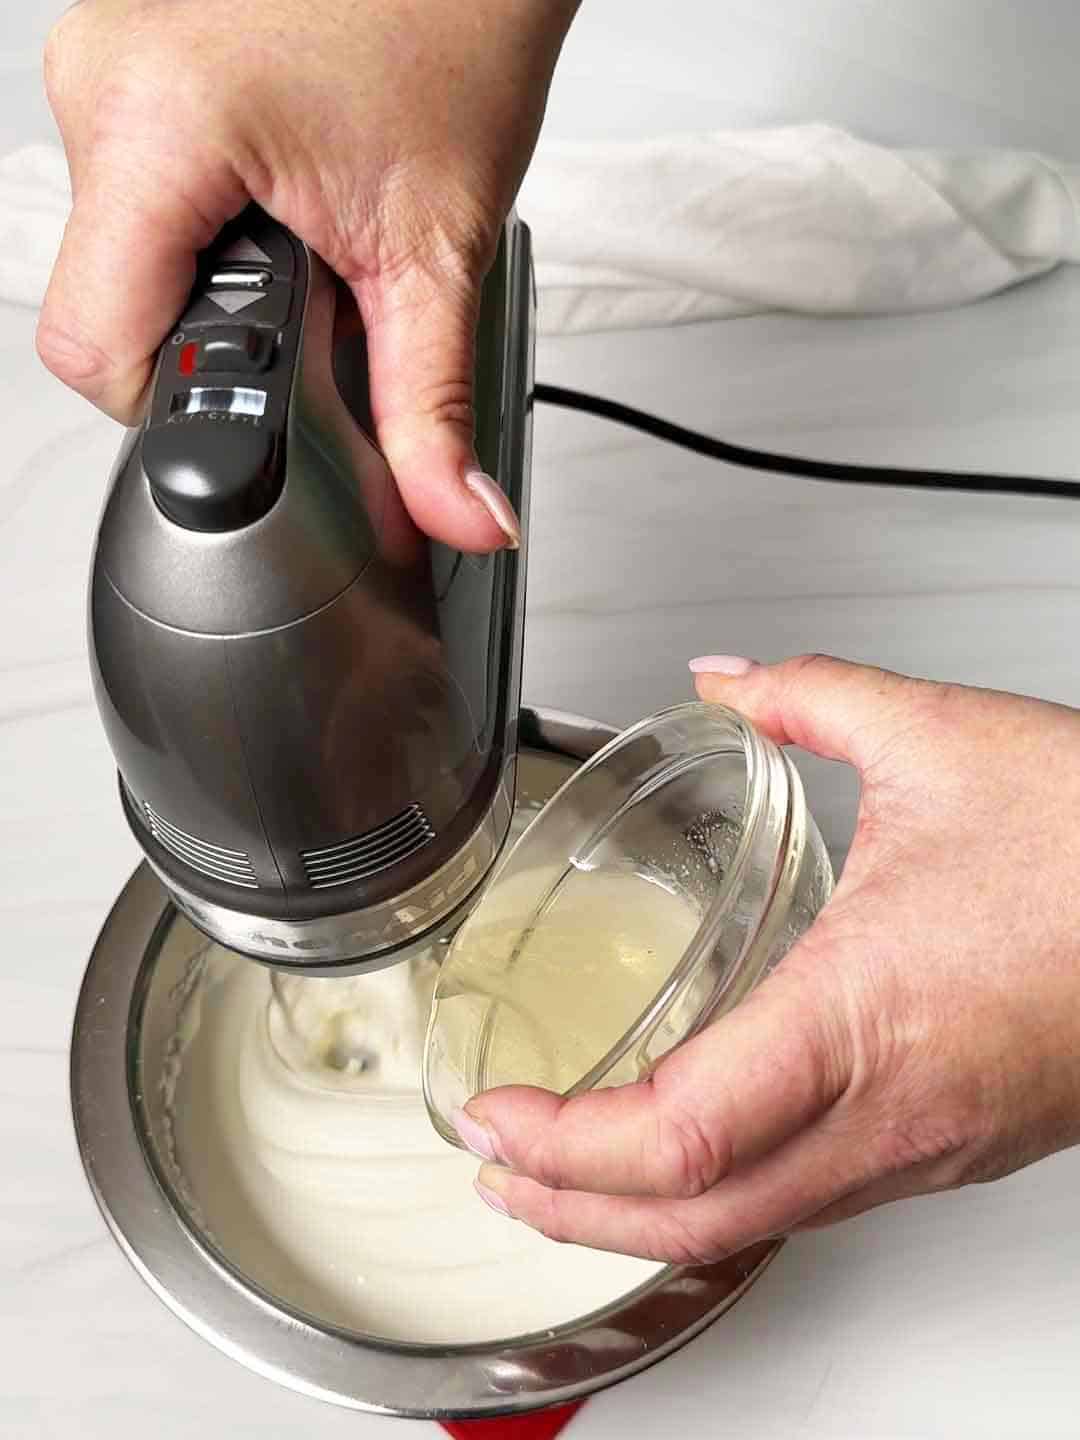
- Continue whipping the cream until stiff peaks are formed.

Remember, a little goes a long way, so follow the recipe carefully to avoid a stiff, rubbery texture. With a bit of practice and a trusty batch of stabilized whipped cream in your fridge, you'll be a dessert-making rockstar in no time.

From decadent frostings to show-stopping decorations, the possibilities with stabilized whipped cream are as endless as your imagination. So go forth, whip up some fluffy magic, and let your culinary creativity soar!
Frequently Asked Questions
Store it in an airtight container in the fridge for up to 2 days. Be aware that the texture may soften slightly over time.
Yes, you can use cornstarch or cream of tartar as alternatives. However, gelatin tends to offer the most effective and long-lasting stabilization.
Yes, you can freeze it for up to 2 months. Thaw it overnight in the fridge before using.
Yes, it can be a great option for cakes that need to stand for a while or be transported. However, its lighter texture may not be ideal for cakes that require a sturdier frosting.
Recipe Tips and Tricks
- More versatile: Use it for frostings, mousses, parfaits, and even ice cream bases. Its sturdiness makes it a true culinary workhorse.
- Cold is key: Chill your heavy cream, bowl, and beaters for at least 30 minutes before whipping. Cold air traps better, resulting in more volume and stability.
- The right vessel: A deep bowl will prevent splashing and allow for easier maneuvering of your whisk or mixer.
- Slow and steady wins the race: Start whipping on low speed, gradually increasing to medium once the cream thickens. Over-whipping can lead to a grainy, stiff texture.
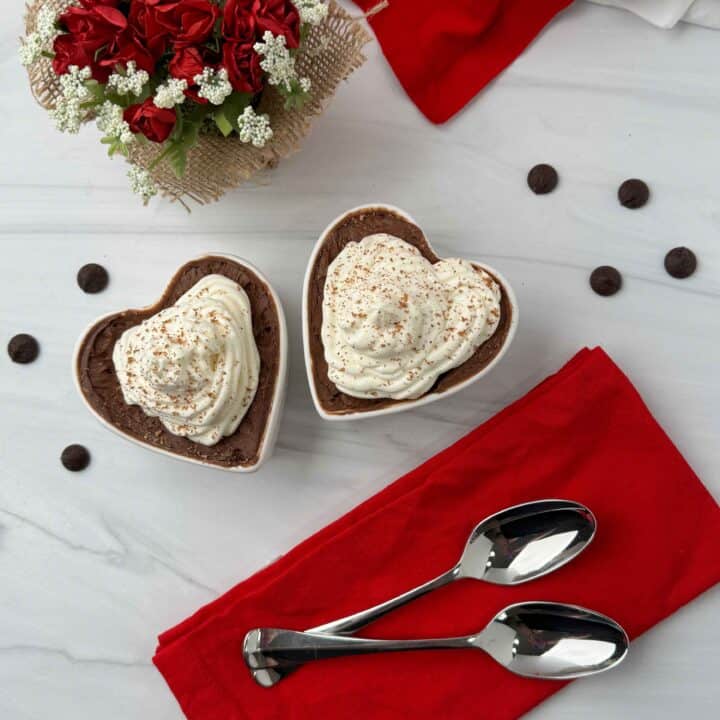
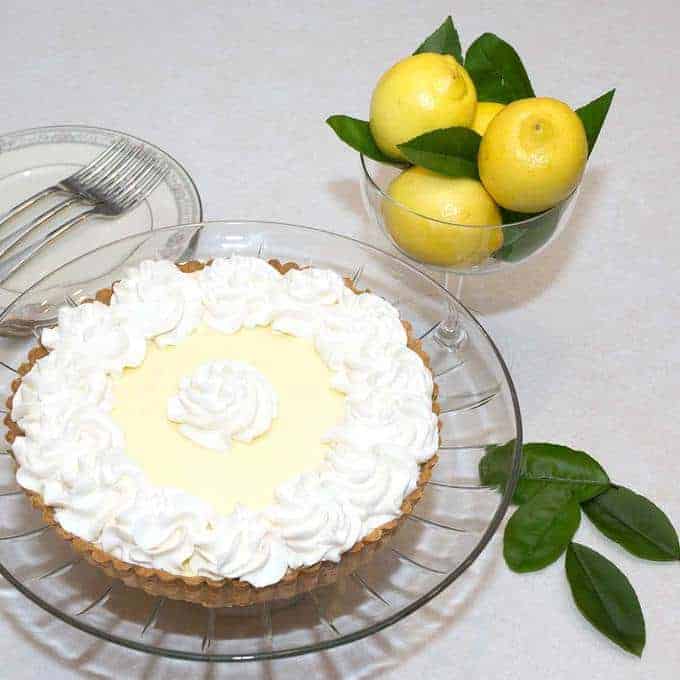
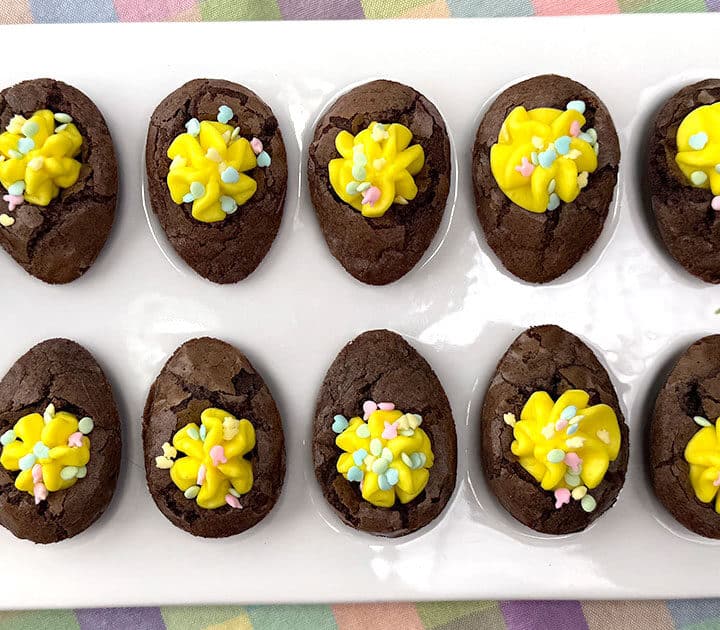
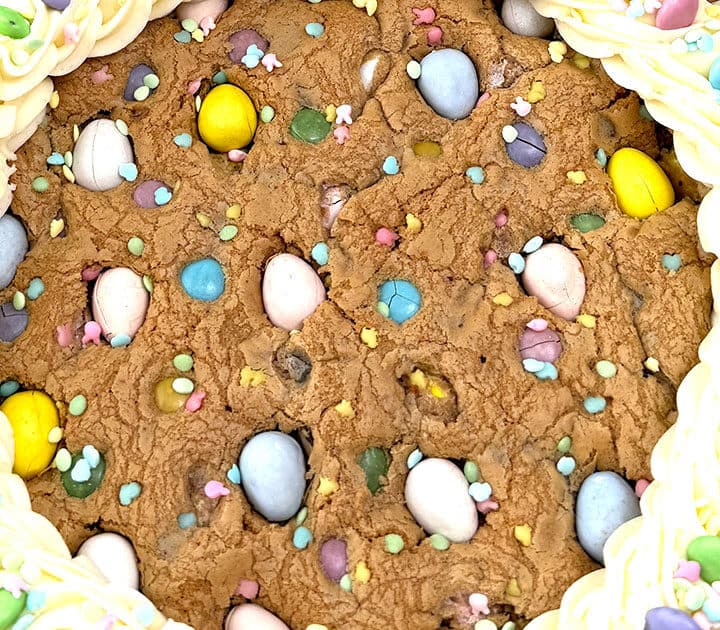
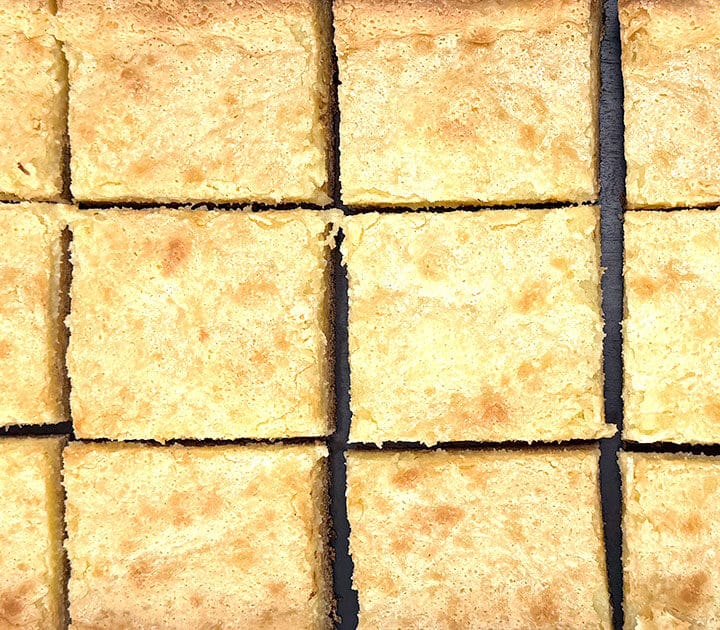
Desserts to use Stabilized Whipped Cream

I hope you liked this recipe for Stabilized Whipped Cream as much as I do. If so, please consider rating it and leaving a comment. Also, if you'd like to receive notifications of new posts by email, enter your email address in the Subscribe box.
Thank you so much for visiting Pudge Factor. I hope you'll come back!
Recipe
Want to Save This Recipe?
Enter your email & I'll send it to your inbox. Plus, enjoy weekly doses of culinary inspiration as a bonus!
By submitting this form, you consent to receive emails from Pudge Factor.

Stabilized Whipped Cream
Equipment
- metal bowl
- Electric hand mixer
- small microwave proof bowl
Ingredients
- 1 teaspoon unflavored gelatin
- 4 teaspoon water, cold
- 1 c heavy whipping cream
- ¼ c powdered sugar
- 1 teaspoon vanilla extract
Instructions
- Place a metal bowl and beaters for an electric hand mixer in the freezer for at least 30 minutes.
- To bloom the gelatin, place the cold water into a small microwave proof bowl.
- Sprinkle the unflavored gelatin over the water.
- Then let it sit for 5-10 minutes to allow it to bloom.
- After half an hour has passed, take the metal bowl and beaters out of the freezer. Then pour the cold heavy whipping cream into the bowl.
- Add the vanilla extract and the powdered sugar.
- Using an electric hand mixer, beat the cream until soft peaks form.
- Place the bowl with the gelatin in the microwave for 5 seconds to liquify it. Then, while the mixer is running, slowly add it to the partially whipped cream.
- Continue whipping the cream until stiff peaks are formed.
- Yield: 12 servings.
Leave a Reply