

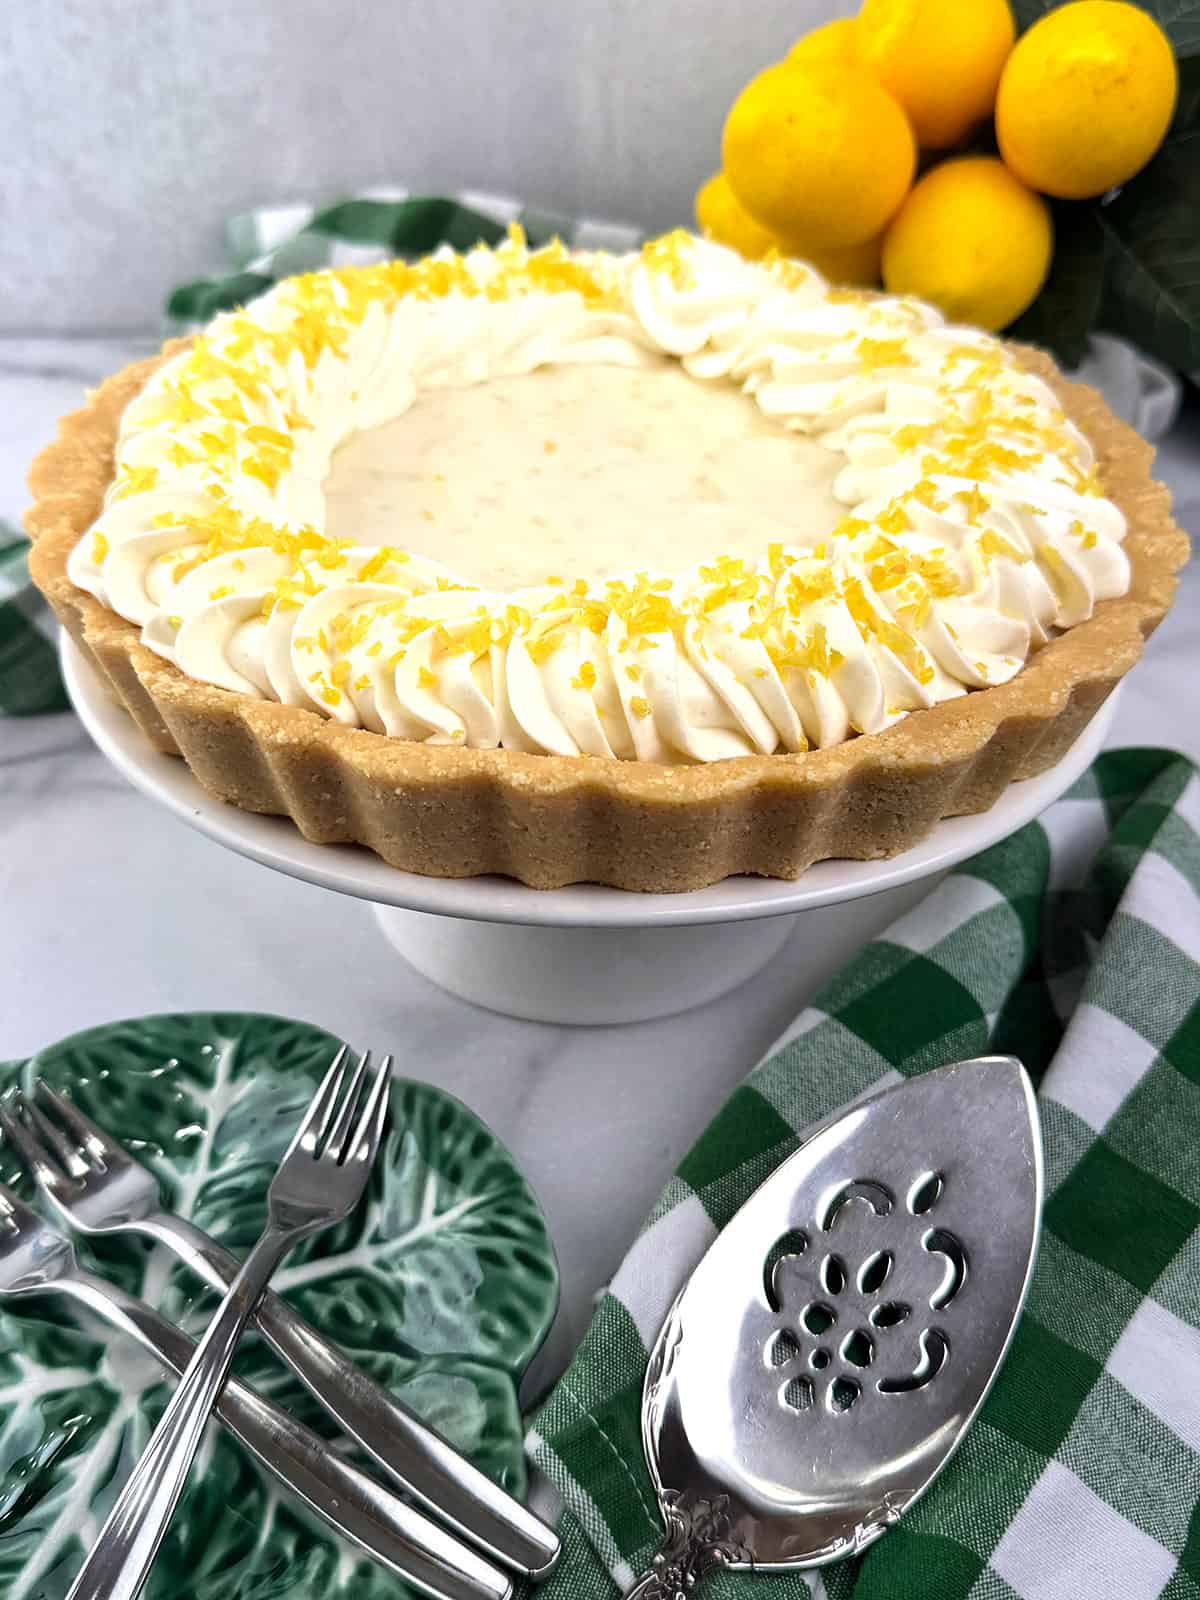
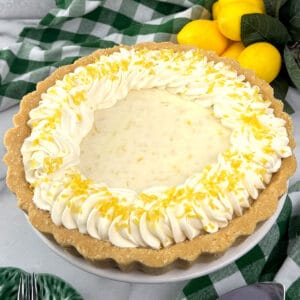
This Easy No-Bake Creamy Lemon Tart combines a buttery shortbread cookie crust with a smooth, sweet, and tangy four-ingredient lemon filling. Topped with a cloud of homemade stabilized whipped cream, this refreshing, stress-free dessert holds its fluffy shape for days without weeping. It's the ultimate make-ahead summer treat when you want maximum lemon flavor with zero time spent near the oven.
Jump to:
Why You'll Want to Make Easy No-Bake Creamy Lemon Tart
- Zero Oven Time: You don't have to turn on the oven, making it ideal for hot summer days or when oven space is limited.
- Quick & Simple Assembly: Made with simple ingredients, the hands-on prep takes just minutes to pull together.
- Perfect Make-Ahead Dessert: It sets beautifully in the fridge, so you can prep it a day or two in advance for stress-free hosting.
- Foolproof for Any Skill Level: No tricky custard baking or water baths required, taking the intimidation factor out of making a tart.
Ingredients - Here's What You'll Need

Steps to Make Easy No-Bake Creamy Lemon Tart
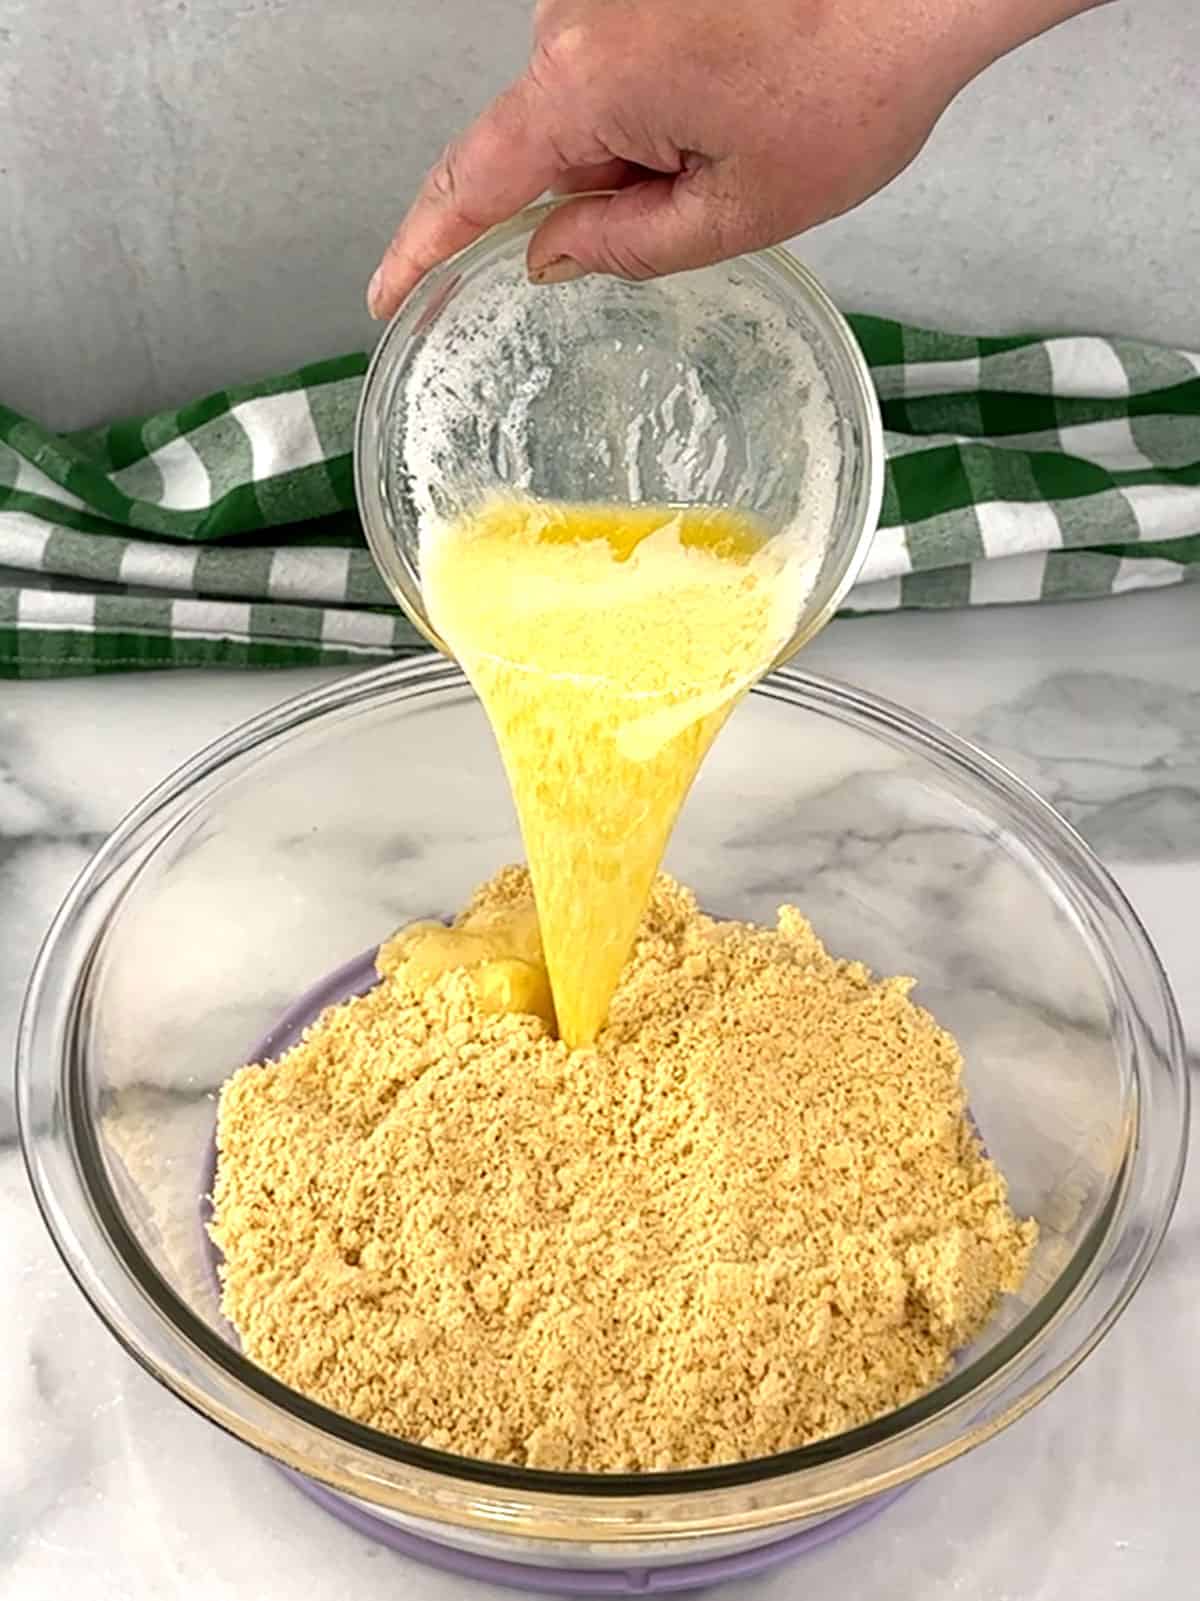
- In a food processor, pulse vanilla shortbread until finely ground, stopping to scrape down sides of bowl as needed, about 15 pulses. Transfer the crumbs to a large bowl. In a small microwave-safe bowl, microwave the butter on high, stirring occasionally, until melted, about 1 minute. Add the melted butter and stir with a fork until the mixture resembles wet sand.
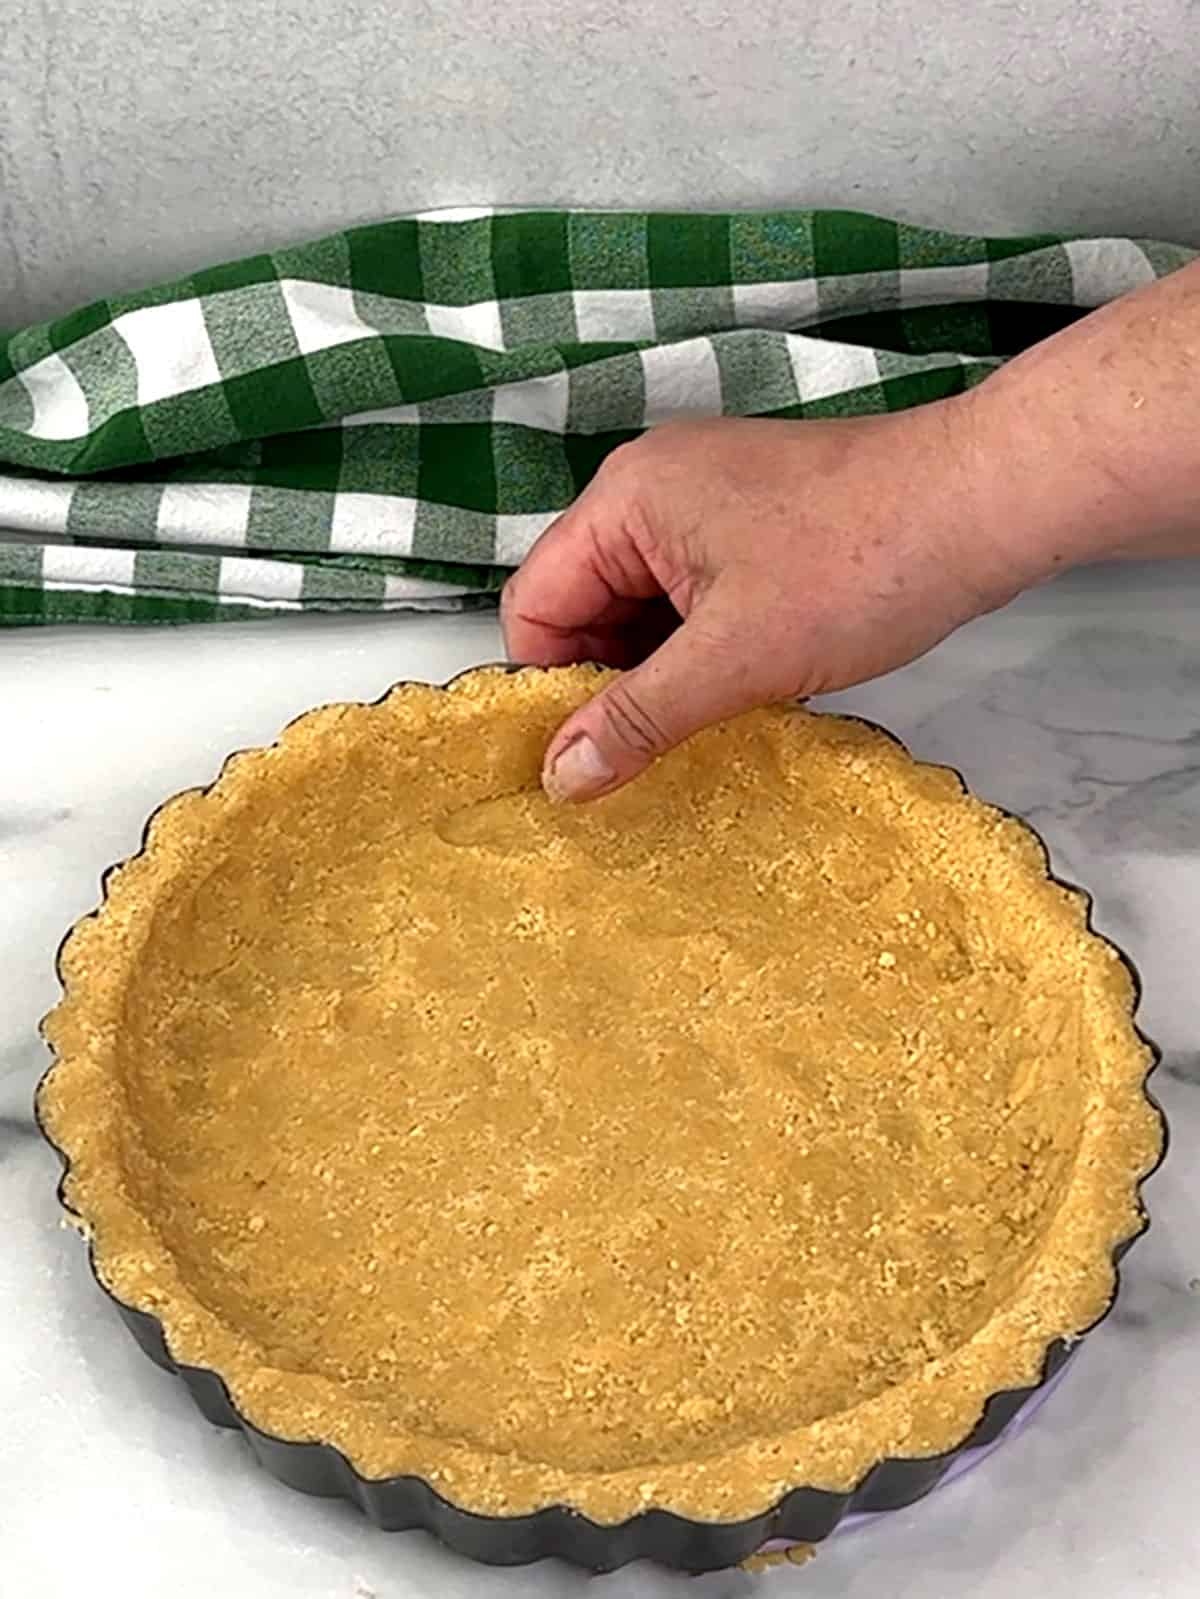
- Pour the crumbs into a non-stick 9-inch tart pan with a removable bottom. Press the crumbs into the bottom and up the sides. Freeze for at least 15 minutes.
- While the crust chills, finely grate the lemon zest on a microplane to yield 4 teaspoons. Then, juice the lemons and measure ½ cup of juice. In a medium nonreactive bowl (glass, ceramic, or melamine), add the sweetened condensed milk, lemon juice, and 3 teaspoons of zest.
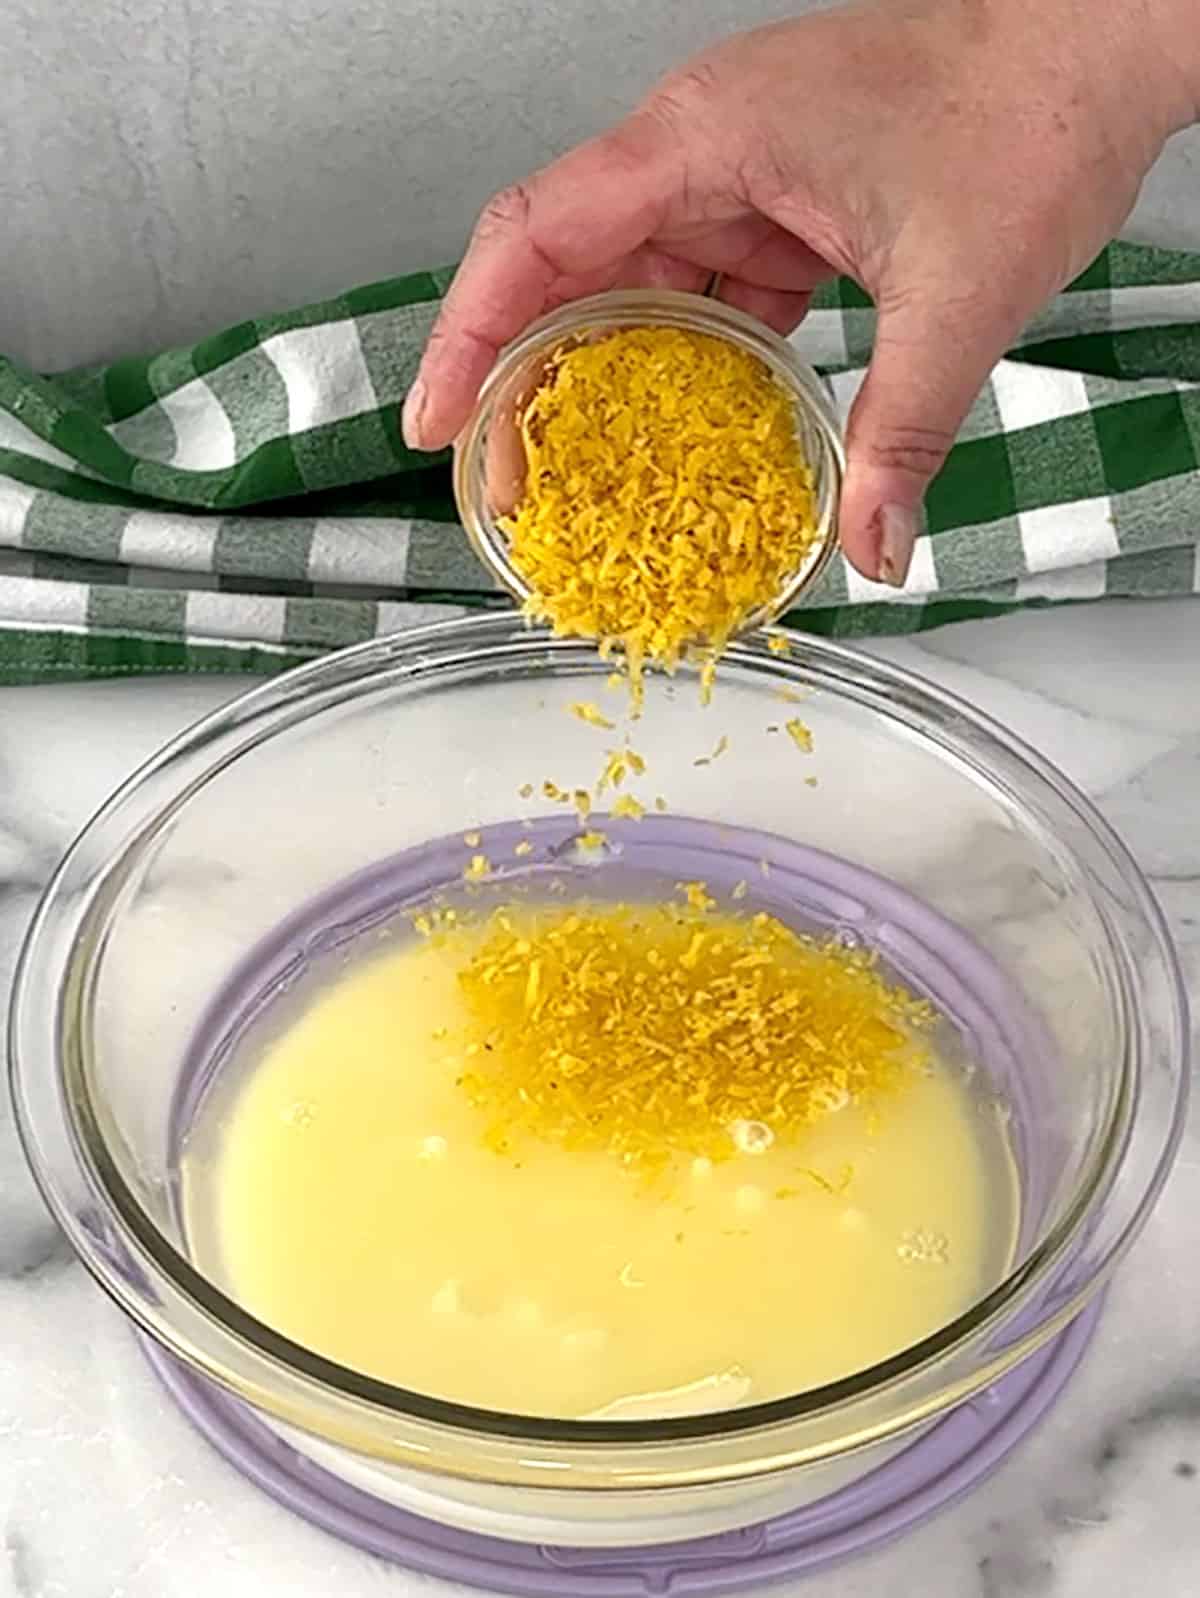
- Whisk the filling until smooth and starting to thicken, about 1 minute.
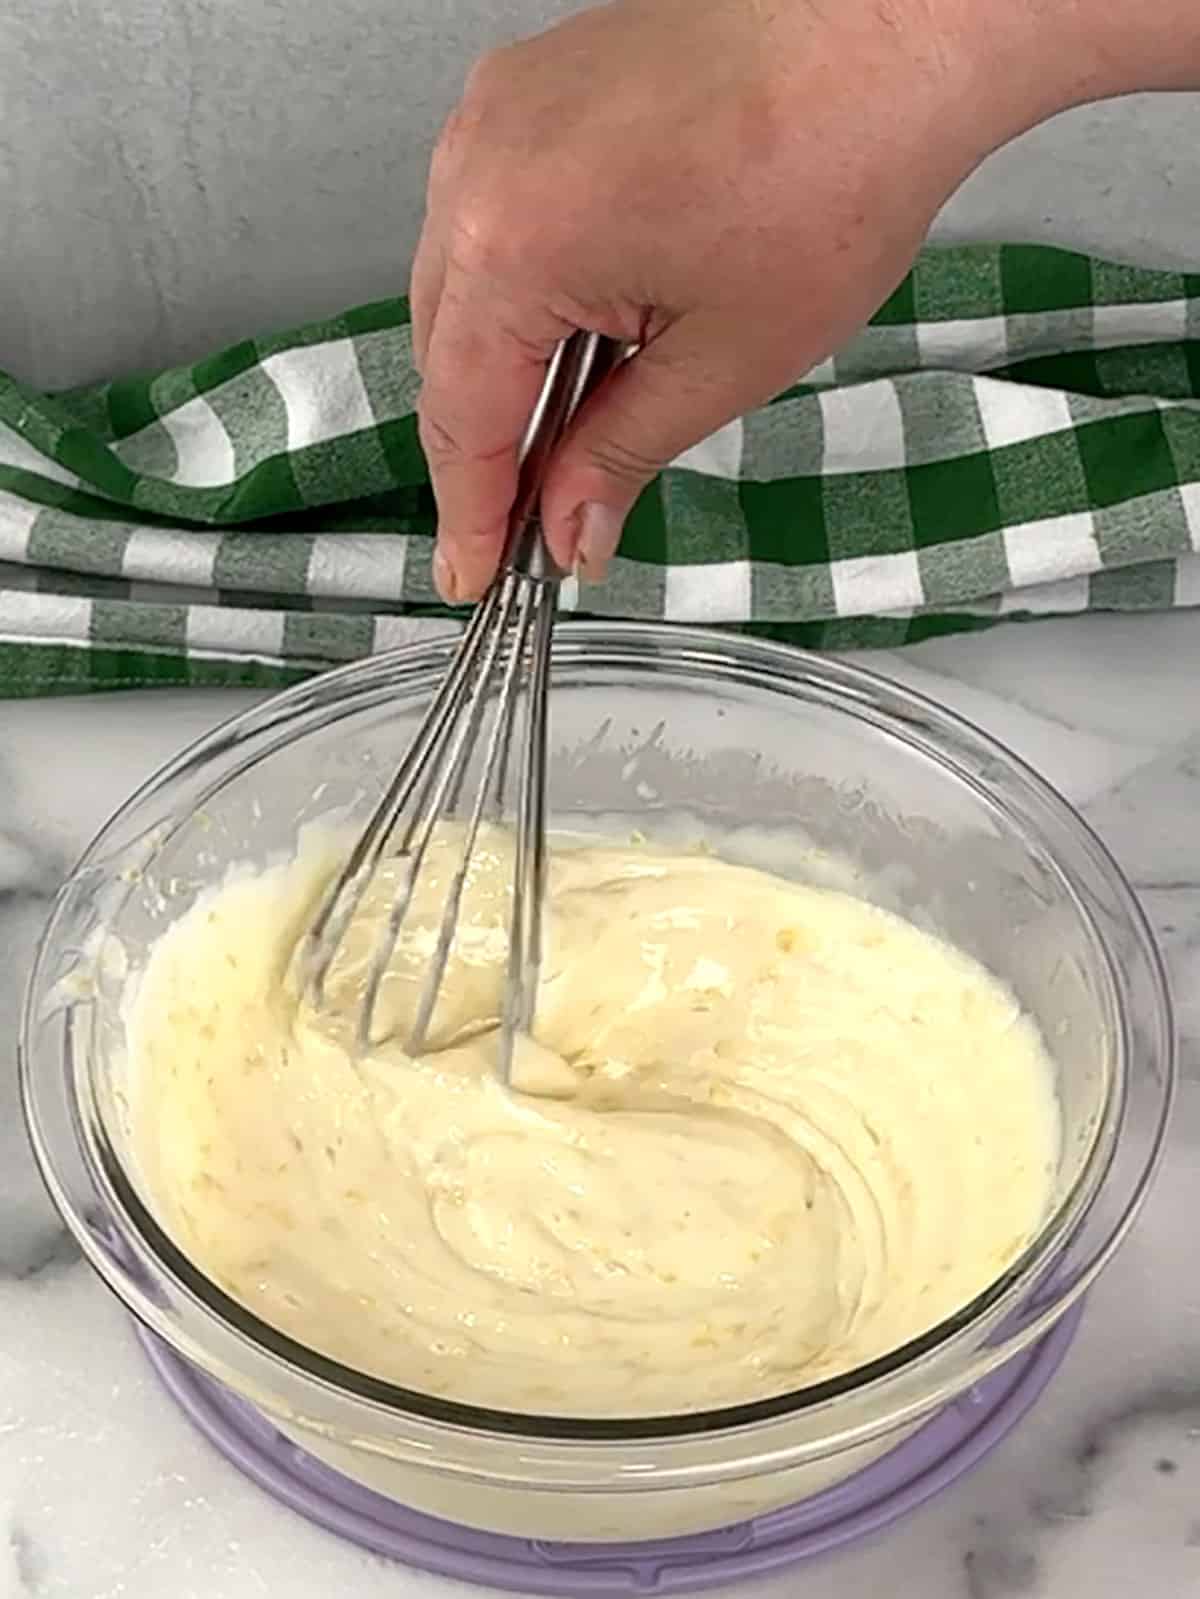
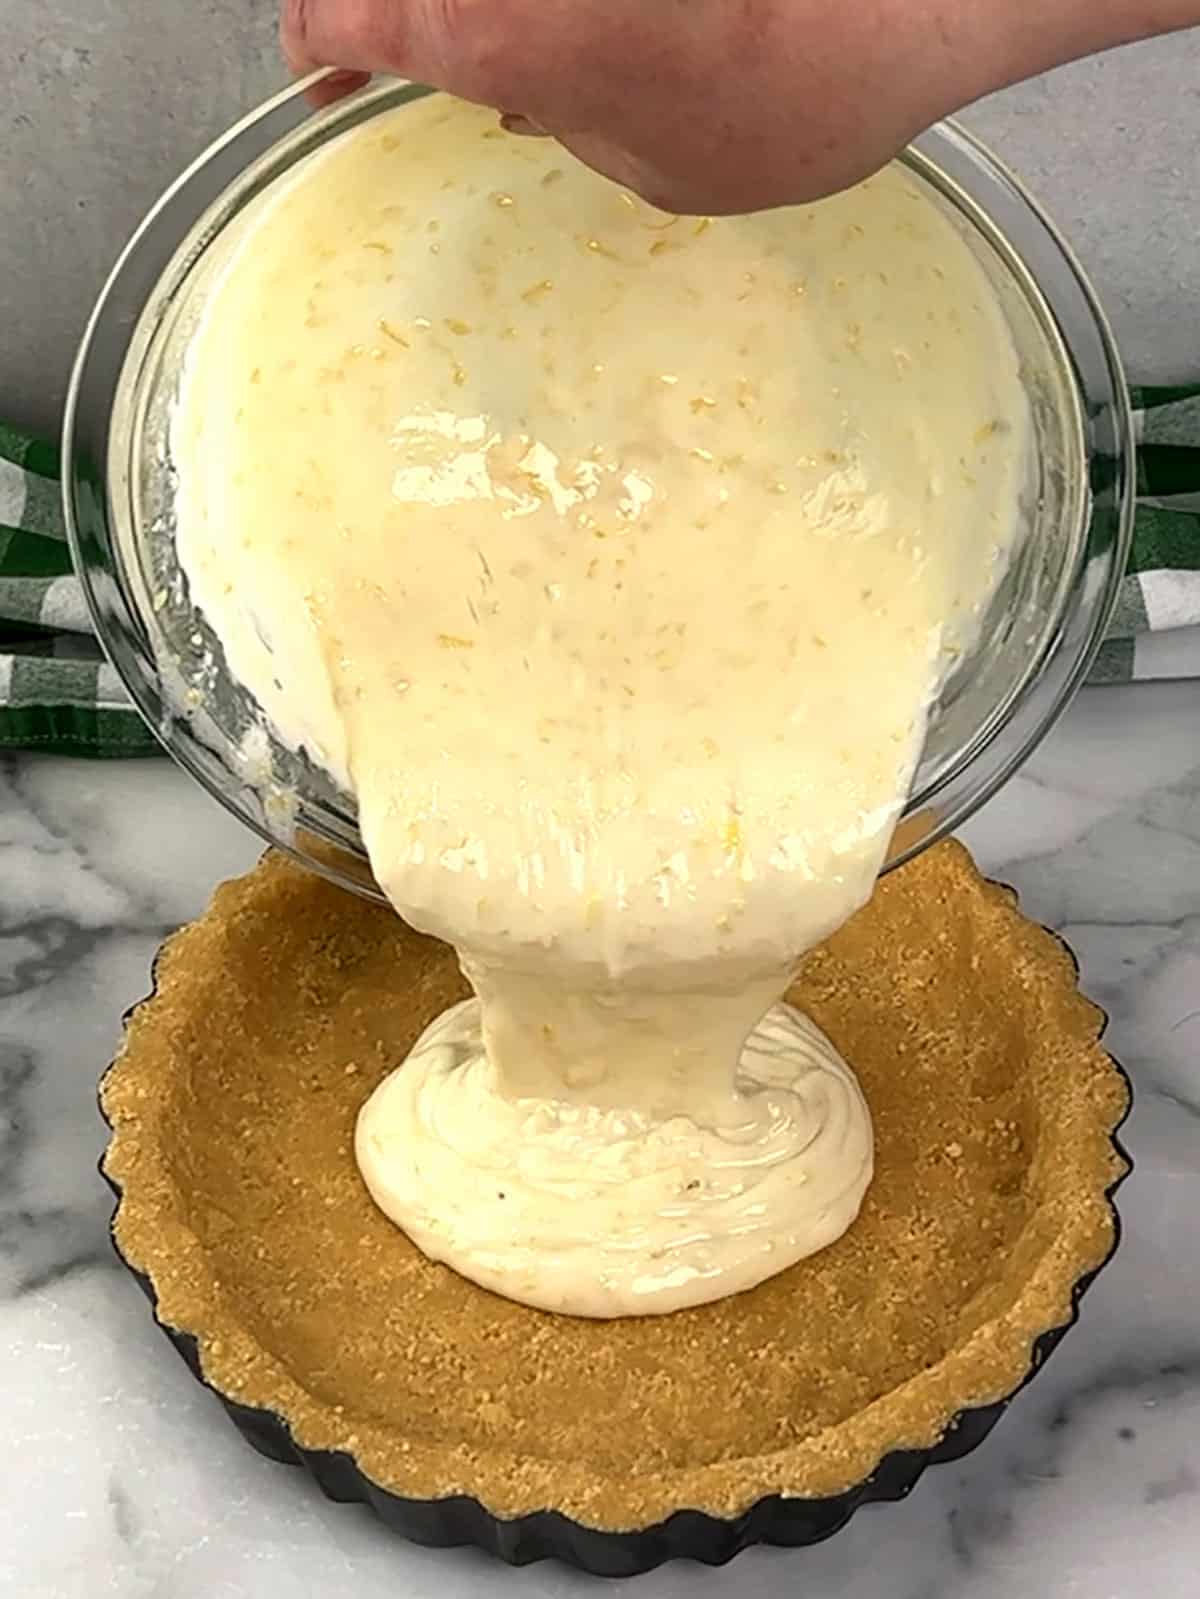
- Pour the filling onto the chilled crust.
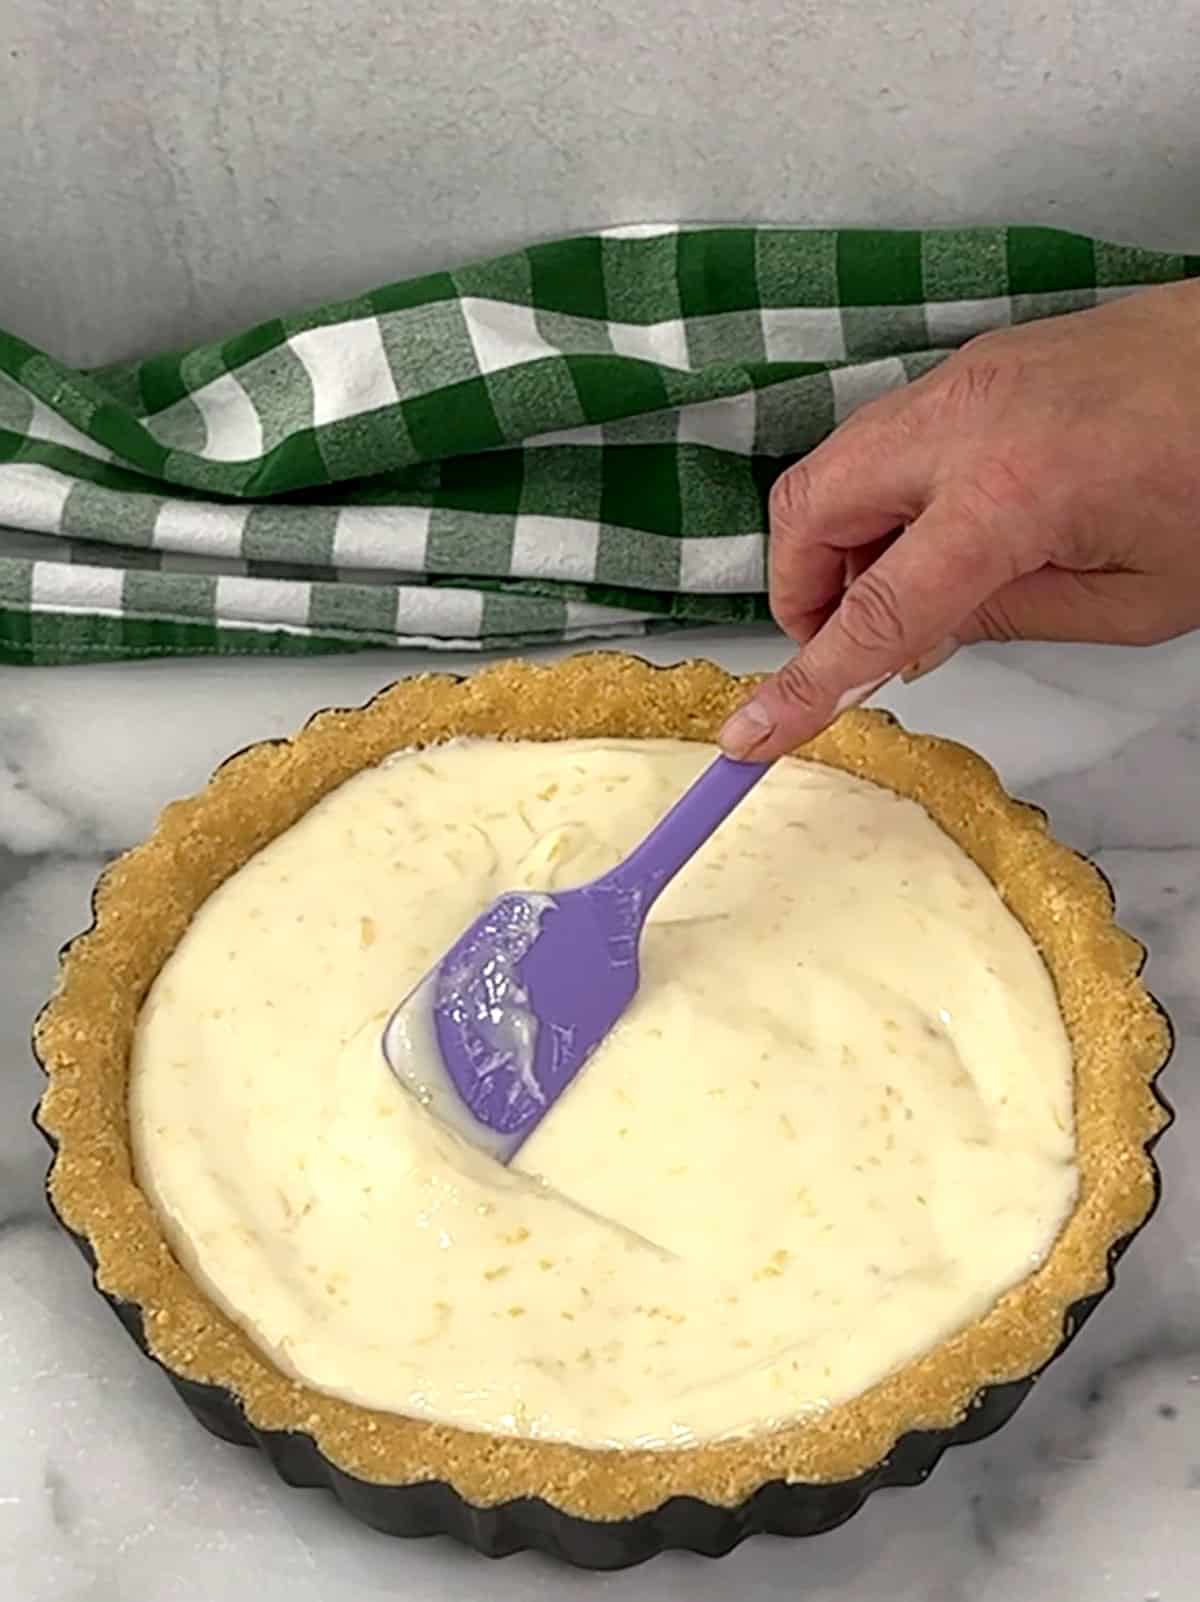
- Spread the filling into an even layer. Cover and refrigerate until set, at least 2 hours or up to 12.
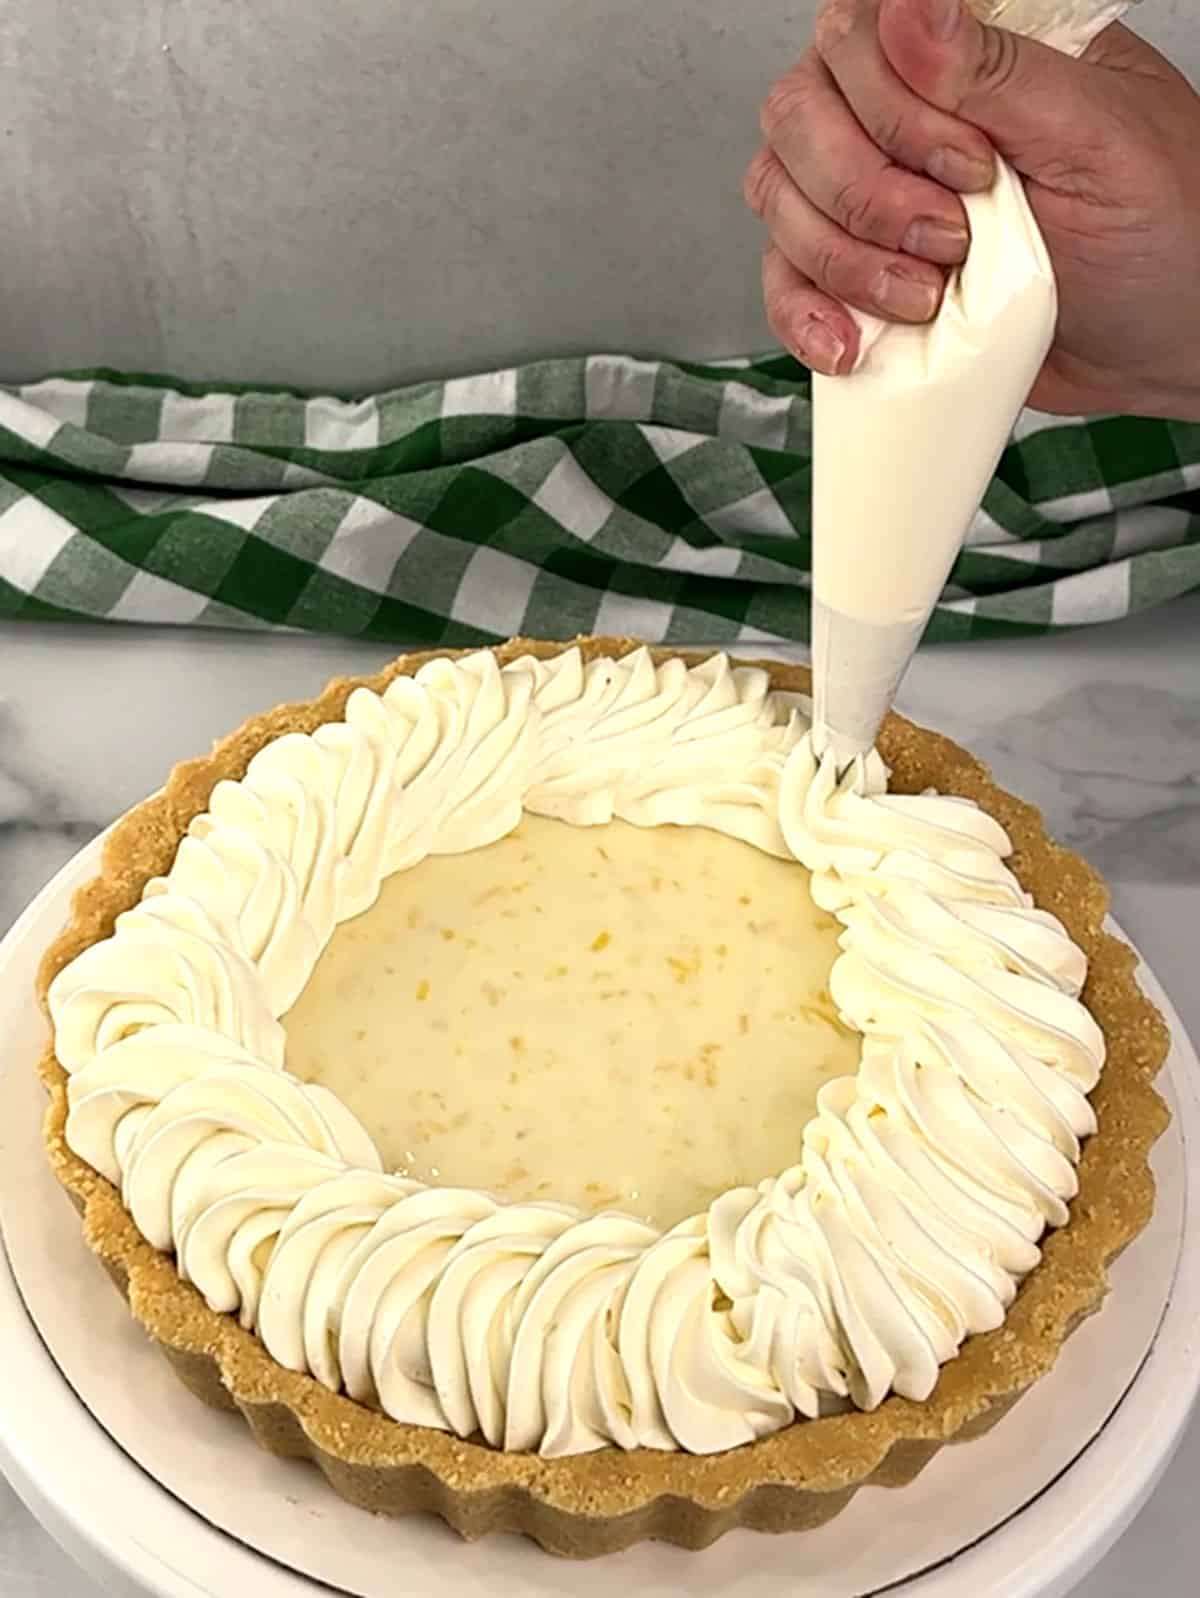
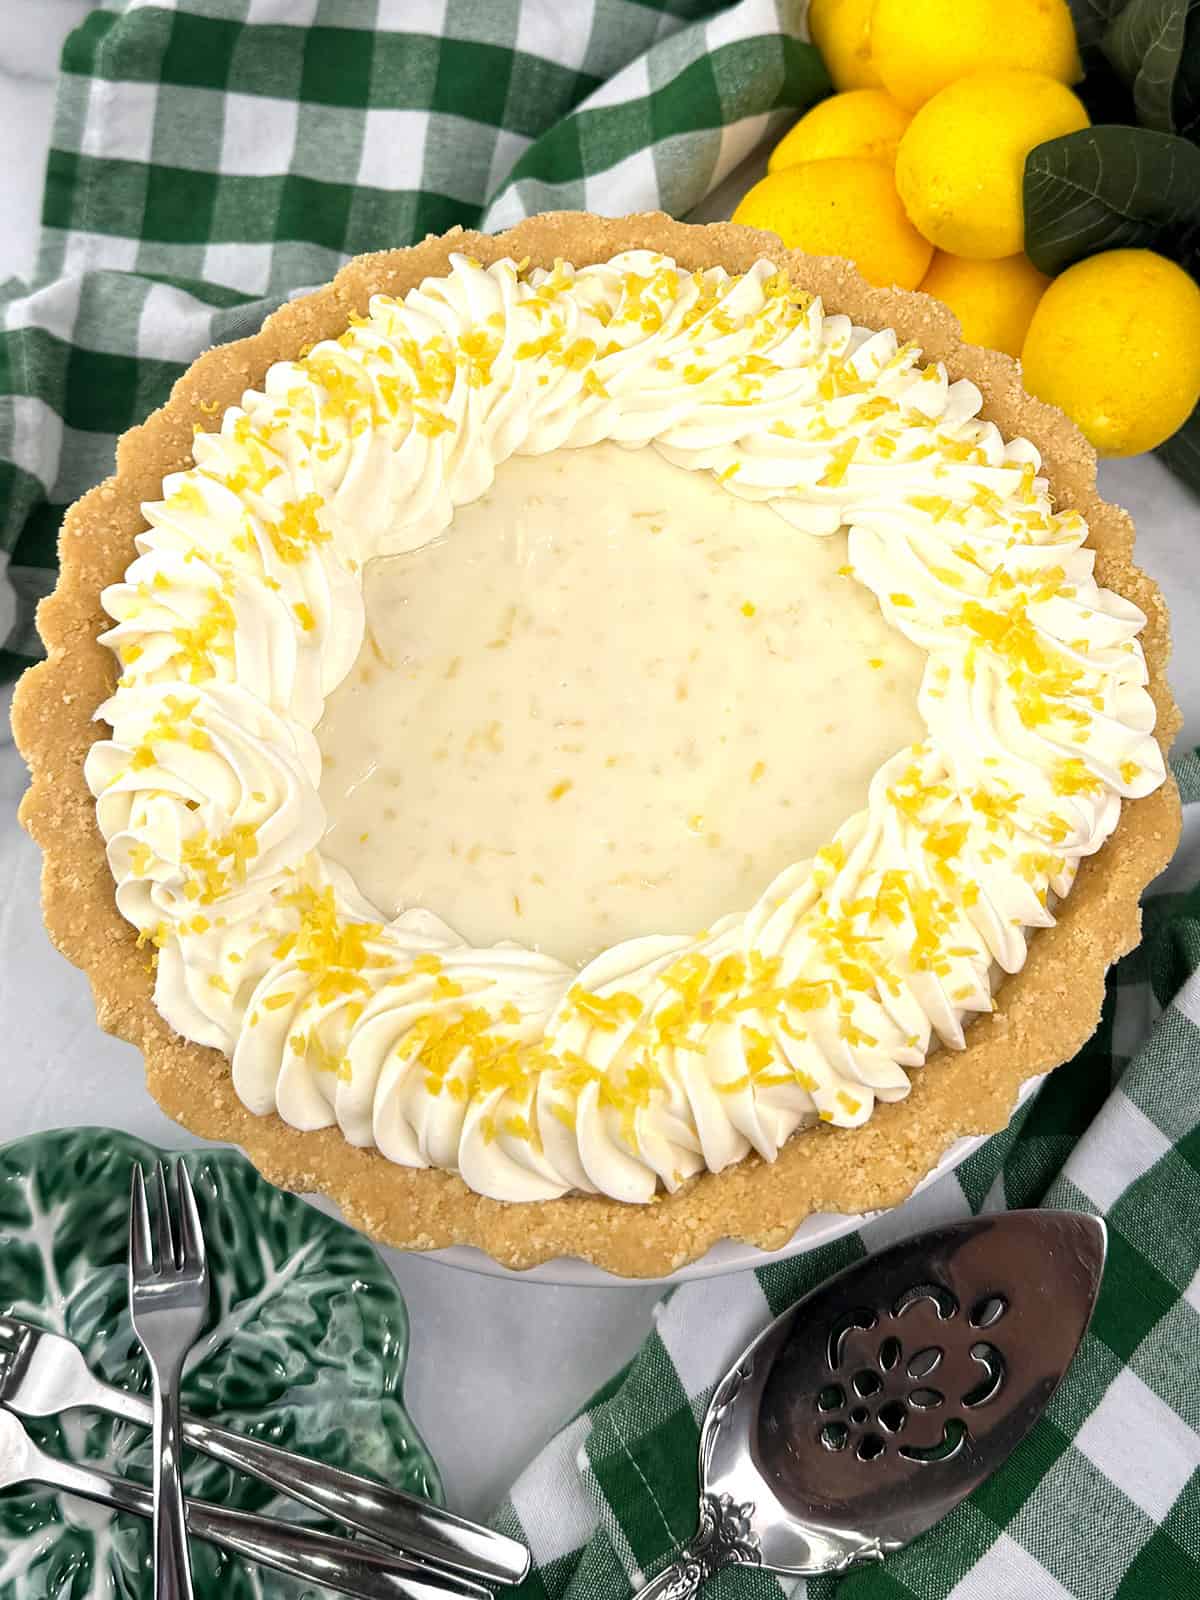
- Make one recipe of my Stabilized Whipped Cream. Place the whipped cream into a piping bag fitted with a Wilton 1M tip. Carefully remove the sides and bottom of the tart pan, then place the tart on a cardboard cake round or a large serving plate. Pipe a circle of swirls around the perimeter of the Easy No-Bake Creamy Lemon Tart.
- Sprinkle the remaining teaspoon of lemon zest over the whipped cream. Refrigerate in an airtight container for up to 4 days.
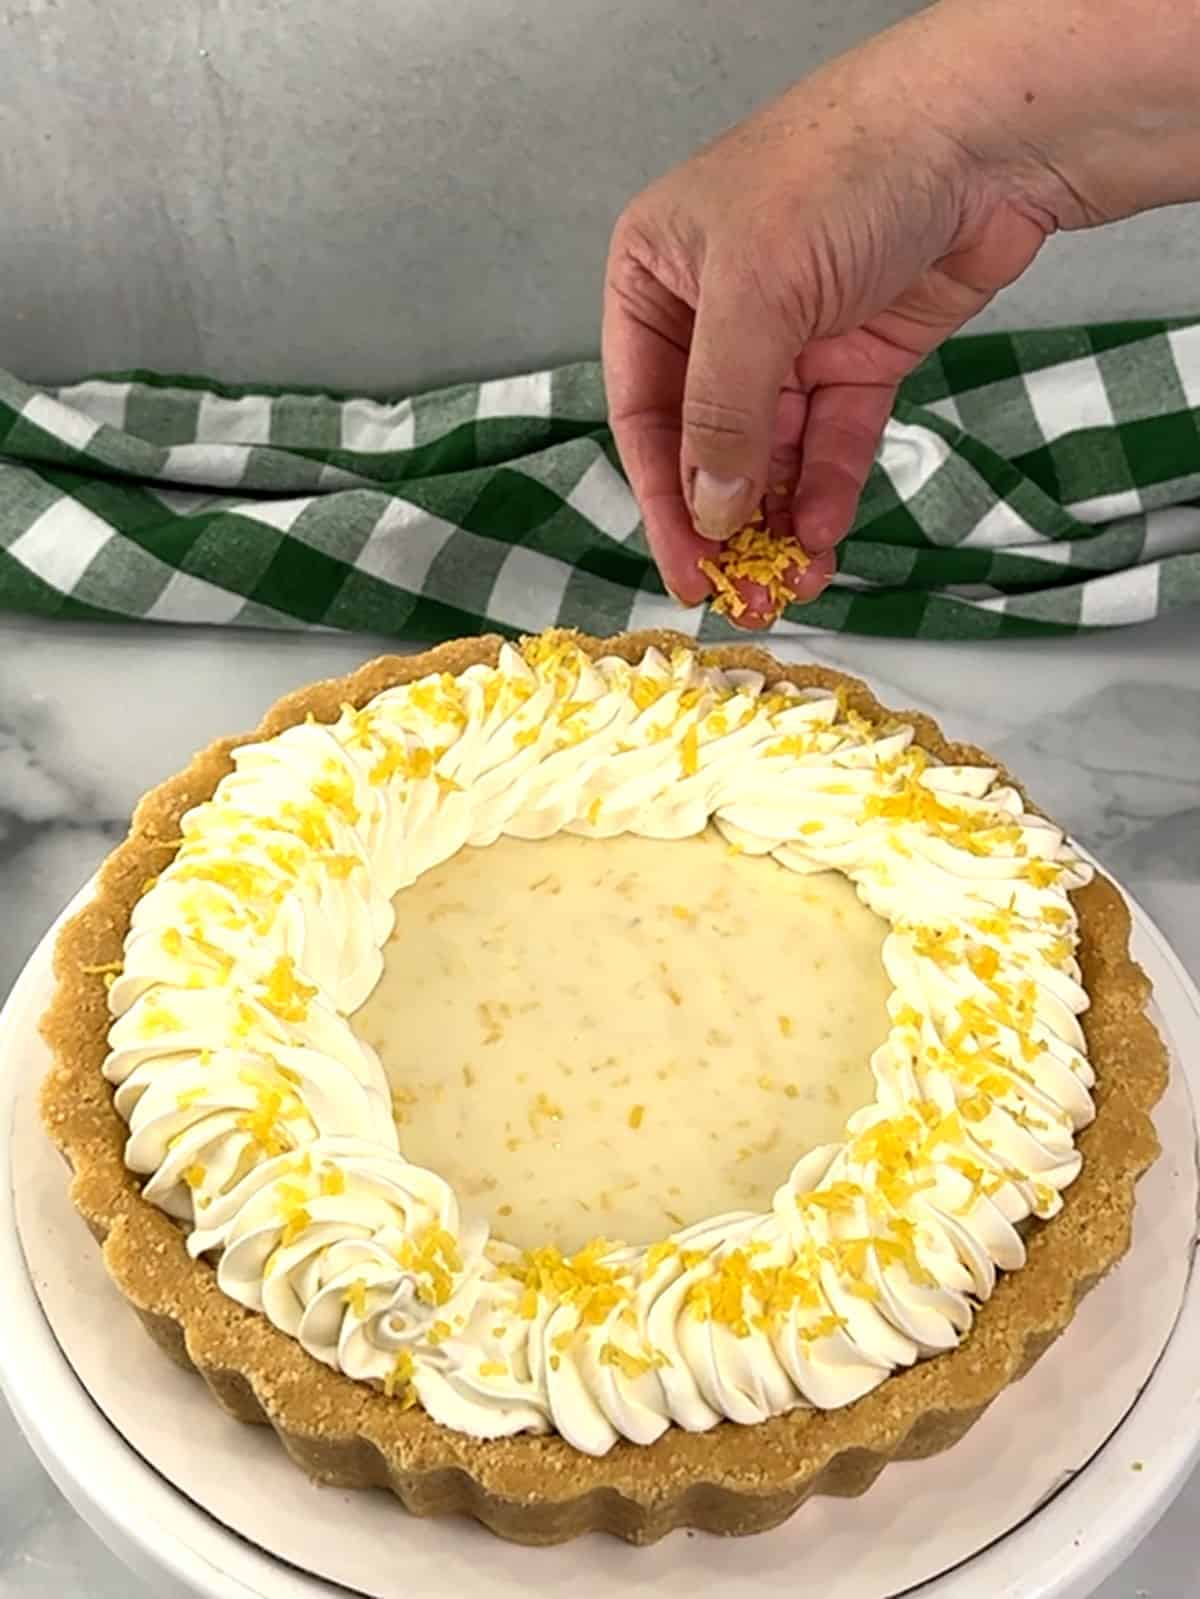
Whether you're hosting a summer dinner party or just craving a bright, citrusy treat, this Easy No-Bake Creamy Lemon Tart is sure to impress. With its irresistible balance of sweet and tart flavors, buttery crust, and effortless prep, it's bound to become a staple in your dessert rotation. Whip up this simple recipe today and enjoy a cool, bakery-quality dessert with zero stress!
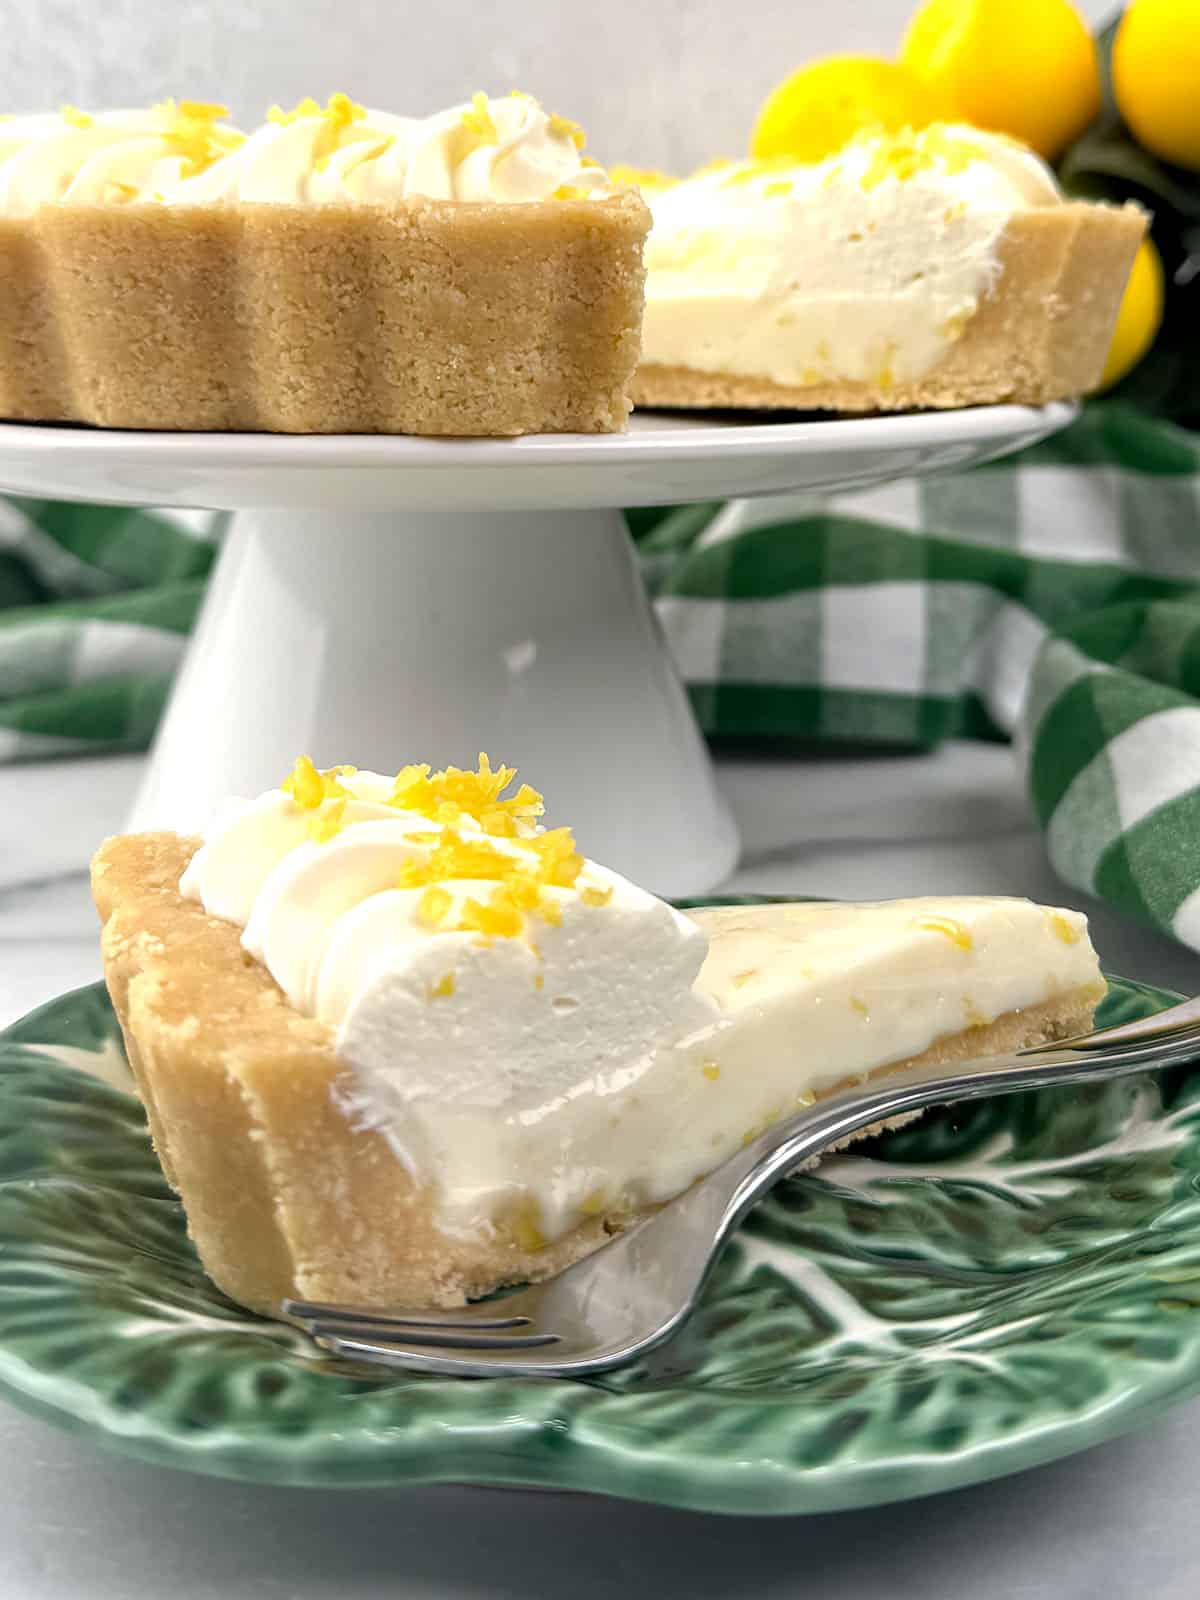
Frequently Asked Questions
Freshly squeezed lemon juice is highly recommended for the best, most vibrant flavor. Bottled juice often contains preservatives that can alter the taste. Also, since this recipe calls for lemon zest, you're better off using fresh lemons, as you'll have to zest them anyway.
I used Walker's Vanilla Shortbread cookies because of their delicious, buttery texture. But graham crackers, Golden Oreos, or Nilla Wafers are fantastic alternatives.
Yes! Cool Whip or a similar pre-made whipped topping works fine in a pinch, though homemade stabilized whipped cream gives a richer, bakery-style finish.
You can assemble the tart up to 2 days in advance. Keep it covered tightly in the refrigerator until ready to serve. Store any remaining leftovers covered in the refrigerator for up to 4 to 5 days.
Recipe Tips and Tricks
- Use a removable-bottom tart pan: A 9-inch tart pan with a removable bottom makes removing and serving the tart effortless. If you don't have one, use a 9-inch non-stick springform pan.
- Zest before you juice: Always grate the lemon zest before cutting the lemons in half to juice them. It's much easier to zest a whole, firm lemon!
- Don't rush the chill: Give the tart at least 4 hours (overnight is even better) in the fridge to set completely. This ensures nice, clean slices that hold their shape.
- The warm-knife trick: For clean, professional-looking slices, run a sharp knife under hot tap water, wipe it dry with a towel, and slice. Repeat between every cut!
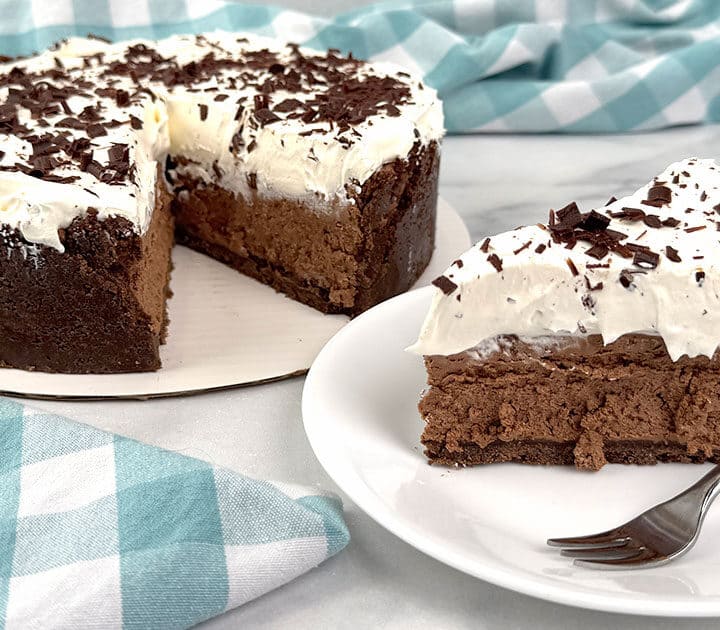
Other Great No-Bake Desserts



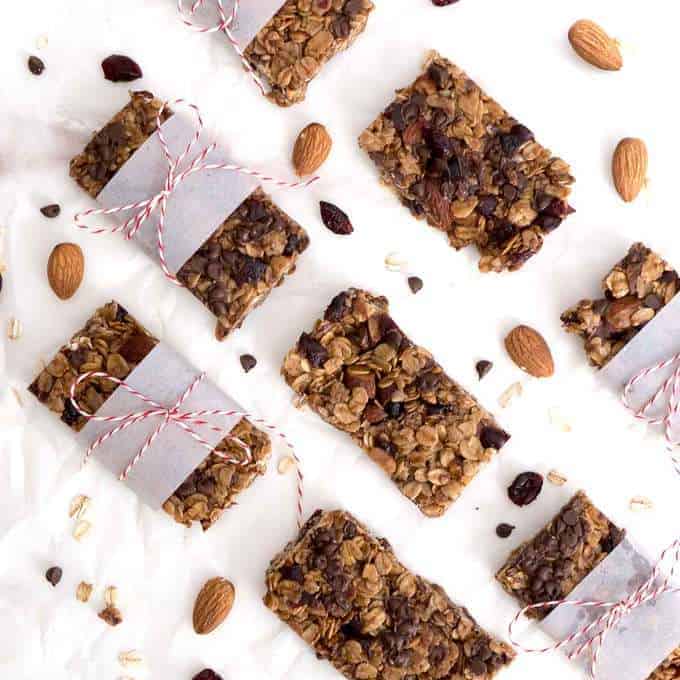


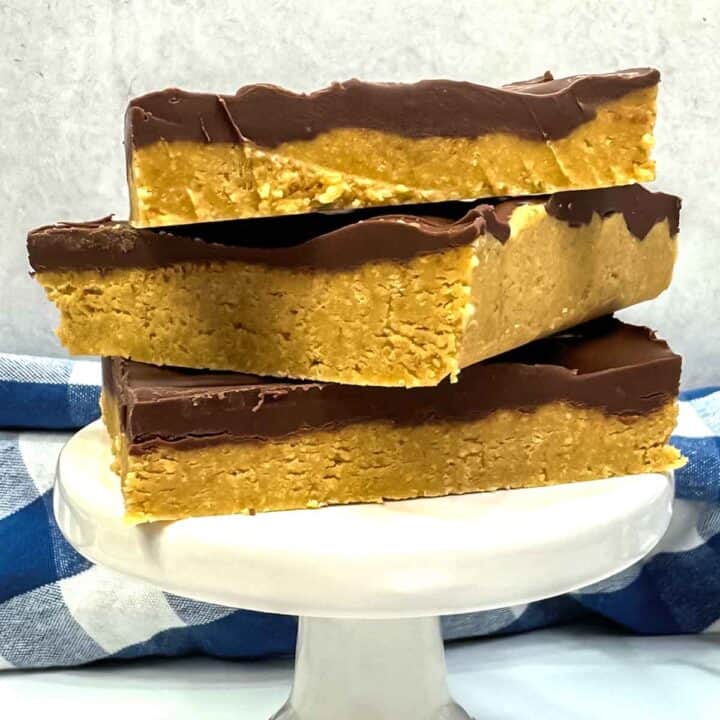
Did you make this recipe? We'd love to know how it turned out! Leave a review below. Then, share a picture on Instagram and tag @pudgefactor so we can see it.
Don't forget to follow us on Pinterest, Facebook, YouTube, Flipboard, and Instagram.
Thank you so much for visiting PudgeFactor. We hope you'll come back!
Recipe
Want to Save This Recipe?
Enter your email & I'll send it to your inbox. Plus, enjoy weekly doses of culinary inspiration as a bonus!
By submitting this form, you consent to receive emails from Pudge Factor.
Easy No-Bake Creamy Lemon Tart
Equipment
- 9-inch Non-Stick Tart Pan or 9-inch non-stick springform pan
- Food Processor
- Lemon Zester
- Juicer
- large non-reactive bowl glass, ceramic, or melamine
- whisk
- Silicone Spatula
- piping bag
- Wilton 1M tip
Ingredients
- 10.6 oz Walker's Vanilla Shortbread Cookies1 (2 5.3-ounce packages)
- 6 tbs Unsalted Butter
- 14 oz Sweetened Condensed Milk2
- 4 teaspoon Lemon Zest divided
- ½ c Fresh Lemon Juice
- 1 recipe homemade stabilized whipped cream
Instructions
- In a food processor, pulse vanilla shortbread until finely ground, stopping to scrape down the sides of the bowl as needed, about 15 pulses. Transfer the crumbs to a large bowl. In a small microwave-safe bowl, microwave the butter on high, stirring occasionally, until melted, about 1 minute. Add the melted butter to the crumbs and stir until the mixture resembles wet sand. Press evenly into the bottom of a non-stick 9-inch tart pan with a removable bottom. Freeze for at least 15 minutes.
- While the crust chills, finely grate the lemon zest on a microplane to yield 4 teaspoons. Then, juice the lemons and measure ½ cup of juice. In a medium nonreactive bowl, add the sweetened condensed milk, lemon juice, and, 3 teaspoons zest. Whisk the filling until smooth and starting to thicken, about 1 minute. Pour the filling onto the chilled crust and spread into an even layer. Cover and refrigerate until set, for at least 2 hours or up to 12 hours.
- Make one recipe of my Stabilized Whipped Cream.
- Place the whipped cream in a piping bag fitted with a Wilton 1M tip. Carefully remove the sides and bottom of the tart pan and place the tart on a cardboard cake round or large serving plate. Pipe a circle of swirls around the perimeter of the tart. Sprinkle reserved teaspoon lemon zest over the whipped cream. Refrigerate in an airtight container for up to 4 days.
- Yield 8 servings
Tips/Notes
- I prefer to use Walker's Vanilla Shortbread cookies, but you can also use graham crackers, Golden Oreos, or Nilla Wafers.
- I used full-fat sweetened condensed milk. You can substitute fat-free sweetened condensed milk, and the flavor will remain just as delicious. However, because fat plays a structural role in helping no-bake chocolate fillings set, using a fat-free version can make the filling set slightly softer than standard condensed milk.

Leave a Reply