
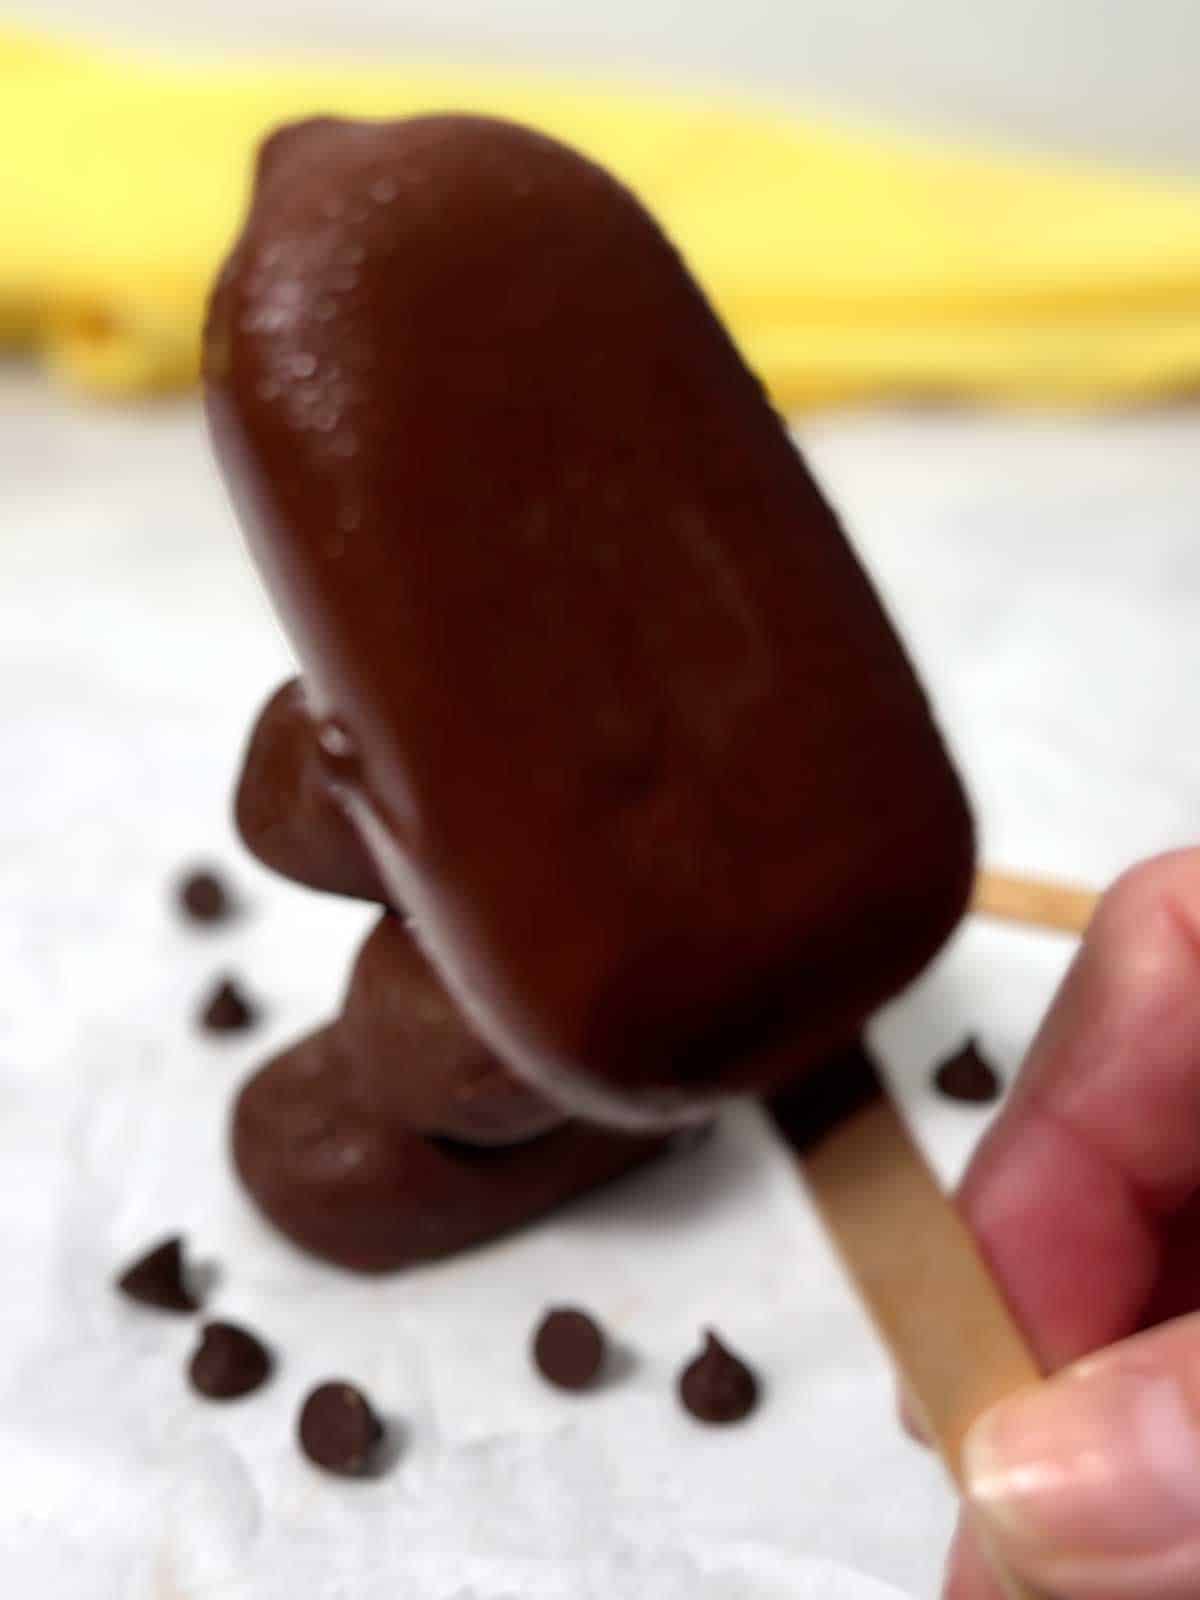
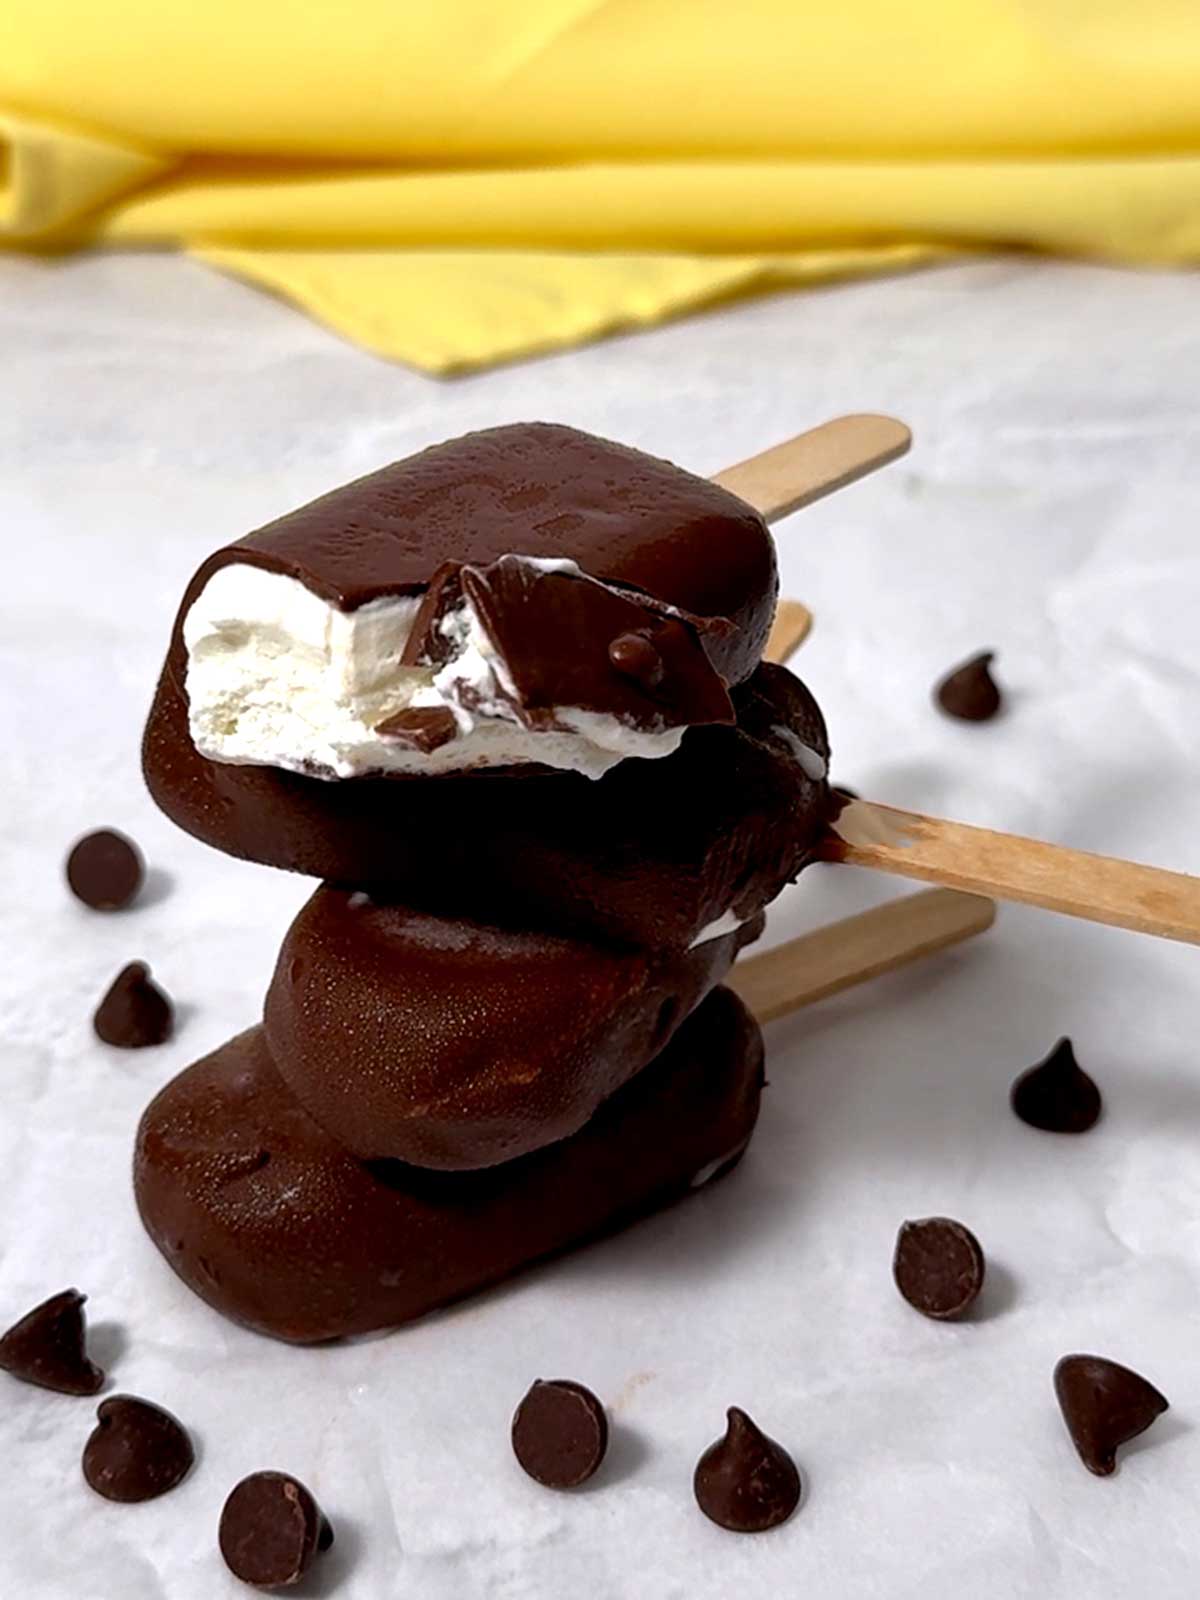
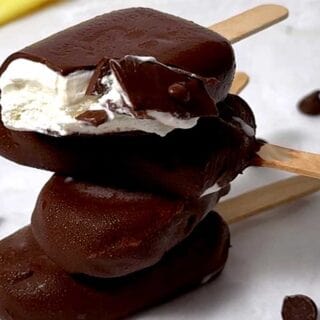
Mini chocolate-dipped ice cream bars are perfect for summer heat. These no-churn mini bars are rich, creamy, refreshing, and surprisingly easy to make, without sweetened condensed milk. With a silky whipped base and that signature magic shell crunch, they deliver everything you love about store-bought treats, but without mystery additives.
Perfect for hot summer days, parties, or make-ahead desserts that kids of all ages love.
Jump to:
Recipe at a Glance
- Prep + Cooling/Freezing: 8 ½ hours
- Cook Time: 4 minutes
- Ready In: 8 hours and 34 minutes
-
Ingredients: Ice cream base: Heavy cream, whole milk, sugar, nonfat dry milk, salt, and vanilla. Magic shell: semisweet chocolate chips and refined coconut oil.
- Serves: 8
- Difficulty: Medium
- Make-Ahead Friendly: Yes
- Kid Friendly: Yes
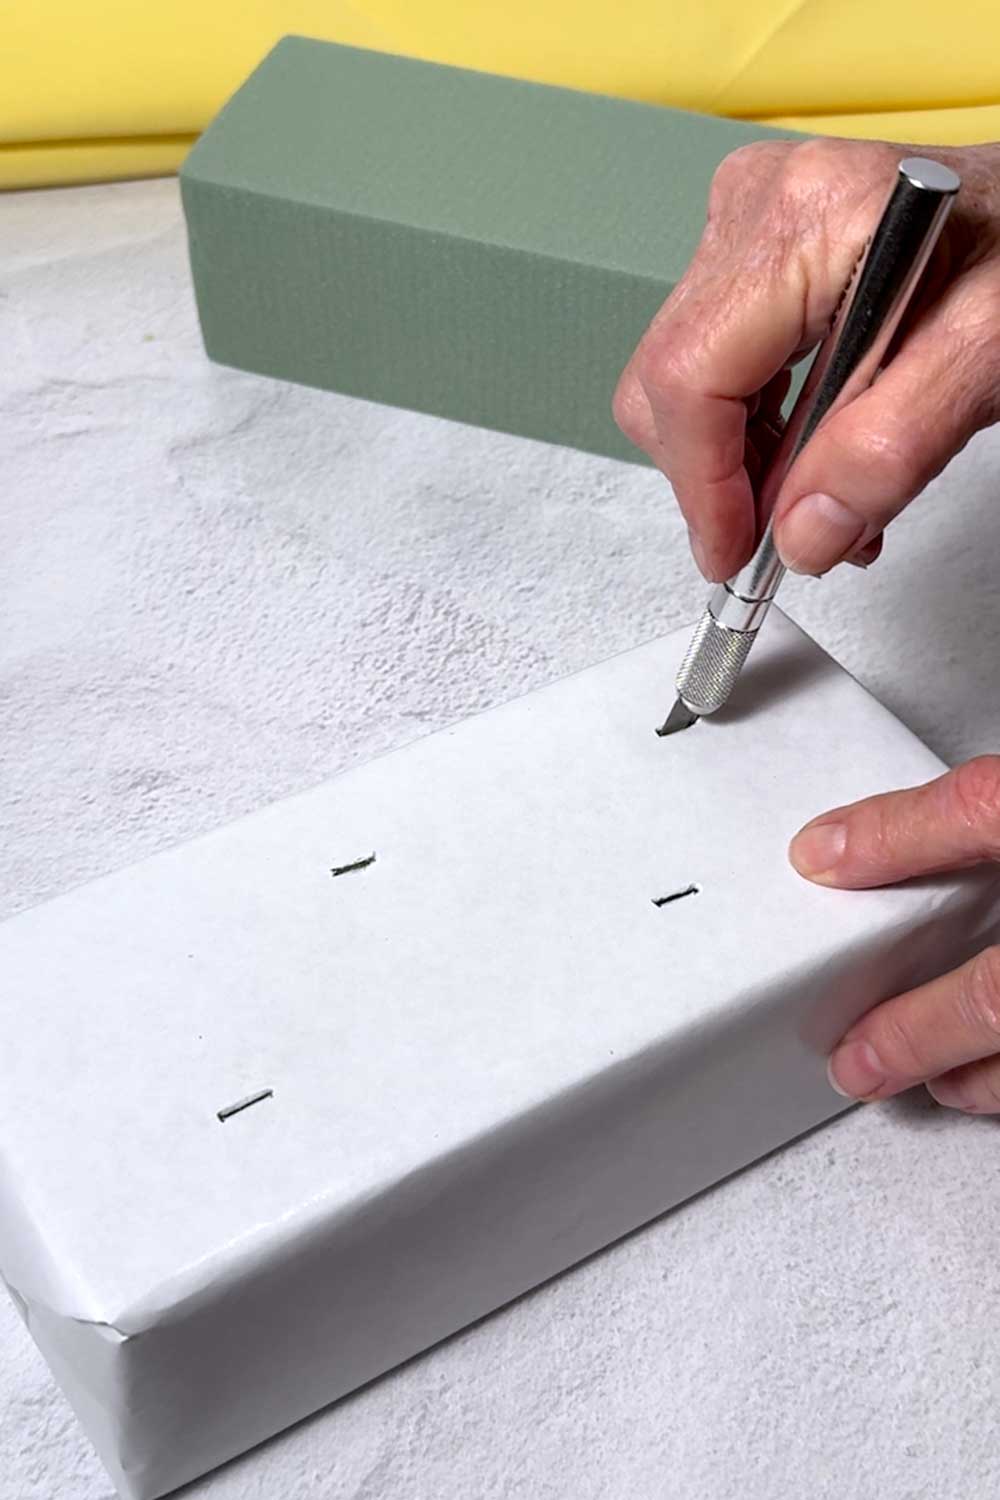
Step 1: Make the Stands to Hold the Chocolate-Dipped Ice Cream Bars
After dipping the ice cream bars, you'll want something to stand them up in while the magic shell does its magic.
The best thing I've found is dry florist foam. I purchased a three-pack at Walmart for under $3.00. Each block is 2.6" x 3.4" x 7.8" and I used two.
Because the surface of the blocks felt like very fine loose sand, I covered each block with butcher paper. Then, I used an x-acto knife to cut four slits in the top approximately the same length as the width of the ice cream sticks.
Step 2: Make the No-Churn Ice Cream Base
In the past, when I've made no-churn ice cream, I've used sweetened condensed milk.
For these ice cream bars, I decided to substitute a milk/sugar mixture for the sweetener.
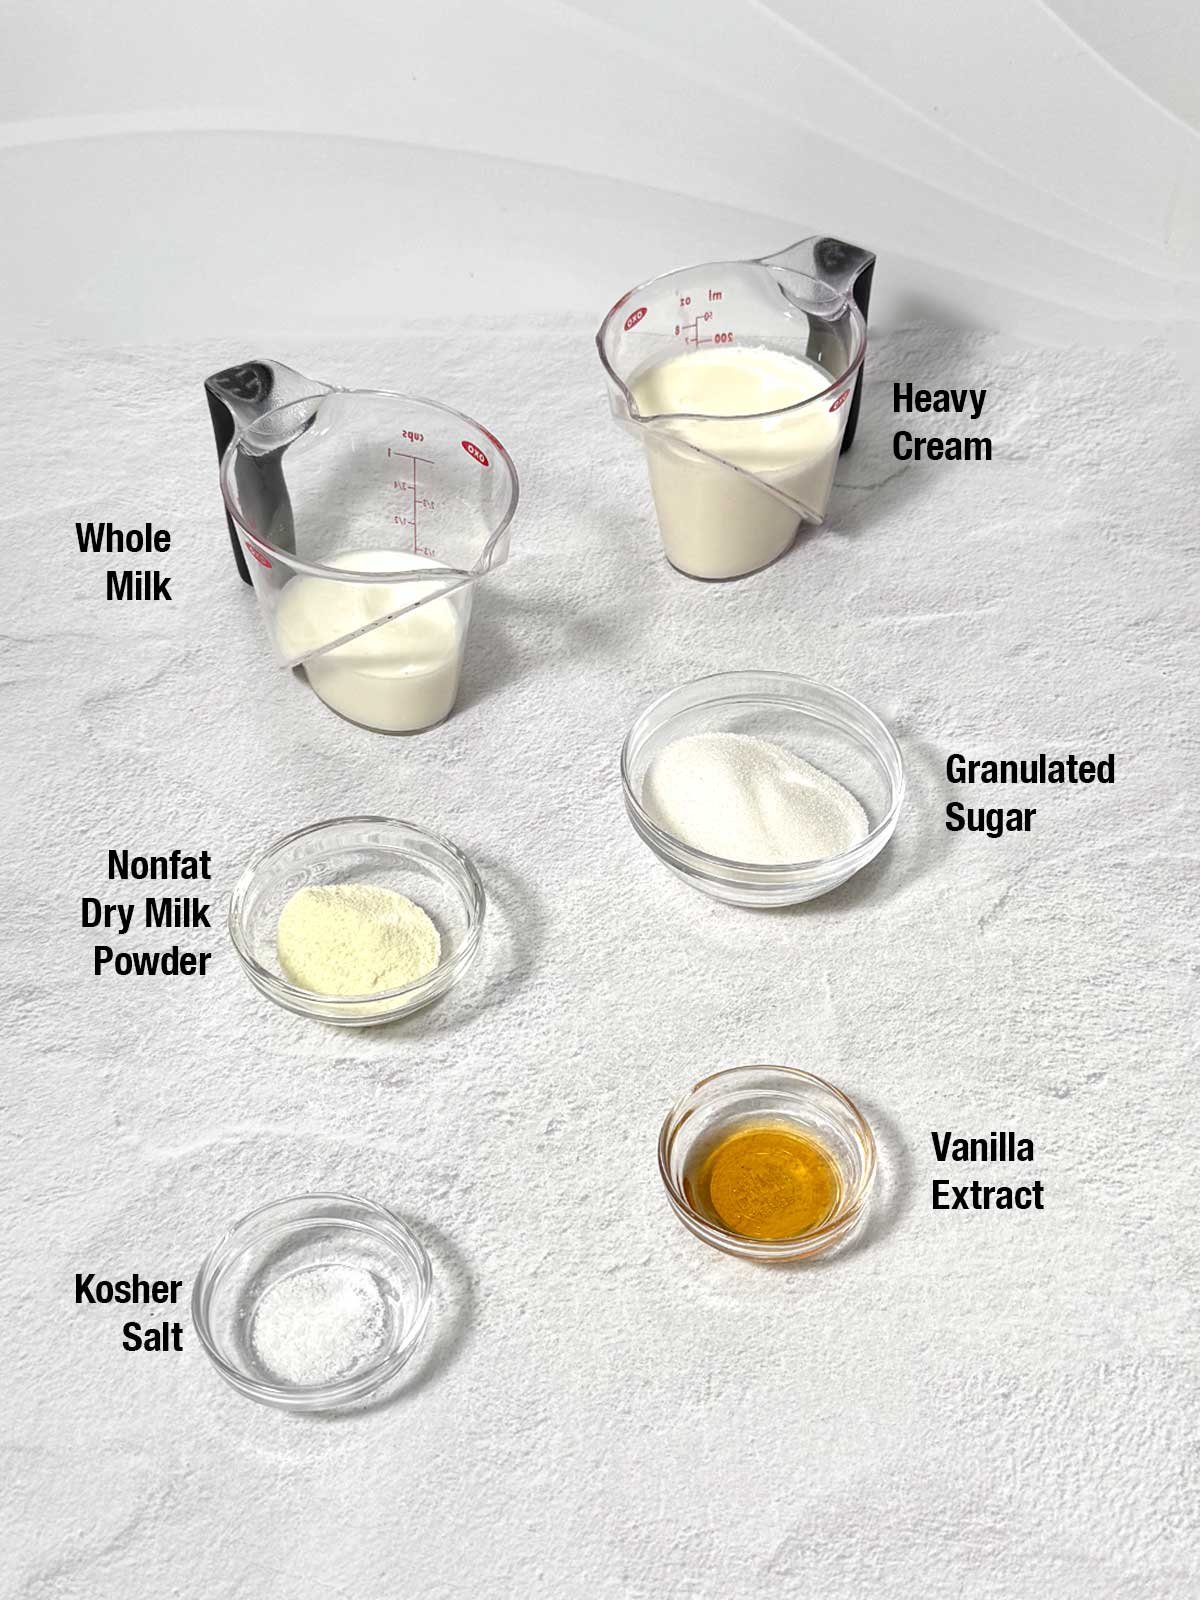
Why Each Ingredient Matters
| Ingredient | Why It’s Used |
|---|---|
| Heavy Cream | Adds richness and essential fat for a creamy, scoopable texture. |
| Whole Milk | Provides moisture, helps dissolve sugar, and balances the cream. |
| Granulated Sugar | Sweetens the base and lowers the freezing point for a softer bite. |
| Nonfat Dry Milk | Boosts milk solids for creaminess and helps reduce iciness without extra liquid. |
| Kosher Salt | Enhances flavor and balances the sweetness for depth. |
| Vanilla Extract | Adds classic flavor and aroma to round out the base. |
Step-by-Step Making the Ice Cream Base
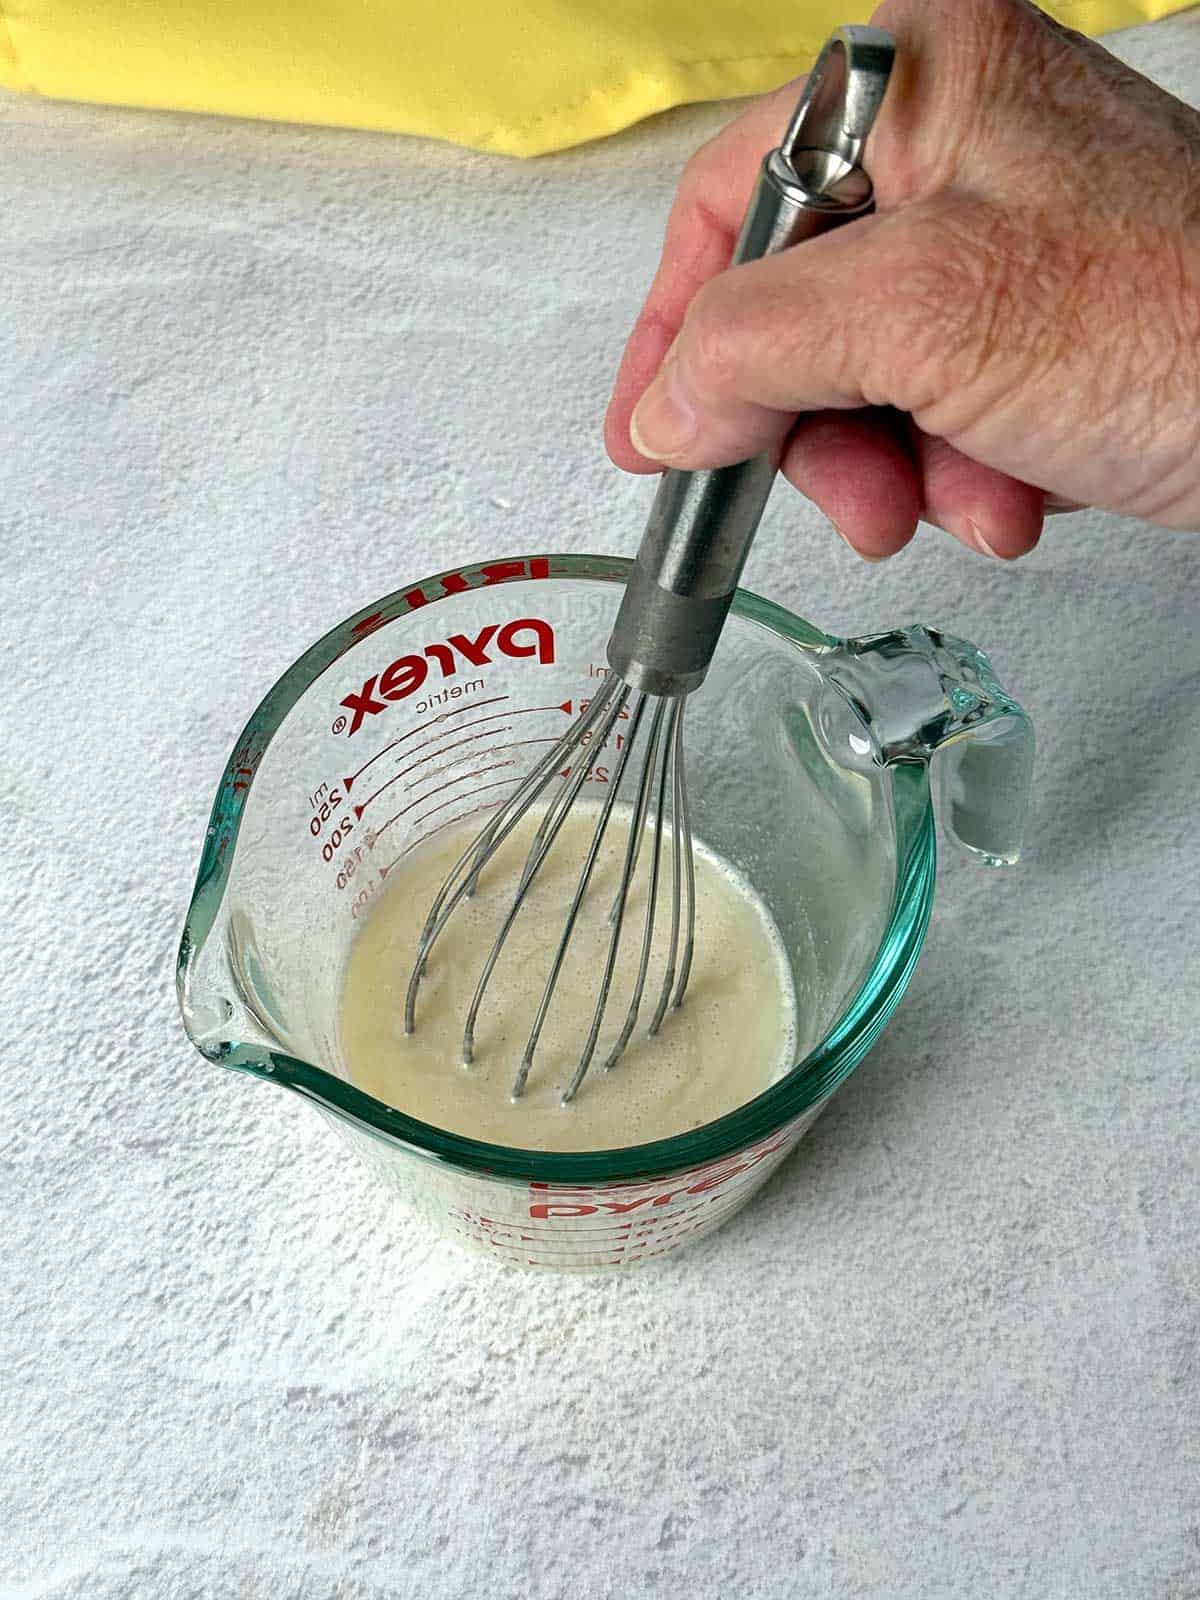
- Heat the Milk and Sugar: Add the milk and sugar to a microwave-safe measuring cup. Heat on high power for 20 to 25 seconds. Whisk to dissolve the sugar. Add the nonfat dry milk powder, salt, and vanilla extract. Whisk to combine. Chill in the refrigerator for about 30 minutes.
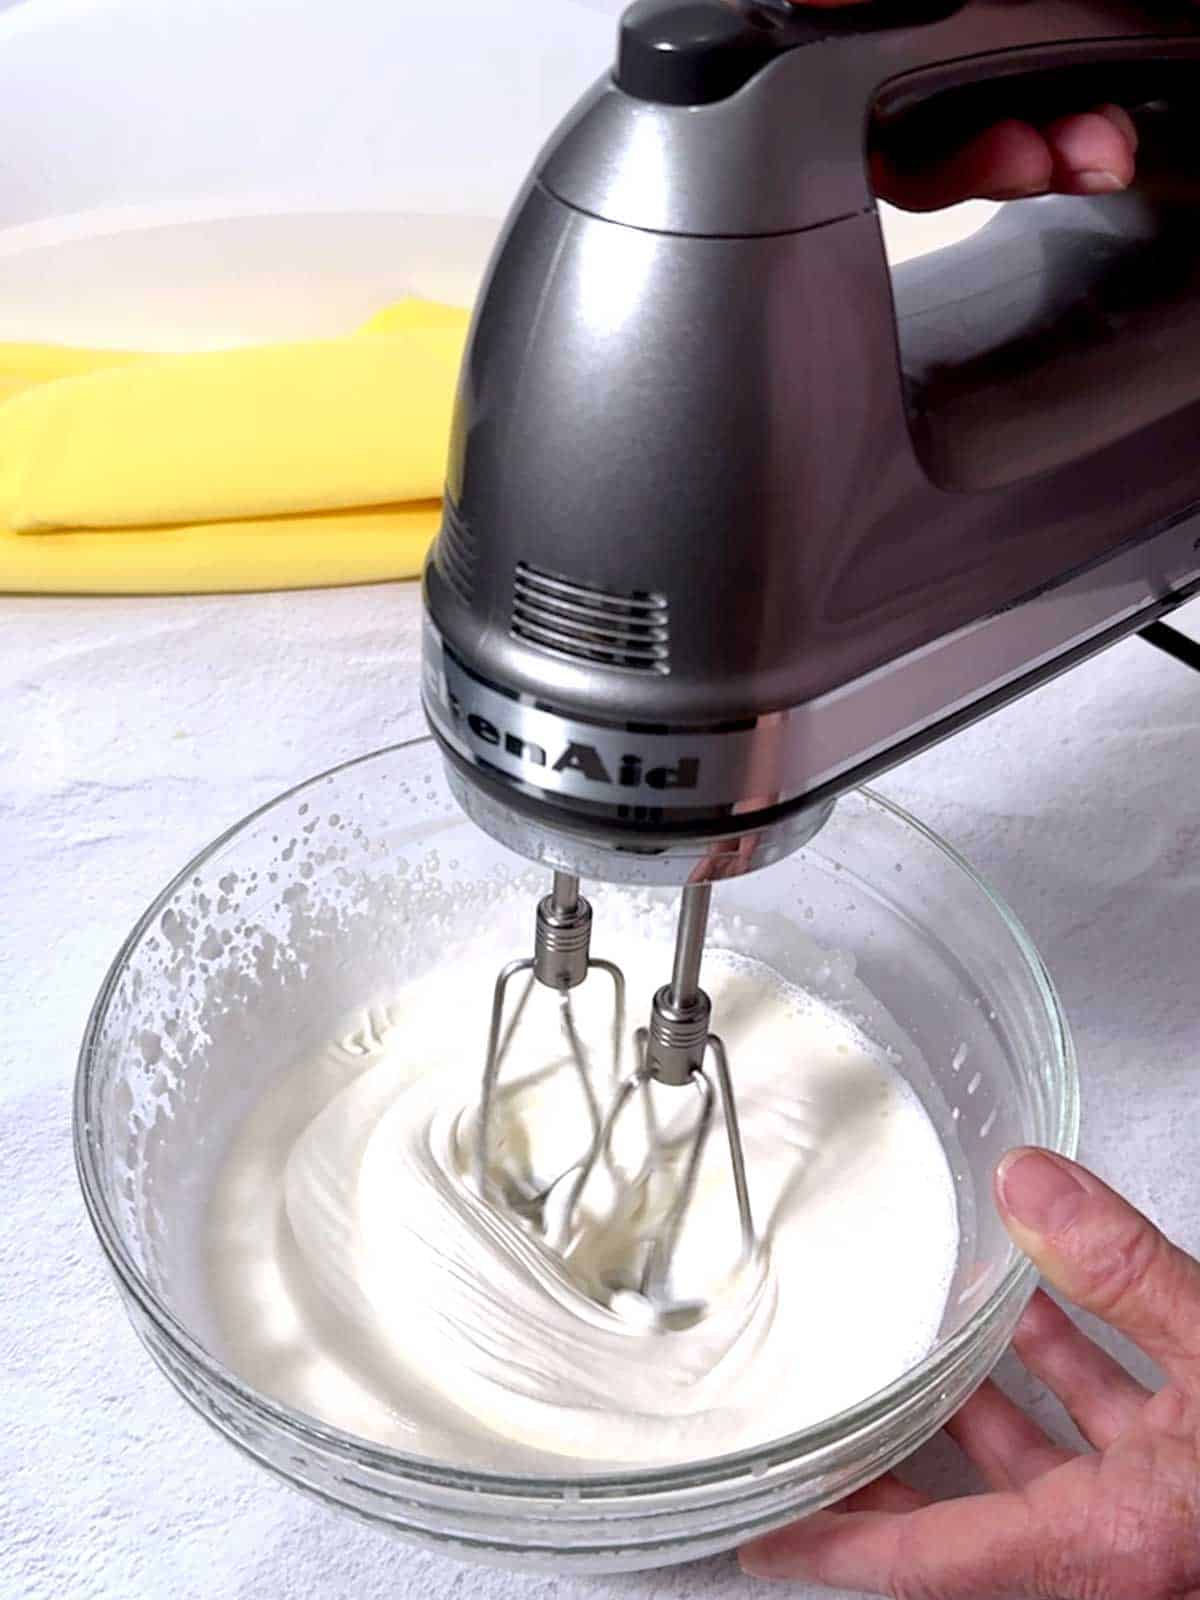
- Beat the Cream: Add the heavy cream to a chilled medium bowl. Beat with an electric mixer on high until stiff peaks form. This will take approximately 1 to 2 minutes.
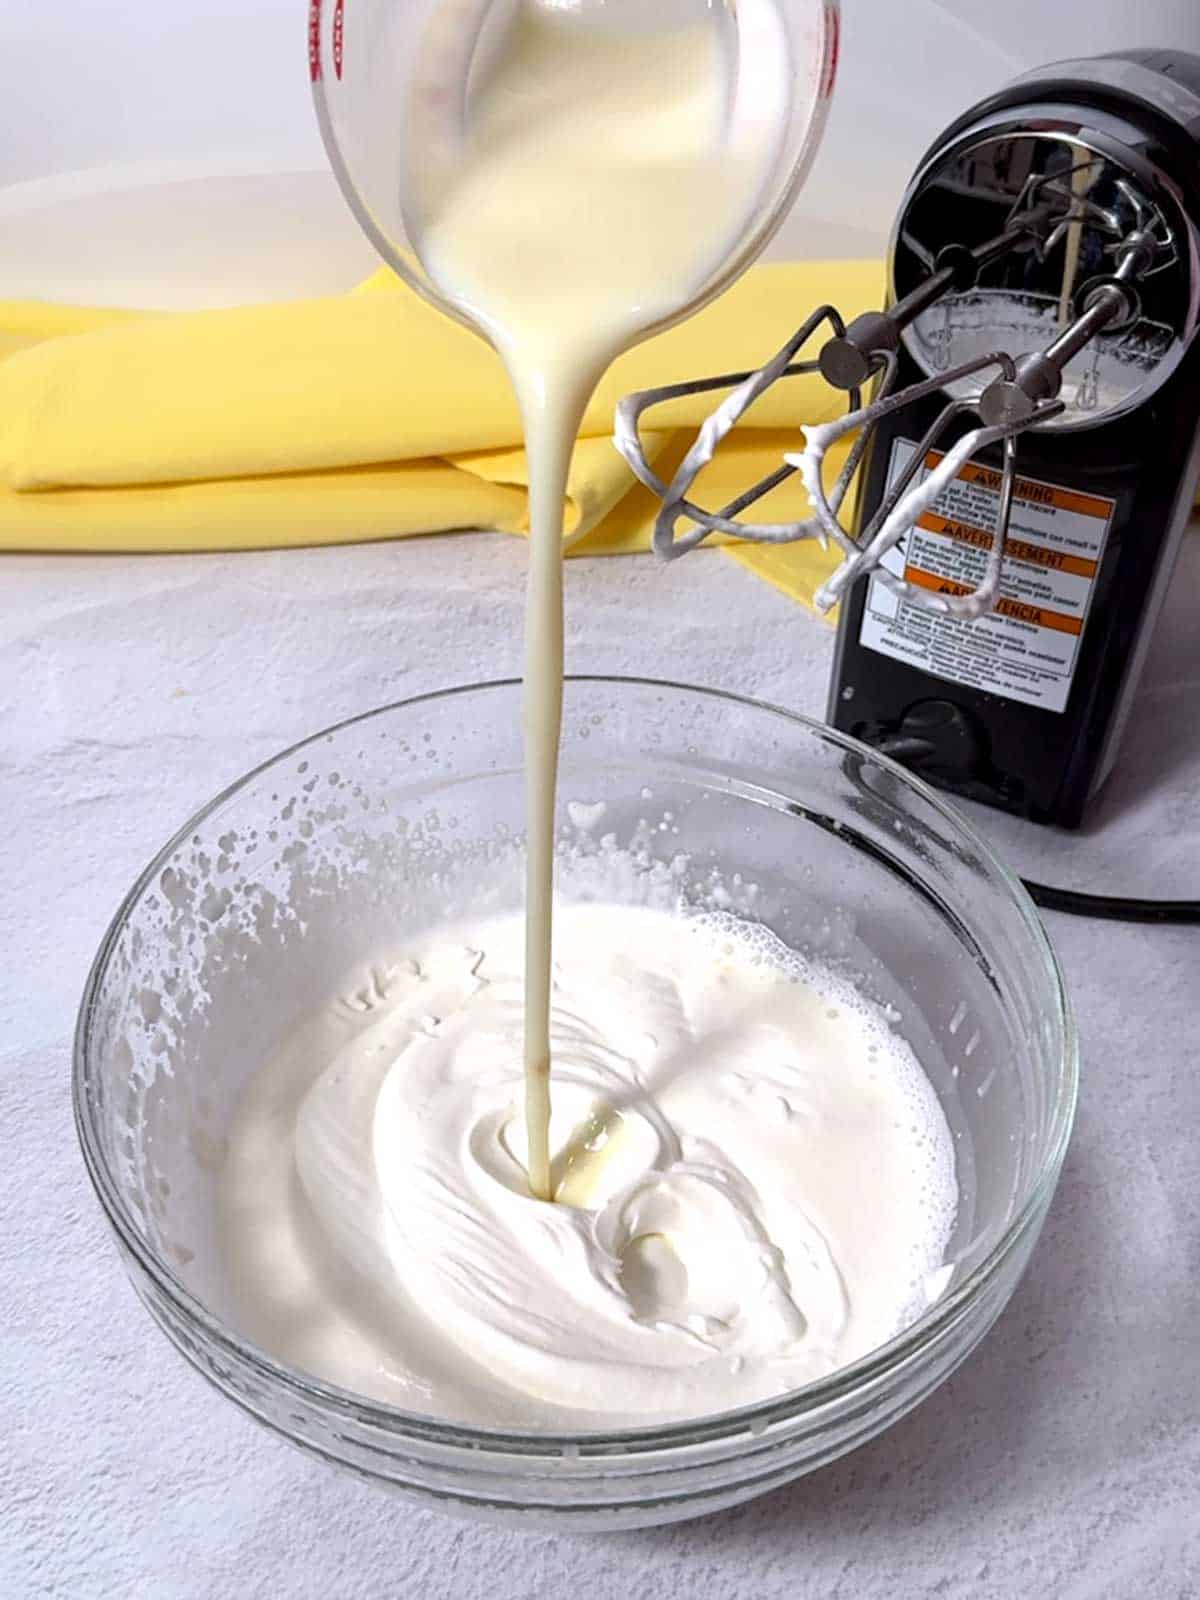
- Combine Milk/Sugar Mixture: Gently, fold the cooled milk/sugar mixture into the whipped cream.
- Transfer to Piping Bag: To make filling the ice cream molds easier, transfer the mixture to a piping bag or Ziploc bag. Cut the pointed end to produce about a ¼ to ½-inch opening.
- Fill and Smooth the Molds: Pipe the ice cream base into the wells of the silicone molds. Use a small offset spatula to smooth the tops.

- Insert the Sticks and Freeze: Carefully insert the popsicle sticks into the small slit at the base of the silicone molds, leaving approximately 2 inches on the outside. Freeze the ice cream bars for at least 8 hours.

Step 3: Make the Magic Shell and Dip
Magic shell truly is magic. It takes only two ingredients, and it magically hardens when it comes into contact with the ice cream. Plus, it's easy to make.
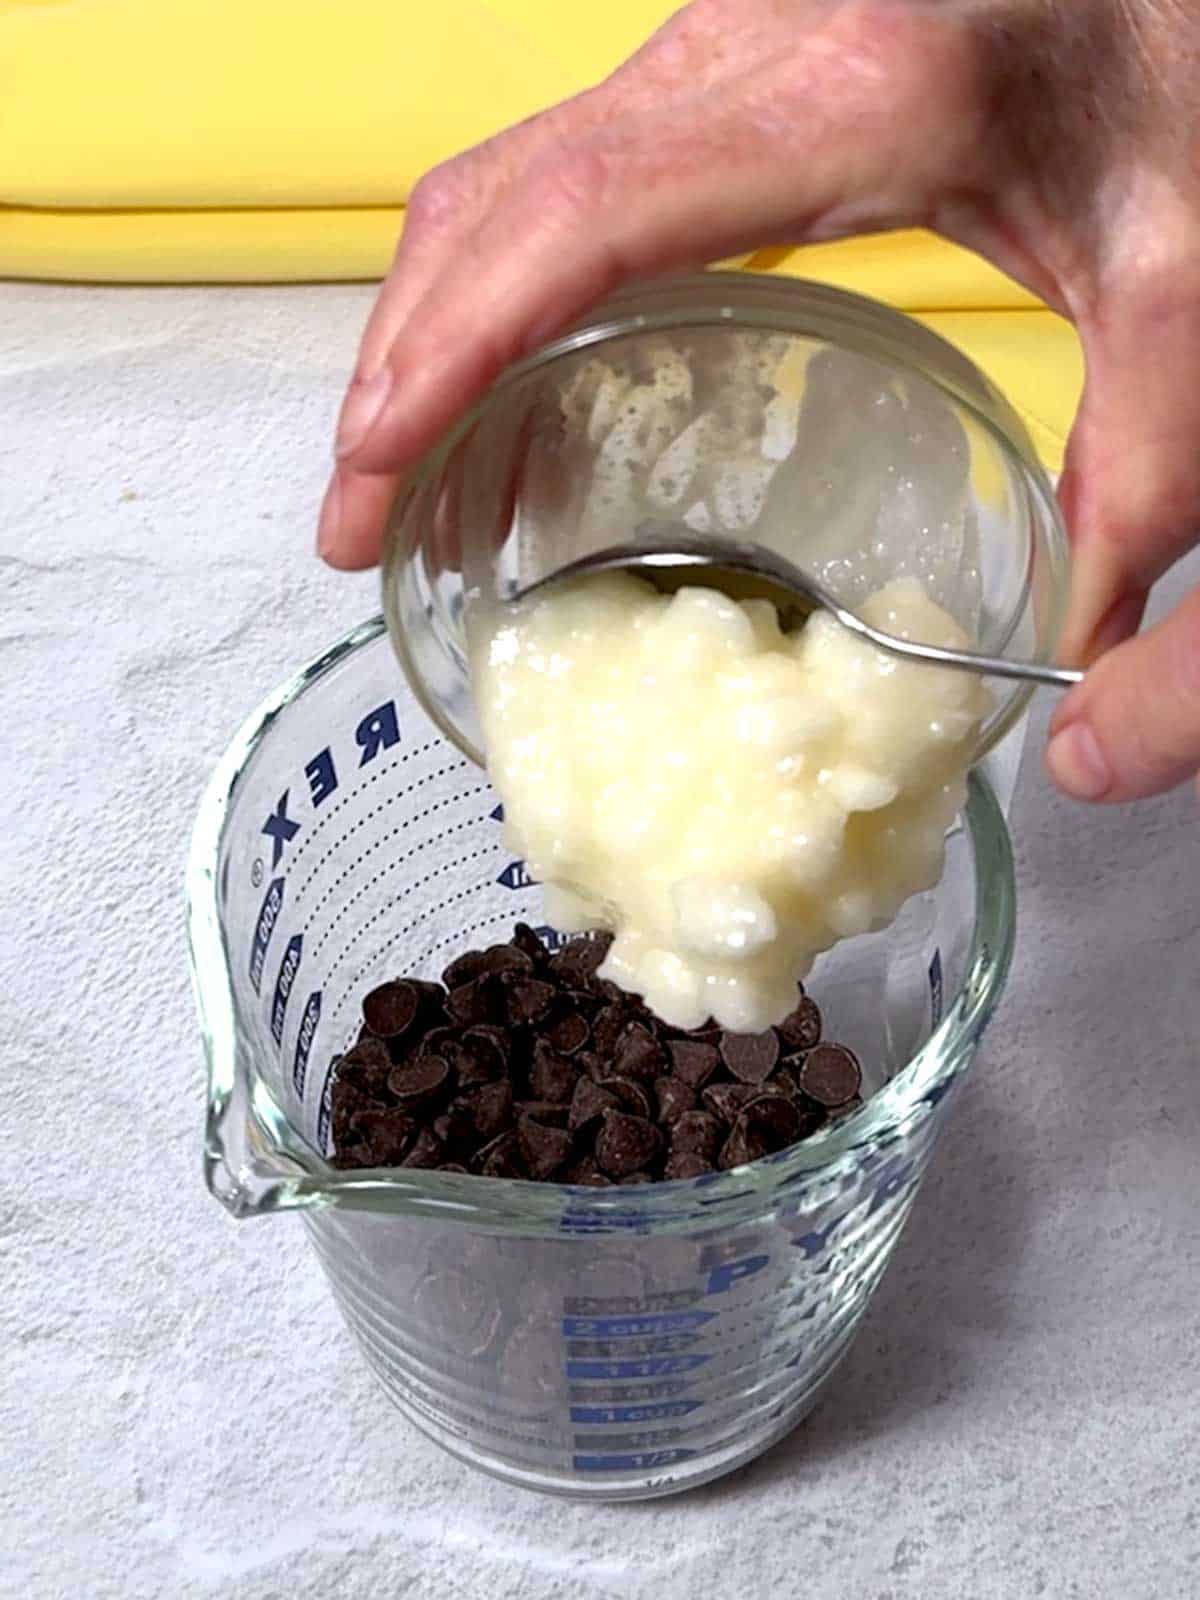
- Chocolate Chips and Coconut Oil: Add semisweet chocolate chips and coconut oil to a microwave-safe 2-cup measuring cup.
- Melt: Microwave the chocolate chips and coconut oil on high for 30 seconds. Stir and microwave for an additional 15 seconds. If necessary, microwave in additional 15-second increments until fully melted.

- Transfer and Cool: To make it easier to dip the ice cream bars, transfer the magic shell to a tall, narrow container. Allow the magic shell to cool to room temperature, between 75° and 85°F.
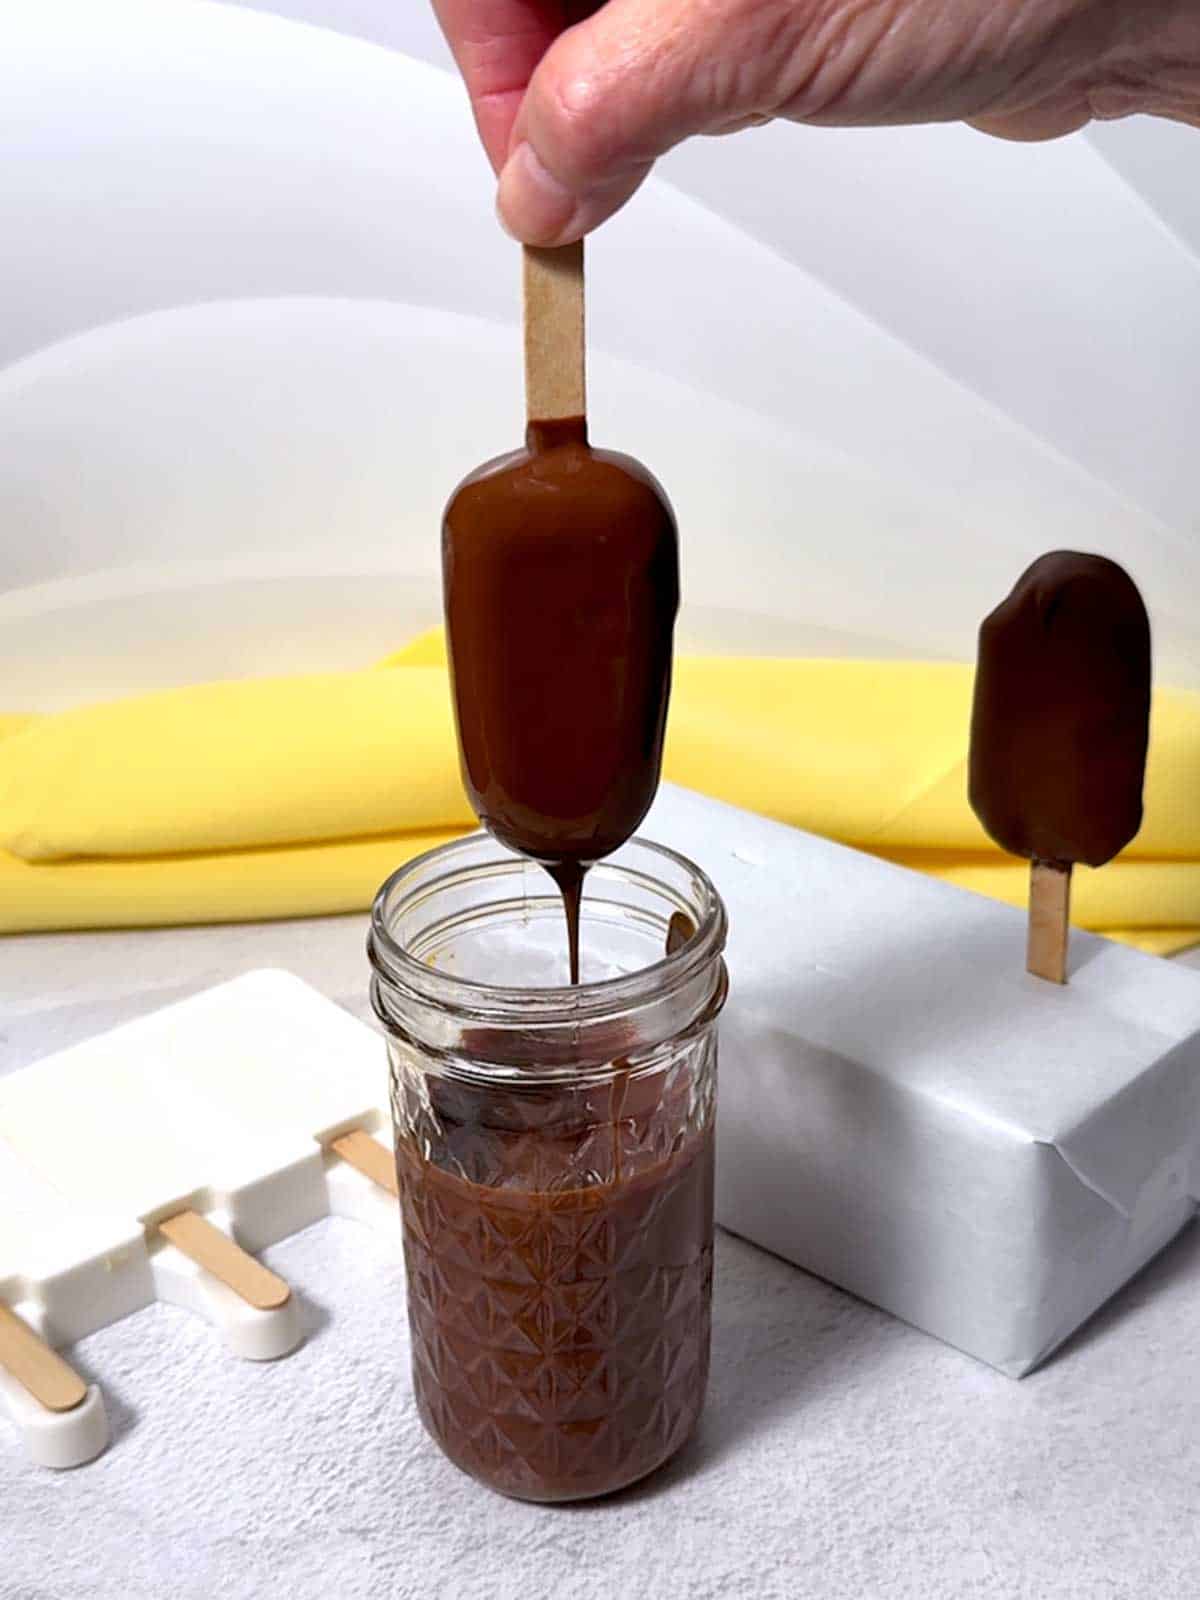
- Dip and Freeze: Carefully remove the ice cream bars from the silicone molds. Dip each ice cream bar in the magic shell, allowing the excess to drip off. Place upright in the prepared stand. Return to the freezer until ready to serve.
These mini chocolate-dipped ice cream bars are a delicious way to cool off and impress your guests. Whether you're making them for backyard gatherings or to stock your freezer, this simple treat brings maximum summer joy in every bite. Yum!
Frequently Asked Questions
It's best to use whole milk in this recipe because it provides better structure and creaminess. While low-fat and skim milk can be used, the ice cream will be softer and melt more quickly.
This recipe is designed for those who want a less sweet, pantry-friendly alternative using milk, sugar, and dry milk powder.
The dry milk powder adds protein to the ice cream bars, helping them freeze firmer and release more cleanly from molds.
The cavities of the silicone mold I used for this recipe are relatively small, 1.5 by 2.7 inches and hold around 1.5 ounces, making these ice cream bars the perfect bite-size treat.
Recipe Tips and Tricks
- In the past, I've tried cardboard boxes and Styrofoam egg cartons to hold the dipped ice cream bars upright while the magic shell hardened. I've found that the dry florist foam works best. It's important to cover the block with butcher paper, wax paper, foil, or decorative paper to ensure it remains food-safe.
- This recipe is scaled to provide the amount needed to fill the 8 cavities of the silicone mold that I used, without leftovers. However, it can be easily doubled.
- If the coconut oil is stored in a warm location, it can separate. If this occurs, stir the coconut oil to combine the liquid and solids.
- The first time I purchased coconut oil, I had no idea what the difference was between unrefined and refined. As it turned out, I purchased unrefined coconut oil, and I quickly learned that it has a distinct coconut taste. Since then, I have always used refined coconut oil, which doesn't taste of coconut.
- The magic shell should cool to room temperature before being used to dip the ice cream bars. If it's too warm, the ice cream will quickly melt. I used a laser thermometer to determine the proper temperature.
- The ice cream in this recipe tends to be softer than no-churn ice cream made with sweetened condensed milk. Therefore, you'll need to work quickly when removing the bars from the silicone molds and dipping them in the magic shell.
- Store the mini chocolate-dipped ice cream bars on parchment paper in an airtight container in the freezer for up to 2 weeks.
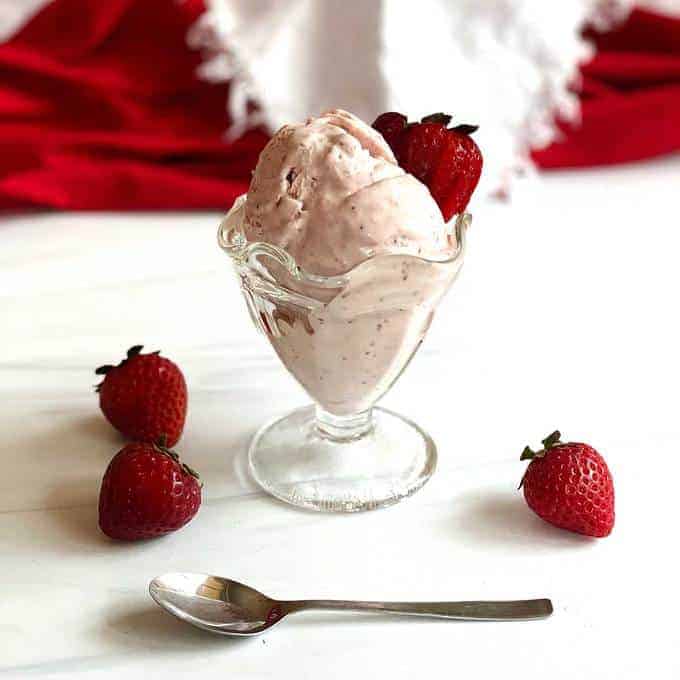
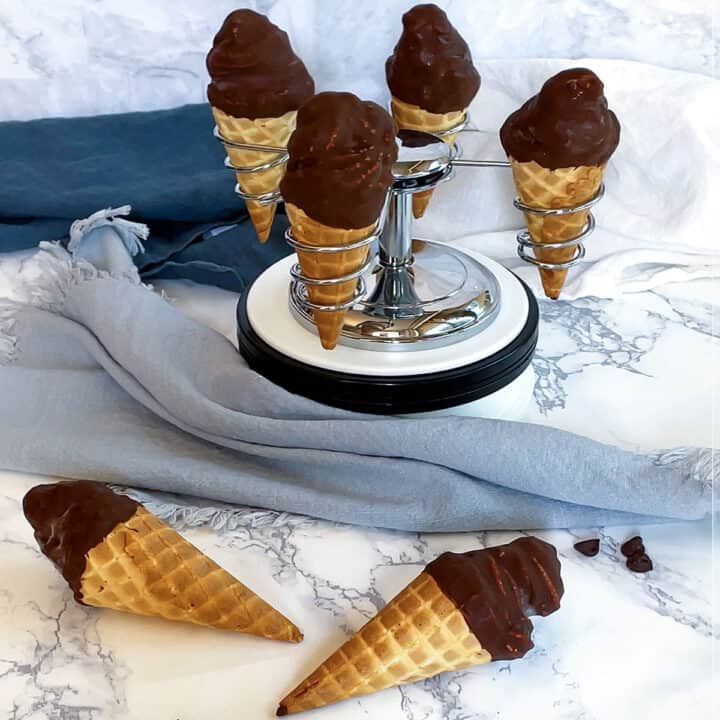
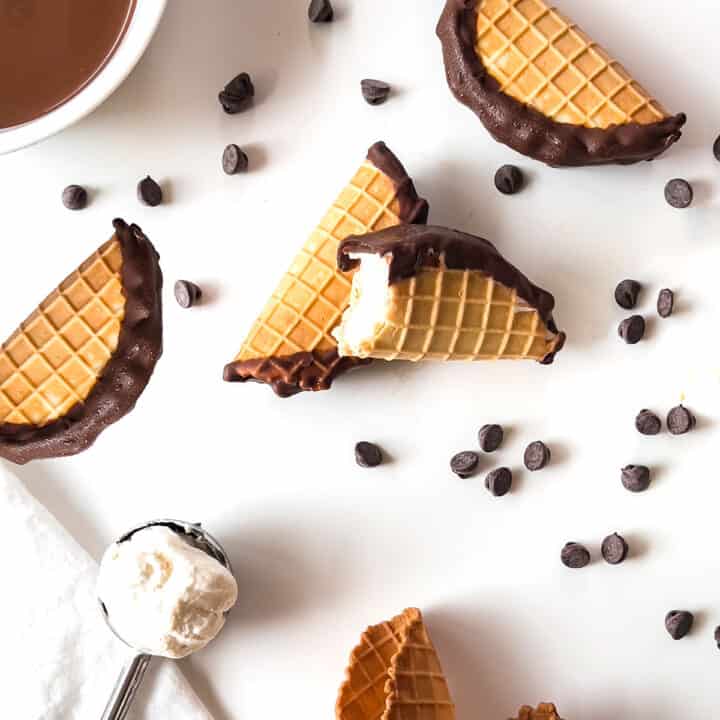
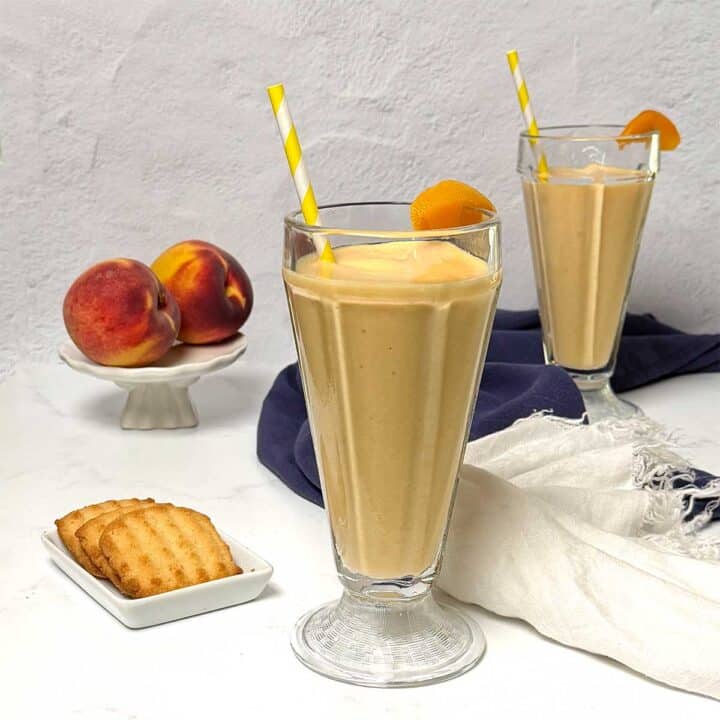
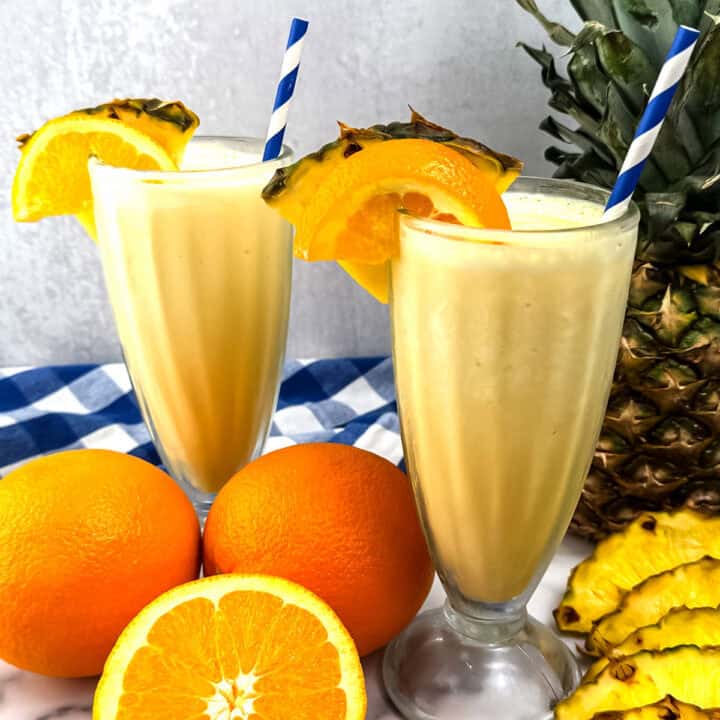
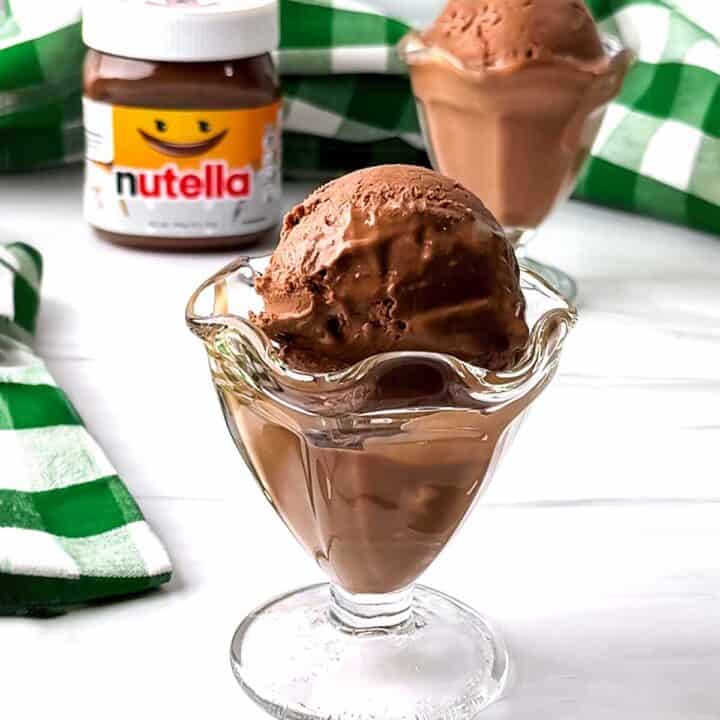
Other No-Churn Ice Cream Treats
As the days are getting hotter, these delicious no-churn ice cream treats will help you stay cool.

Did you make this recipe? We'd love to know how it turned out! Leave a review below. Then, share a picture on Instagram and tag @pudgefactor so we can see it.
Don't forget to follow us on Pinterest, Facebook, YouTube, Flipboard, and Instagram.
Thank you so much for visiting PudgeFactor. We hope you'll come back!
Recipe
Want to Save This Recipe?
Enter your email & I'll send it to your inbox. Plus, enjoy weekly doses of culinary inspiration as a bonus!
By submitting this form, you consent to receive emails from Pudge Factor.
Mini Chocolate-Dipped Ice Cream Bars
Equipment
- Silicone mold with sticks
- piping bag
- Dry Florist Foam for a stand to hold dipped ice cream bars
Ingredients
Ice Cream Base
- ¼ cup (2 ounces) whole milk (See Tip 1)
- ¼ cup (1.75 ounces) granulated sugar
- 1 tablespoon (0.25 ounces, 7 grams) nonfat dry milk powder (See Tip 2)
- 1 teaspoon 0.18 ounces) vanilla extract
- ¼ teaspoon Kosher salt
- ¾ cup (6 ounces) heavy cream, chilled
Magic Shell
- 1 cup (6 ounces) semisweet chocolate chips
- ¼ cup (2 ounces) refined coconut oil (See Tips 3 and 4)
Instructions
Make the Ice Cream Base
- Add the milk and sugar to a microwave-safe measuring cup. Heat in the microwave on high power for 20-25 seconds. Whisk to dissolve the sugar. Add the nonfat dry milk powder, salt, and vanilla extract. Whisk to combine. Chill in the refrigerator for about 30 minutes.
- In a chilled mixing bowl, beat the heavy cream to stiff peaks using a handheld mixer, about 1 to 2 minutes.
- Fold the chilled milk mixture into the whipped cream. Transfer to a piping bag or Ziploc bag. Snip off the end to form an opening of between ¼ and ½ inch.
- Pipe the mixture into 8 silicone molds (1.5 x 2.75 inches each). Tap the molds firmly on the counter to remove air bubbles. Use a small offset spatula to level the tops so the mixture is flush with the mold edges. Wipe any excess from the mold rims for a clean finish.
- Gently insert a wooden stick into each mold about 1½ to 1¾ inches deep, leaving 2 to 2¼ inches exposed. (See Tip 5)
- Place the filled molds on a sheet pan for support and freeze for at least 8 hours or overnight, until they are completely firm.
Magic Shell
- Combine chocolate chips and coconut oil in a microwave-safe bowl. Heat for 30 seconds at full power; stir. Heat for additional 15-second increments until fully melted.
- Transfer the Magic Shell mixture to a tall glass or jar with an opening of approximately 2 ½ inches. Let cool to room temperature. (See Tips 6 and 7)
- Gently remove the frozen bars from the silicone molds.
- Dip each bar into the magic shell, turning to coat all sides. Let the excess drip off. Stand dipped bars upright in dry floral foam, a slotted rack, or your preferred stand until the shell sets, about 1 minute.
- Once dipped, return bars to the freezer in a single layer (or individually wrapped) until ready to serve. Enjoy straight from the freezer!
- Yield: 8 Mini Chocolate-Dipped Ice Cream Bars
Video
Tips/Notes
- For the best texture, use whole milk. Low-fat and skim milk can be used as a substitute, but the texture will not be as creamy or firm.
- The nonfat dry milk provides extra protein, which helps the structure.
- Refined coconut oil doesn't have a coconut taste, so I prefer it to the unrefined coconut oil.
- Coconut oil tends to separate if stored in a warm environment. If it has separated, stir the coconut oil together before using.
- If the mixture is too soft to hold the sticks parallel to the surface, freeze the filled molds for 15-20 minutes before inserting.
- I used a 12-ounce mason jar with a 2 ½-inch opening. This was perfect!
- If the Magic Shell is too warm, it will melt the ice cream when dipped. I used my laser thermometer to measure the temperature, which should be between 86°F and 75°F.

Leave a Reply