
What happens when you take a favorite no-knead focaccia recipe and bake it in individual bun pans instead of a traditional square pan? You get these amazing No-Knead Focaccia Buns.
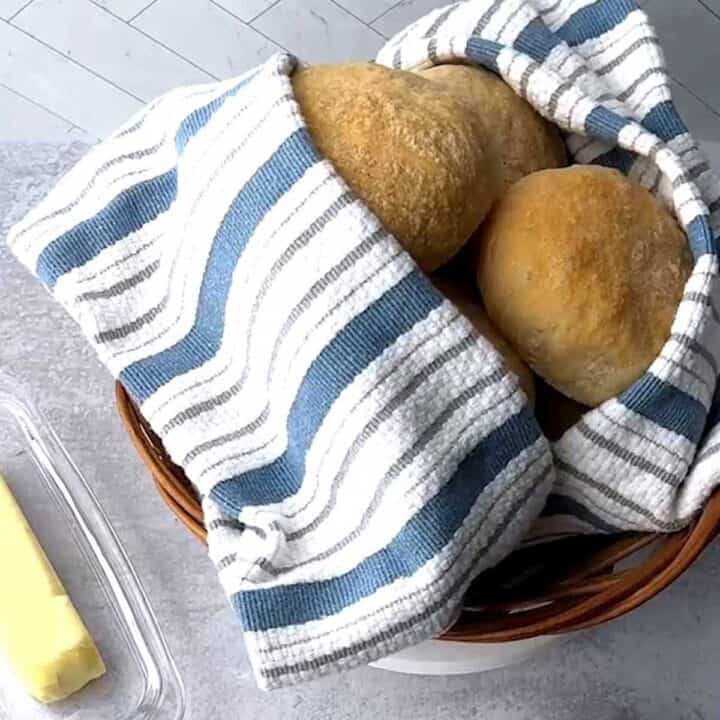
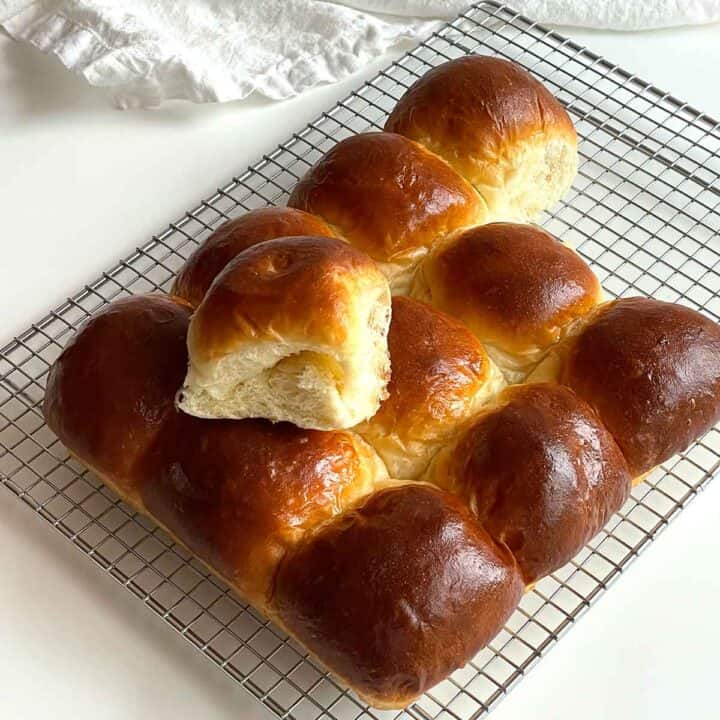
With their golden crust, signature dimples, olive oil-rich flavor, and airy crumb, these buns bridge the gap between classic focaccia and artisan sandwich rolls. They're sturdy enough for hearty sandwiches, yet light enough to let the filling shine.

What began as an experiment turned into amazing individual sandwich buns that retained the signature taste, texture, and characteristics of focaccia.
Whether you're building a gourmet chicken sandwich, making a panini, serving pulled pork, or simply topping one with butter and a poached egg, these focaccia buns are anything but ordinary. Yum
Jump to:
Why You'll Love This Recipe
- The easiest bread recipe you can imagine - no-kneading required
- Light and airy crumb with golden crispy crust and signature focaccia dimples
- Perfect for sandwiches and panini
- Easy make-ahead dough with a flexible refrigeration option
- Bakery-quality results at home
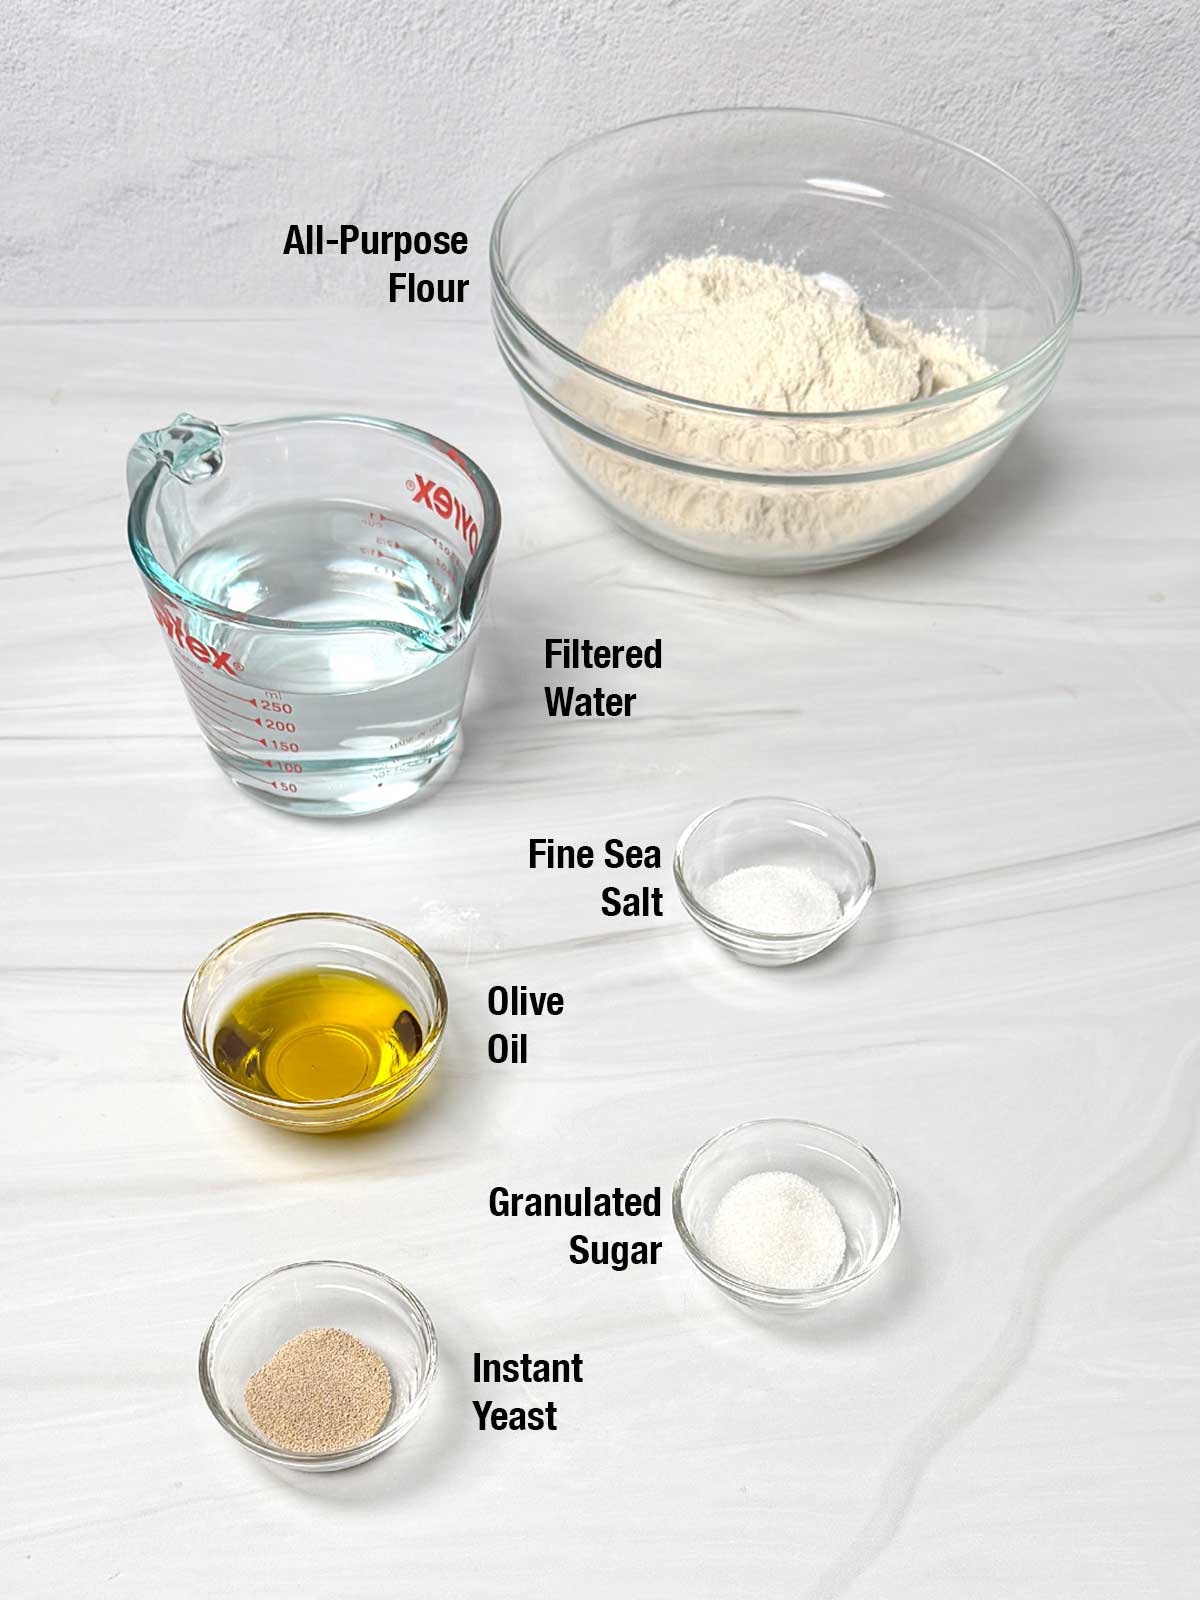
Simple Ingredients - Amazing Results
Step-by-Step Instructions
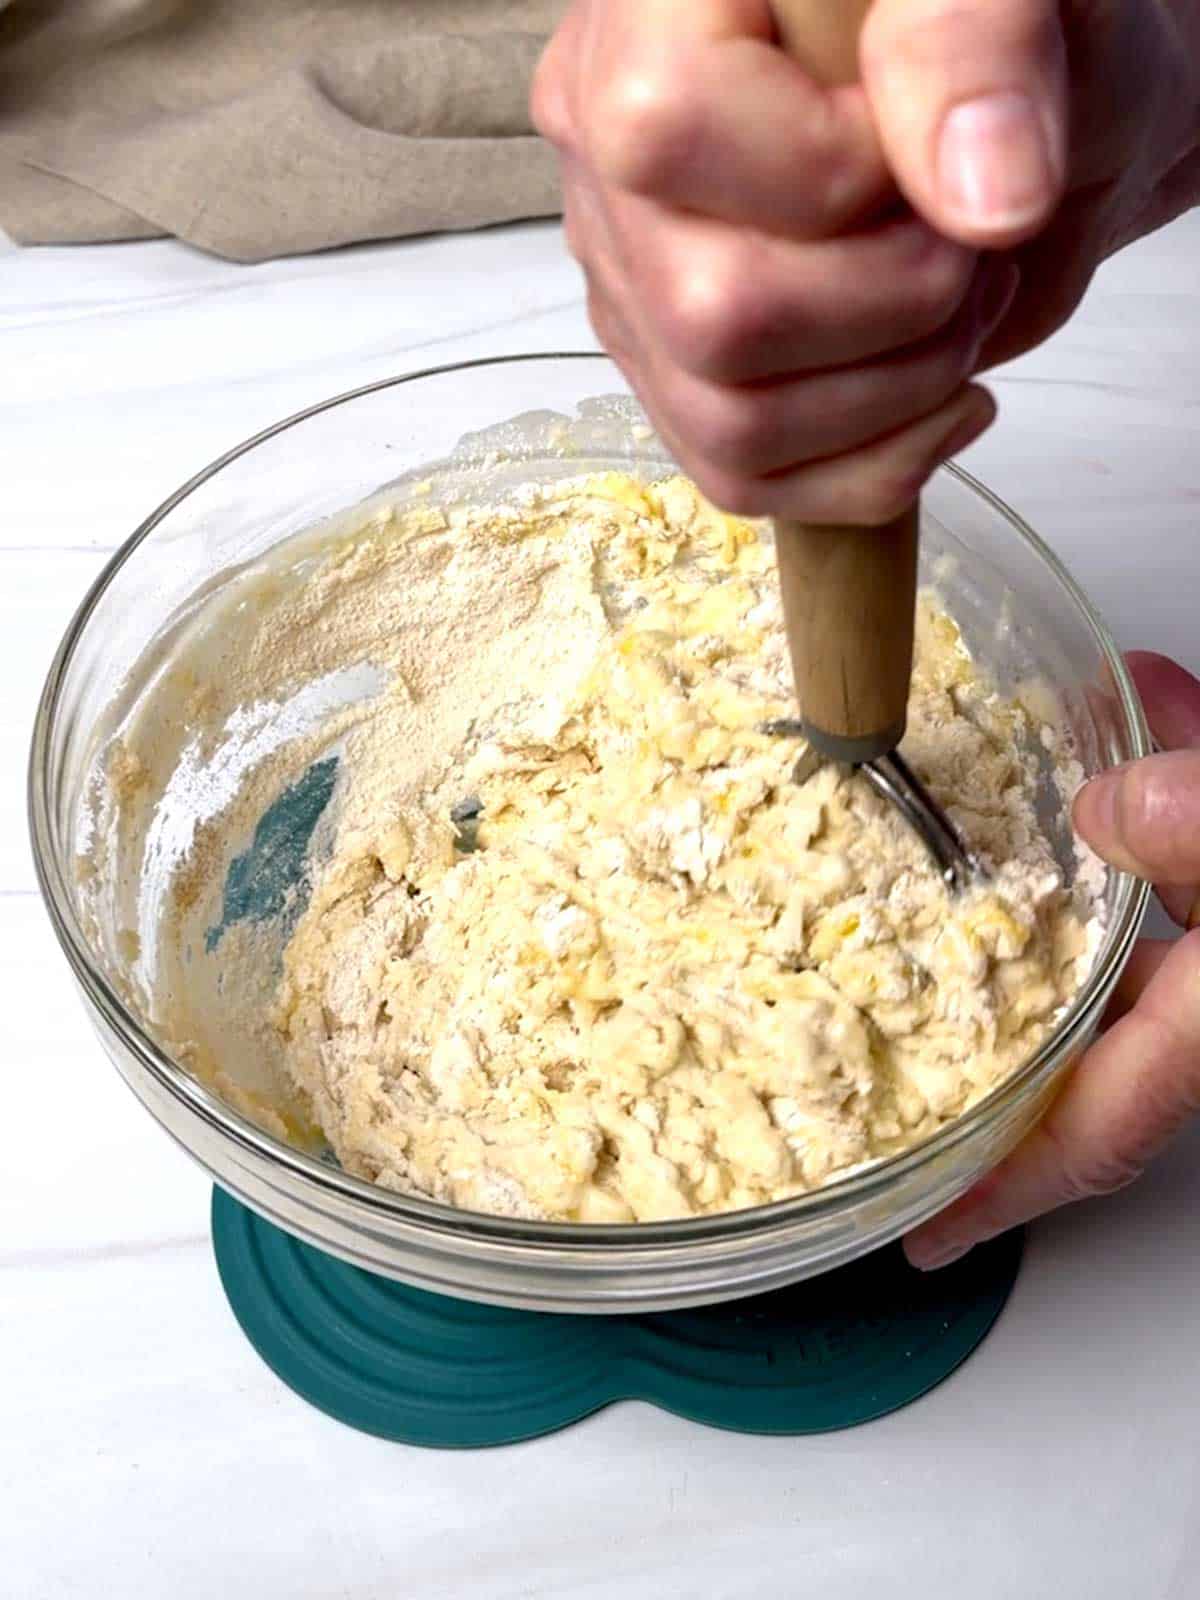
- Mix the Dough: Whisk together the flour, salt, sugar, and instant yeast in a large bowl. Add warm water (90° to 100°) and olive oil. Stir until the dough is fully hydrated and no dry flour remains. The dough will be shaggy. Cover and let rest for 15 minutes.
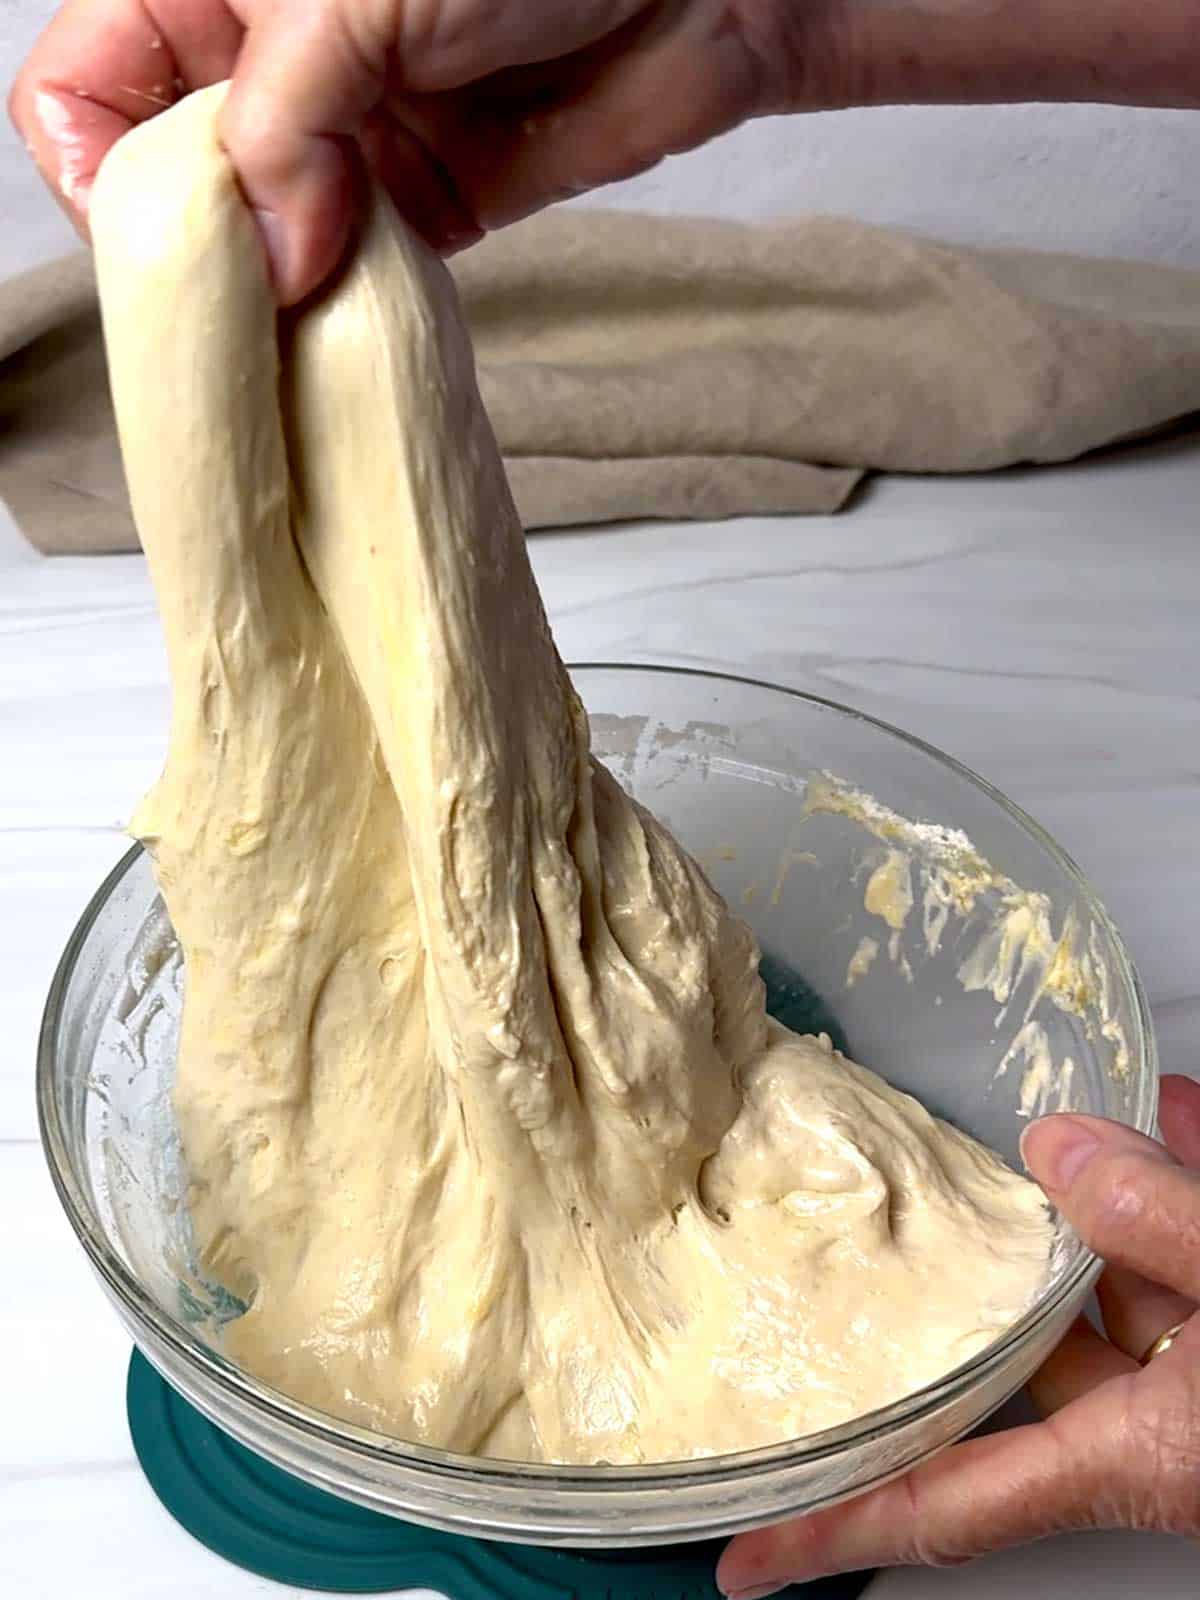
- Perform Stretch and Fold: Using wet hands, grab one side of the dough, stretch upward, and fold it toward the center. Continue around the bowl 8 to 10 times until you've completed a full circle. Flip the dough so the smooth side is facing up. Cover and rest for 15 minutes. Repeat this process three more times at 15-minute intervals. Here's what it looks like at the last 15-minute interval.
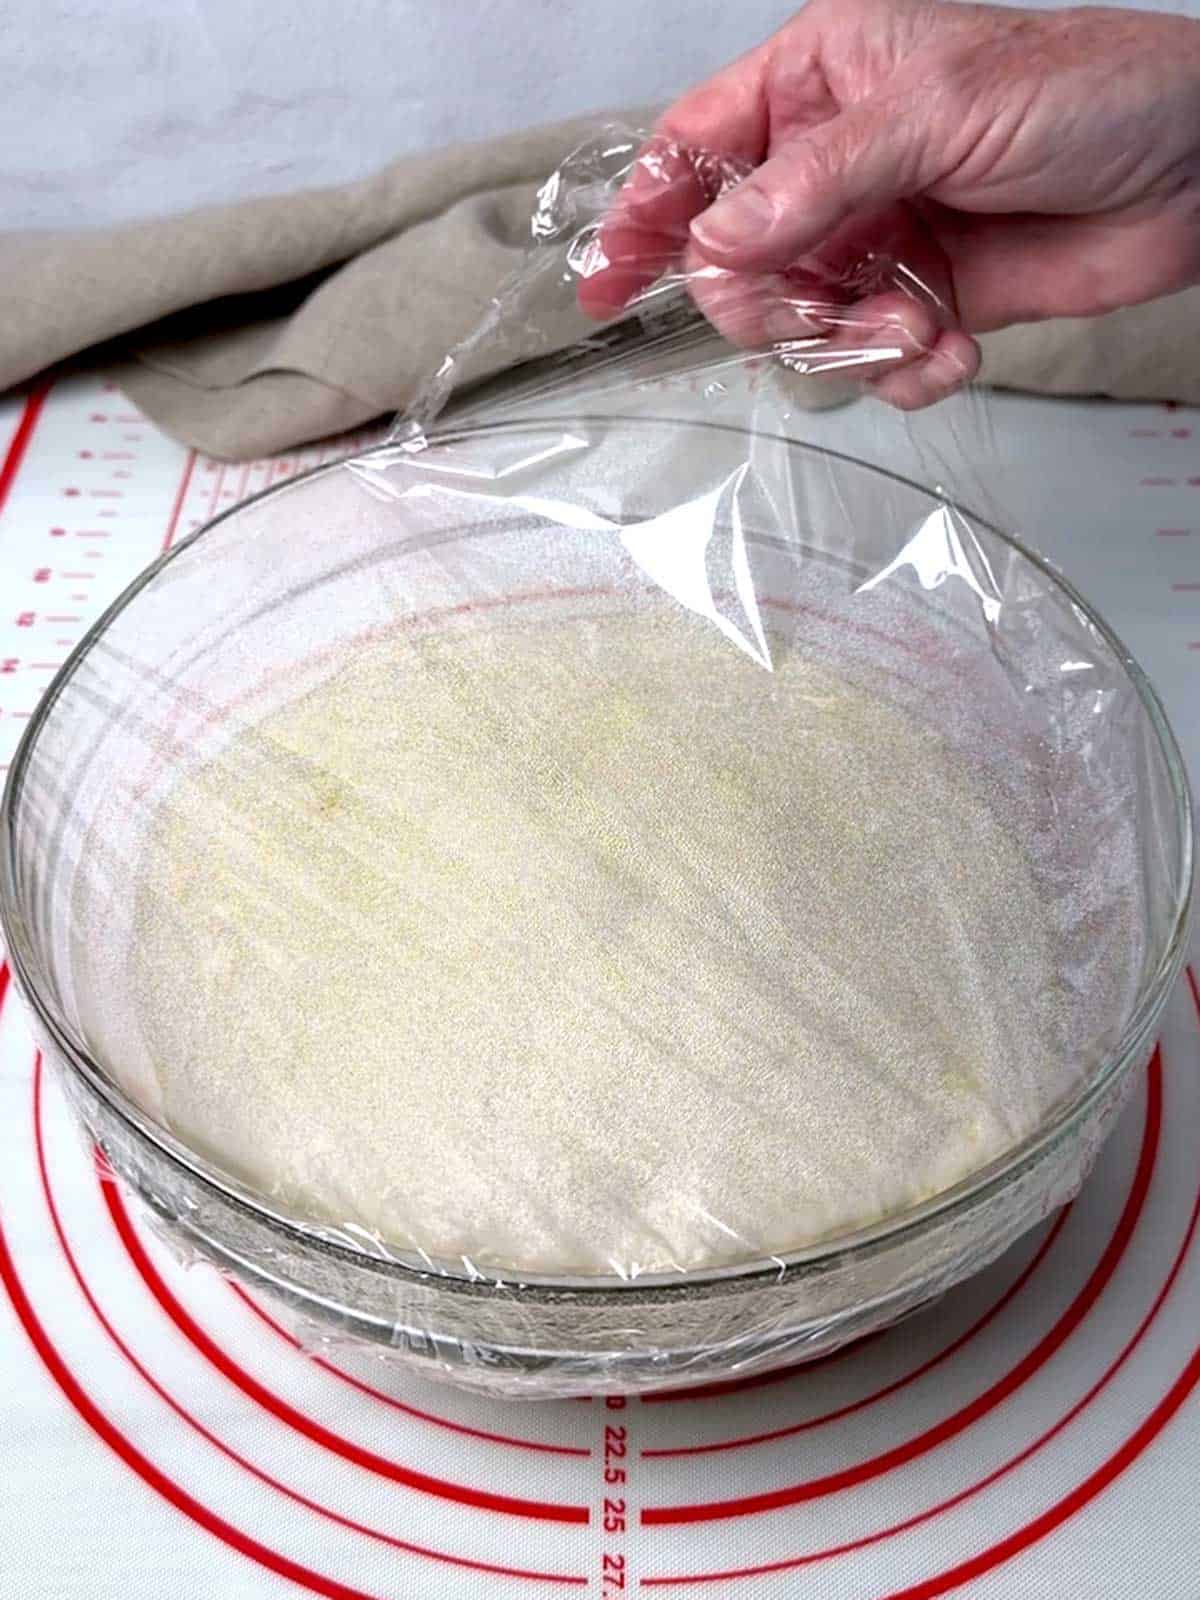
- Refrigerate the Dough: After the fourth stretch-and-fold, cover the bowl tightly and refrigerate for approximately 3 hours. This cold fermentation makes the dough easier to handle and adds additional flavor.
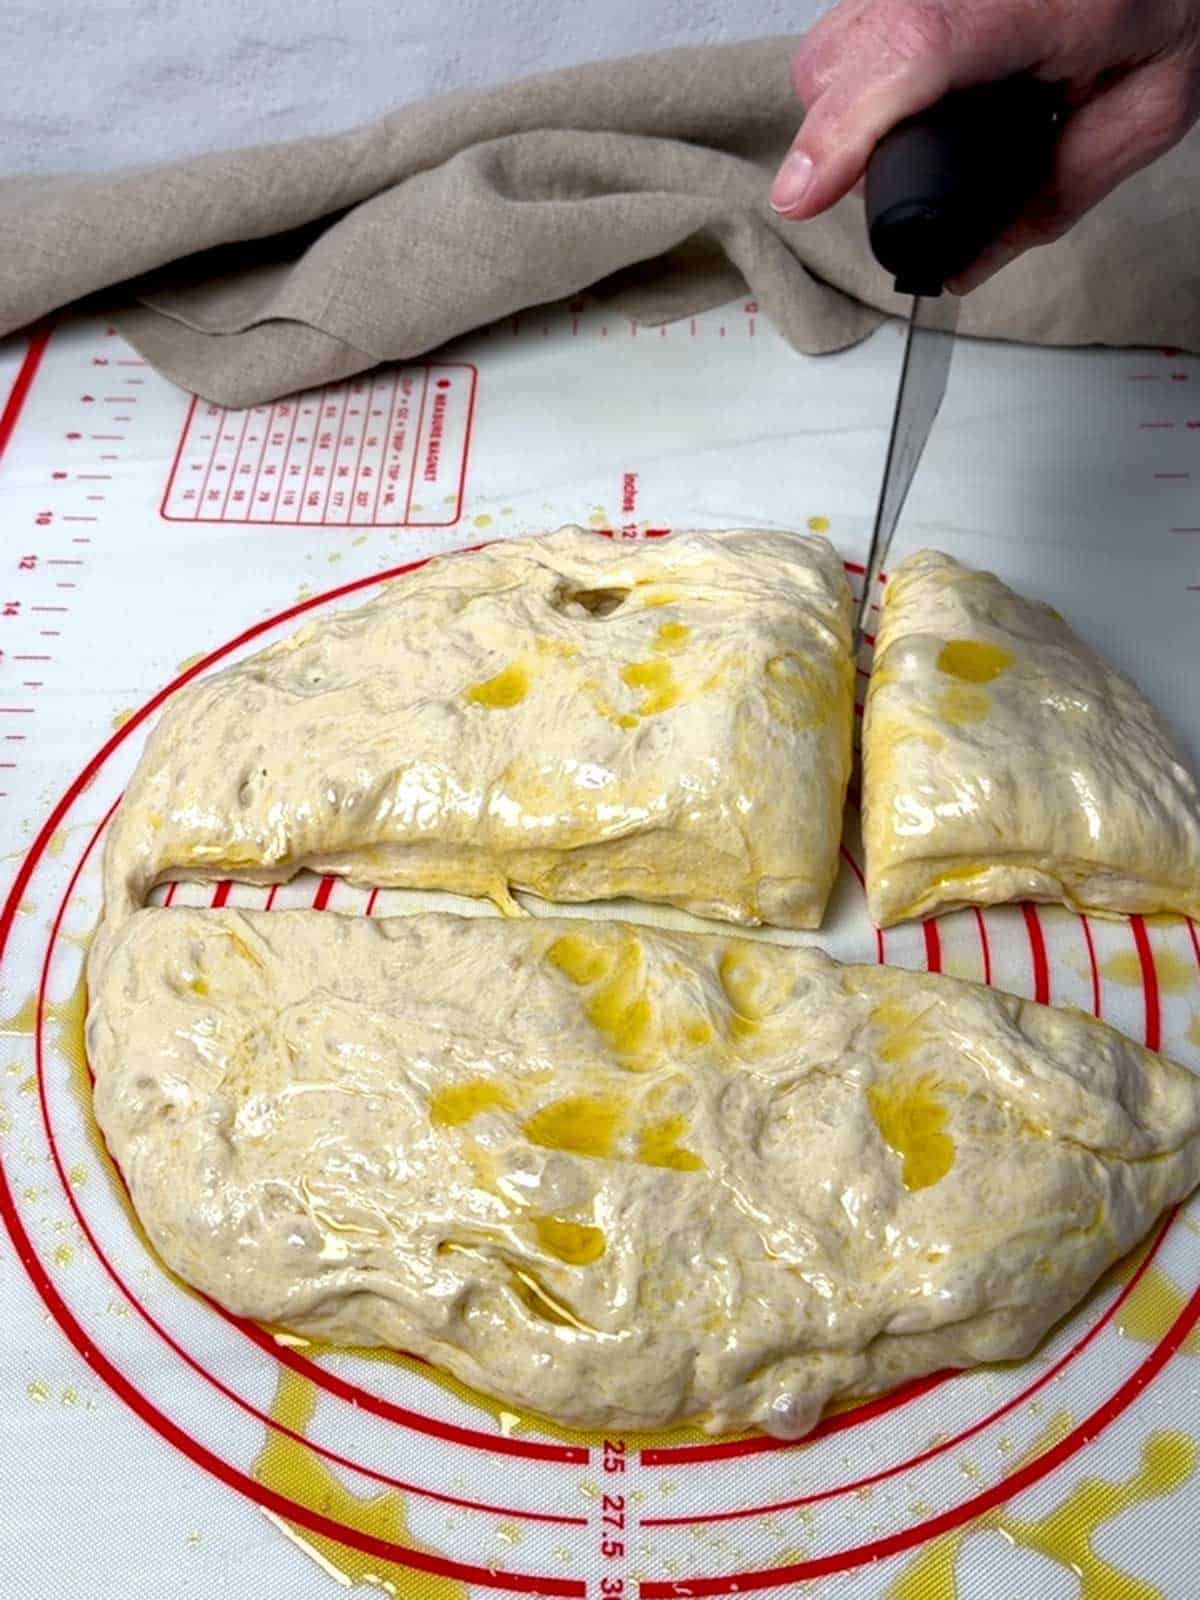
- Portion the Dough: Remove the dough from the refrigerator and allow it to sit at room temperature for 20 to 30 minutes. Lightly oil the 6-cavity bun pan. Turn the dough onto a lightly oiled work surface and divide it into six equal portions (each weighing approximately 3.9 ounces or 111 grams). Place each portion into a cavity of the bun pan.
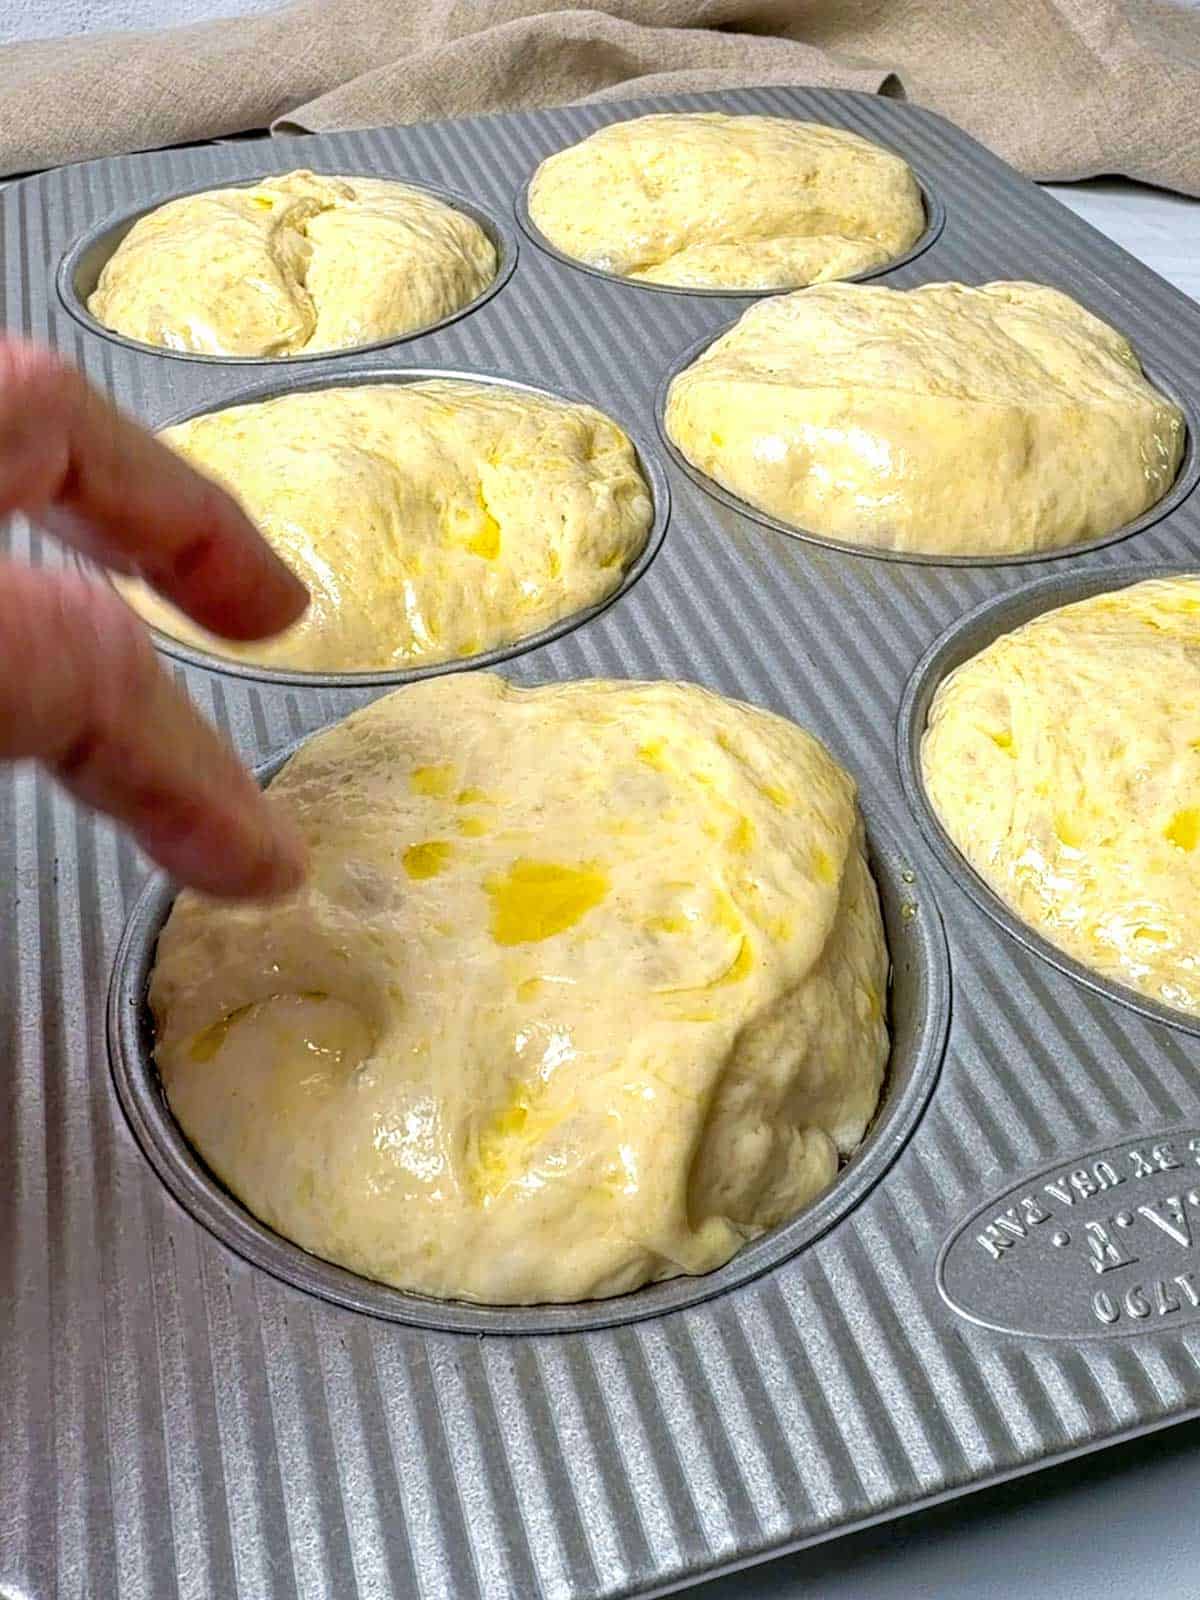
- Final Rise: Cover the pan and let the dough rise at room temperature until it is soft, puffy, and relaxed. In my 73°F kitchen, this took approximately 1 ½ hours. The dough is ready when a lightly oiled fingertip leaves an indentation that slowly fills in.
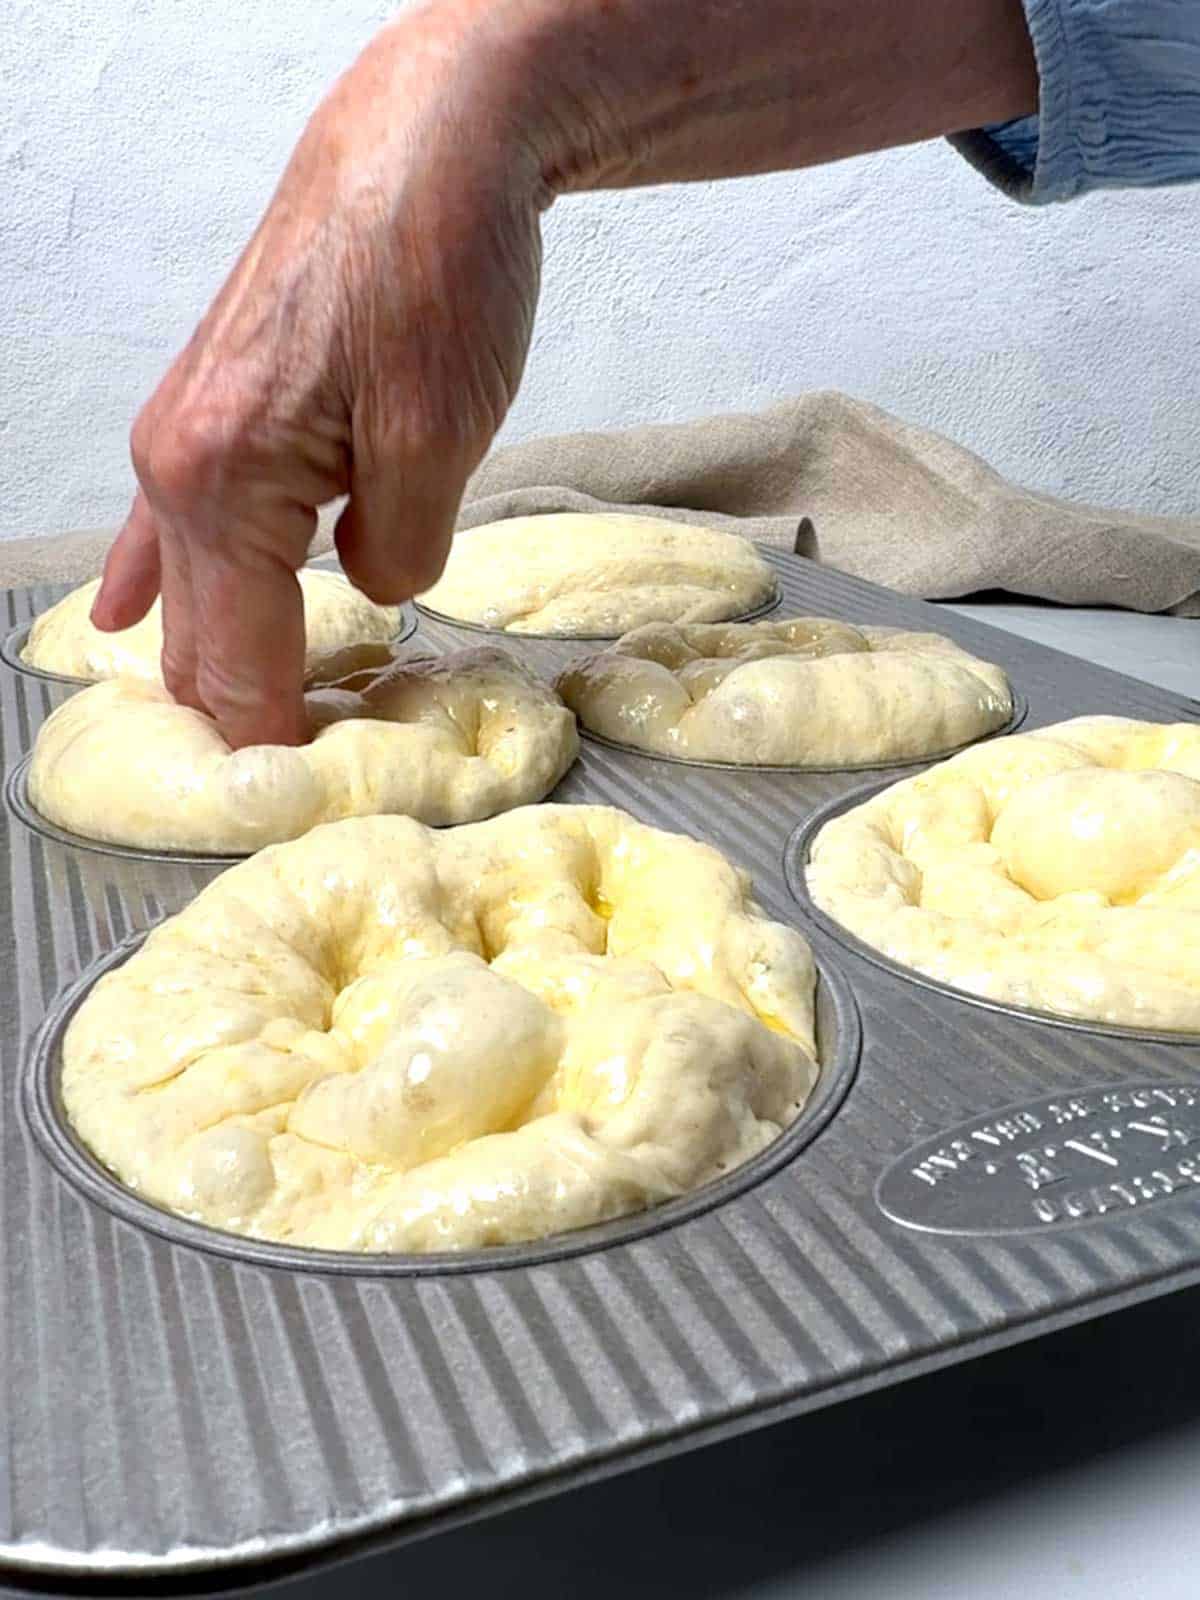
- Dimple and Top: Preheat the oven to 475°F. Using oiled fingertips, gentle dimple each bun. Lightly drizzle olive oil over the tops of the buns and sprinkle with flaky sea salt.
- Bake: Bake at 475°F for 7 minutes. Then rotate the pan front to back and continue baking for 9 additional minutes. Remove the buns from the pan and place them directly on the oven rack, and bake for an additional 3 minutes. This final step crisps the sides and bottom beautifully. Cool completely on a wire rack.

These No-Knead Focaccia Buns may have started as an experiment, but they quickly earned a permanent place in my kitchen. With their golden crust, airy crumb, and unmistakable focaccia character, they're perfect for sandwiches, paninis, burgers, and even breakfast. In fact, they quickly became the Master Taste Tester's favorite breakfast. Yum!

Chula's Test Kitchen Discussion and Tips
This recipe began as a simple question: Could my favorite No-Knead Focaccia recipe be made into individual sandwich buns?
The dough was refrigerated after the fourth stretch-and-fold, divided into six portions, and baked in a 4-inch bun pan.
Initially, I was worried the buns might be too tall. After slicing one open, however, it became clear that much of the height was simply air. The crumb was light and airy, and perfectly suited for artisan sandwiches.
Even better, my husband, who was treated to a buttered sacrificial focaccia bun with a poached egg and a side of bacon, immediately requested the same breakfast for the following morning!
I'd call that a successful experiment.
The key to success with this recipe is to weigh your ingredients, especially the flour.
Use a digital scale not only to weigh your ingredients but also to divide the dough into equal portions. If you don't have a digital scale, do yourself a favor and get one. They're inexpensive, and I use mine daily!
Focaccia dough is quite sticky. Oil your work surface instead of using flour to make it easier to handle the dough.
Don't worry if the dough deflates slightly when dimpling. As soon as you put it in the oven, it will rise again!
Frequently Asked Questions
Yes. The dough can remain refrigerated for several hours and even overnight. The slow rise in the refrigerator actually helps to improve the flavor.
Absolutely! Allow the buns to cool completely. Then freeze in a gallon freezer Ziploc bag for up to three months.
No - not even close. Focaccia buns have a crispier crust, oilve oil flavor, more open crumb, and sturdier texture than traditional hamburger buns.
Make sure your yeast is fresh and give the dough enough time to warm after refrigeration.
No. Active dry yeast needs to be mixed with water to bloom before use, whereas instant yeast can be added directly to the ingredients. I consistently use instant yeast in my recipes.
Other Yeast Bread Favorites
To me, yeast is a magical ingredient, and bread-making is one of my favorite things to do! Here are some of my favorites.


Did you make this recipe? We'd love to know how it turned out! Leave a review below. Then, share a picture on Instagram and tag @pudgefactor so we can see it.
Don't forget to follow us on Pinterest, Facebook, YouTube, Flipboard, and Instagram.
Thank you so much for visiting PudgeFactor. We hope you'll come back!
Recipe
Want to Save This Recipe?
Enter your email & I'll send it to your inbox. Plus, enjoy weekly doses of culinary inspiration as a bonus!
By submitting this form, you consent to receive emails from Pudge Factor.

No-Knead Focaccia Buns
Equipment
- 6-cavity bun pan with 4-inch diameter cavities
- Digital scale
- Bench scraper
Ingredients
- 2½ cups 12.5 ounces, 354 grams all-purpose flour
- 1½ teaspoons fine sea salt
- 1 teaspoon granulated sugar
- 1 teaspoon instant yeast
- 1¼ cups (10 ounces, 284 grams) warm water (90°F to 110°F)
- 1½ Tablespoons (1.5 ounces) extra-virgin olive oil
- 1 Tablespoon extra-virgin olive oil, divided
- Flaky sea salt, such as Maldon
Instructions
- Whisk together the flour, salt, sugar, and yeast in a large bowl. Add the water and olive oil. Stir until no dry flour remains and the dough is thoroughly combined. Cover the bowl and allow the dough to rest for 15 minutes.
- With a wet hand, grab one side of the dough, stretch it upward, and fold it into the center. Continue around the bowl 8 to 10 times until you've completed a full circle. Flip the dough over so the smooth side is facing up. Cover and rest for 15 minutes.
- Repeat the stretch-and-fold process three more times at 15-minute intervals.
- After the fourth stretch-and-fold, cover the bowl tightly and refrigerate for approximately 3 hours. Note: The dough may be refrigerated longer if desired. The cold fermentation adds flavor and provides flexibility in scheduling.
- Remove the dough from the refrigerator and let it sit at room temperature for about 20 to 30 minutes.
- Lightly oil the cavities of a 6-cavity bun pan.
- Turn the dough onto a lightly oiled work surface.
- Weigh the dough. It should weigh approximately 23.5 ounces (667 grams). Divide the dough into six equal portions, each weighing approximately 3.9 ounces (111 grams). Gently transfer each portion into a cavity of the prepared pan.
- Cover the pan and allow the dough to rise at room temperature until puffy and relaxed, about 1½ hours at 74°F. The dough should feel soft and airy. A lightly oiled fingertip pressed into the dough should leave an indentation that slowly fills in.
- Preheat the oven to 475°F.
- Using one hand and oiled fingertips, gently dimple each bun several times. Lightly brush or drizzle olive oil over the tops of the buns. Sprinkle with flaky sea salt.
- Bake for 7 minutes. Rotate the pan front to back. Continue baking for an additional 9 minutes, for a total bake time of 16 minutes.
- Remove the buns from the oven and immediately remove them from the pan. Place the buns directly on the oven rack and bake for an additional 3 minutes to crisp the crust. Transfer to a wire rack to cool completely.
- Yield: 6 Focaccia Buns
Video
Tips/Notes
- Refrigerating the dough after the fourth stretch-and-fold makes the dough easier to handle and develops additional flavor.
- These buns are not traditional hamburger buns. They are individual focaccia rolls with an airy crumb and artisan texture.
- Excellent for chicken sandwiches, panini, deli sandwiches, burgers, pulled pork, or toasted with butter and topped with a poached egg.
- During testing, the finished buns appeared tall, but the interior crumb proved remarkably light and airy with excellent sandwich proportions.


Leave a Reply