

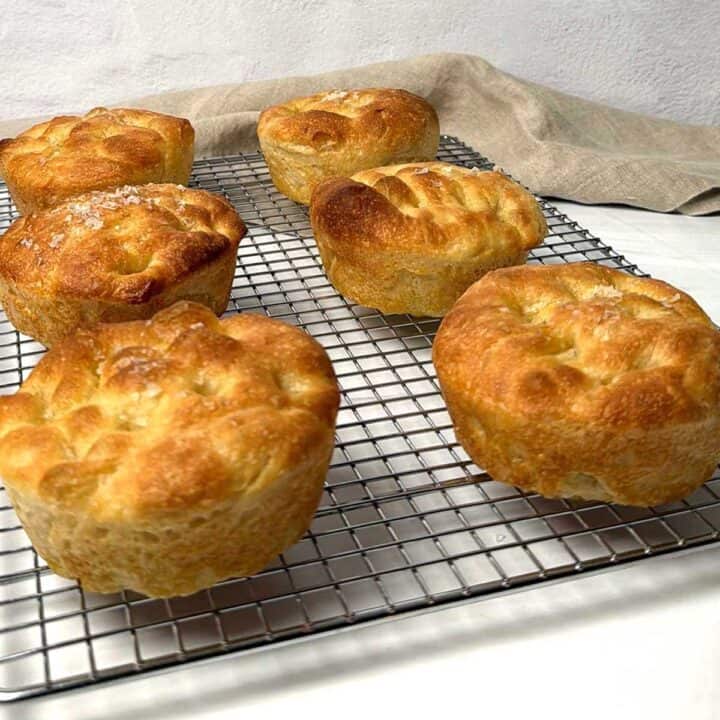
Mini Focaccia Loaves transform a simple no-knead dough into eight individual breads with crisp golden edges, pillowy centers, and the unmistakable flavor of olive oil and flaky sea salt.
Instead of baking one large square of focaccia and cutting it into pieces, the dough is divided among the cavities of a mini loaf pan. Every loaf develops four beautifully browned sides while remaining light and airy inside.
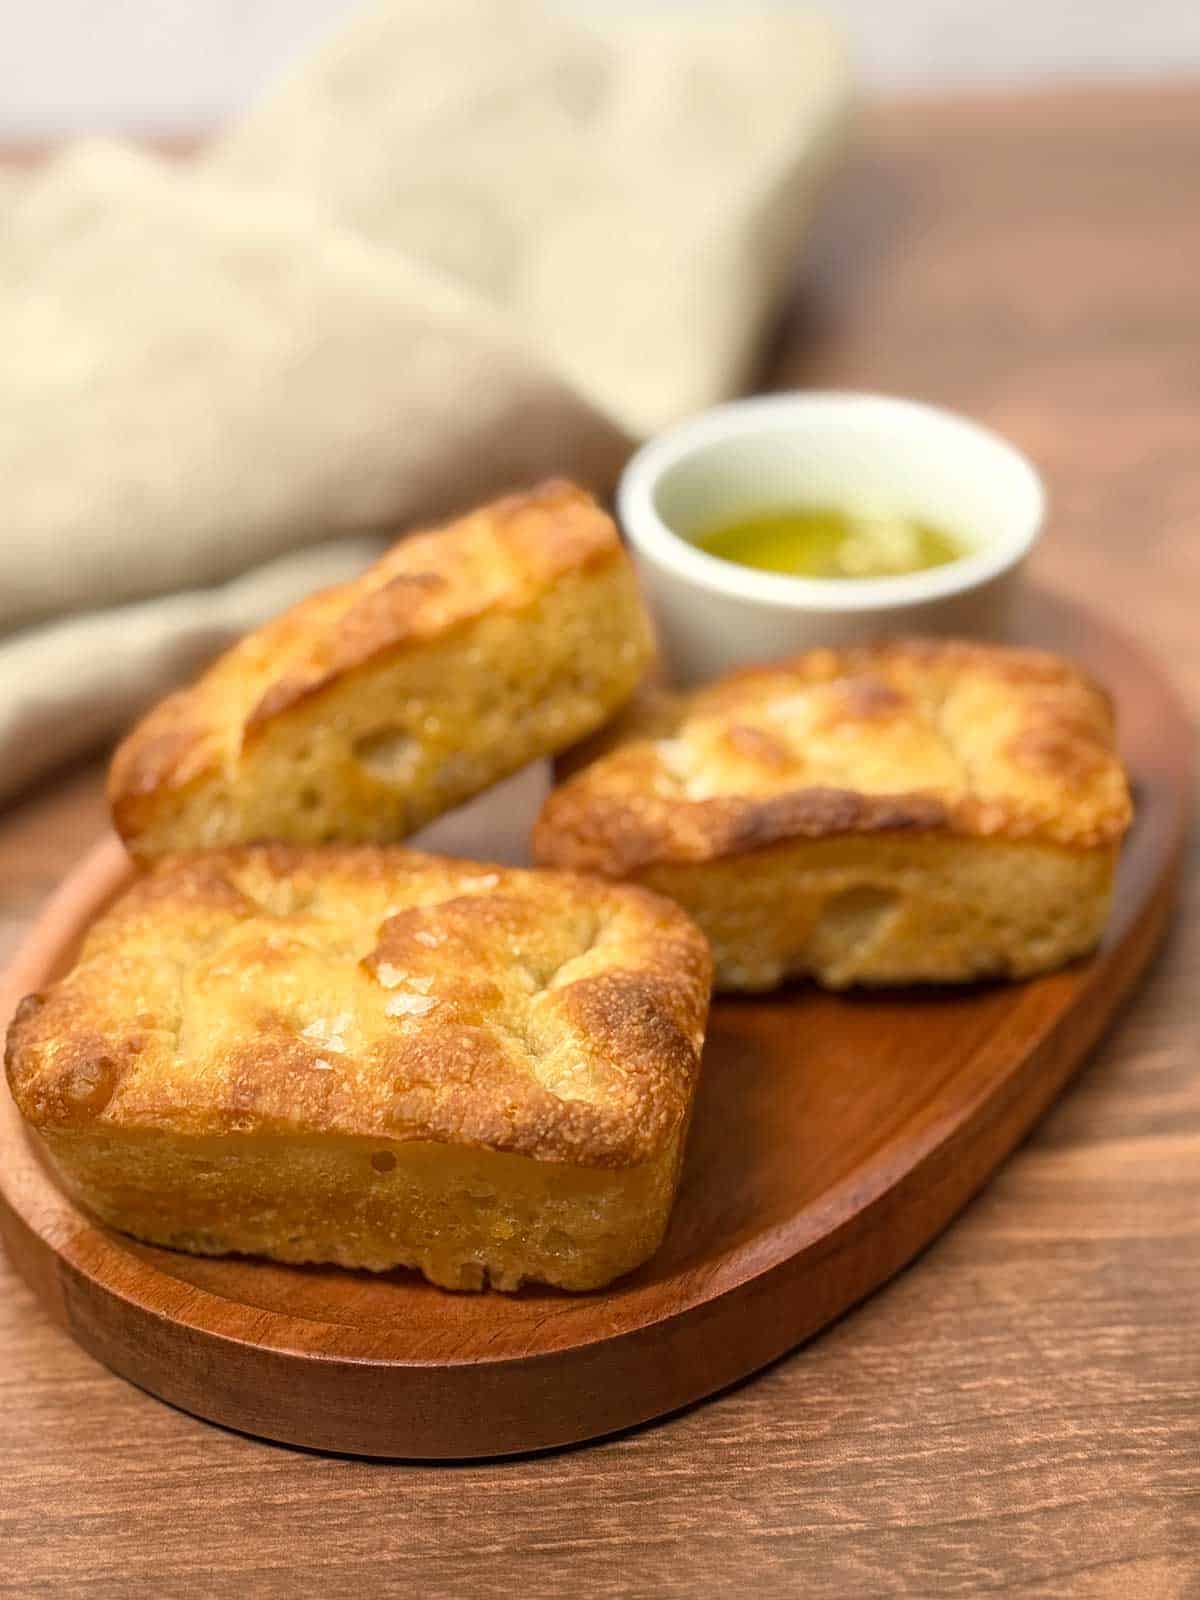
These individually portioned focaccia breads are perfect with pasta, soup, salad, or a bowl of olive oil for dipping. They also make an inviting addition to a dinner bread basket and can be frozen individually for convenient reheating.
Quick Look at the Recipe
- Difficulty: Easy, with minimal hands-on, but a lot of resting time
- Method: No-knead stretch-and-fold dough
- Texture: Crisp outside, soft, light, and airy inside
- Make-ahead: Dough may be refrigerated overnight
- Best served with: Pasta, soup, salad, dipping oil, or main course side dish
Jump to:
Why You'll Love This Recipe
- No kneading required: A simple series of stretch-and-folds develops the dough without a stand mixer, bread machine, or traditional kneading.
- Individual servings: Each person gets a separate little loaf with no slicing or cutting required.
- Crispy edges: Because every loaf bakes in its own cavity, each one develops four golden sides and a crisp bottom.
- Versatile: These mini focaccia loaves are perfect with creamy pasta, hearty soup, salads, roasted meats, or an olive oil dipping sauce.
- Make-ahead convenience: The dough can be prepared and refrigerated for a slow rise; the individual loaves can be frozen separately, allowing you to reheat only the number needed.
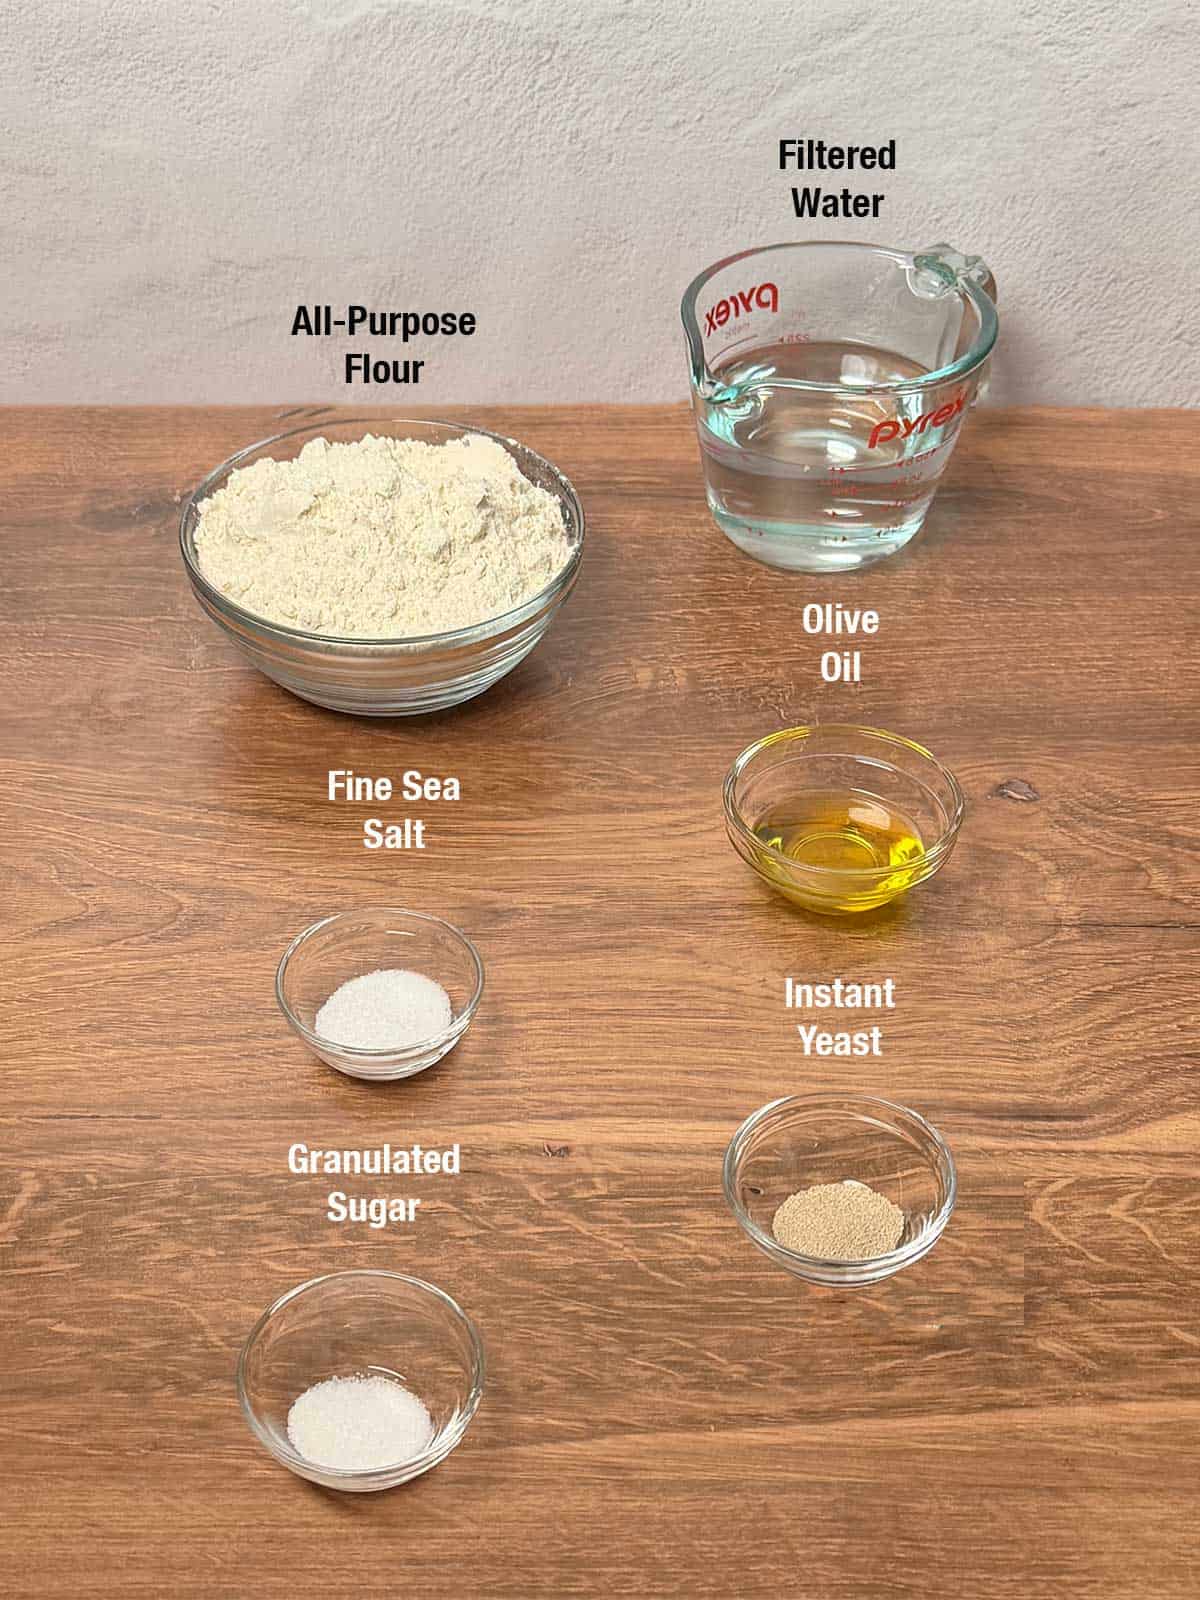
Ingredients - Here's What You'll Need for the Dough
Simple ingredients, maximum flavor.
Steps to Make Mini Focaccia Loaves
- Mix the Dough: Add the flour, sugar, fine sea salt, and instant yeast to a medium bowl; stir to combine. Then add warm water and olive oil. Mix for about one minute, or until no dry flour remains. At this point, the dough will be sticky and shaggy. Cover the bowl with plastic wrap and allow the dough to rest for 15 minutes.
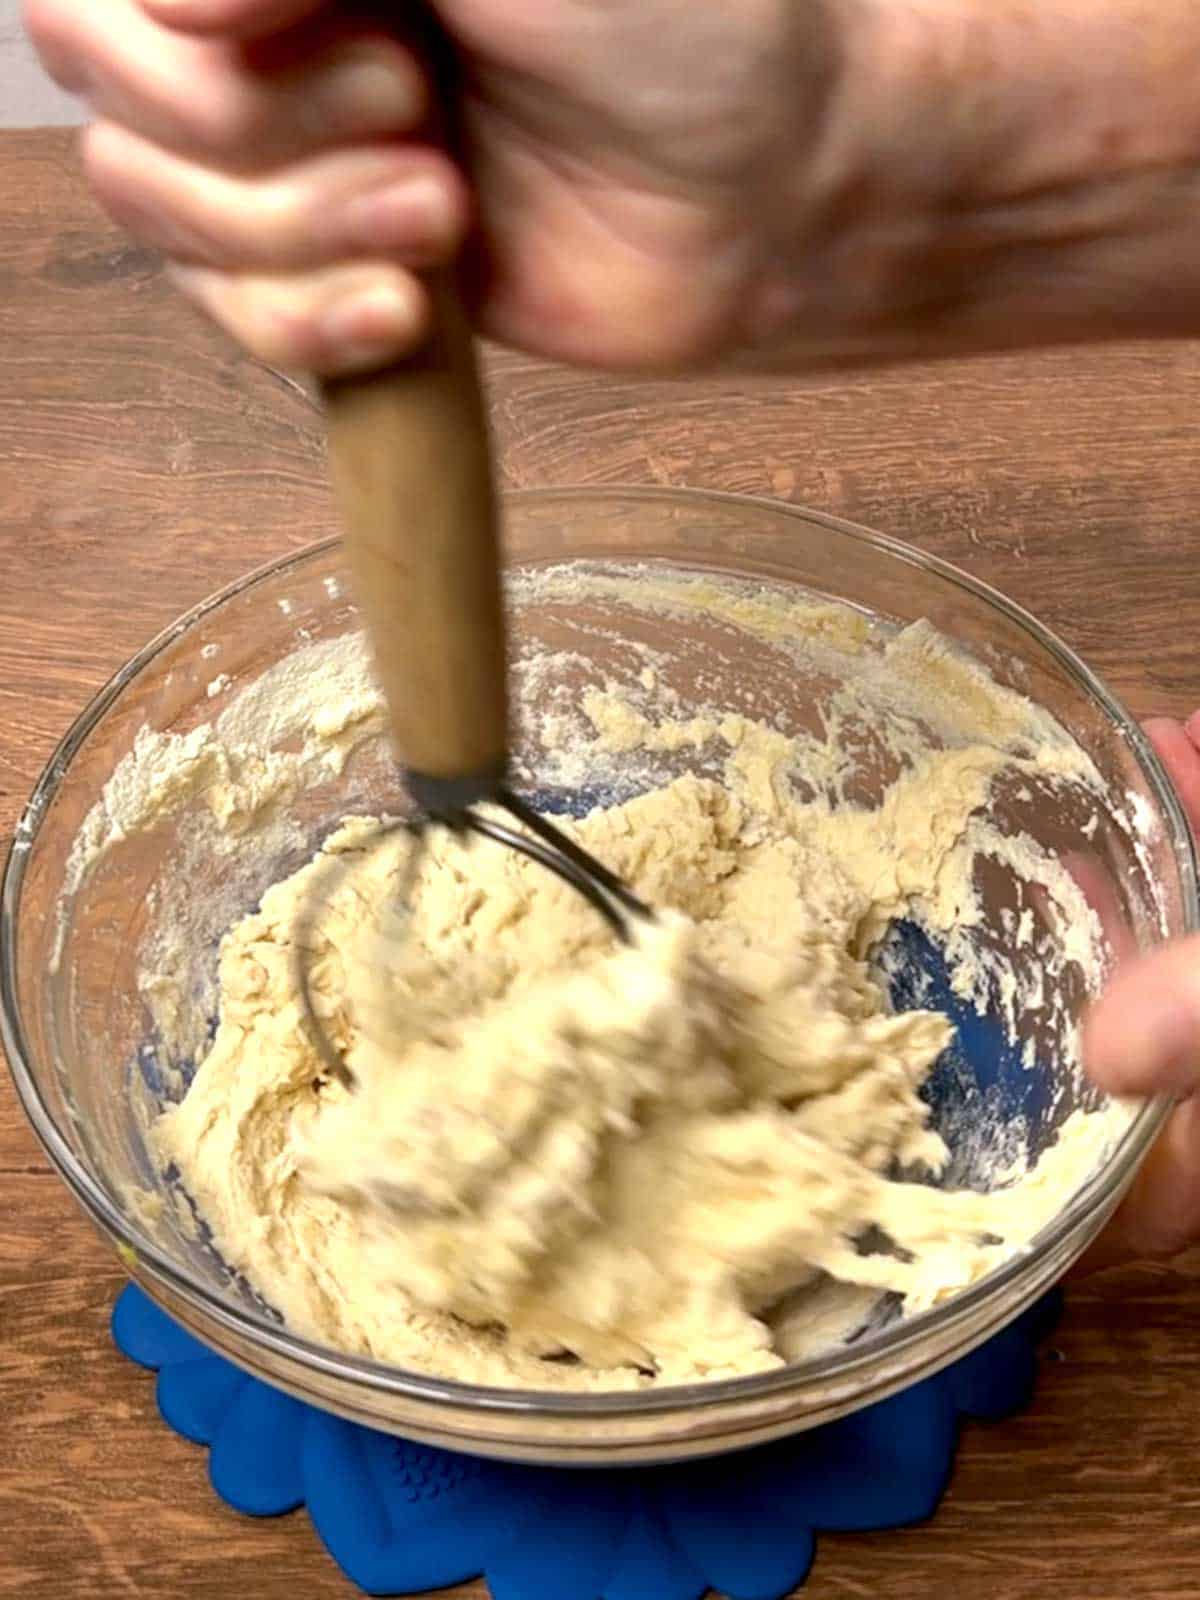
- Perform the first stretch-and-fold: Wet one hand to keep the dough from sticking. Grasp one edge of the dough, gently stretch it upward, and fold it toward the center. Rotate the bowl and continue stretching and folding the dough eight to ten times, or until you've worked your way around the bowl. Turn the dough over so that the smoother side faces upward. Cover with plastic wrap and allow it to rest for 15 minutes.
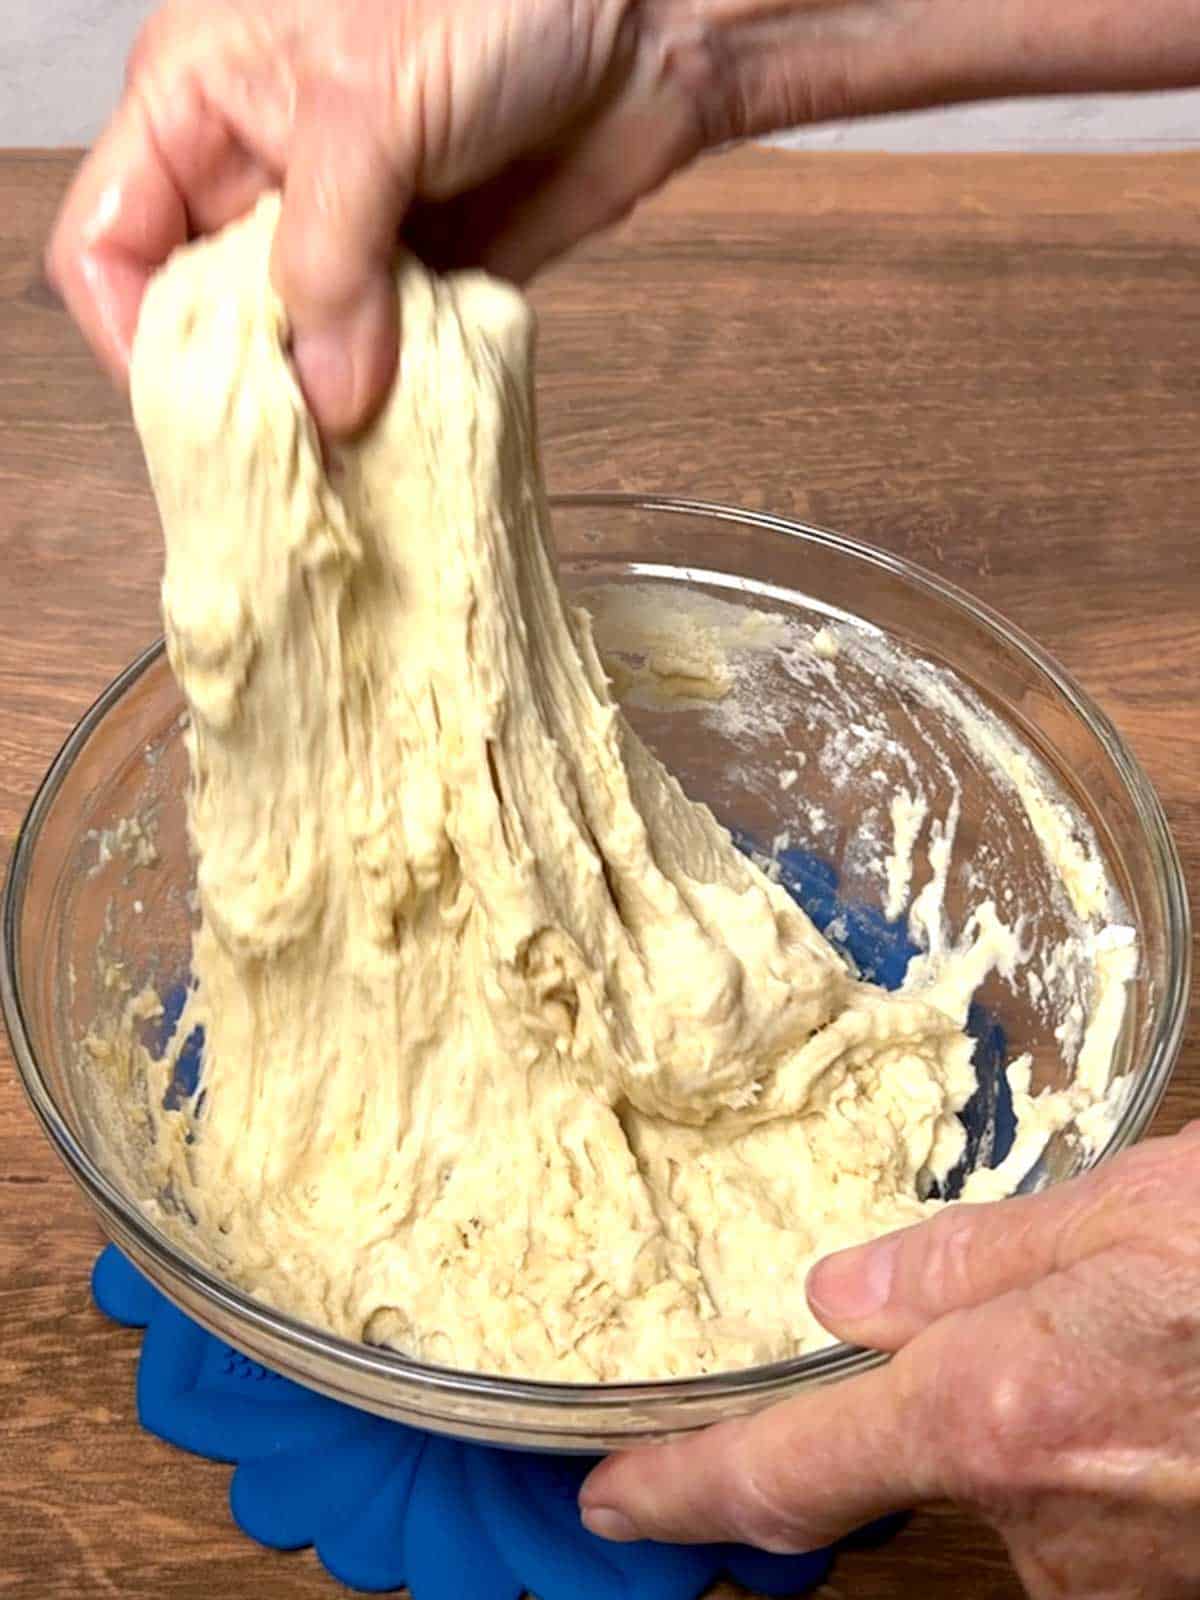
- Repeat the stretch-and-fold process 3 more times, allowing the dough to rest for 15 minutes between each round. After the fourth and final stretch-and-fold, cover the bowl and let the dough rise in a warm place for an hour. The dough should become noticeably puffy and may show bubbles on the surface.
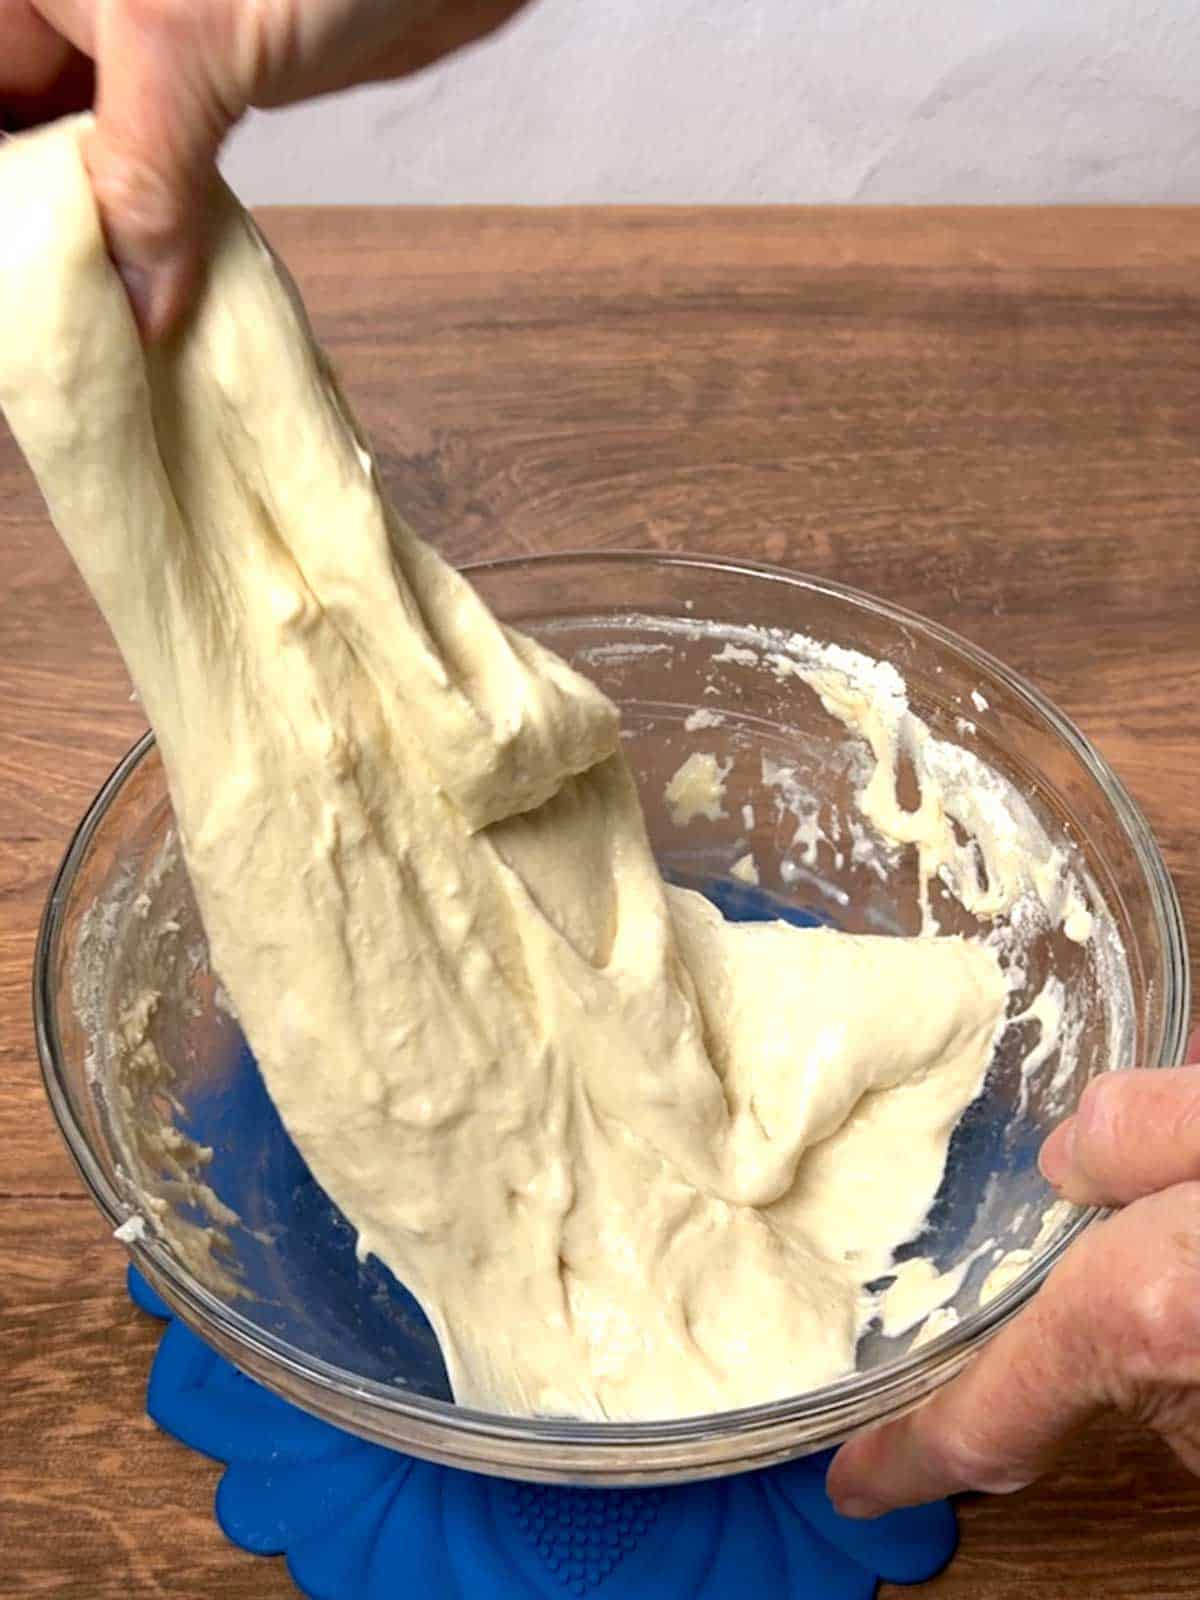
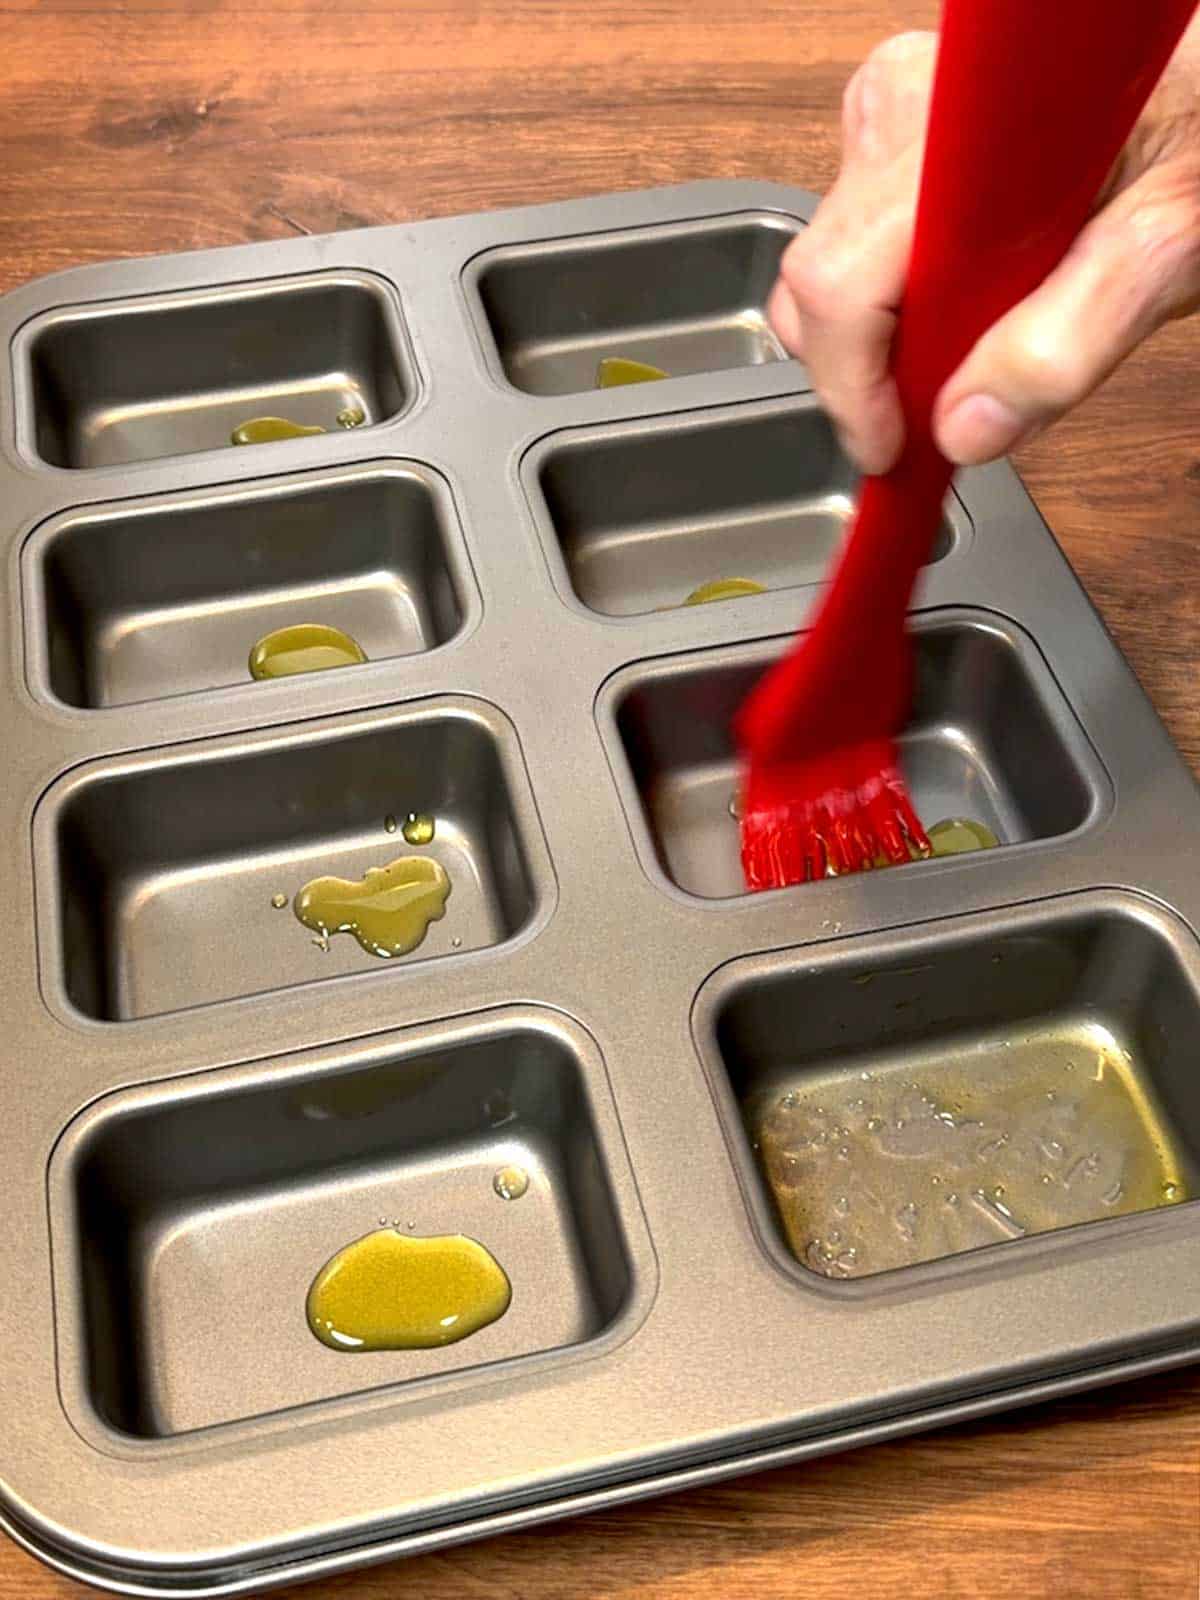
- Prepare the pan: Add olive oil to each cavity and brush the bottoms and sides. The oil is important because it adds flavor and helps create the characteristic crisp focaccia crust.
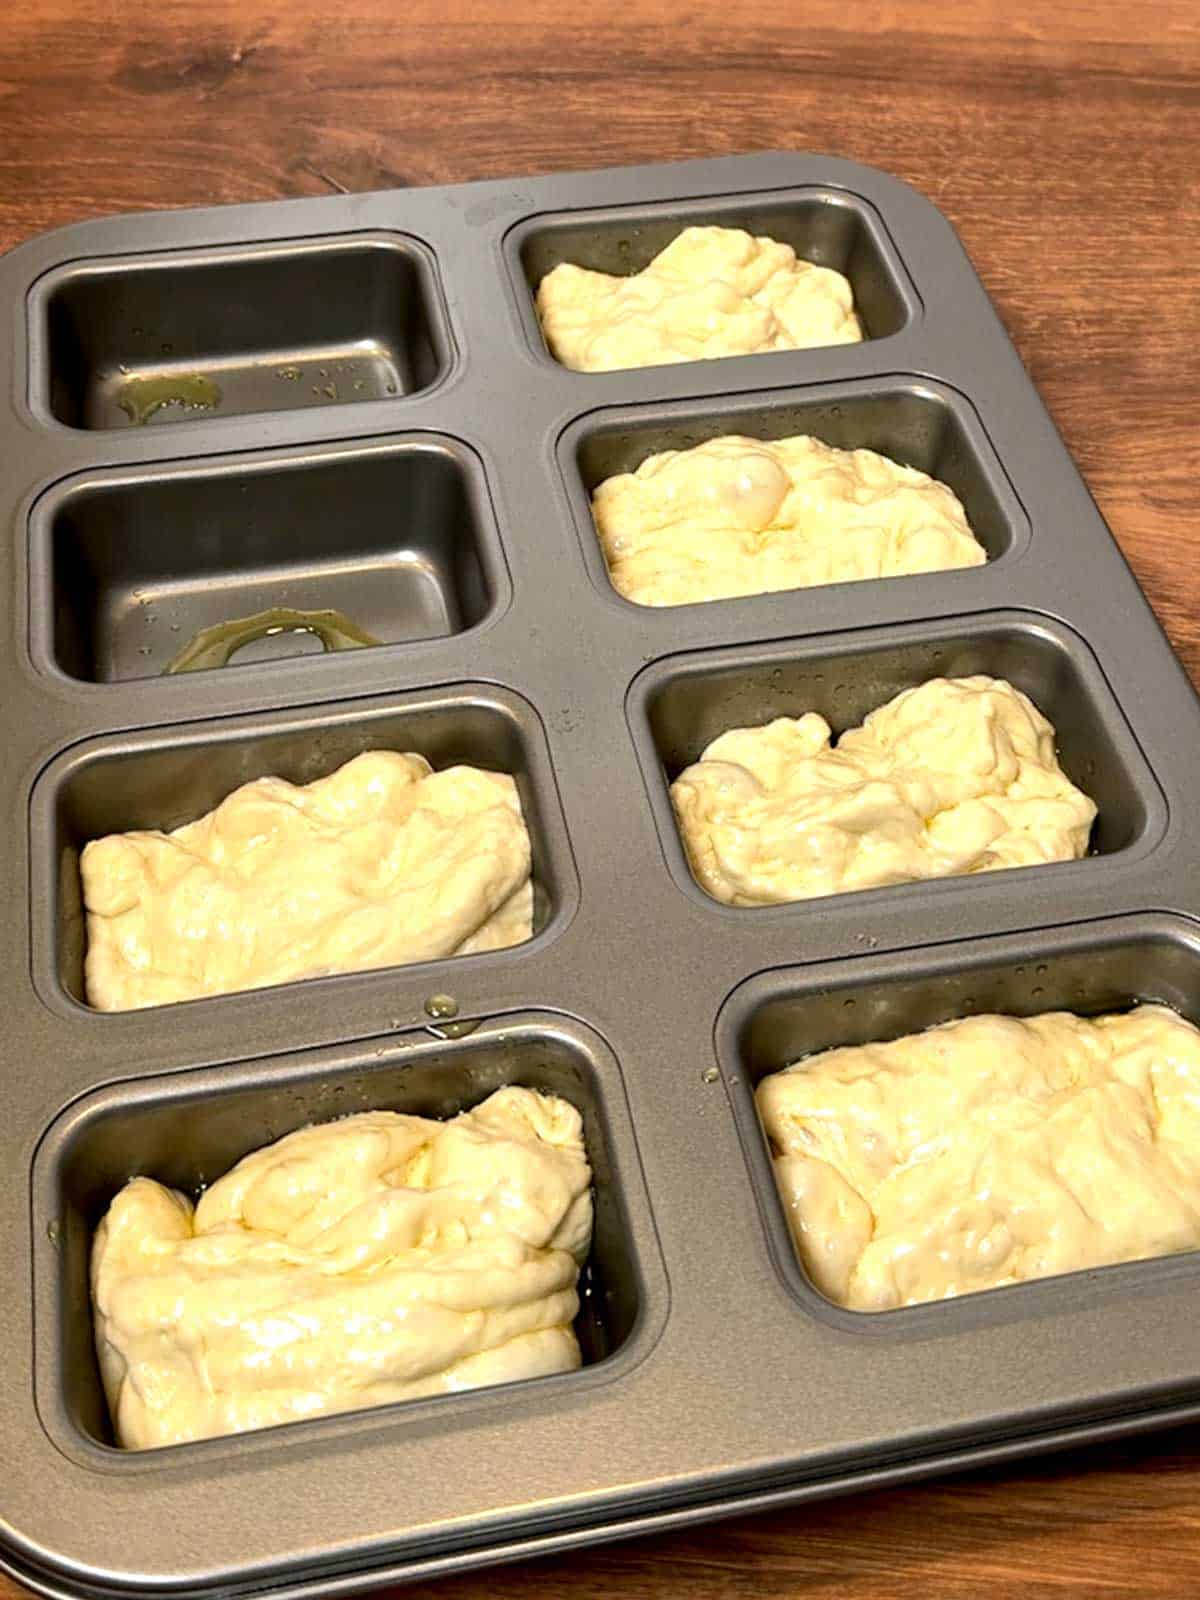
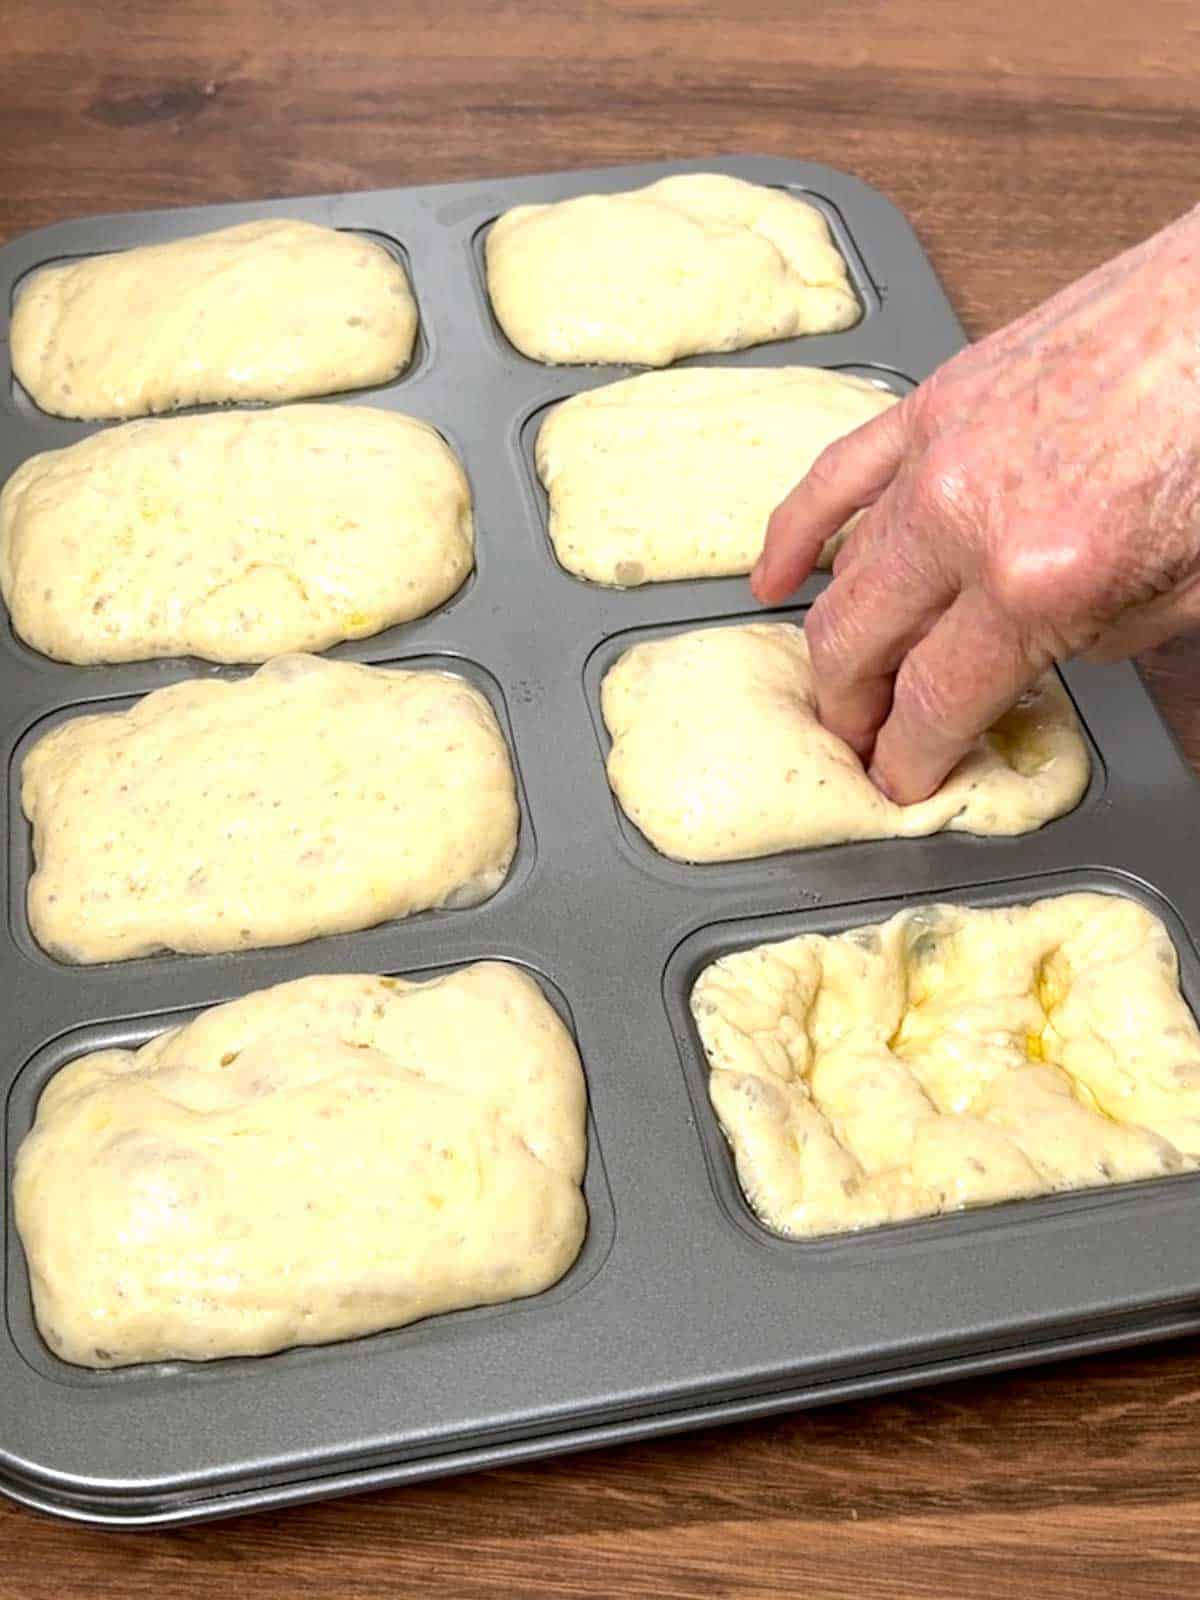
- Divide the dough: Weigh the finished dough and divide it into eight equal portions. For me, this equated to 63 grams per dough portion. Place one portion in each prepared cavity. Gently turn each piece to coat both sides with olive oil and then ease the dough toward the corners. Don't force or aggressively stretch the dough. It will relax and spread as it rises.
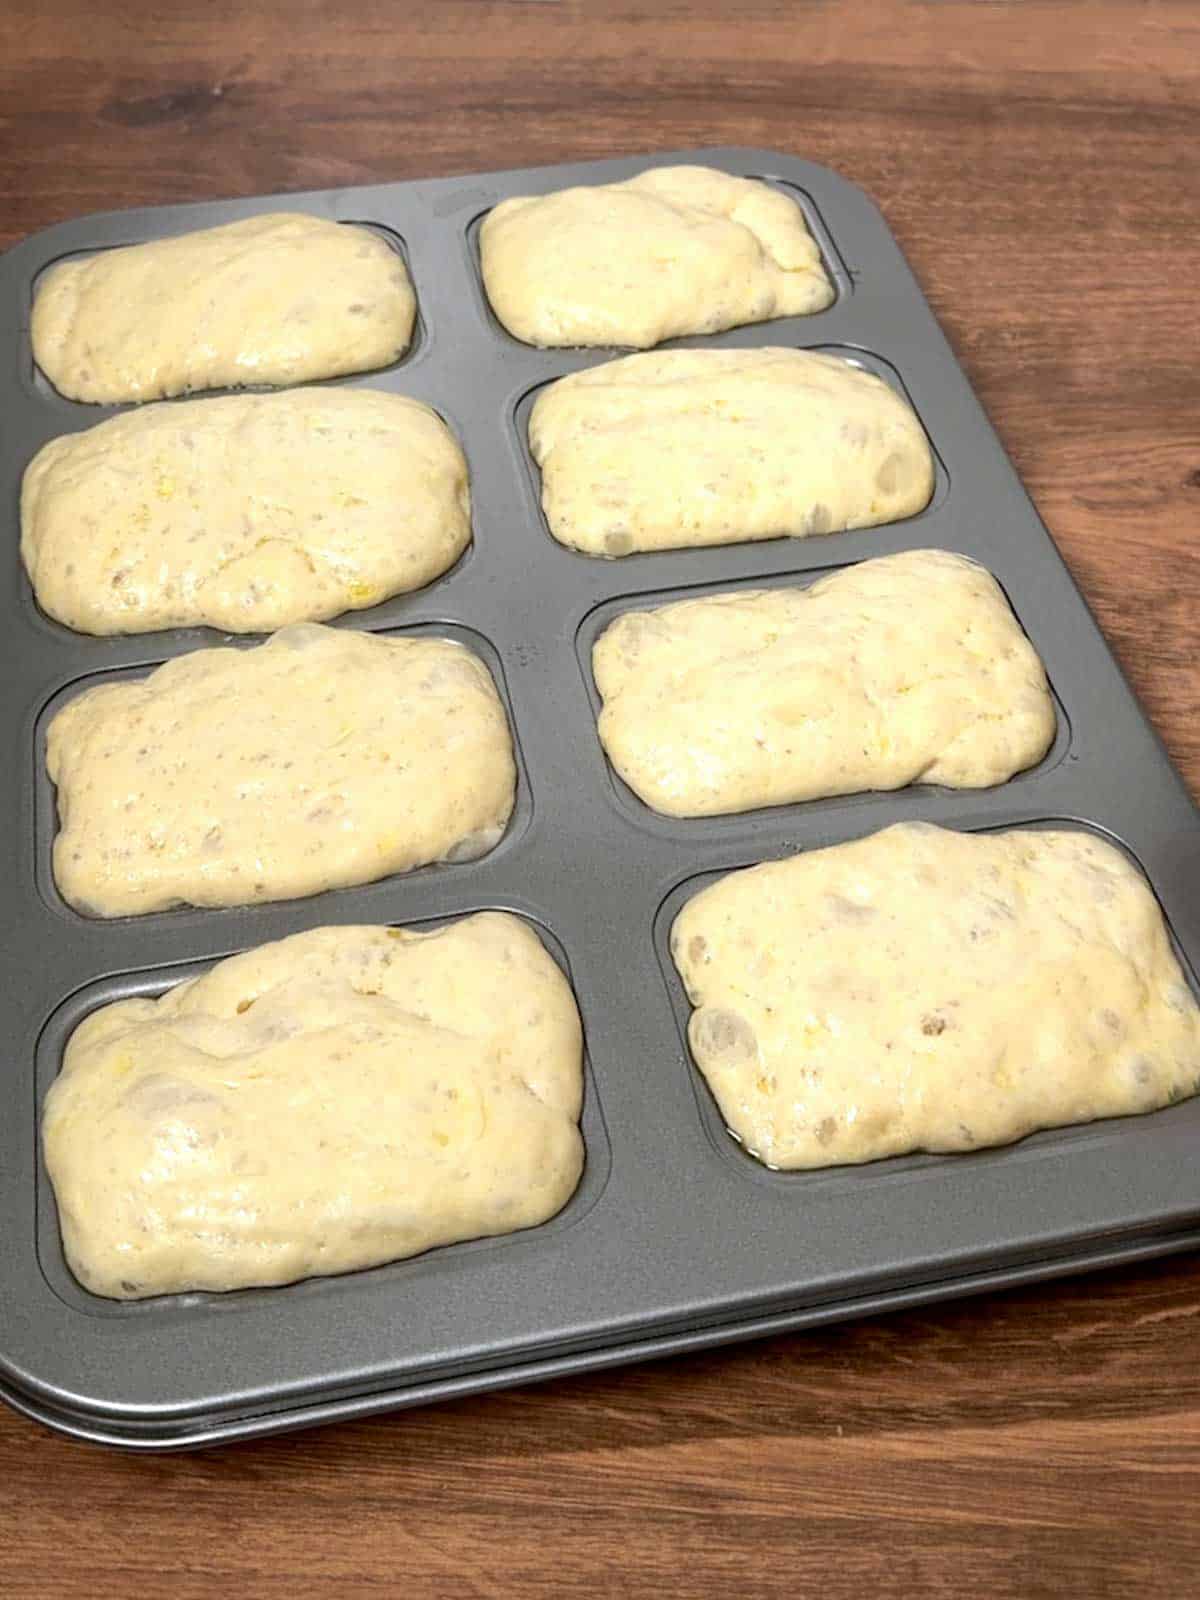
- Allow the loaves to rise: Cover the pan and allow the dough to rise in a warm location for about 1 hour and 45 minutes. The exact time will depend on the temperature of your kitchen. The dough is ready when it looks soft, pillowy, and well expanded in the cavities.
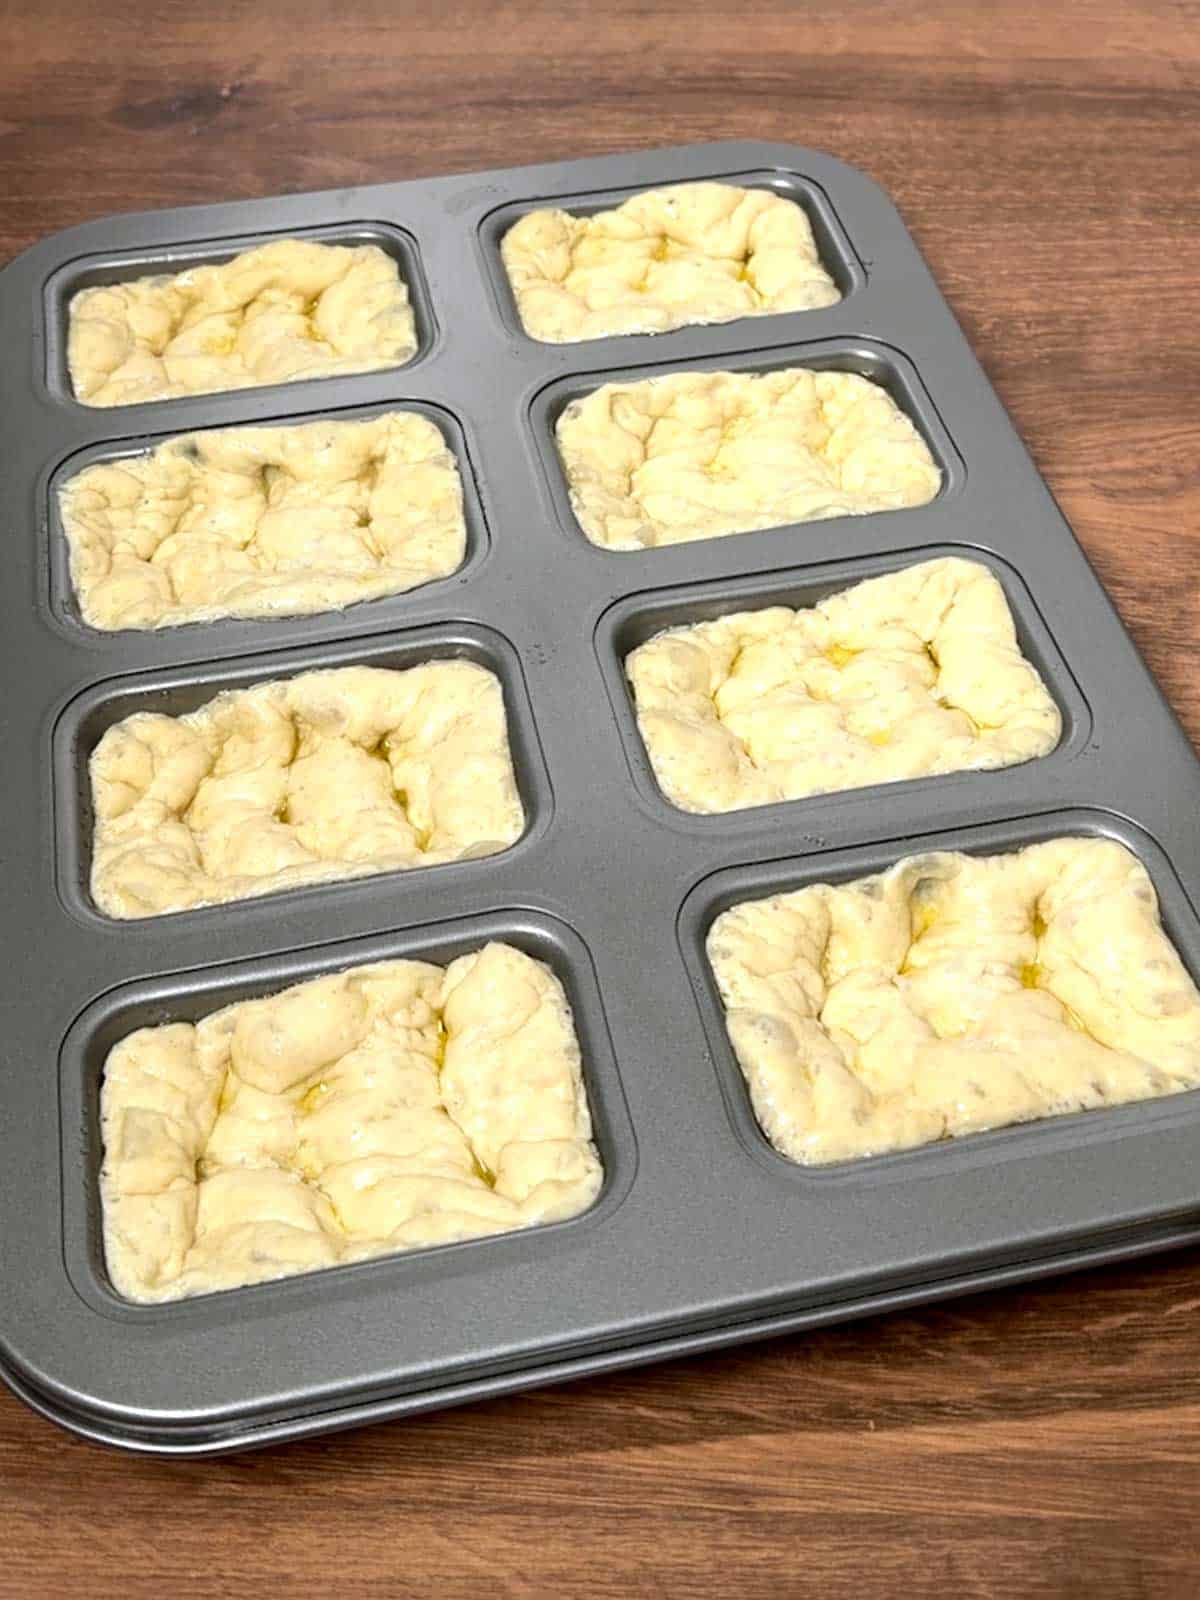
- Dimple and top the loaves: Preheat the oven to 475°F. Drizzle or lightly brush the tops of the loaves with olive oil. Using oiled fingertips, press gently into each piece of dough to form several deep dimples. Sprinkle each loaf lightly with flaky sea salt (I used Maldon).
- Bake: Bake the mini focaccia loaves in the preheated 475°F oven for approximately 12 to 15 minutes, or until the tops are golden brown and the sides are nicely browned. Because ovens and pans vary, begin checking the loaves at around 10 minutes.
- Cool: Remove the pan from the oven and let the mini focaccia loaves rest for about 3 minutes. Carefully remove the loaves from the cavities and transfer them to a wire rack. This prevents moisture from collecting underneath and keeps the bottoms crisp. Serve warm or at room temperature.
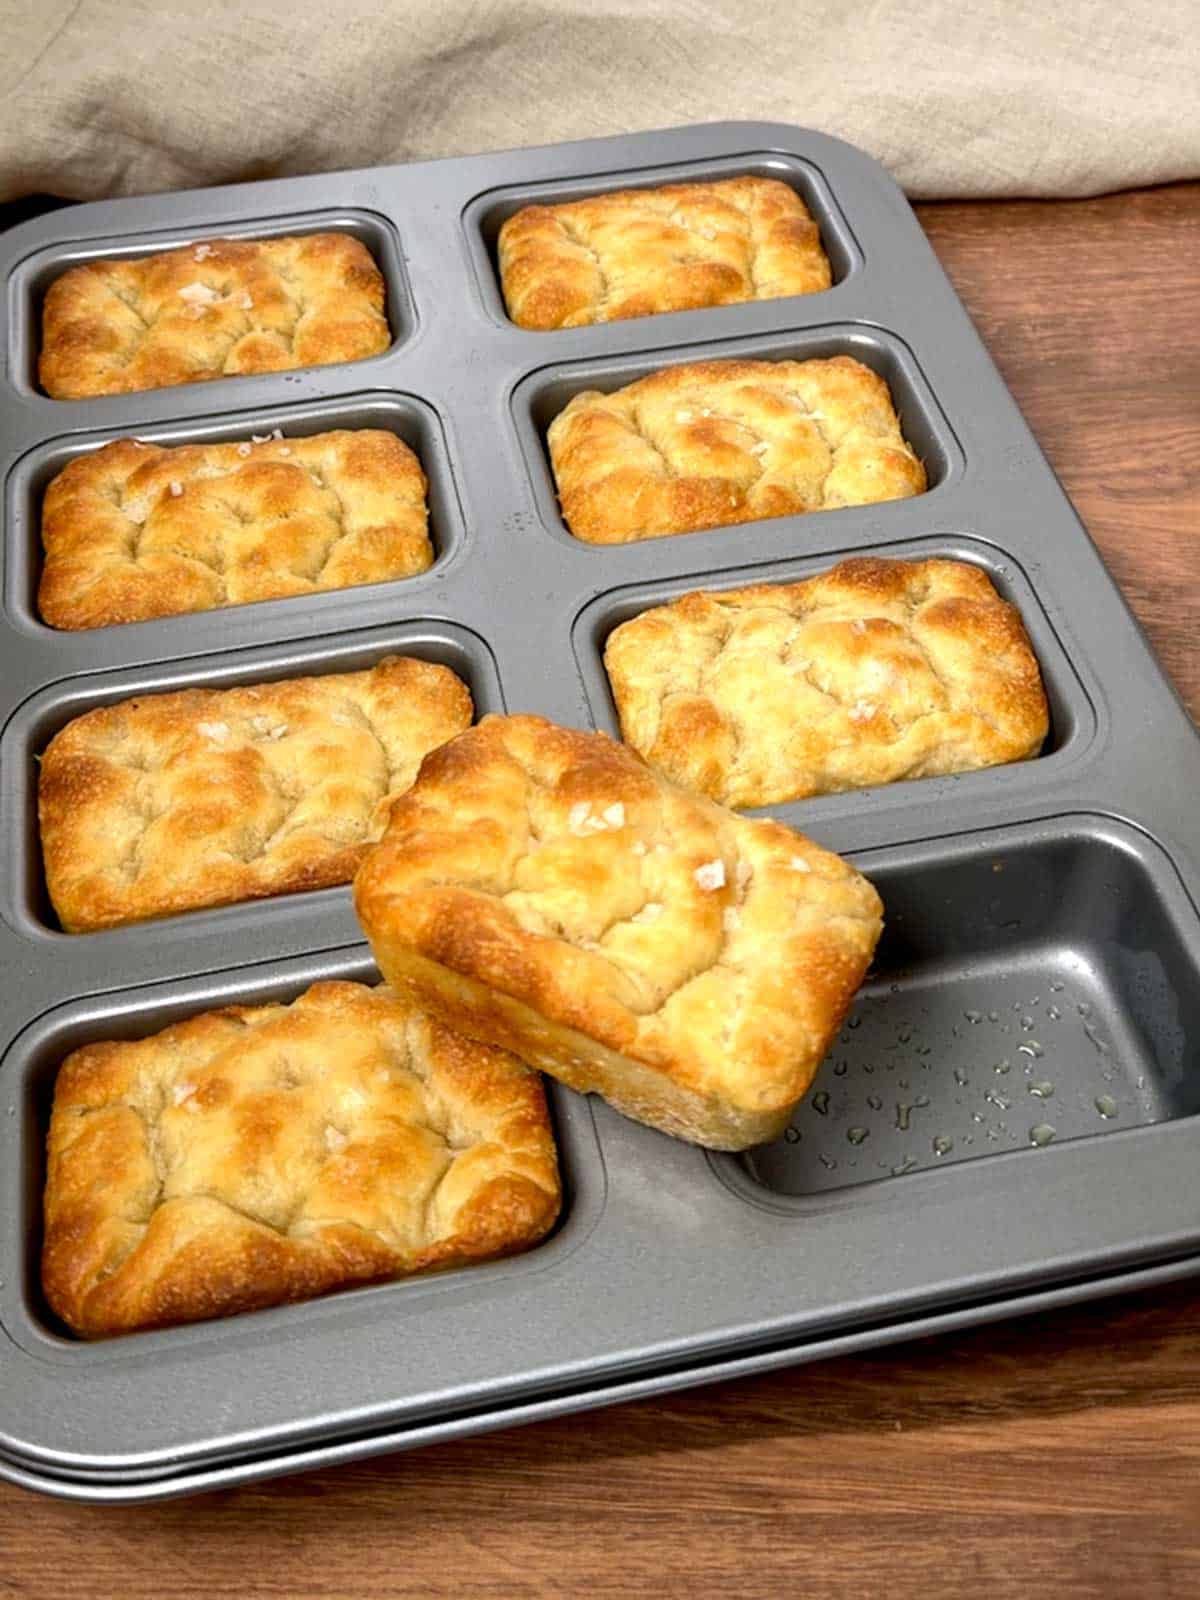
Mini Focaccia Loaves combine everything that makes classic focaccia irresistible - golden crust, airy crumb, olive oil richness, and flaky salt - in a convenient individual form.
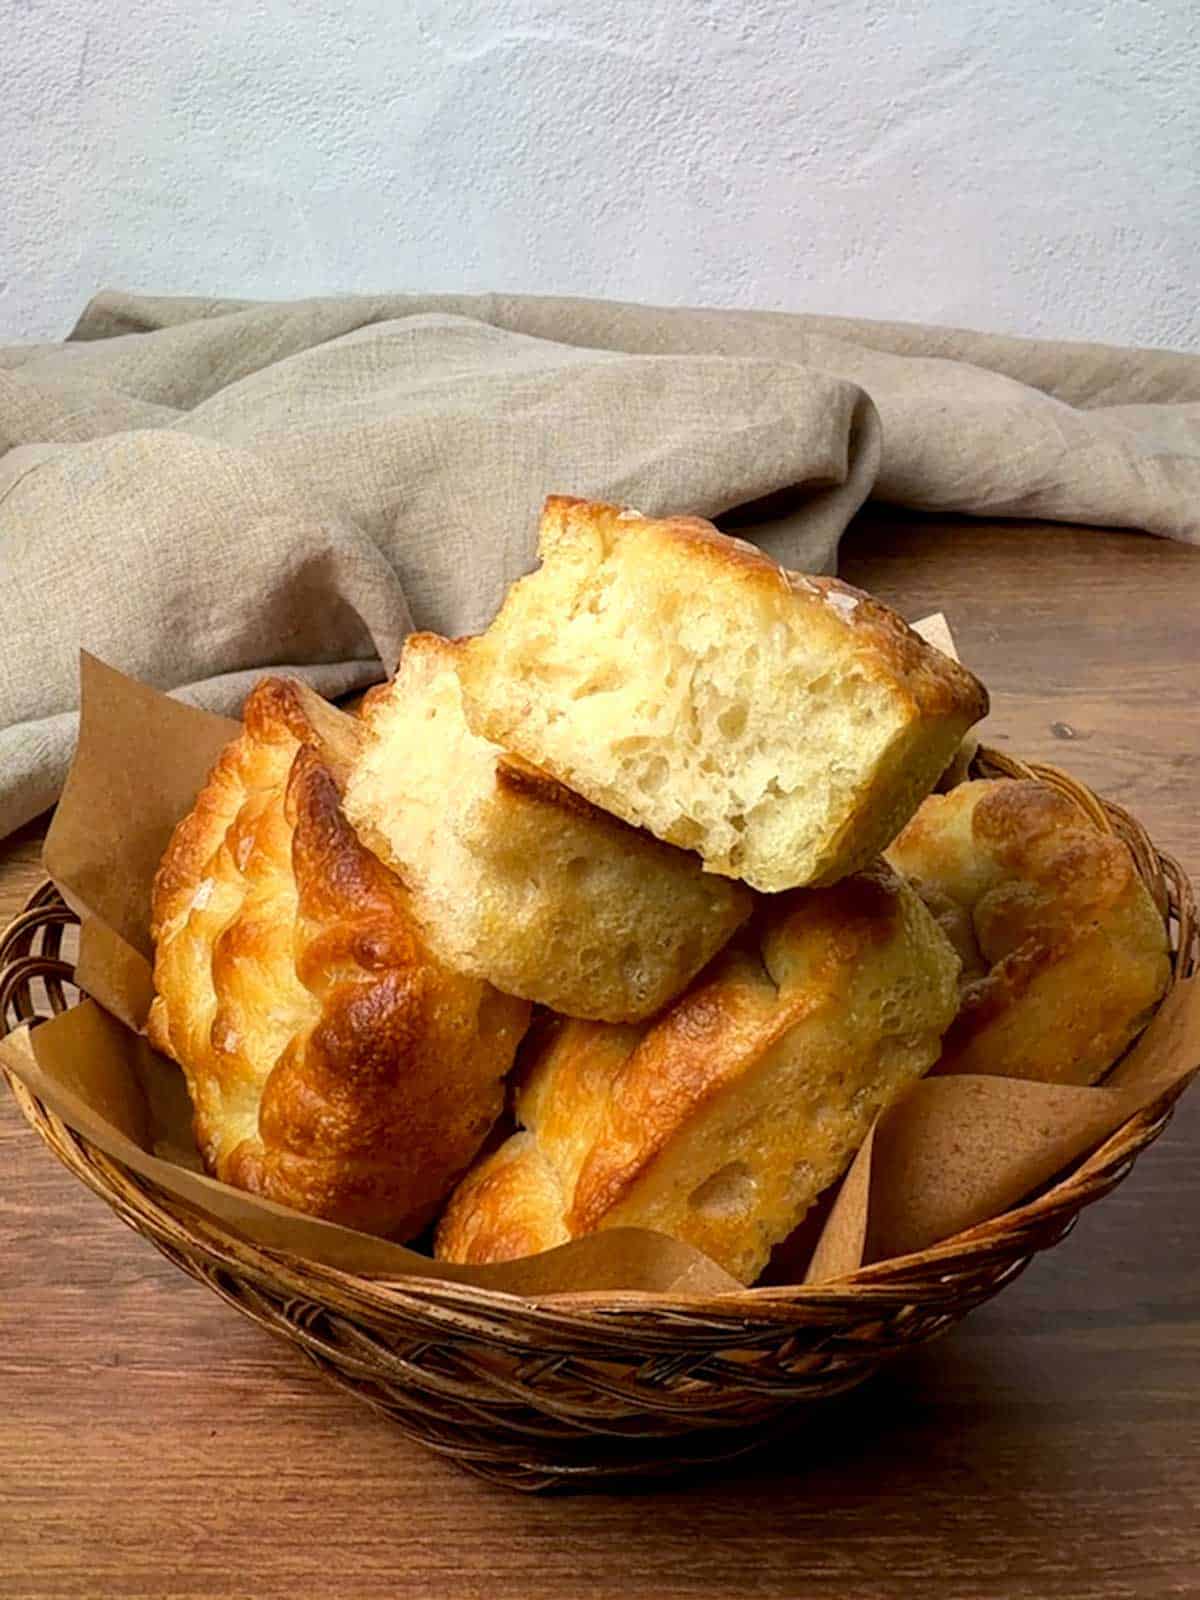
Serve them warm with pasta or soup, arrange them in a dinner bread basket, or freeze them for an easy homemade bread whenever you need one. Yum!
PudgeFactor's Test Kitchen Observations and Tips
Observations
Each of the cavities of 8-loaf pan that I used measured 2 ¼ inches by 3 ½ inches and was 1 inch deep. With 8 cavities, that equated to 63 square inches, which was effectively the same area as my 8-inch square pan (64 square inches) that I had used before to make focaccia. The main difference, however, was that the cavities of the loaf pan were 1 inch deep, whereas the depth of my 8-inch square pan was 2 inches. Therefore, I was concerned that the full batch of dough used for the 8-inch pan would be too much for the loaf pan.
So, in my first test, I used half of the dough that would normally be baked in an 8-inch square pan. The dough was divided into eight portions, each weighing approximately 33 grams.
Those loaves looked attractive and developed crisp edges, but both the Master Taste Tester and I thought they were somewhat tough. Their thin profile created proportionally more crust and less soft interior, and they lost moisture quickly during baking.
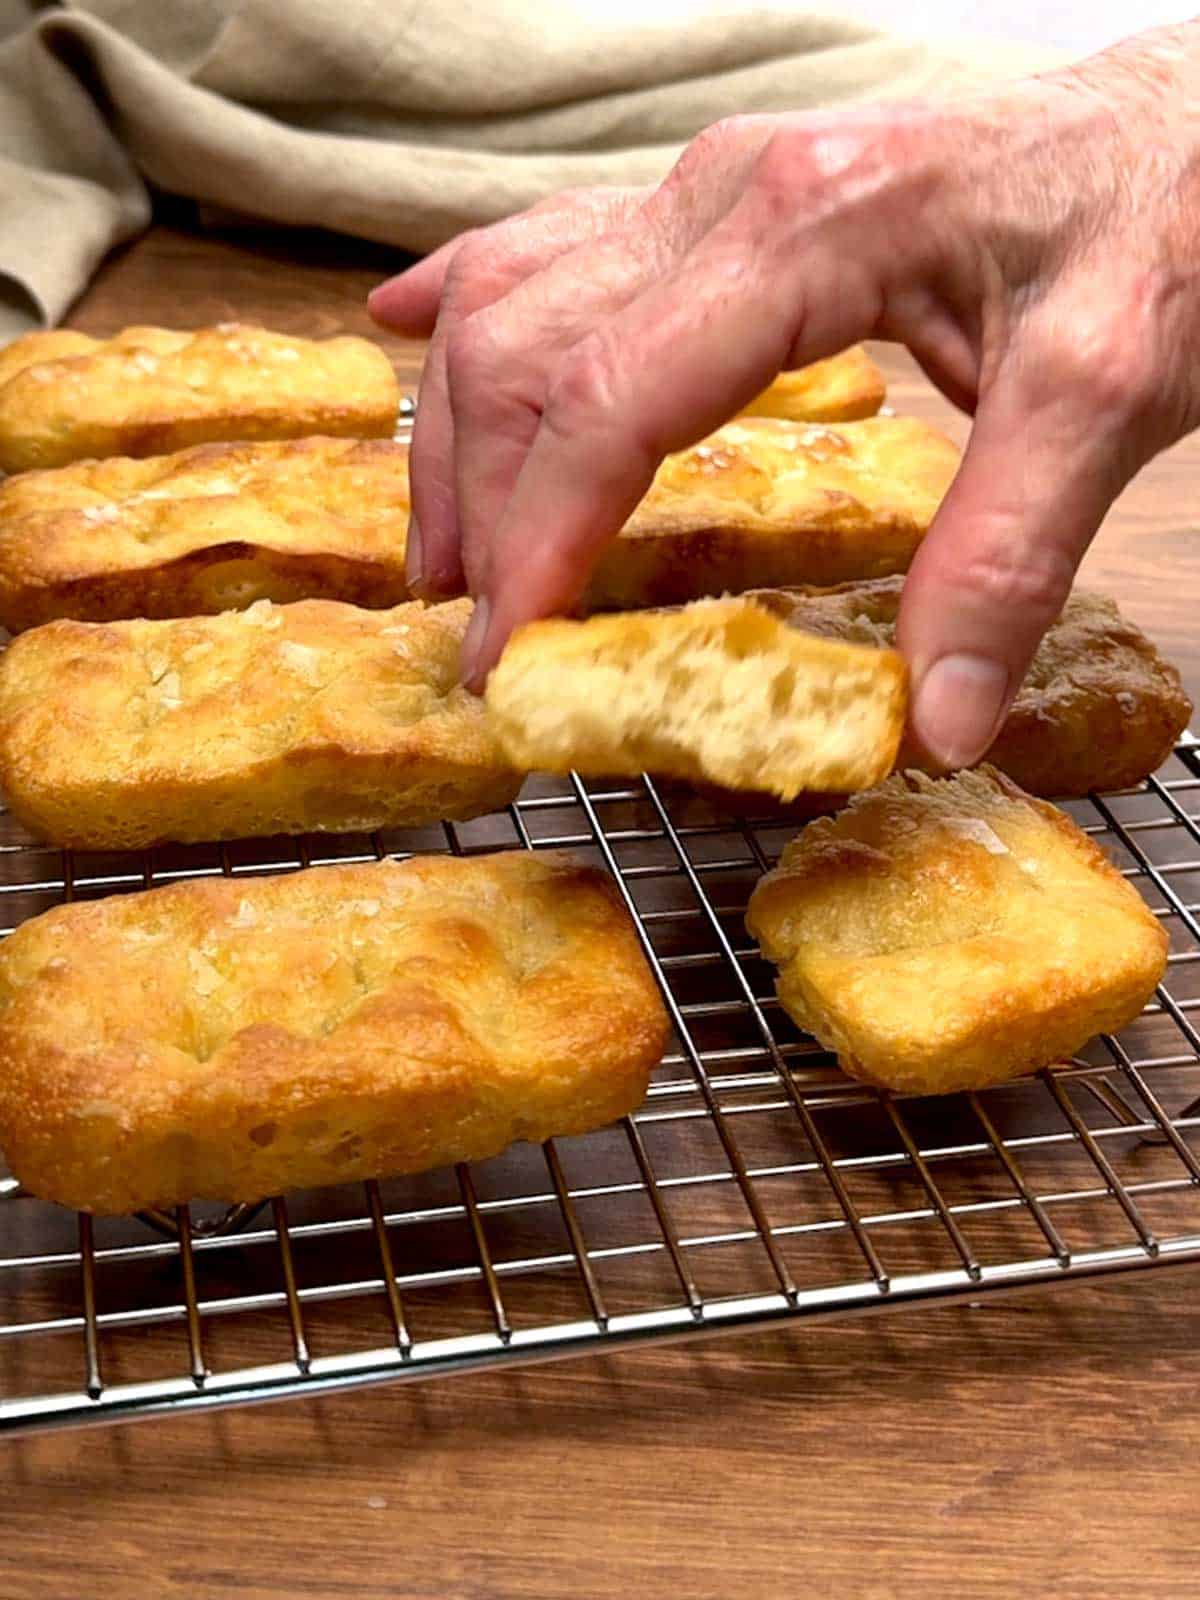
For the second test, I used the full amount of dough from the 8-inch focaccia recipe and divided it among the same eight cavities (66 grams each). The difference was significant.
The second batch rose higher and produced a much lighter, softer, and more open crumb. The loaves retained their crisp golden exterior but had enough interior to remain tender and airy.
The full batch is therefore the correct amount for this pan. The test reinforced an important lesson: a pan may physically hold a smaller quantity of dough, but that does not necessarily produce the best eating quality.
Important Recipe Tips
- Weigh the ingredients: Flour can vary substantially depending on how it is measured. A digital scale produces the most consistent dough.
- Keep the dough wet: Focaccia dough should be sticky. Avoid adding extra flour, which can make the finished loaves dense or tough.
- Wet or oil your hands: Wet hands work best during the stretch-and-fold process. Oiled fingers are best for dividing, shaping, and dimpling the dough.
- Don't skimp on the olive oil: Olive oil contributes flavor and helps produce crisp sides and bottoms.
- Let the dough rise fully: Do not rely solely on the clock. The dough should look puffy, relaxed, and visibly expanded before baking.
- Use a light hand with the flaky salt: A few flakes on each small loaf are sufficient. Too much can overwhelm an individual serving.
- Remove the loaves promptly: Allow the loaves to rest briefly, then transfer them to a wire rack so the crust remains crisp.
In Case You're Wondering
Yes. However, active dry yeast should first be dissolved in a portion of warm water and allowed to sit until foamy before being added to the flour.
Focaccia is made with a high-hydration dough. The additional water helps produce its light, airy crumb and distinctive bubbles. Therefore, avoid the temptation to add more flour.
I have not made this recipe using a regular muffin pan. However, it should work fine, but would likely require different quantities of dough per cavity. The baking time would also need to be adjusted.
Yes, but the sandwiches would be small. Because of this, they are better suited as individual dinner breads. My larger No-Knead Focaccia Buns are specifically designed for sandwiches and paninis.
Common causes include using too little dough in each cavity, adding too much flour, underproofing, or baking for too long. In testing, using only half the dough produced thinner, tougher loaves. Using the full dough amount created a significantly softer and lighter interior.
Yes. However, flaky sea salt is a traditional focaccia topping and provides a pleasant contrast to the rich olive oil flavor.
The tops should be golden, the sides browned, and the loaves release easily from the pan. An instant-read thermometer inserted into the center should generally register around 200°F.
Did you make this recipe? We'd love to know how it turned out! Leave a review below. Then, share a picture on Instagram and tag @pudgefactor so we can see it.
Don't forget to follow us on Pinterest, Facebook, YouTube, Flipboard, and Instagram.
Thank you so much for visiting PudgeFactor. We hope you'll come back!
Recipe
Want to Save This Recipe?
Enter your email & I'll send it to your inbox. Plus, enjoy weekly doses of culinary inspiration as a bonus!
By submitting this form, you consent to receive emails from Pudge Factor.

Mini Focaccia Loaves - Crisp, Airy, and No-Knead
Equipment
- medium bowl
- Danish dough whisk
- 8-cavity loaf pan (2 ¼ x 3 ½ x 1 inch cavities)
- silicone brush
- Plastic Wrap
Ingredients
- 2 cups (10 ounces, 280 grams) all-purpose flour (See Tip 1)
- 1¼ teaspoons fine sea salt or table salt
- ¾ teaspoon granulated sugar
- ¾ teaspoon instant yeast (See Tip 2)
- 1 cup (8 ounces, 240 grams) warm water - 95 to 105°F (See Tip 3)
- 3 Tablespoons (45 ml) extra-virgin olive oil, divided
- ½ teaspoon Flaky sea salt for topping.
Instructions
- In a medium bowl, stir together the flour, salt, sugar, and yeast. Add warm water and 1 tablespoon olive oil; stir with a Danish dough whisk, silicone spatula, or wooden spoon until no dry flour remains (about 1 minute). The dough will look shaggy and sticky. (See Tip 4)
- Cover the bowl with plastic wrap and let the dough rest and hydrate for 15 minutes.
- With a wet hand, grab one side of the dough, gently stretch it up, and fold it toward the center of the bowl. Rotate the bowl and repeat 8 to 10 times. Turn the dough over, smooth side up. Re-cover the bowl with plastic wrap and let it rest for 15 minutes.
- Repeat the stretch-and-fold 3 more times, 15 minutes apart. After the 4th stretch-and-fold, cover the bowl with plastic wrap and let it rest for an hour.
- Add ½ teaspoon of olive oil to each pan cavity. Brush the bottom and sides of the pan with the olive oil. (See Tip 5)
- Transfer the dough to a piece of parchment paper that has been brushed with olive oil. Divide the dough into 8 equal portions, around 66 grams each. Transfer to the prepared pan and turn to coat with olive oil. Don't worry about the dough reaching all of the corners - it will expand as it relaxes.
- Cover the pan and let the dough rise for 1 hour and 45 minutes, or until visible bubbles appear under the surface, the dough looks pillowy, and jiggles like soft gelatin when you shake the pan.
- Preheat the oven to 475°F. (See Tip 6)
- Drizzle the remaining olive oil over the top of the dough. With oiled fingertips, press straight down to the bottom of the pan, making deep dimples approximately 1 inch apart. Sprinkle the top with flaky salt.
- Bake in the preheated oven for 12 to 15 minutes, or until the top is golden and the edges are browned.
- Remove from the oven; allow to cool in the pan for 3 minutes. Remove from the pan and place on a wire rack to cool
- Serve warm or at room temperature.
- Yield: 8 mini focaccia loaves.
Video
Tips/Notes
- For best results, weigh your ingredients. The quantity of flour can vary significantly depending on how it's measured. My rule of thumb, following Julia Child's example, is that 1 cup of flour weighs 5 ounces.
- Instant yeast, sometimes sold as bread machine yeast, can be added directly to the ingredients, unlike active dry yeast, which must be bloomed before adding.
- Use filtered water rather than tap water. The reason is that tap water contains chlorine, which can retard yeast growth.
- Avoid using a regular whisk to make the dough. The reason is that most of the dough will end up in the middle of the whisk, making a mess.
- The mini loaf pan that I used had cavities that measured 2 ¼ x 3 ½ x 1 inch. I purchased it from Michaels, but comparable pans should be available online.
- The dough can be prepared up to this point in advance and refrigerated, covered, overnight. This will produce a slow rise. Remove the dough from the refrigerator 2 hours before baking to let it reach room temperature.


Leave a Reply