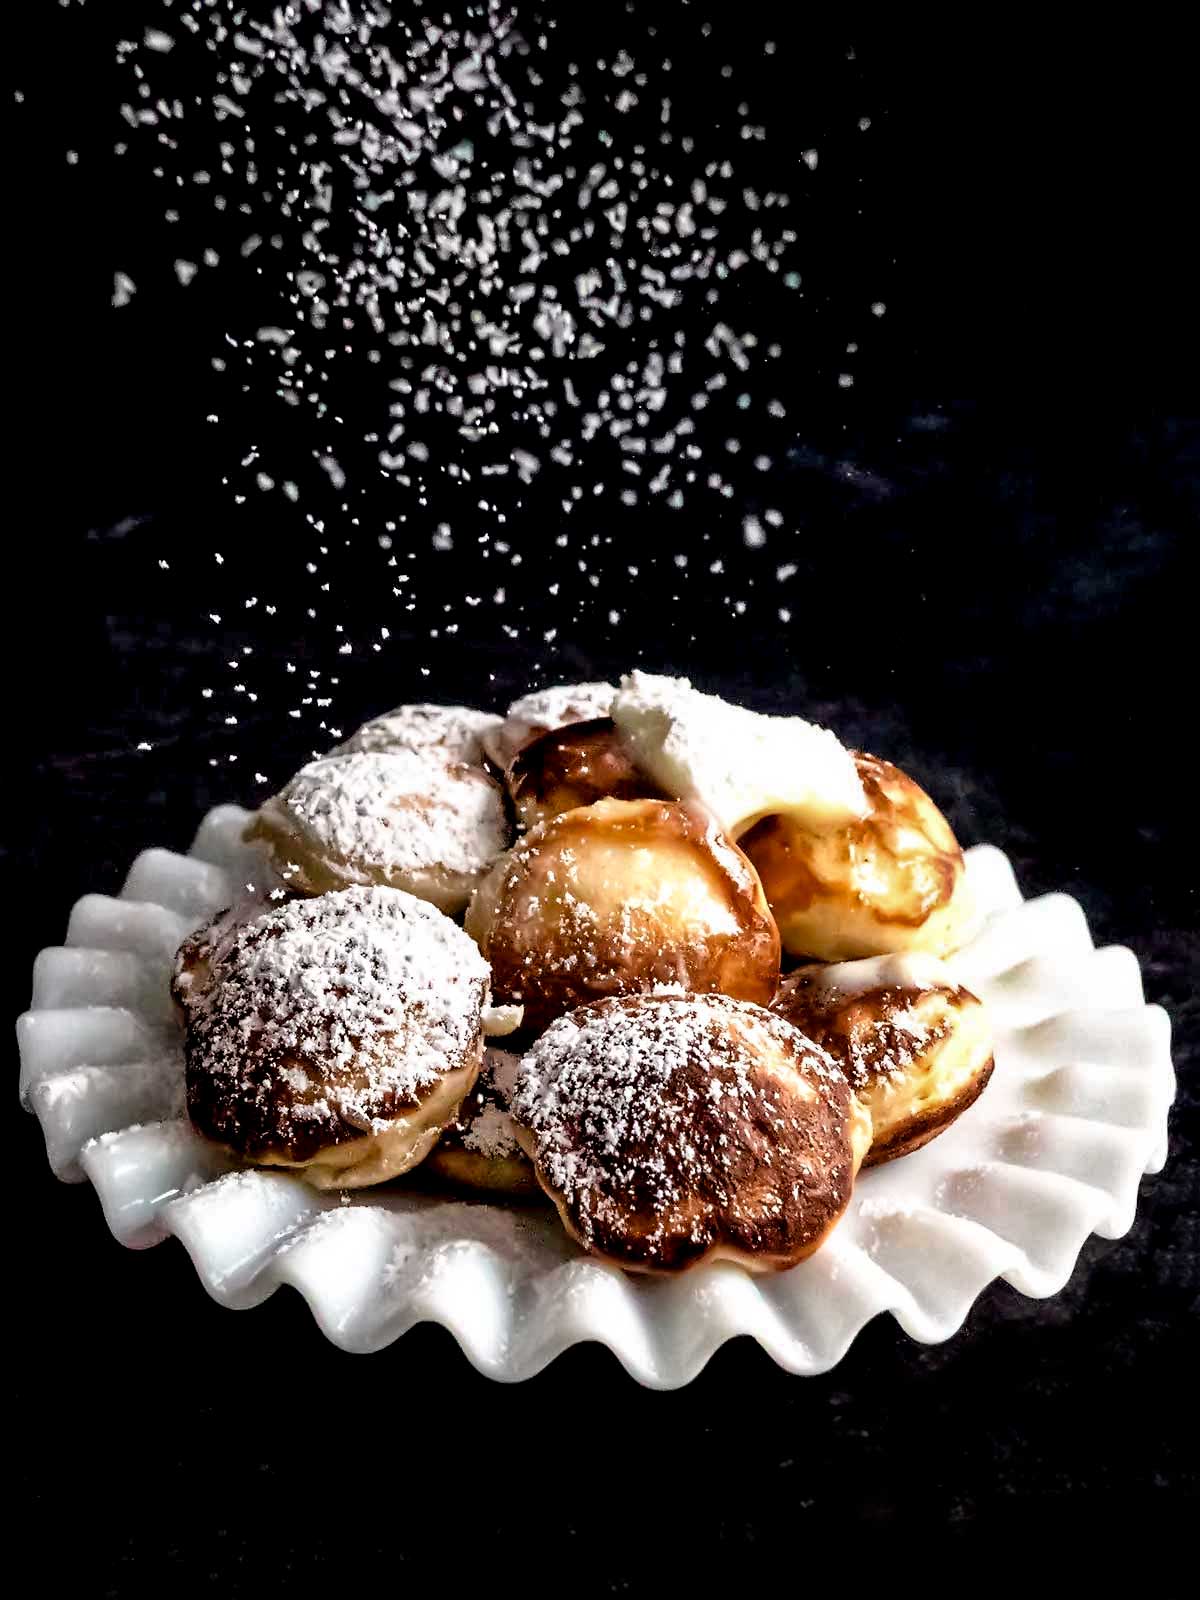
Poffertjes, (pronounced puff' ur jis) or Dutch Mini Pancakes are small, fluffy yeasted treats made in a special cast iron pan. They are sold throughout the Netherlands, and are traditionally served hot with a pat of butter and a good sprinkling of confectioners' sugar. However, they're equally good when topped with Nutella.
Jump to:
Why Poffertjes?
I first tasted Poffertjes several years ago when Susan and I were in Amsterdam. She was the master itinerary planner and included a visit to The Carousel Pancakes in Amsterdam.
They were so good that I decided that I had to buy a special pan to make them. We found the pan in a store in Brussels. However, it was just too heavy to lug back. Therefore, I ended up ordering the pan from Amazon UK. It was the same pan that we saw in Brussels.
After our experience in Amsterdam and almost buying the pan in Brussels, we stumbled across a food stall in the Greenwich Market near London called Planet Pancake. So, of course, we had to try the Poffertjes because they were so amazing when we first had them a few weeks earlier in Amsterdam.
For the Platet Pancake Poffertjes, we skipped the butter and sugar and instead opted for a Nutella topping. They were equally delicious.
Needless to say, we ruined our dinner, but it was well worth it!
Ingredients: Here's What You'll need for Batter
The batter for the Poffertjes is similar to pancake batter but with the addition of yeast.
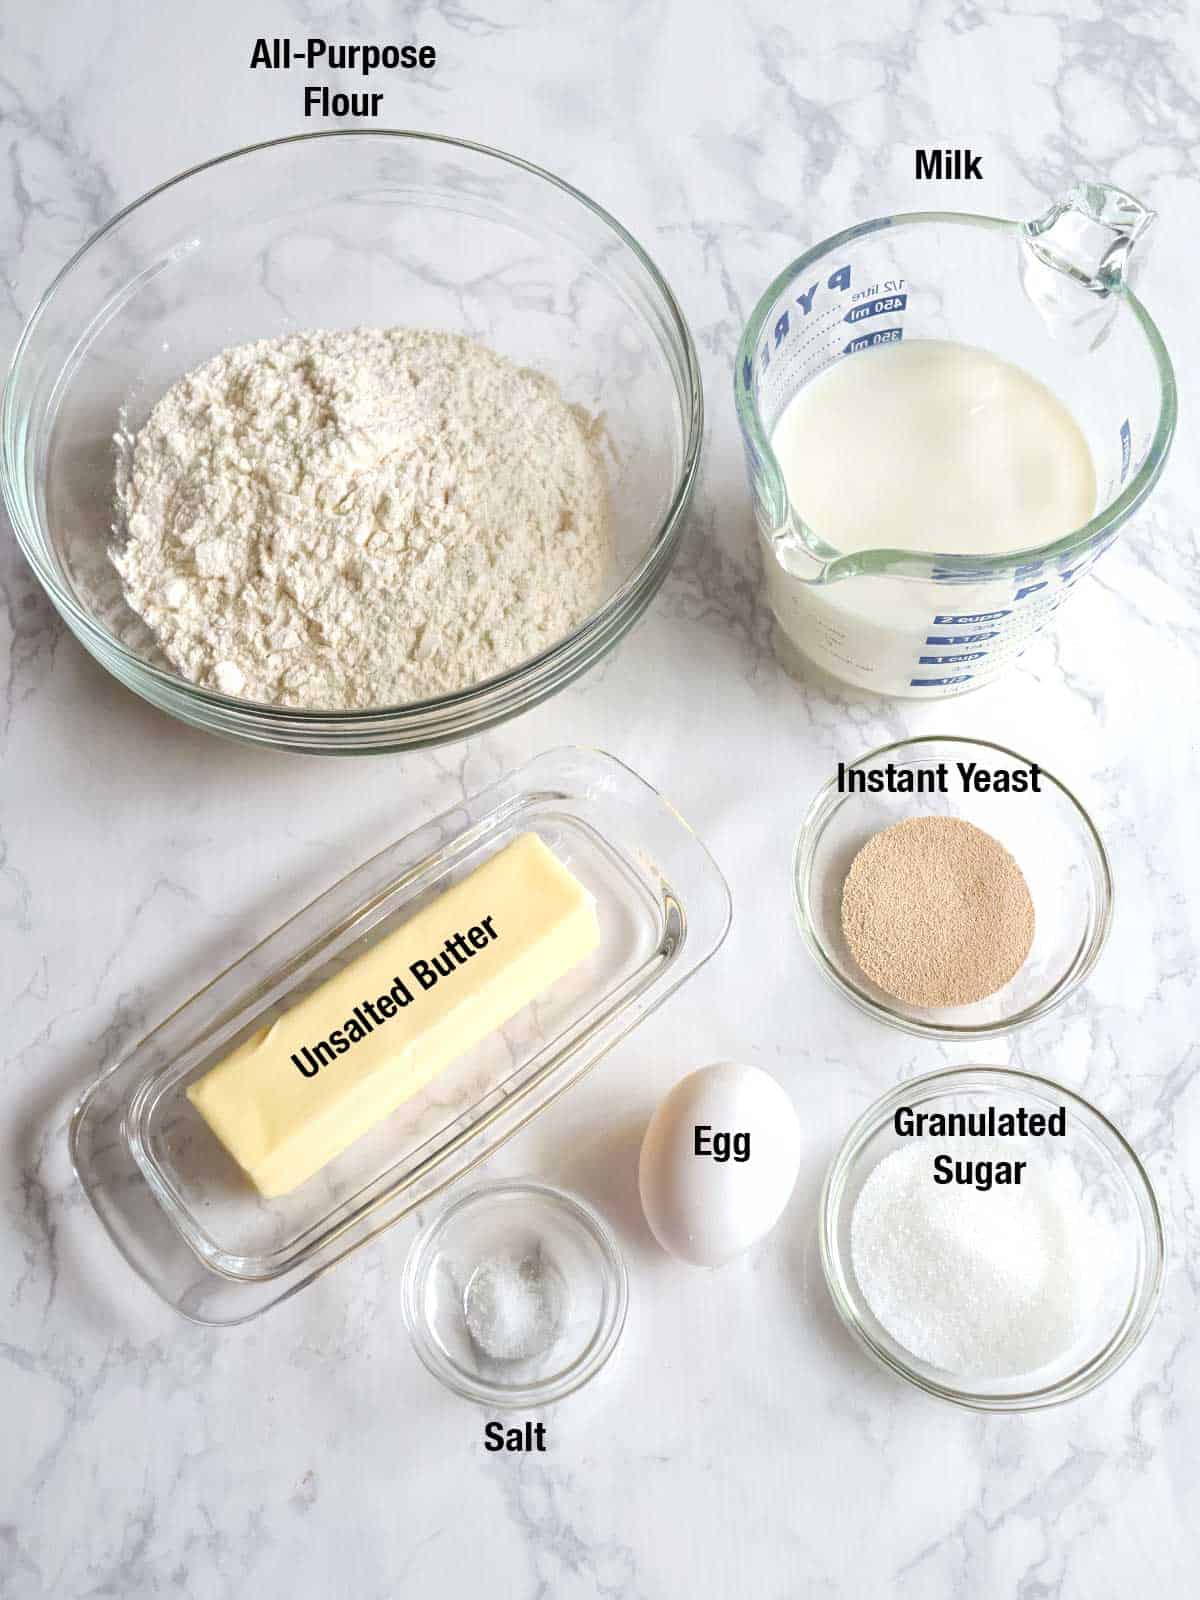
- The Flour: I used all-purpose flour with a pinch of salt for this recipe.
- Sweetner: I used granulated sugar to add a bit of sweetness to the batter.
- The Liquid: For the liquid, I used milk, a large egg, and unsalted butter.
- Yeast: I used instant yeast in this recipe.
Special Equipment
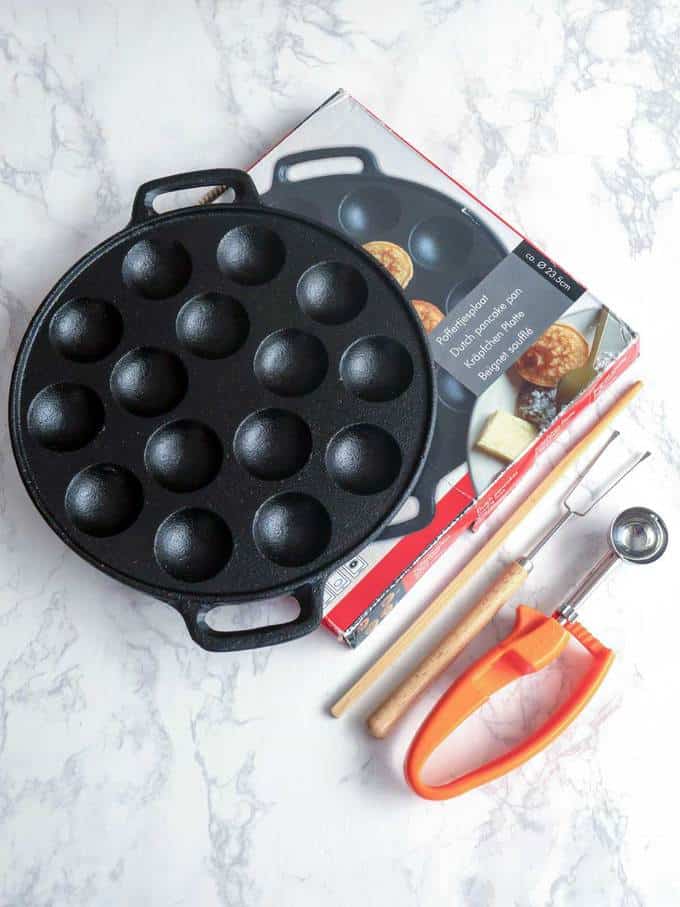
As I previously indicated, I ordered the Poffertjes pan from the UK.
Aside from the pan, I used a small cookie scoop to add the batter to the pan and a candy-making fork along with a chopstick to turn the Poffertjes.
I could have also used a regular fork here or a wooden skewer.
Poffertjes versus Ebelskivers
The Dutch Poffertjes shouldn't be confused with Danish Ebelskivers. Both are variations of pancakes. However, the batter for Poffertjes contains yeast, whereas that for Ebelskivers does not contain yeast.
Poffertjes are traditionally served with butter and a sprinkling of confectioners' sugar, while Ebelskivers are generally stuffed with things like jam or Nutella.
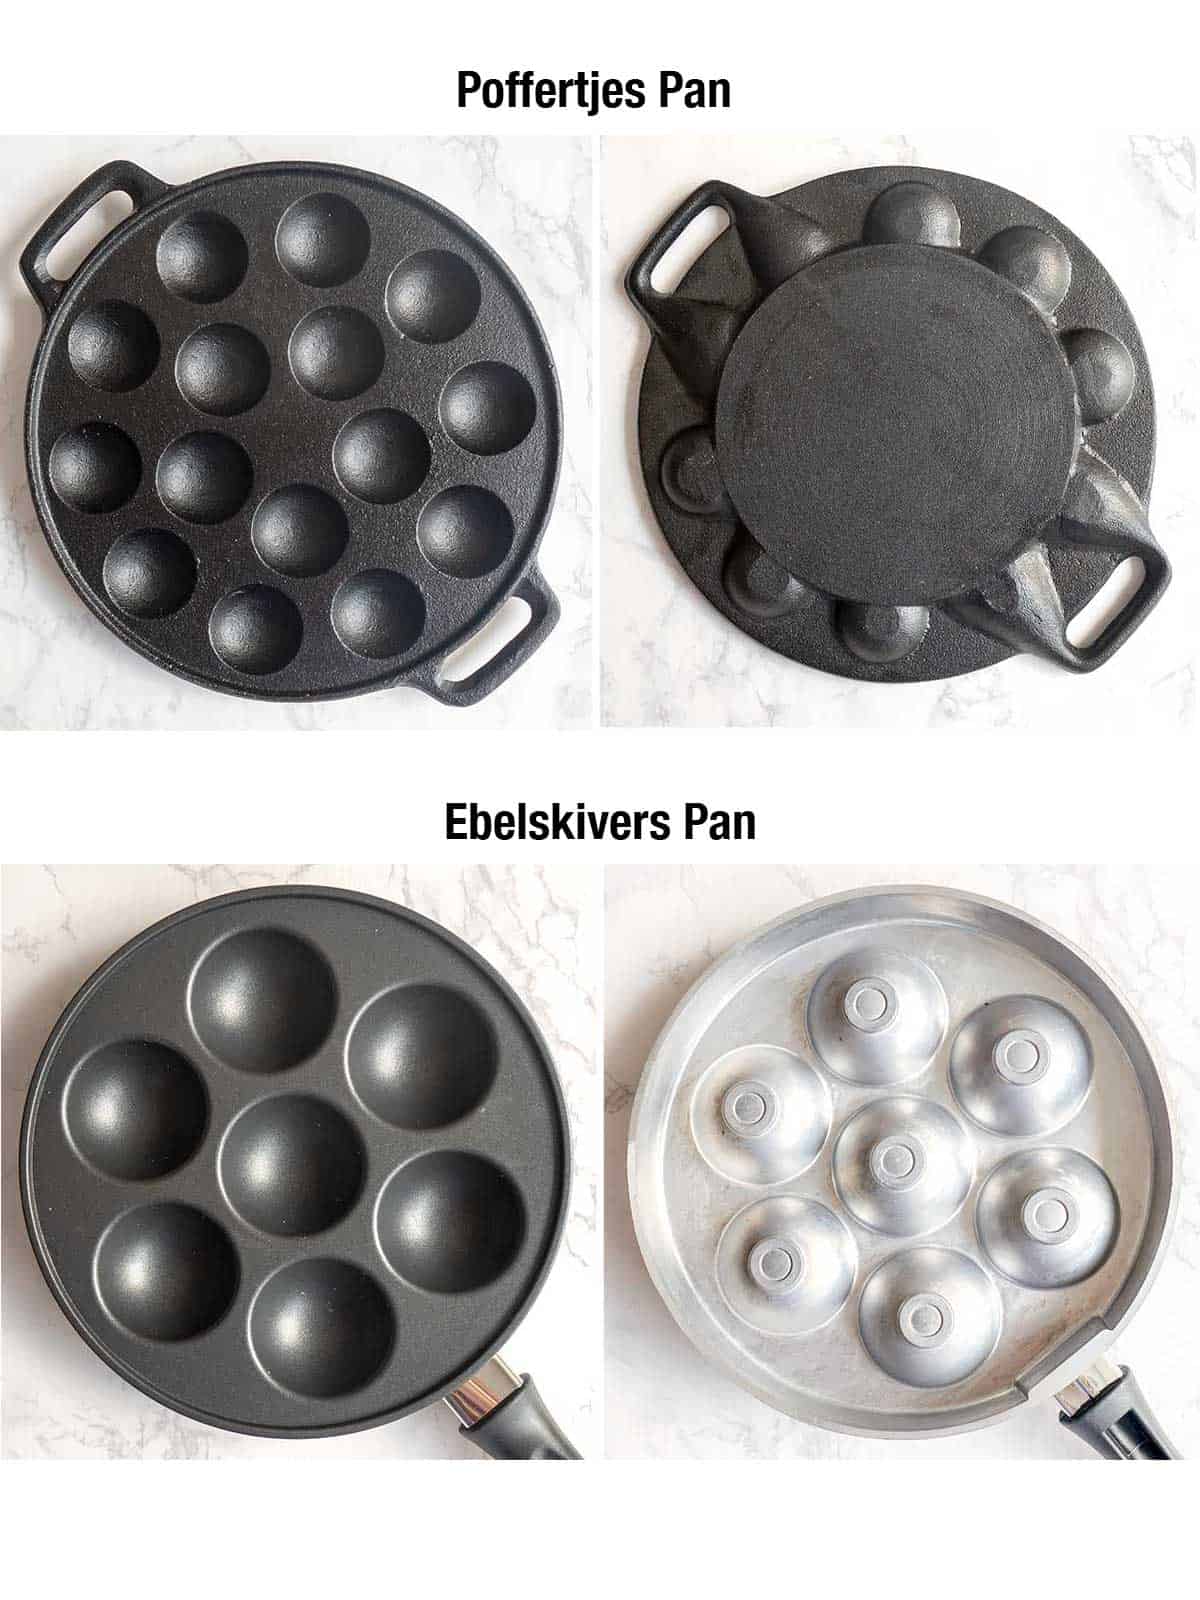
The cavities in the Poffertjes pan are much smaller than those in the Ebelskivers pan - 1 ⅝ inches versus 2 ⅜ inches in diameter. In addition, my Poffertjes pan is made of cast iron and has a solid bottom. The Ebelskivers pan is made of aluminum and has an open bottom.
Here's a pictorial comparison of my cast iron Poffertjes pan (top) and my aluminum Ebelskivers pan (bottom).
Steps: Making the Batter
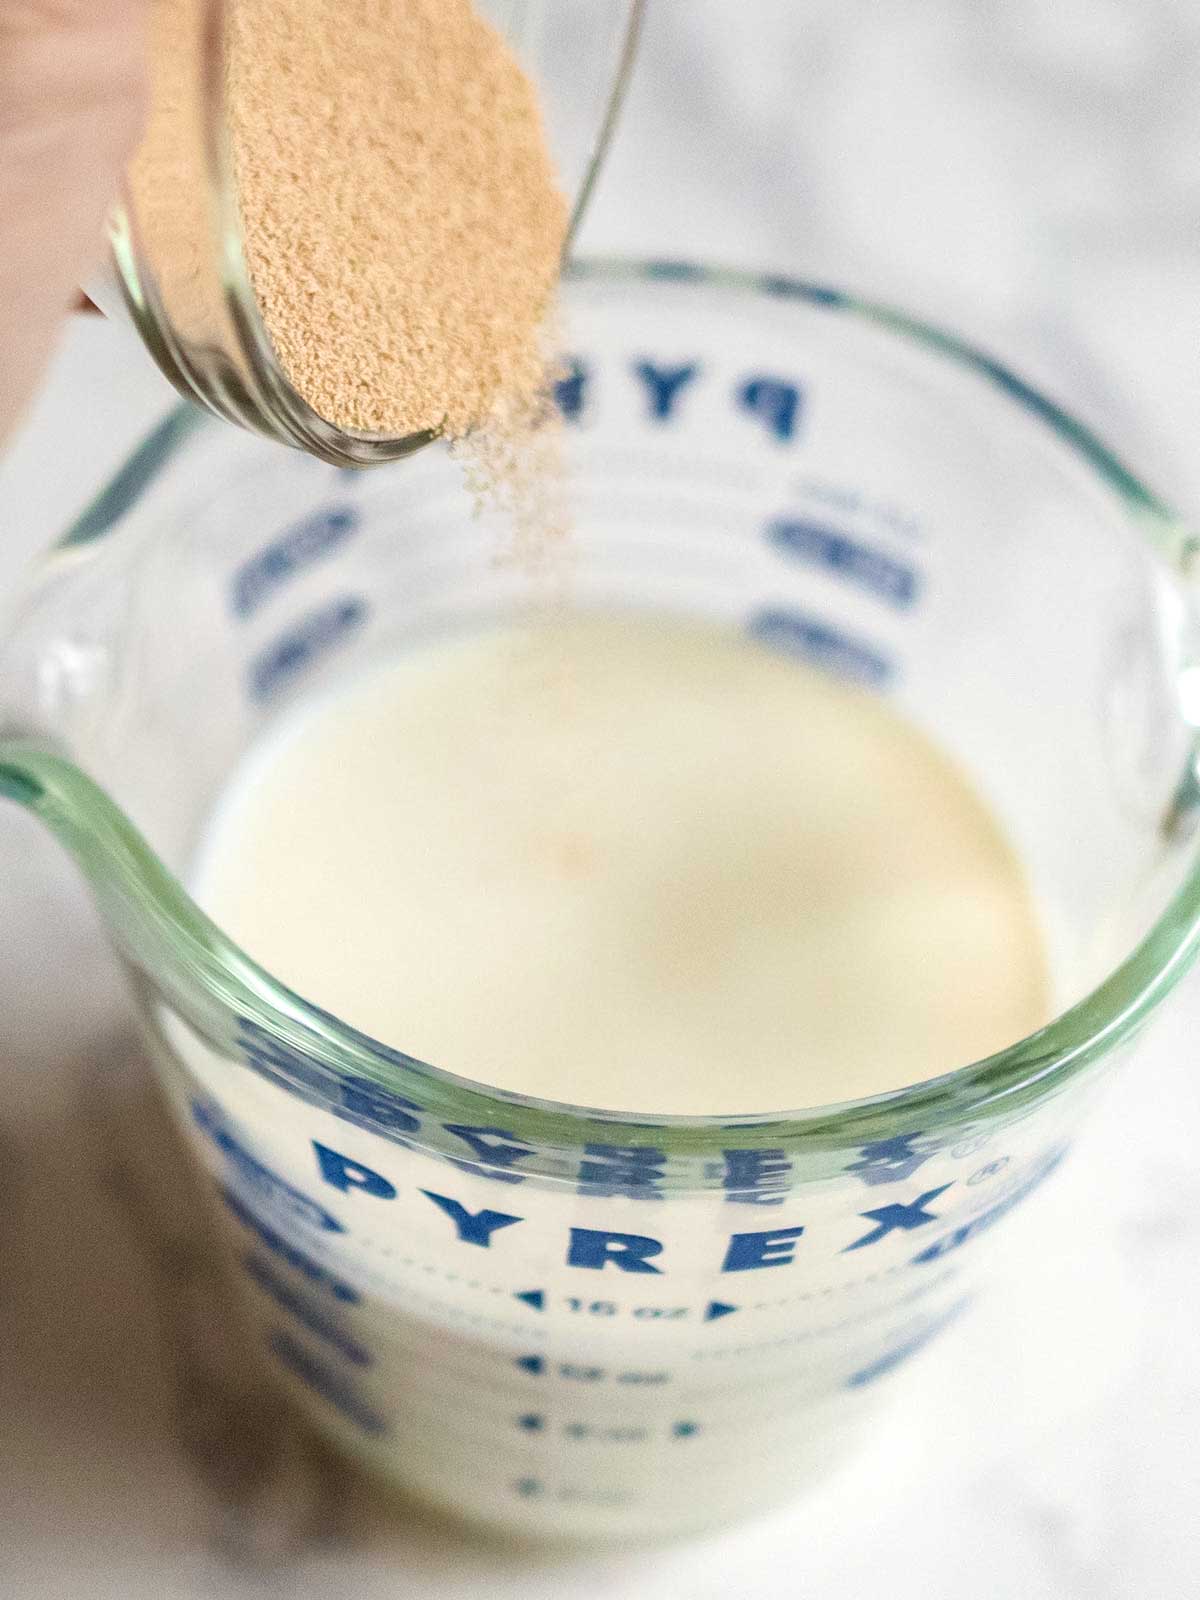
- I started by heating the milk in the microwave to about 105°F. This took a little over a minute. Then, I added the yeast to the lukewarm milk and gave it a stir.
- While the yeast was coming to life, I added sugar and salt to the flour in a bowl. Then, I whisked the dry ingredients together.
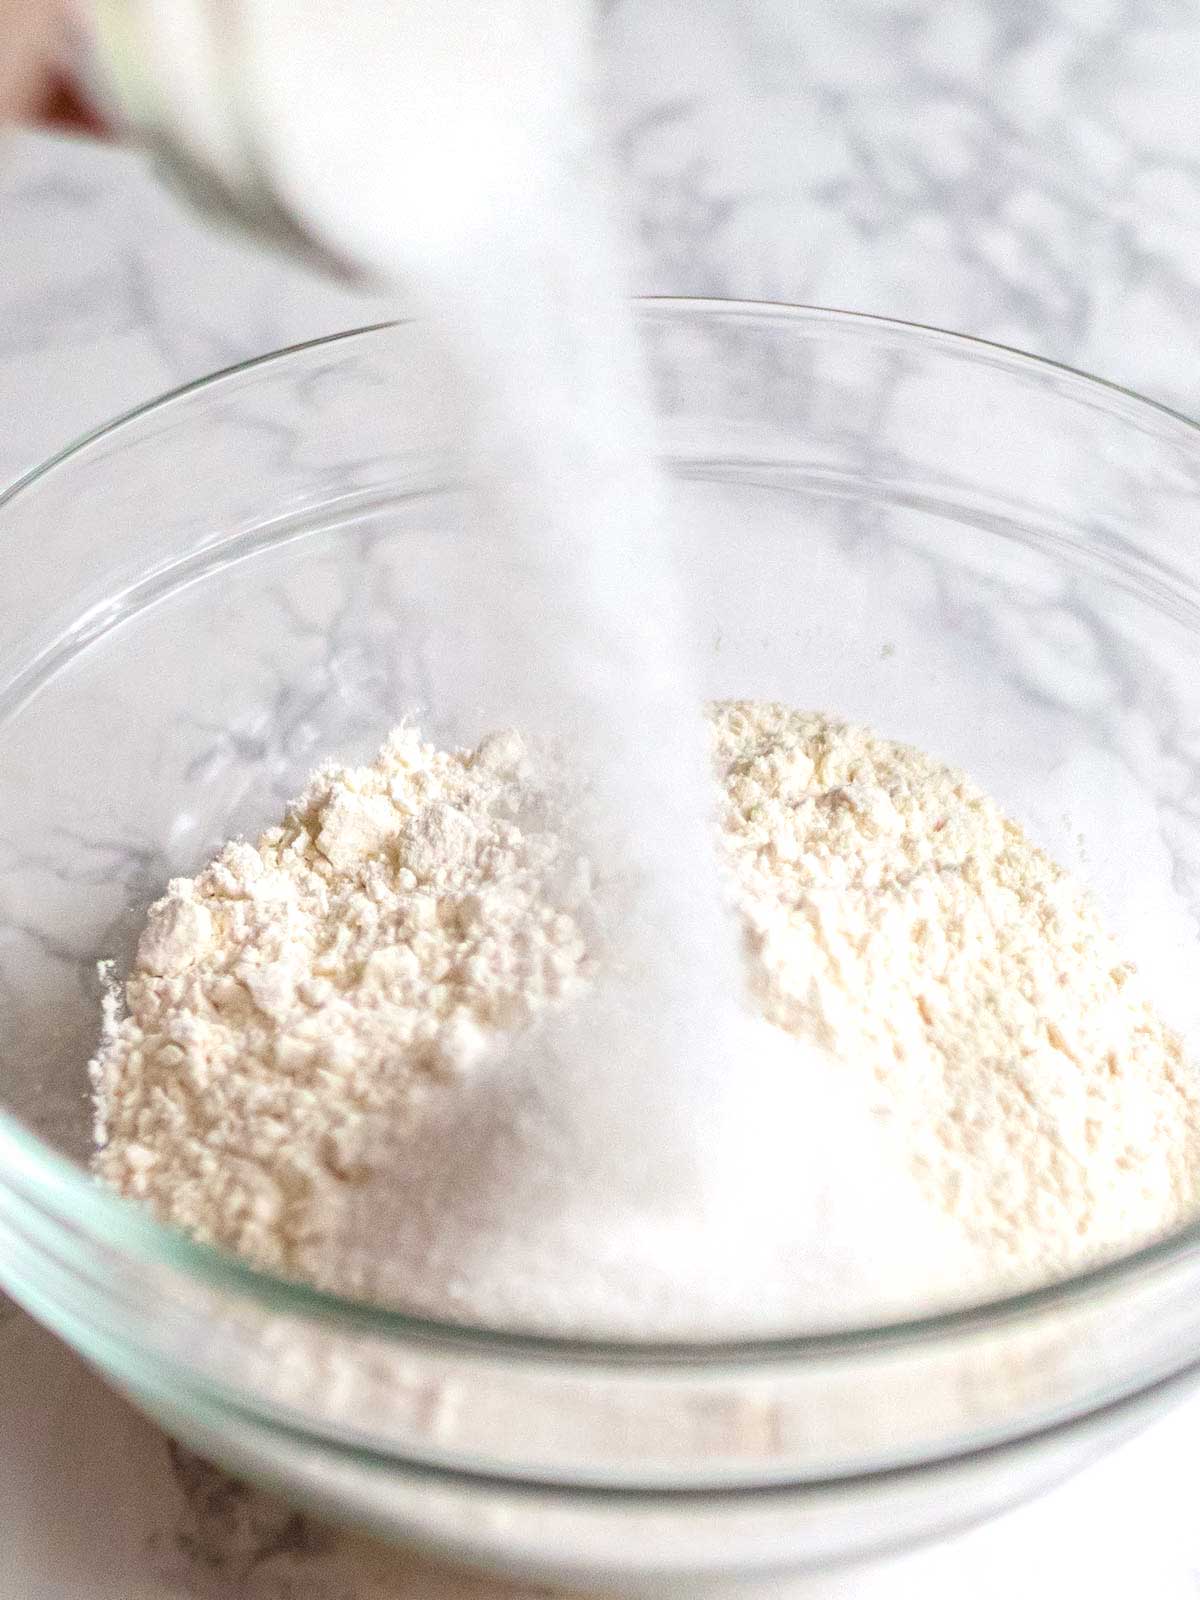
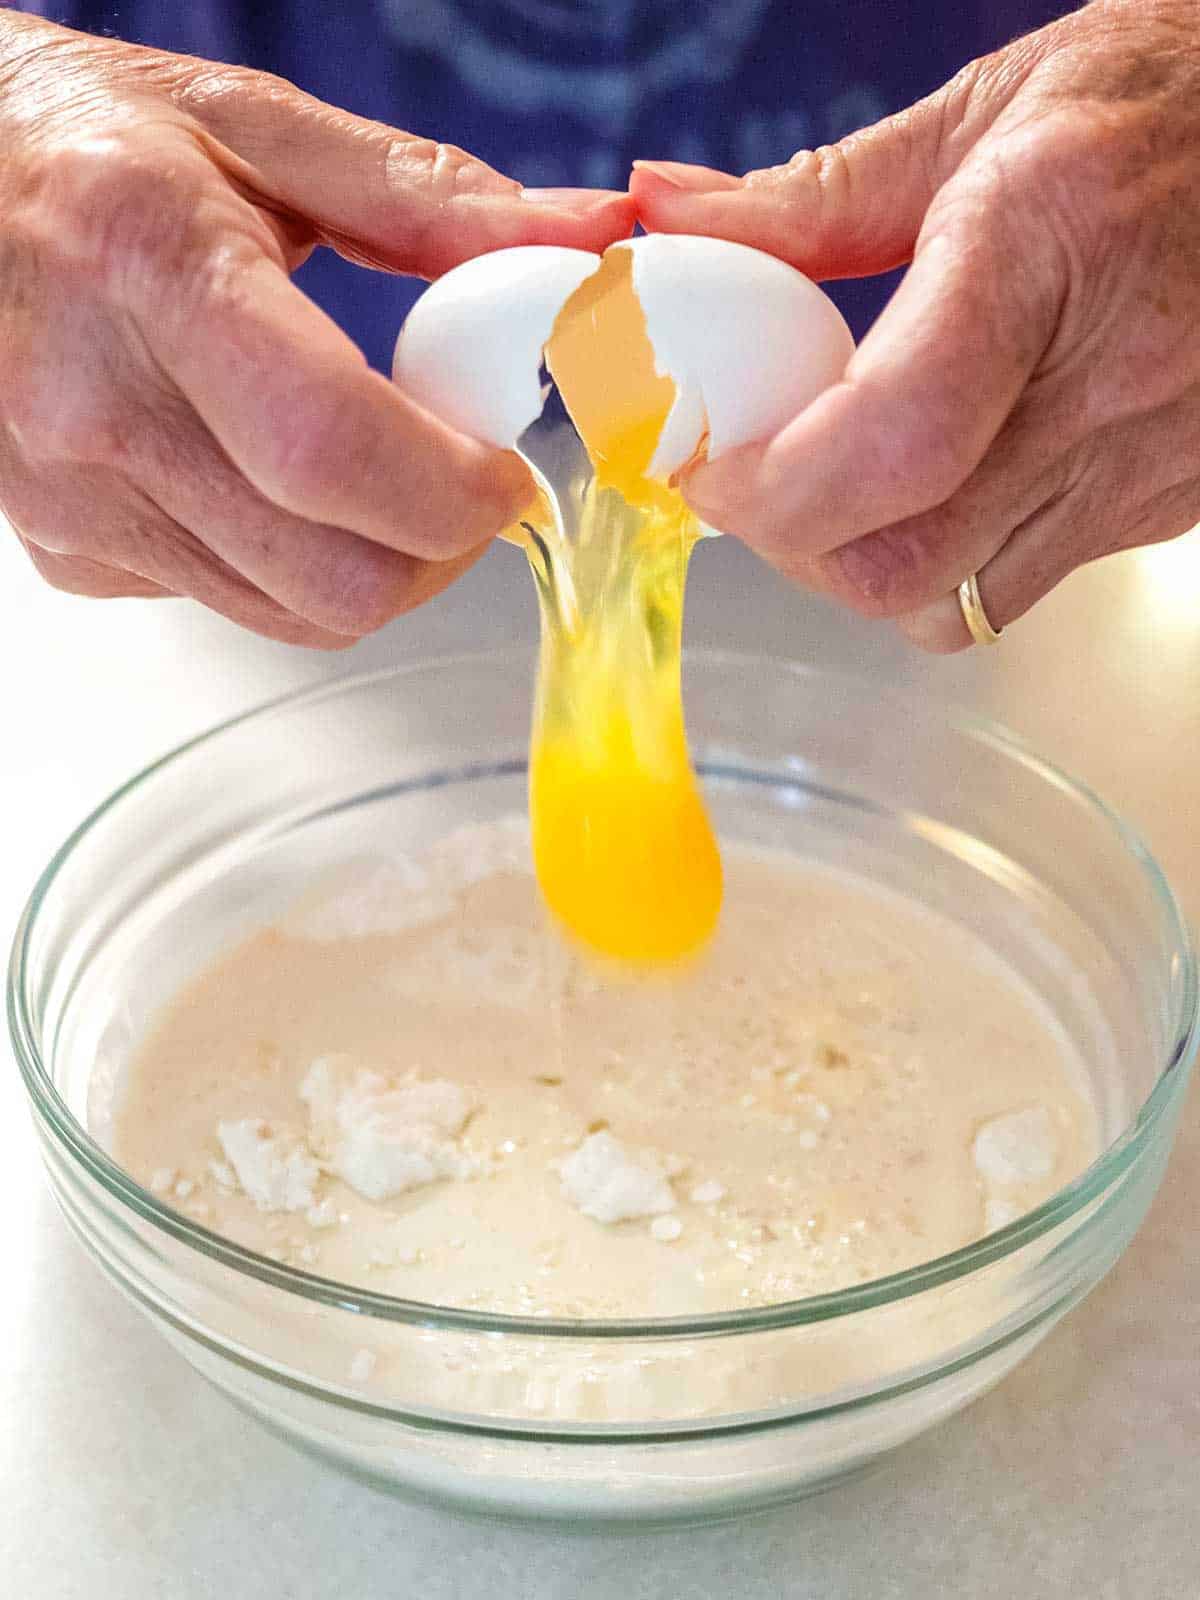
- After about 10 minutes, the yeast had started doing its thing, so I added the milk/yeast mixture and an egg to the dry ingredients.
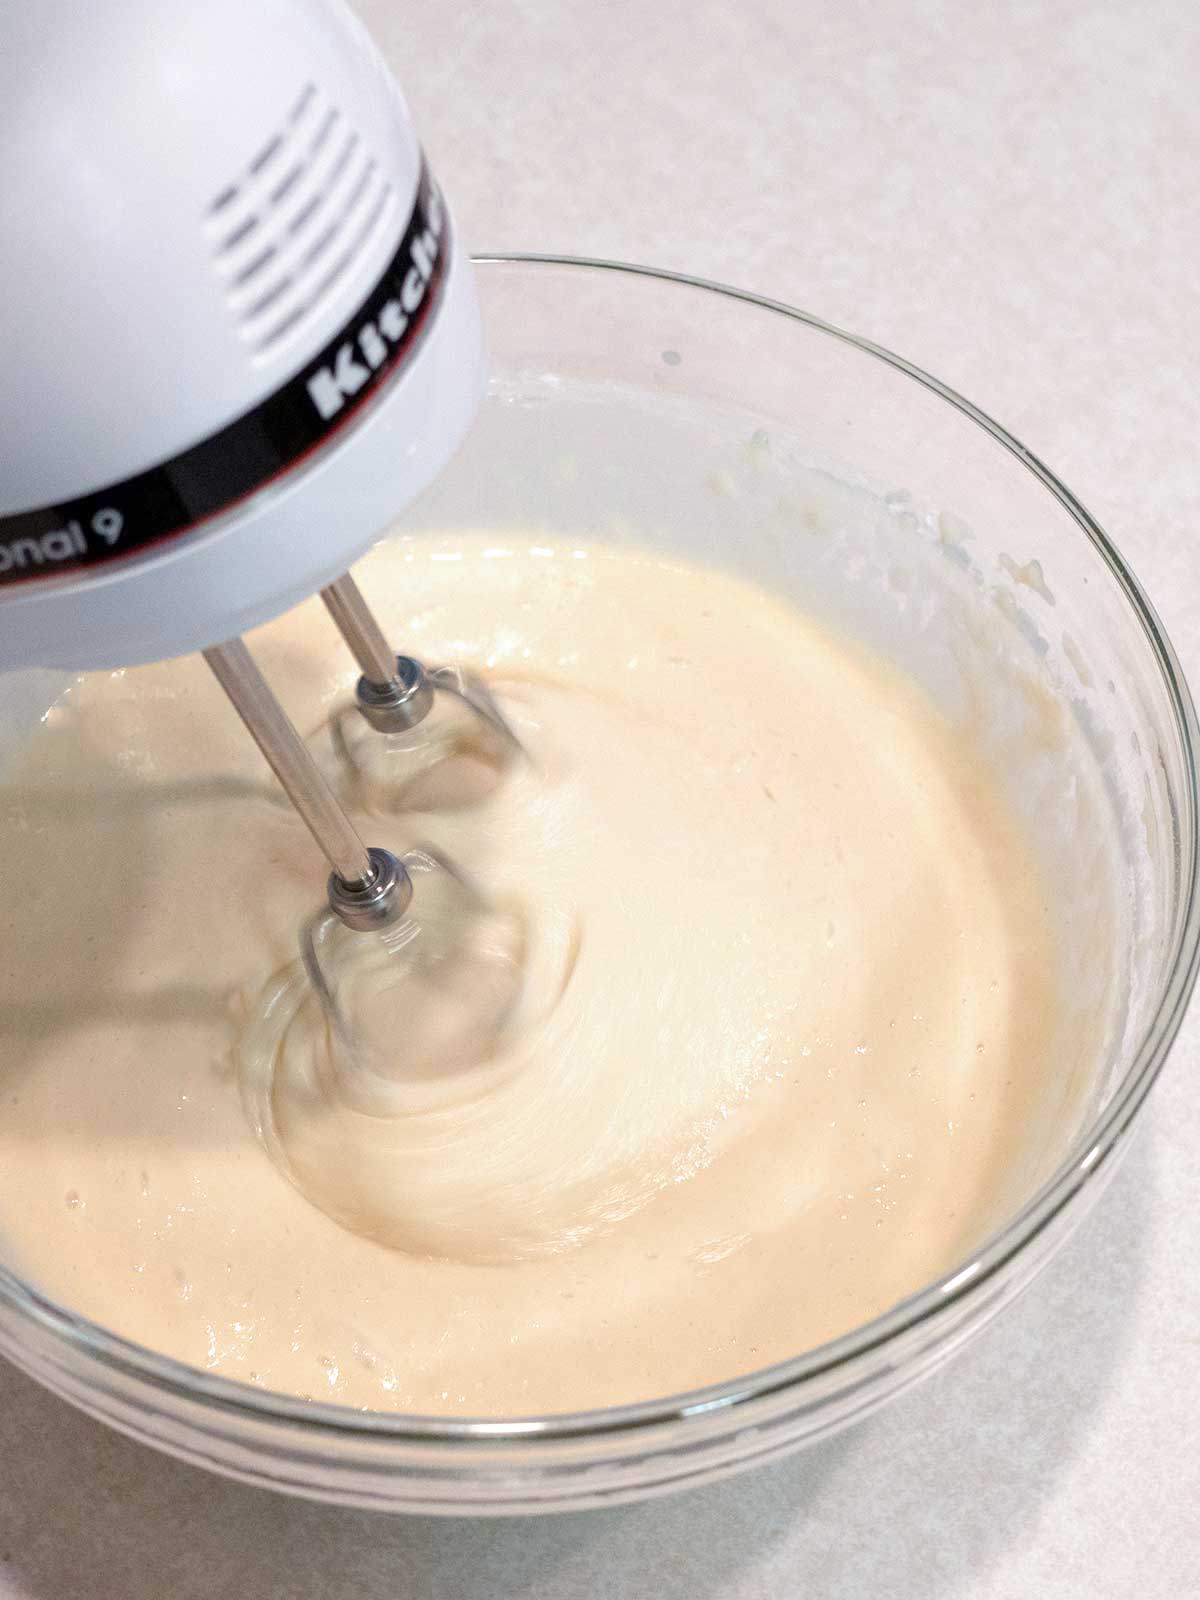
- Then, I beat the batter with my electric mixture on high until all the ingredients were incorporated and the batter was smooth. I could have also whisked the ingredients together until the batter was smooth.
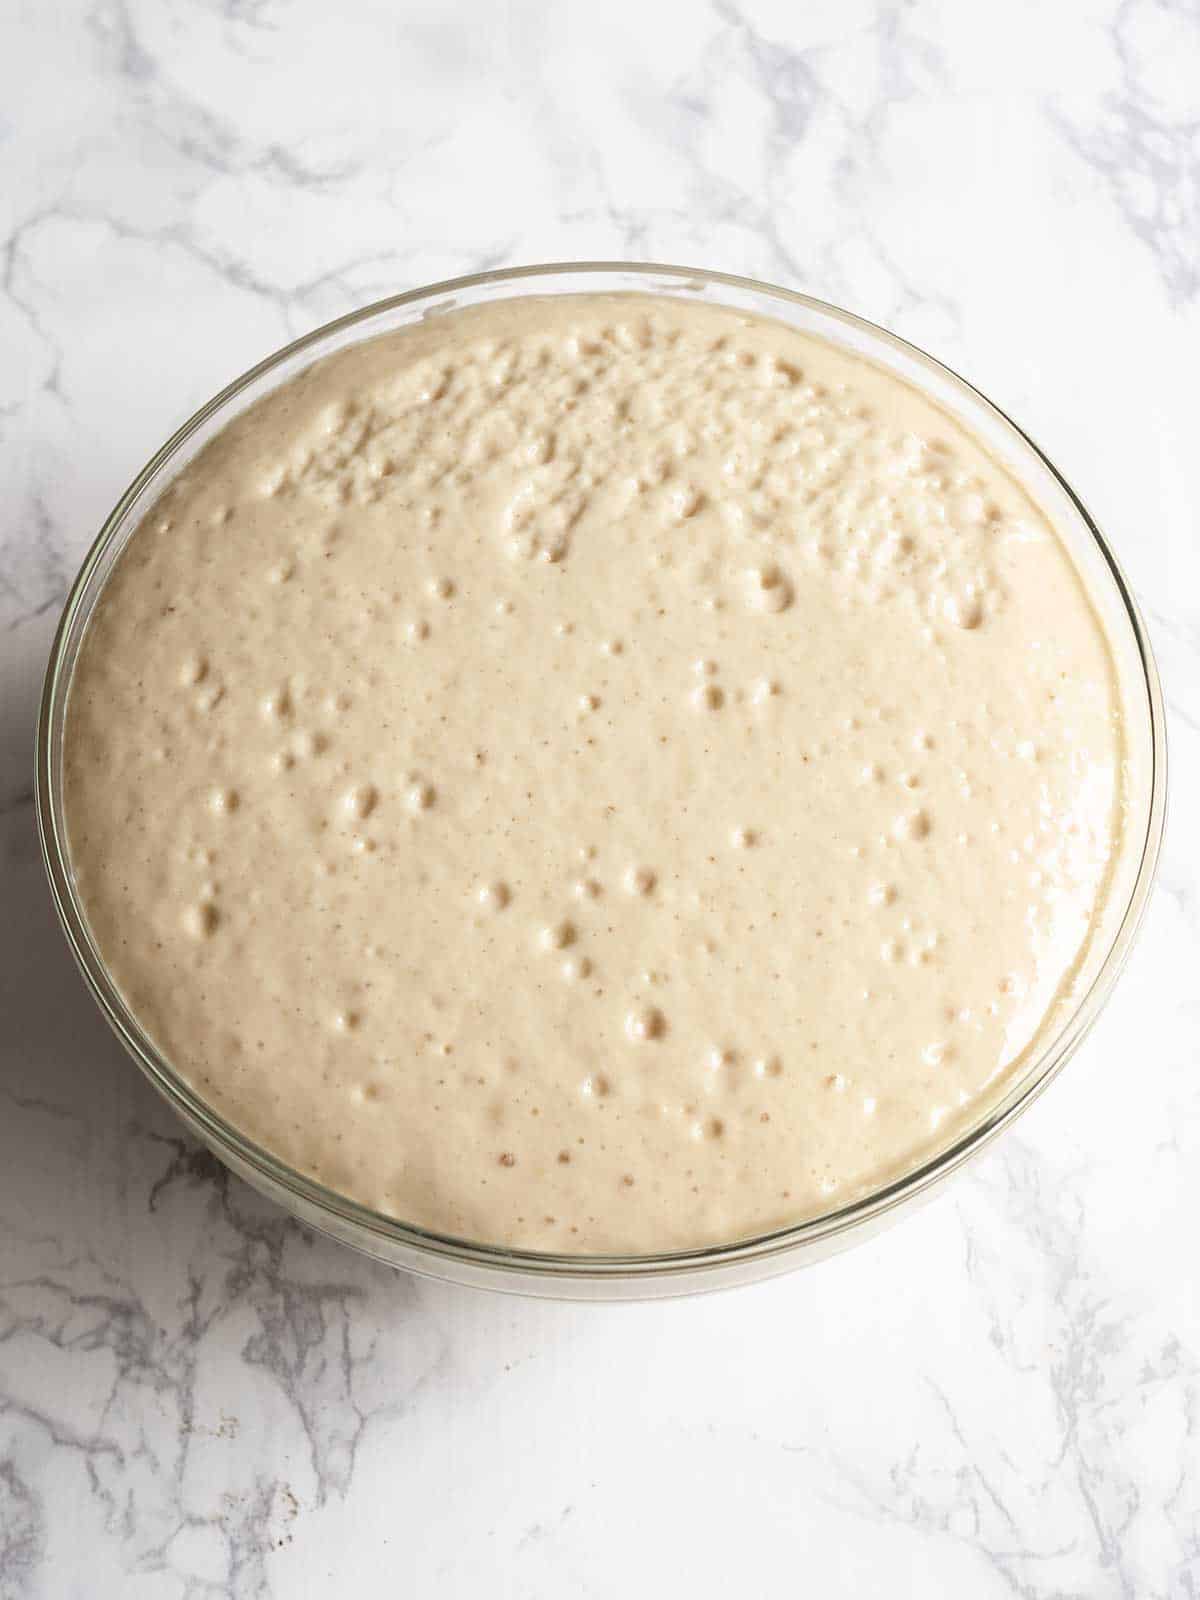
- I covered the bowl with a piece of plastic wrap and set it aside for about 45 minutes. After 45 minutes, the batter was bubbly and had doubled in size.
Steps: Making the Poffertjes
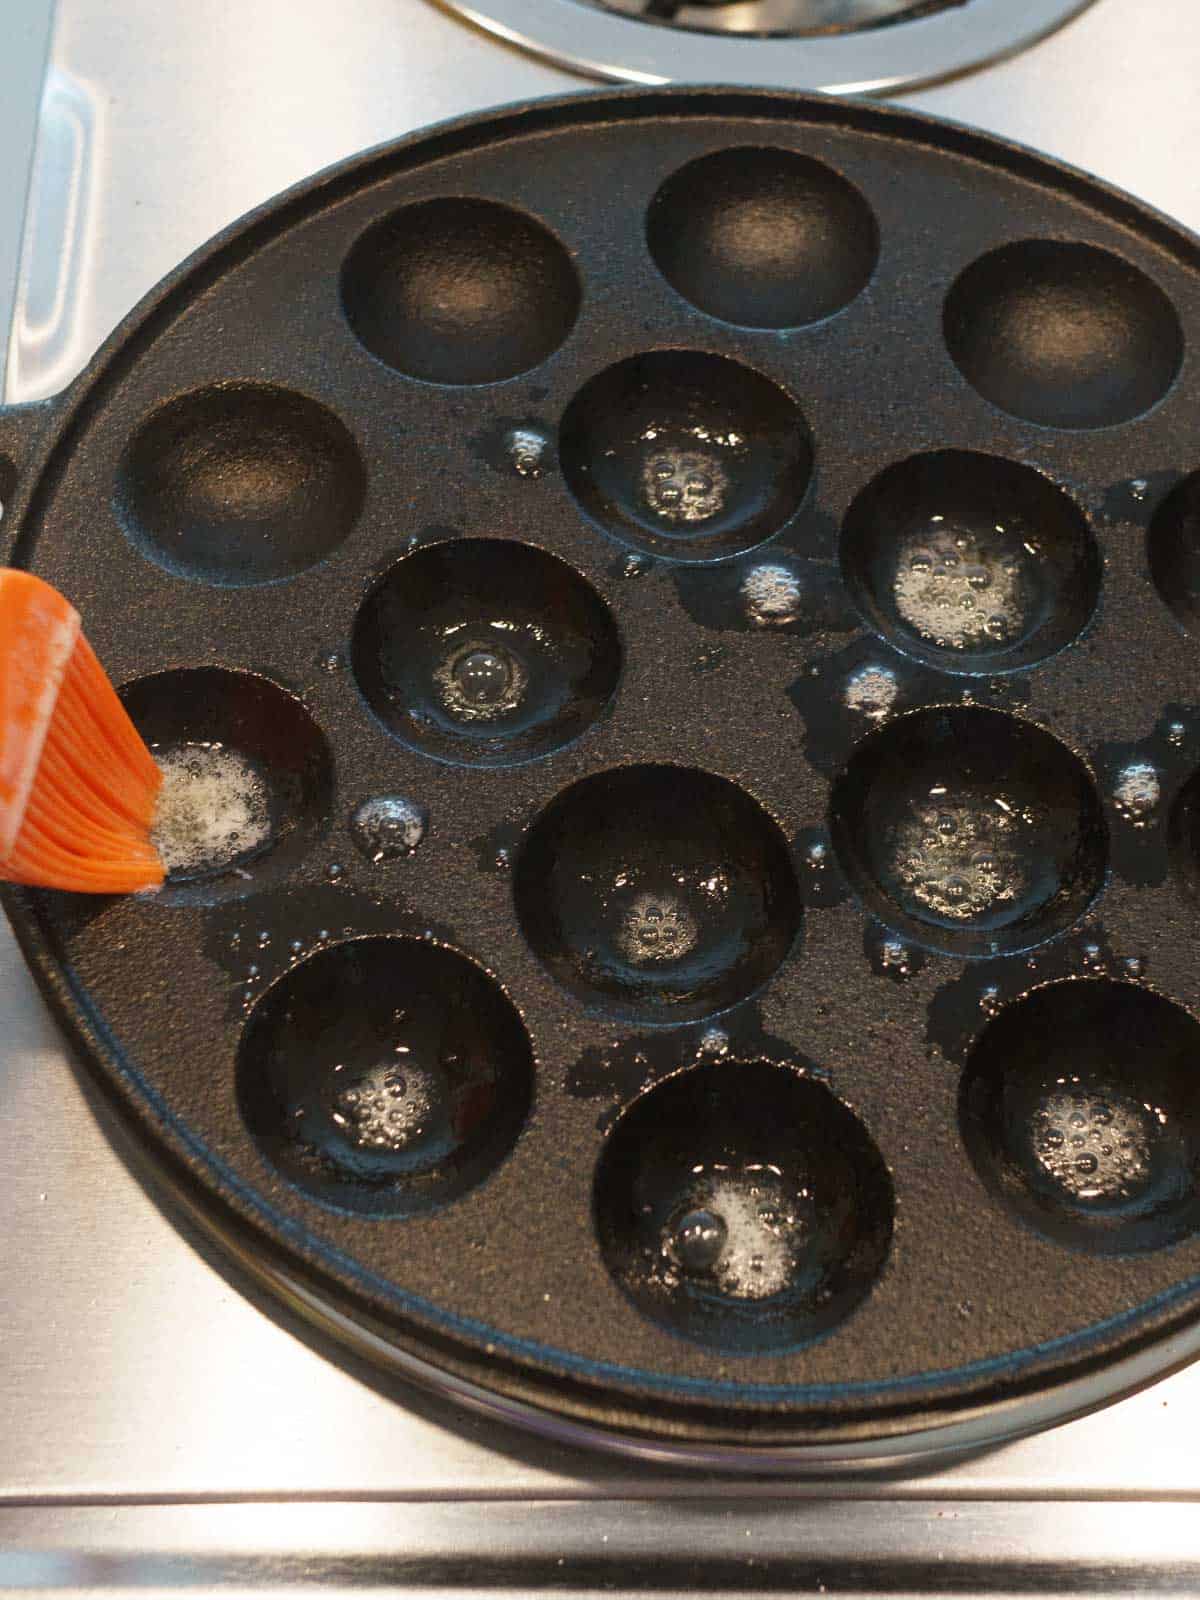
- First, I heated the Poffertjes pan over medium heat for several minutes until it was hot. Then, I brushed each of the cavities with melted butter.
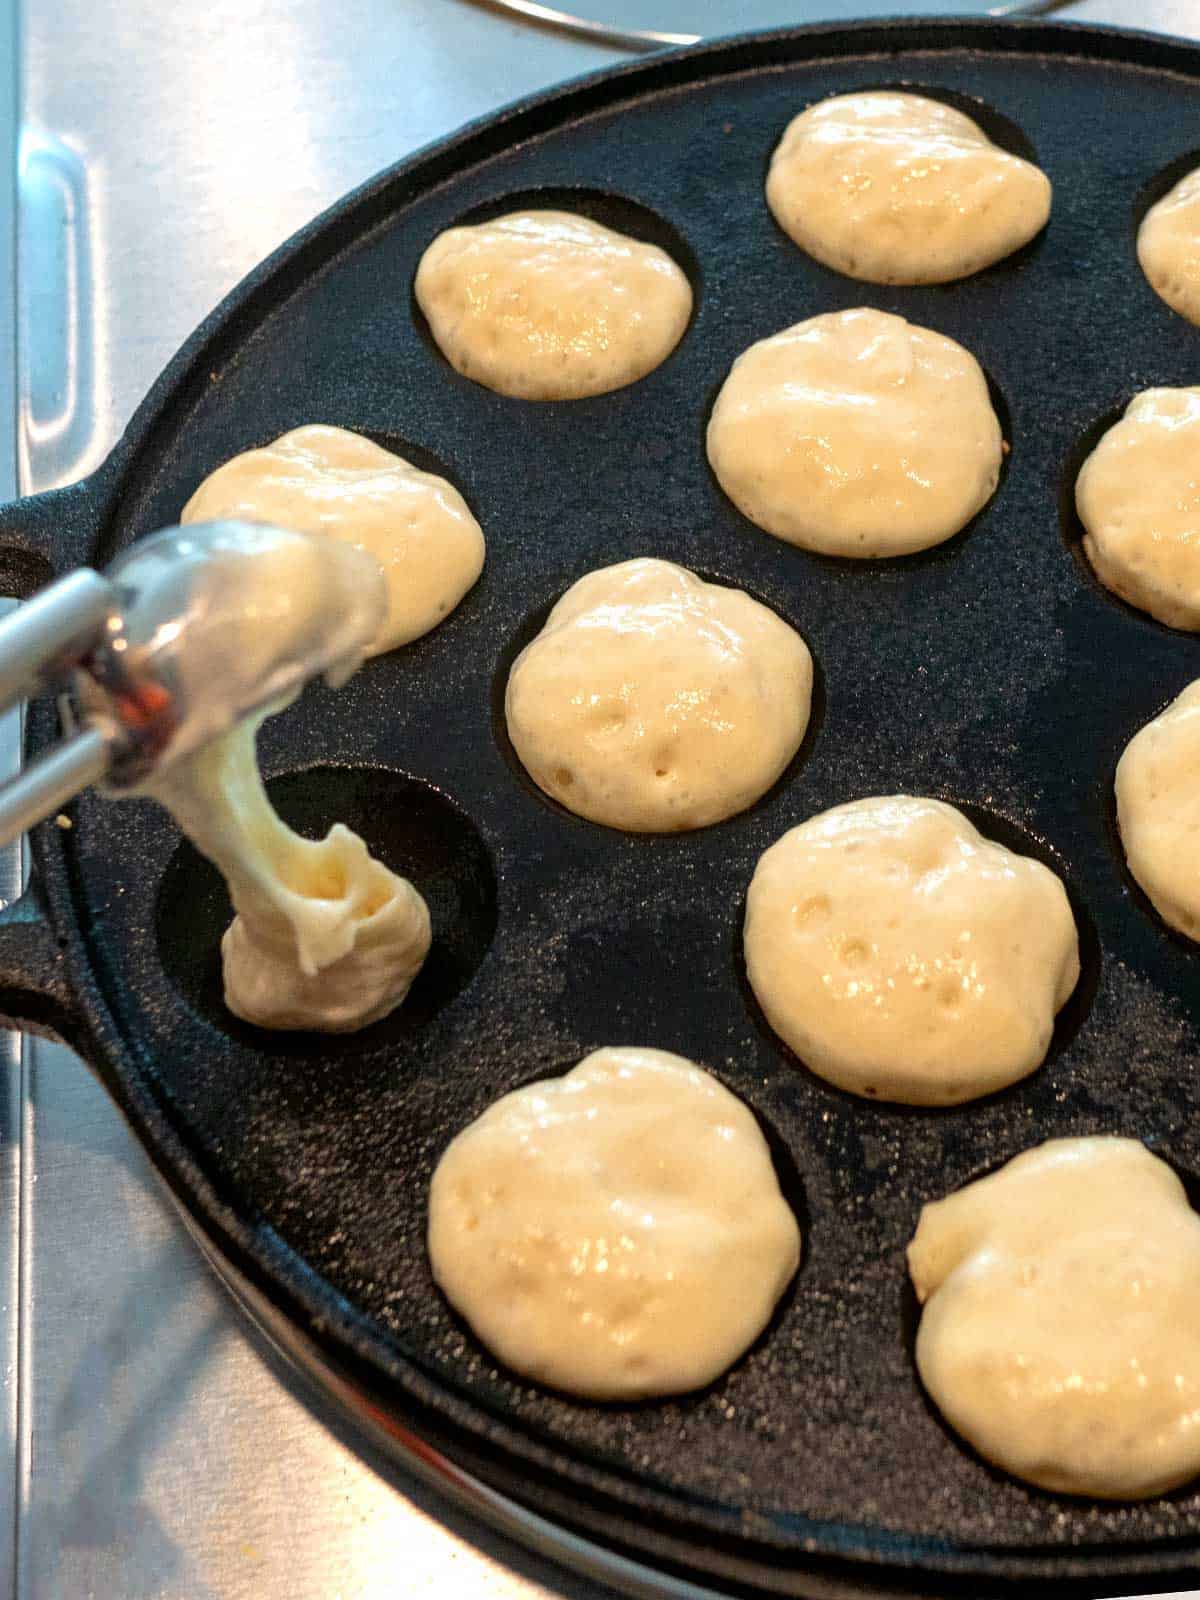
- Next, I added the batter to each of the cavities using a small cookie scoop.
The batter was put into a plastic bottle and squeezed into the cavities in Amsterdam. However, my batter was too thick for this to work. As it turned out, the small cookie scoop was the perfect size!
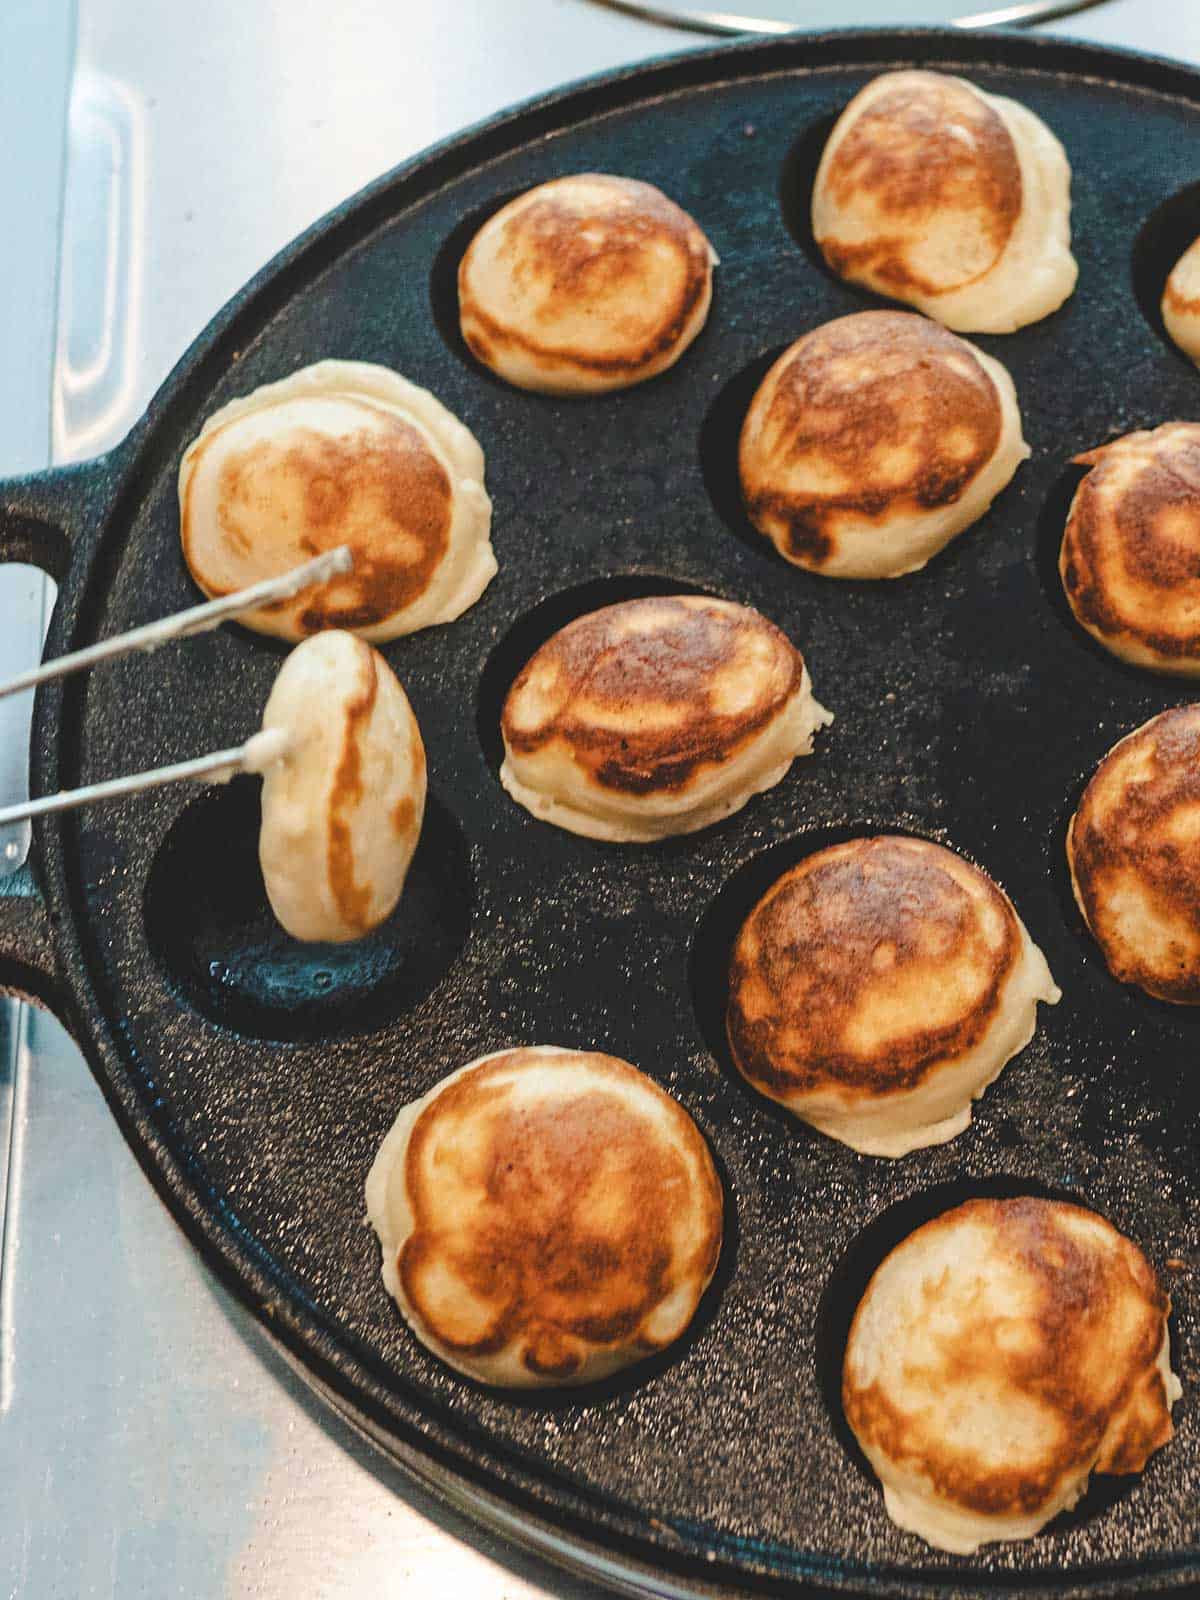
- I let the Poffertjes cook on one side for several minutes until the tops formed bubbles and started to look dry. Then, I carefully flipped them over using the candy fork and chopstick.
- After that, I let them cook for another minute or so on the other side and lifted them out. I repeated this with the remaining batter.
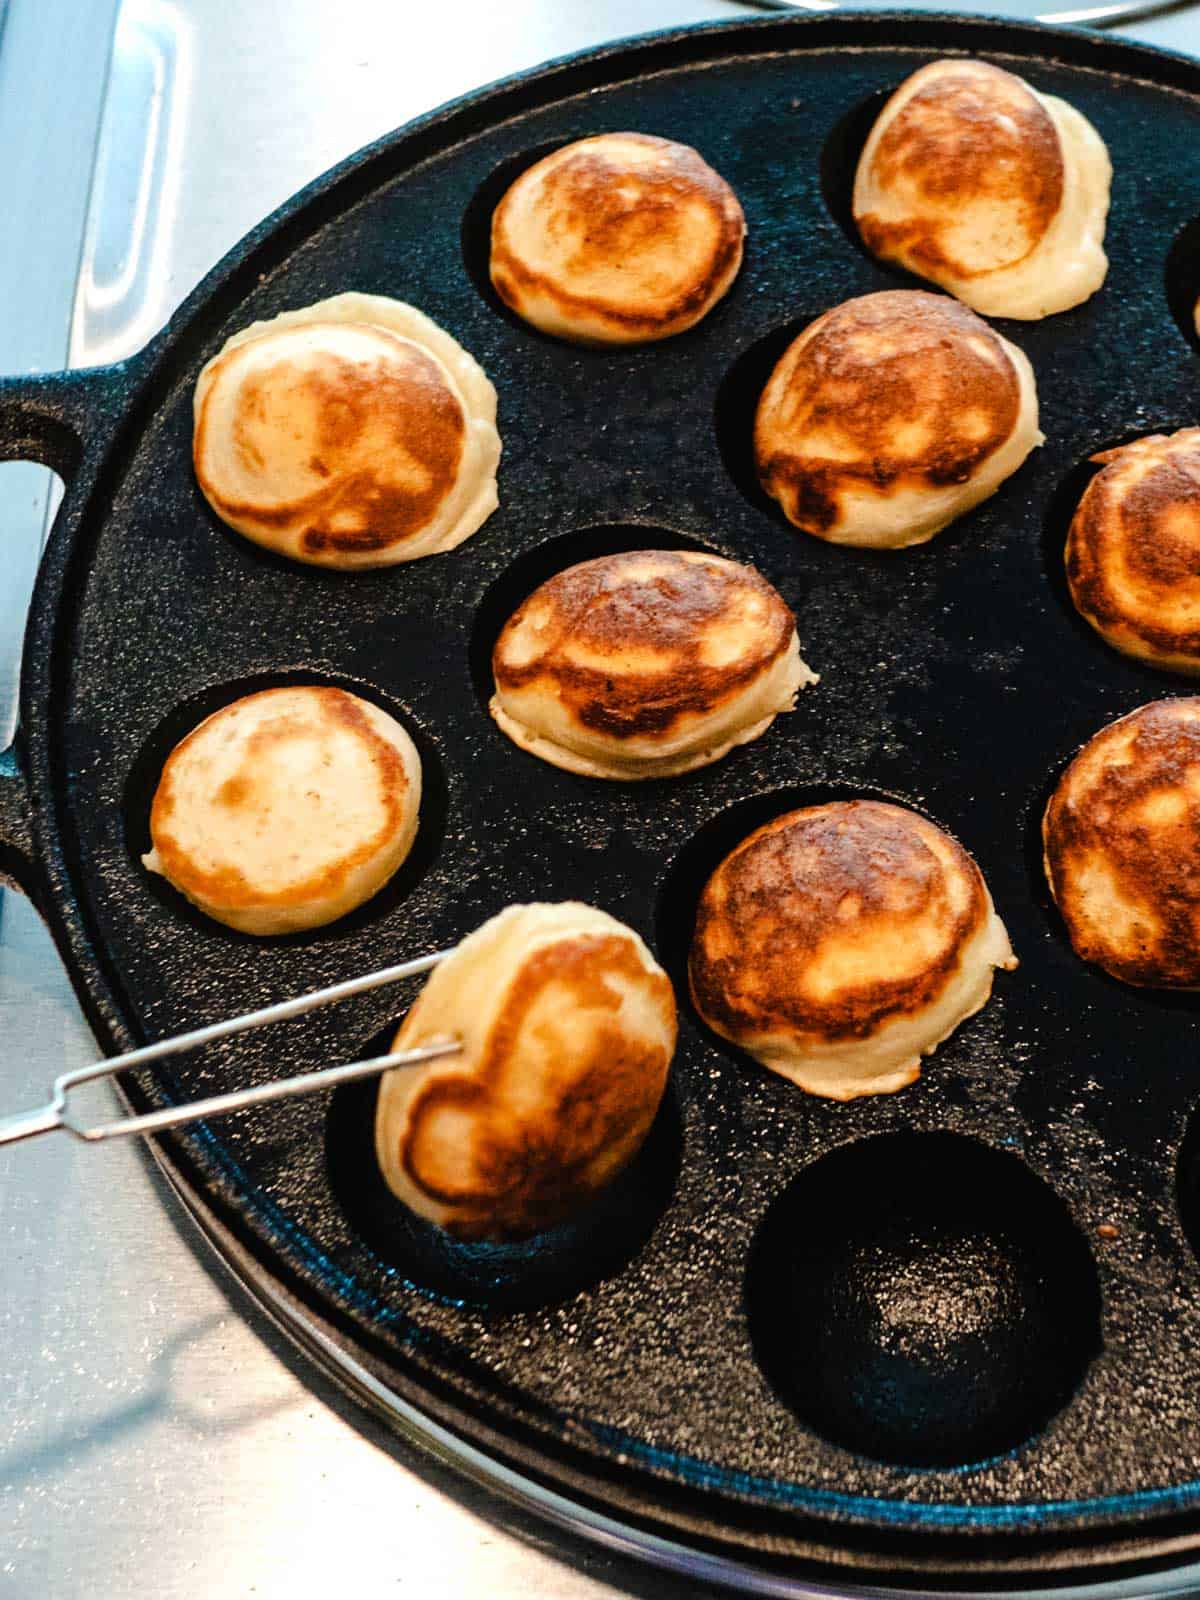
I ended up with about 60 absolutely delicious Poffertjes or Dutch Mini Pancakes.
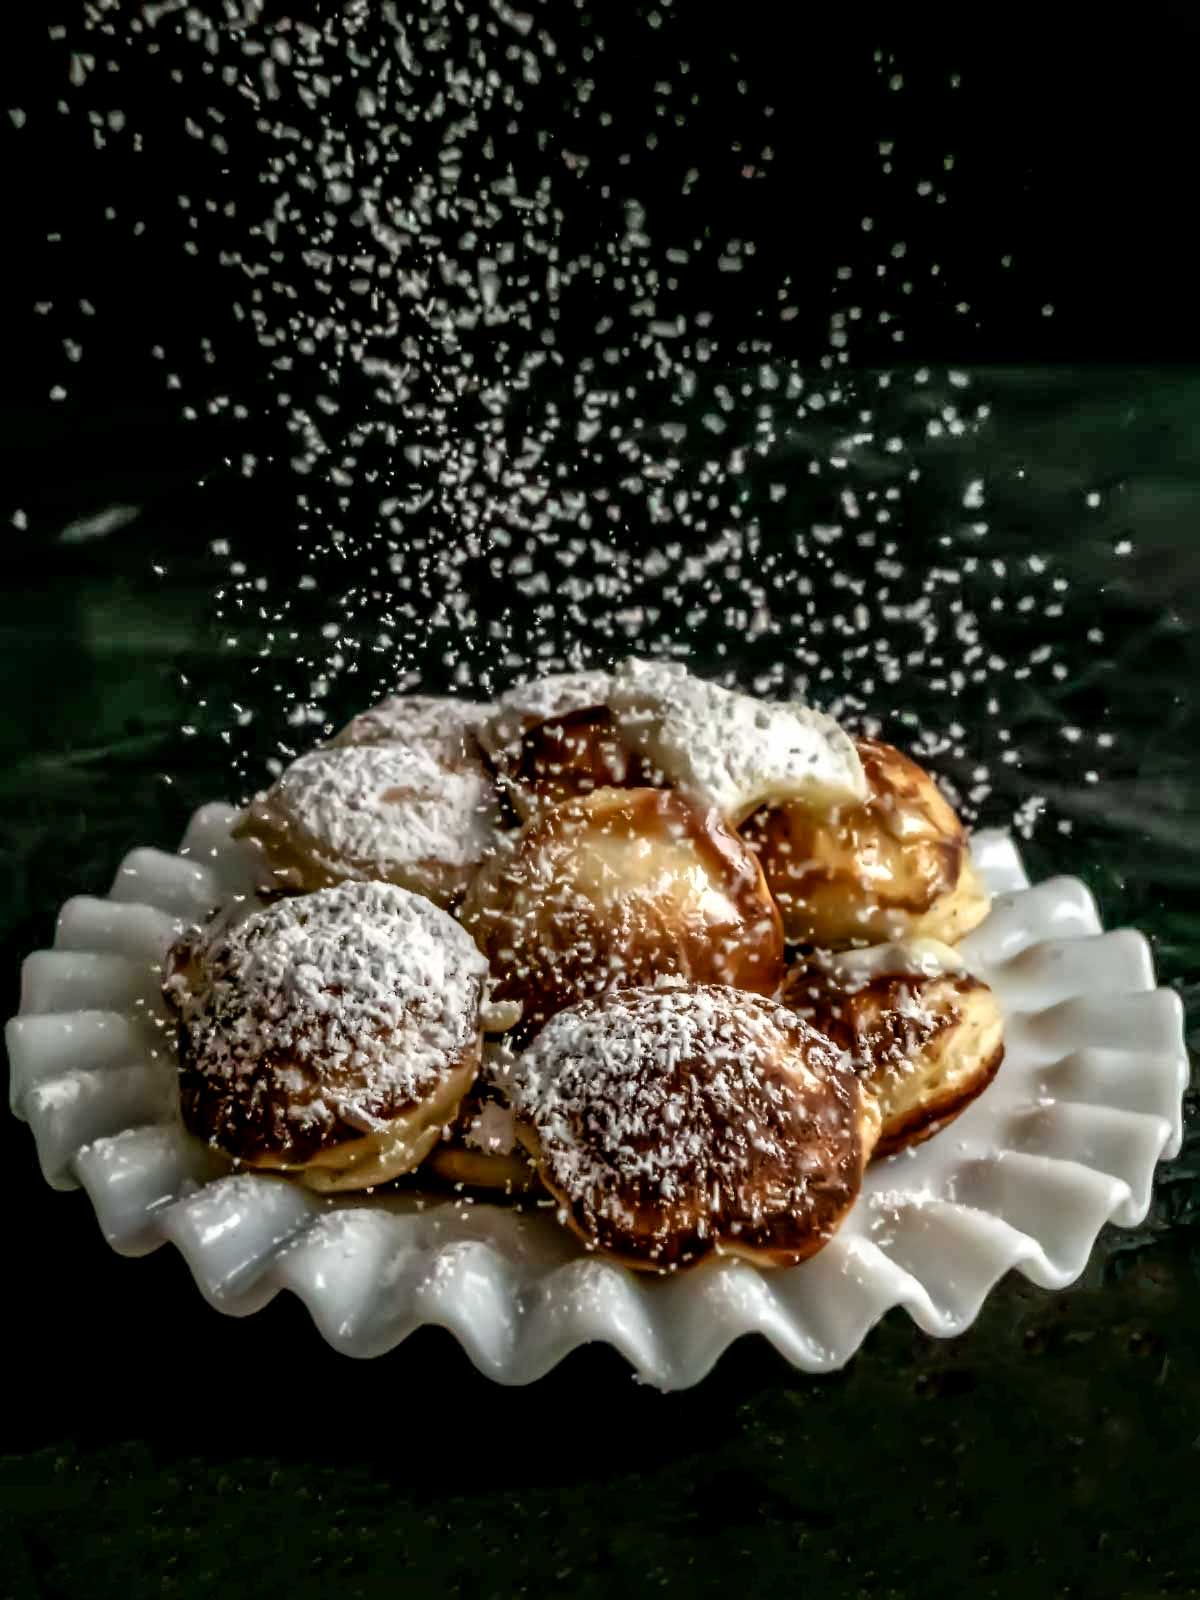
For serving, I piled some onto a small plate while still hot, placed a pat of butter on top, and gave them a good sprinkling of confectioners' sugar.
Each bite was amazing, and brought back fond memories of being in Amsterdam. Yum!
Frequently Asked Questions
Poffertjes are traditionally made with equal parts of buckwheat flour and all-purpose flour. The first time that I made them, I used buckwheat flour. However, I didn't think they turned out that good, so I used all-purpose flour instead.
If you've ever made pancakes, you probably know how the tops form bubbles and start to look dried out, signaling the time to flip them. The same is true for the Poffertjes.
Poffertjes are smaller and thicker than pancakes. They are also made with a different type of batter, which is made with yeast and milk. This gives Poffertjes a slightly more tender and fluffy texture than pancakes.
You can make Poffertjes in a regular frying pan, but it will be more difficult to get them to cook evenly. The indentations in a poffertjes pan help to ensure that the poffertjes cook evenly and rise properly.
The most basic topping for Poffertjes is butter and confectioners' sugar. However, you can also top Poffertjes with Nutella, strawberries and whipped cream, blueberries and lemon curd, or bacon and maple syrup.
Recipe Tips and Tricks
- Poffertjes are thought to have originated in a Dutch abbey, where they were created to use as a part of the communion host.
- The name "Poffertjes" comes from the Dutch word "pofferen," which means "to puff up."
- It's important that you don't overmix the batter because overmixing will make the Poffertjes tough. Mix the batter until it is just combined, then let it rise.
- Heat the Poffertjes pan over medium heat. The pan should be hot enough that the batter sizzles when it is added. If the pan is too hot, the poffertjes will brown too quickly on the outside and not cook through on the inside.
- Add the batter to the pan in small amounts. Don't overfill the indentations, or the Poffertjes will not rise properly.
The Poffertjes recipe that I used was borrowed from Tara's Multicultural Table.
If you tried this recipe, I'd love to hear how the Poffertjes turned out. Also, if you'd like to receive notifications of new posts by email, ever your email address in the Subscribe box.
Thank you so much for visiting Pudge Factor. I hope you'll come back!
Recipe
Want to Save This Recipe?
Enter your email & I'll send it to your inbox. Plus, enjoy weekly doses of culinary inspiration as a bonus!
By submitting this form, you consent to receive emails from Pudge Factor.
Poffertjes (Dutch Mini Pancakes)
Equipment
- Poffertjes cast iron pan
Ingredients
- 1 ½ cups (12 ounces, 350 ml) milk, heated to about 105°F (See Tip 1)
- 2 ¼ teaspoons instant yeast
- 1 ¾ cups (8.75 ounces, 250 grams) all-purpose flour
- 2 Tablespoons granulated sugar
- Pinch of salt
- 1 large egg
- Unsalted butter (See Tip 2)
- Confectioners' sugar for sprinkling on Poffertjes
Instructions
- Add yeast to lukewarm milk; stir to combine. Allow to sit for about 10 minutes or until frothy.
- Whisk together flour, sugar and salt in a large bowl. Add milk/yeast mixture and egg. Beat with electric mixer on high until smooth, about 1 minute. (See Tip 3)
- Cover bowl with plastic wrap; let sit until bubbly and doubled in size, about 45 minutes.
- Heat Poffertjes pan on medium heat until hot, 3 to 4 minutes. Brush cavities with melted butter. Add about 1 tablespoon of batter to each of the cavities. When small bubbles start to appear and the top starts to look a bit dried out, quickly flip Poffertjes. (See Tips 4 and 5)
- Allow Poffertjes to cook on other side until nicely browned, about 2 minutes. Remove from pan. Repeat with remaining batter.
- Serve hot with a pat of butter and a sprinkling of confectioners' sugar.
- Yield, about 60 Poffertjes.
Tips/Notes
- I used whole milk. However, you could also use low-fat milk. I heated the milk in my microwave on full power for about a minute.
- I melted about a tablespoon of butter to use for greasing the cavities of the Poffertjes pan.
- I could have also used a whisk to beat the ingredients together to form a smooth batter.
- If you've ever made pancakes, you should know how they look when it's time to flip them over - small bubbles appear, and the top looks a bit dried out.
- While cooking the Poffertjes, watch the heat carefully. You might need to lower the heat just a little bit to prevent them from burning.


Erin says
Perfect recipe!! Easy and they turned out so good!! Better than the van at our local market if you ask me!! Will be a weekend staple for us now!!
Agree will likely add a dash of vanilla, but we’re delish without! Just personal preference!
Chula King says
So glad the recipe worked for you Erin!
Chula
Violet Winter says
Hi, mine came out tough, I mixed it less than a minute. I think adding vanilla would help.
Chula King says
Sorry about that. Mine consistently turn out quite tender.
Chula
Lauren says
Perfect poffertjes! Thanks for the recipe! Do you know if the batter can be refrigerated? We’re just 2 people so it’d be perfect to make some one day & some the next. Thanks!
Chula King says
Hi Lauren,
So glad you liked thge poffertjes! I've not refrigerated the batter. However, based on experience with other yeasted doughs, I think that it would be all right to refrigerate the poffertjes batter overnight. Be sure to store it in a loosely covered container or bowl to allow gases to escape, rather than in a sealed jar or container.mThis will prevent the better from over-fermenting and expanding too much.
If you do store the batter in the refrigerator, I'd love to know haw it actually worked!
Chula
Em says
Are these freezable??
Chula King says
Em,
Yes, the poffertjes can be frozen. Allow the poffertjes to come to room temperature and place them on a single layer on a parchment lined baking sheet lined. Put the baking sheet in the freezer until the poffertjes are frozen and then transfer the frozen poffertjes to a freezer Ziploc bag or airtight container. They can be reheated in the microwave for a minute or two or in a 350°F oven for 5 to 10 minutes.
Chula
Randy Haler says
Your comment about the buckwheat flour made me want to try your recipe because I had the same experience with that flour. Yours turned out perfectly and looked just like the ones in your pictures. I work with yeast frequently, so changed a little with that. Heated the milk to 115F and added a teaspoon of white sugar for the yeast to eat. I used active dry yeast. I will make them again - very good.
Chula King says
Thanks so much Randy! Glad you enjoyed the recipe.
Chula