
Looking for the best easy no-bake Halloween treat? These adorable Rice Krispie Pumpkins are a classic spooky sweet snack that takes less than 30 minutes to make! Perfect for class parties or a fun fall activity with the kids, this simple recipe uses orange-colored cereal and Tootsie Roll Midgees to create individual pumpkin-shaped treats. Skip the oven and make a batch of these iconic, kid-friendly decorations today-they're guaranteed to be a hit at any Halloween party!

Jump to:
Why You'll Want to Make Rice Krispie Pumpkins
- Kid-Friendly & No-Bake: This is a fantastic kitchen activity for kids of all ages since it requires zero baking and involves simple, safe steps like melting butter and molding the mixture.
- Fast and Simple: You can go from ingredients to finished Rice Krispie Pumpkins in under 30 minutes, making them the ultimate last-minute dessert or party contribution.
- Perfect for Parties: Unlike cookies or cakes, these treats are perfectly portioned, easy to transport, and hold up well, making them ideal for school lunches, fall festivals, or a spooky party buffet.
- They Look Professional with Minimal Effort: Despite their simplicity, the bright orange color and the clever use of a Tootsie Roll stem and green icing give them a polished, decorative look. You get a high-impact visual treat with almost no kitchen expertise required.
Ingredients - Here's What You'll Need

Steps to Make Rice Krispie Pumpkins
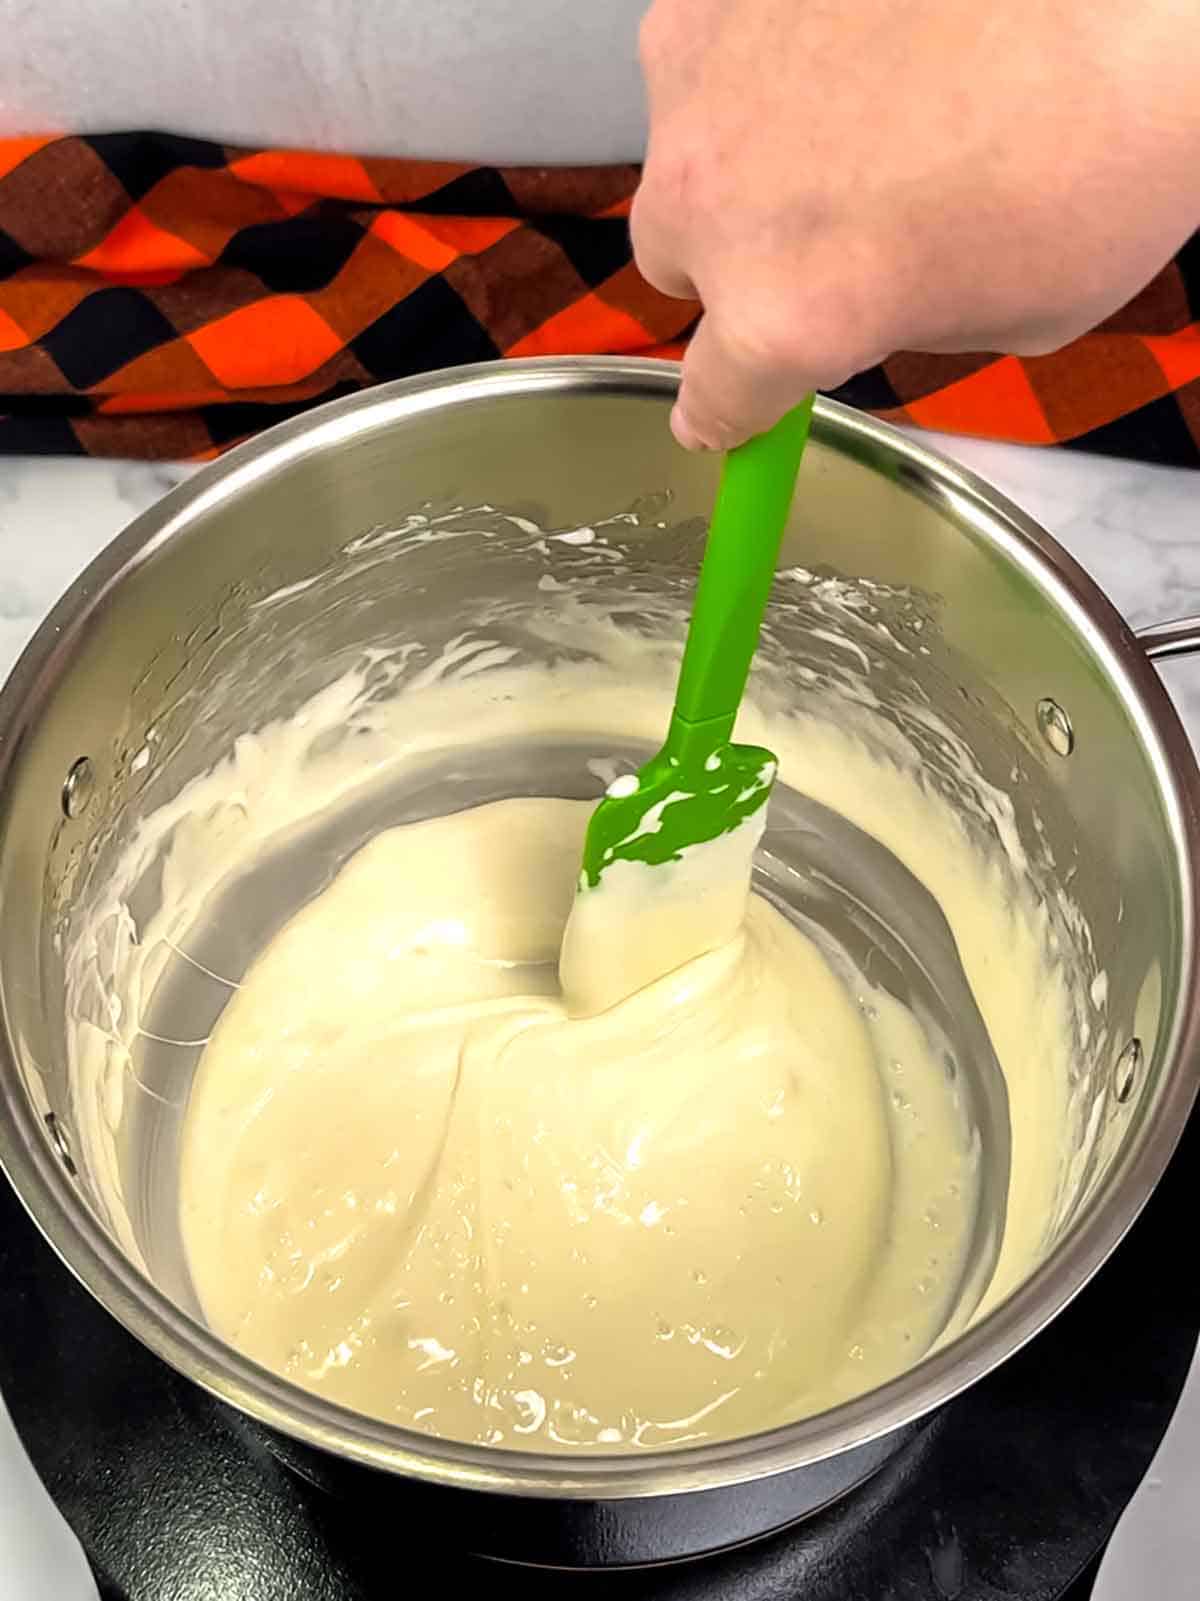
- Line a half-sheet pan with parchment paper and set aside until ready to use. Then, melt the unsalted butter in a large pot set over low heat. Once the butter has melted, add the jumbo extra-large marshmallows.

- Stir the marshmallows with the melted butter until they are well coated. Then, continue stirring occasionally until the marshmallows are melted and the mixture is smooth.
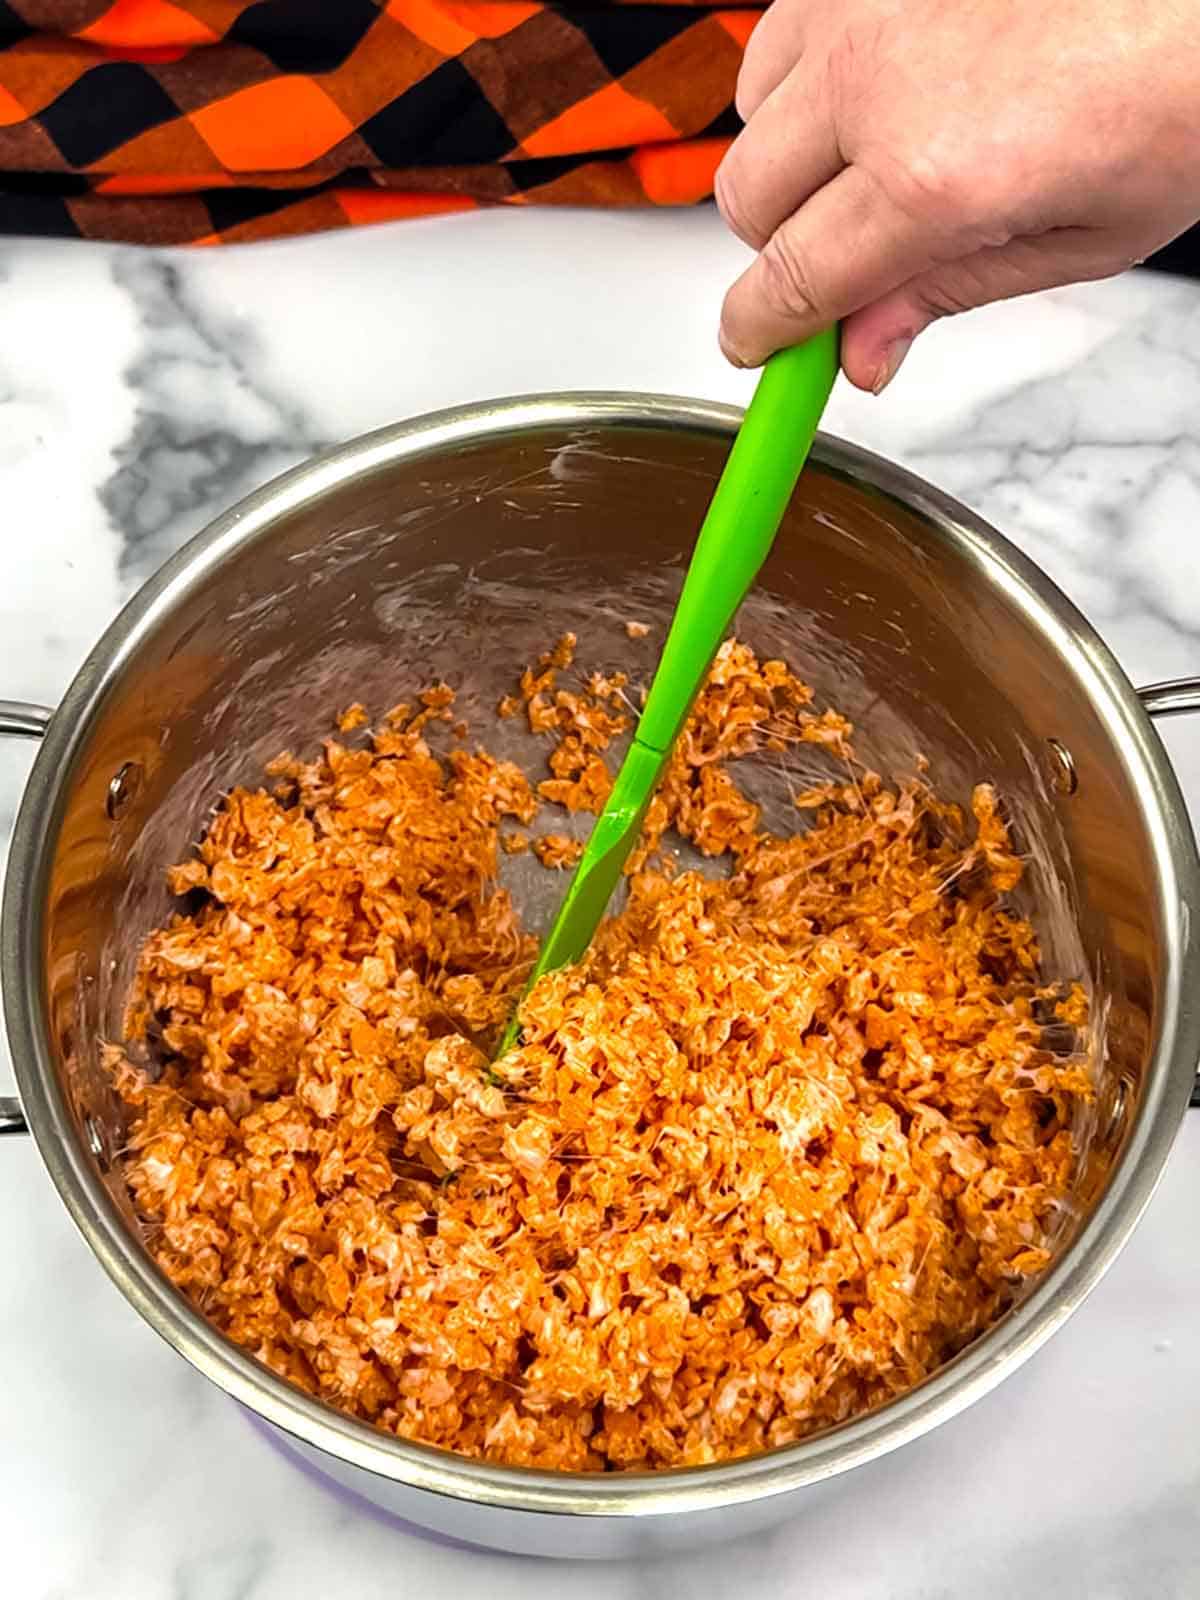
- Next, remove the pot from the heat and add the Rice Krispies Shocking Orange Colored Cereal.

- Then, carefully stir the Rice Krispies into the marshmallow mixture to combine them well.
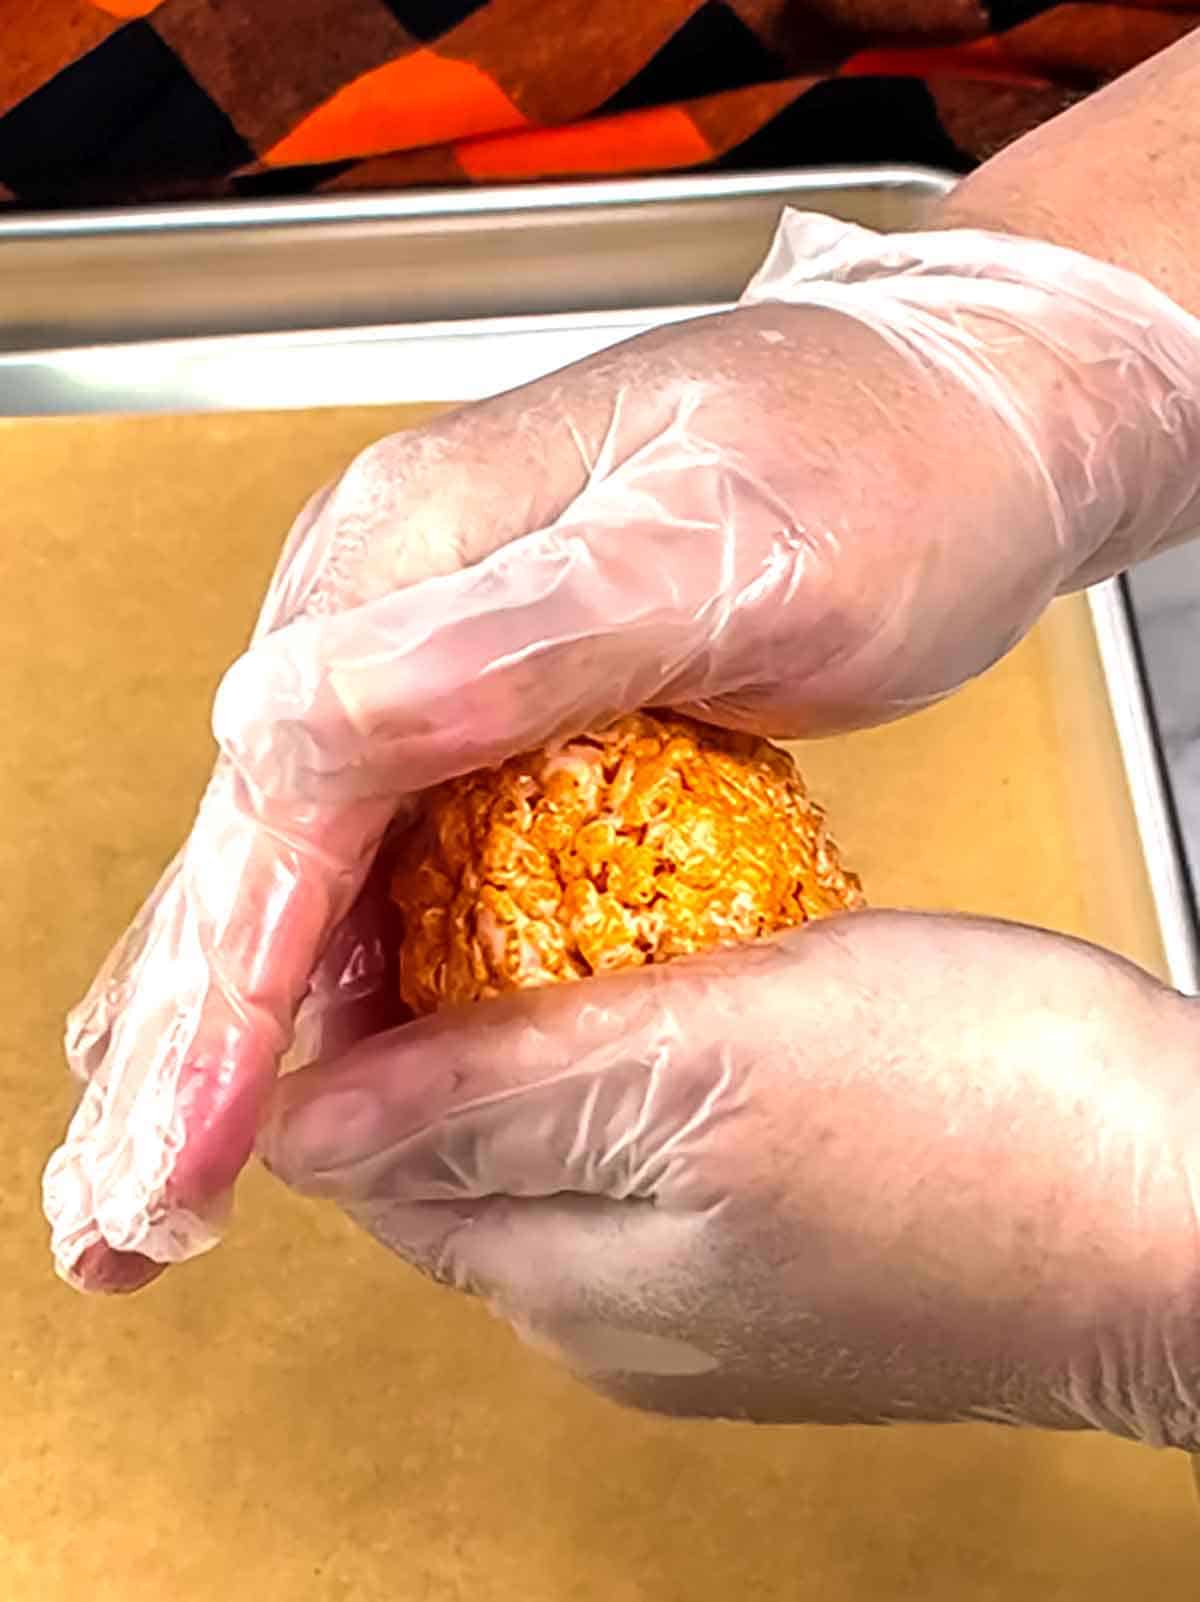
- Next, put on a pair of vinyl food-grade gloves. Spray the inside of a large ice cream scoop and one of your gloved hands with non-stick cooking spray. Rub your hands together so they're both coated with the spray. While the mixture is still warm, use the ice cream scoop to portion out the Rice Krispie mixture. I used my 3.25-oz, ice cream scoop.

- Then, use your gloved hands to form the Rice Krispie mixture into a ball, pressing the mixture as tight as possible. Place the ball on the prepared sheet pan. Repeat making balls with the remaining mixture.
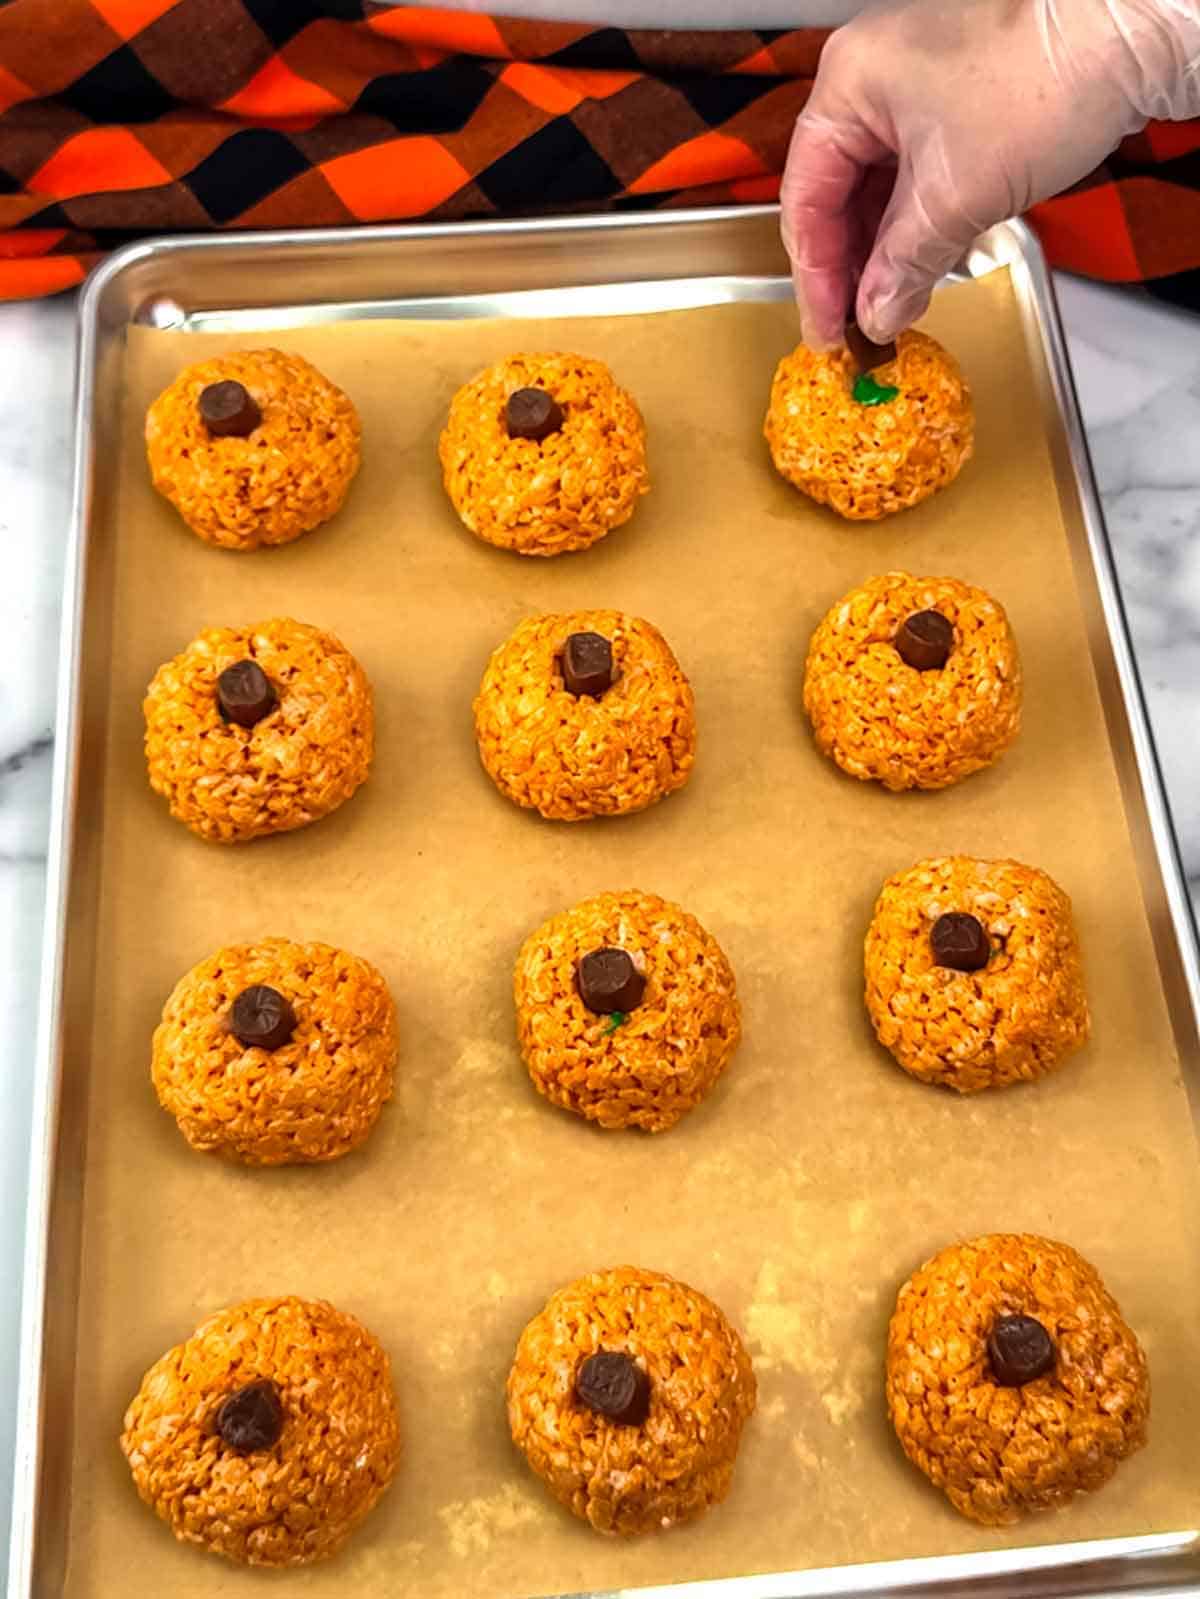
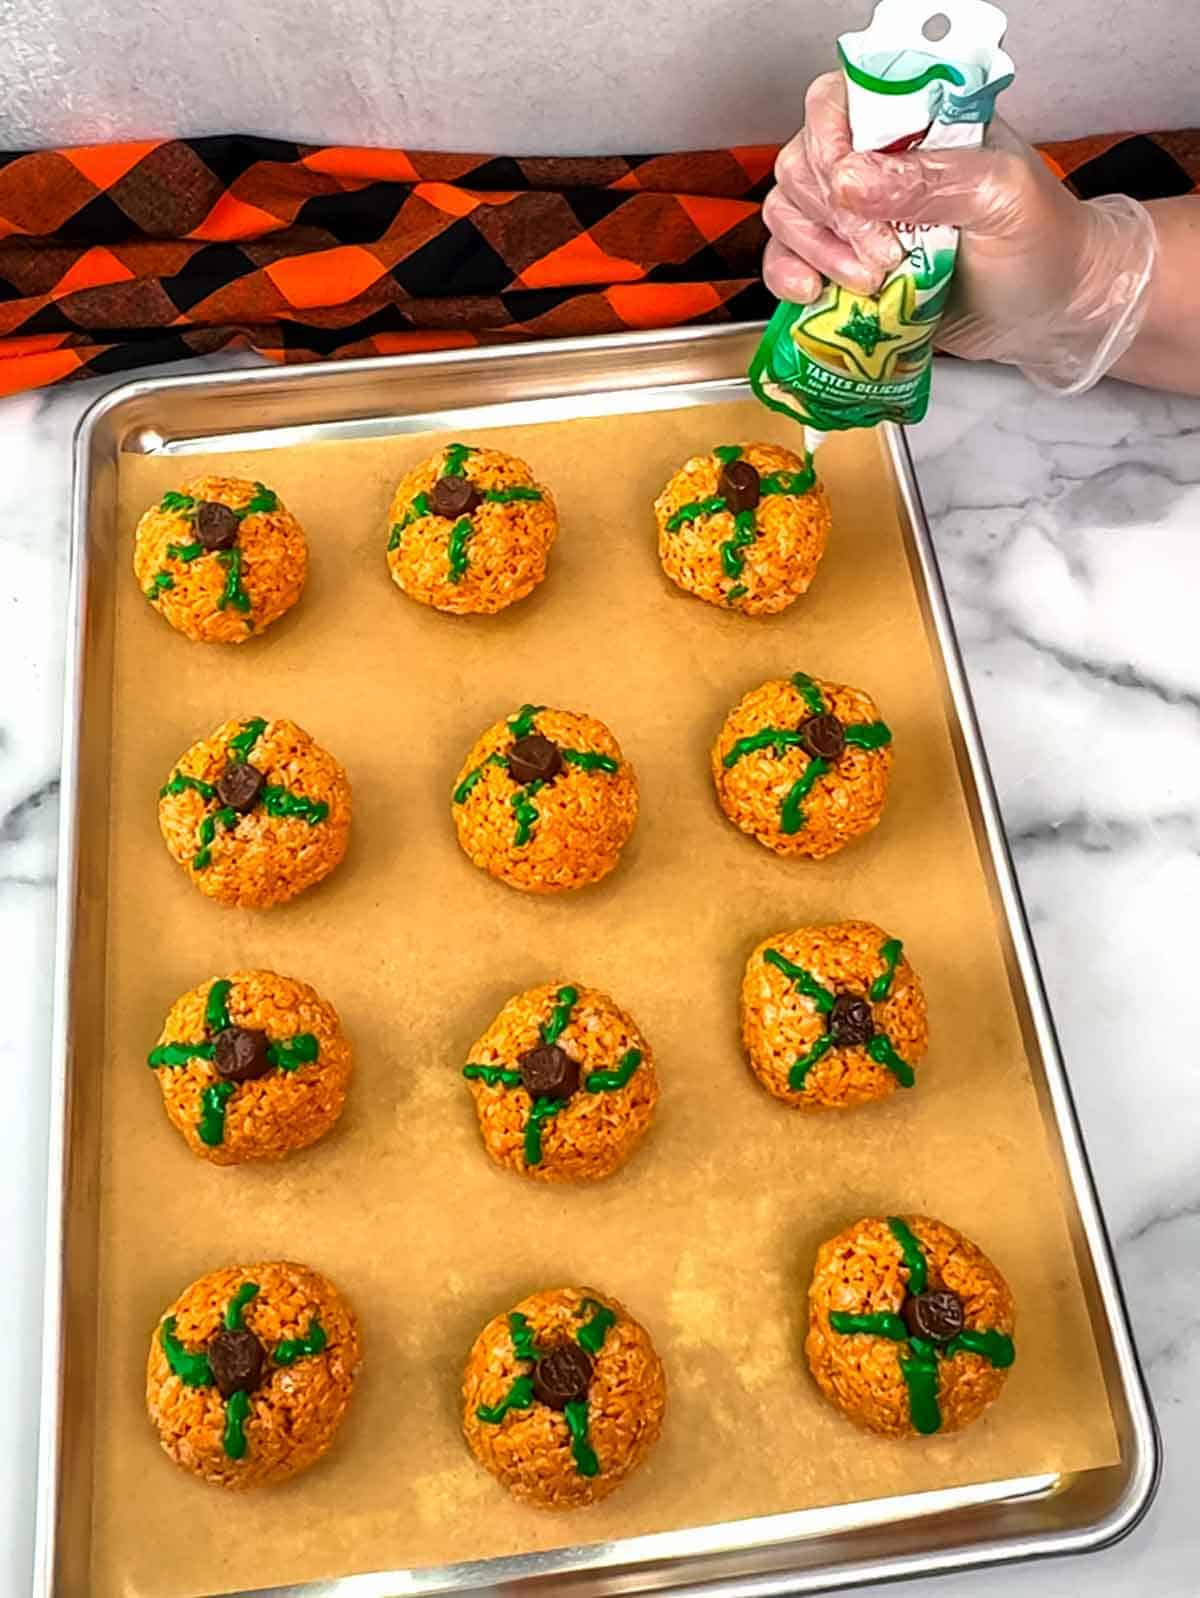
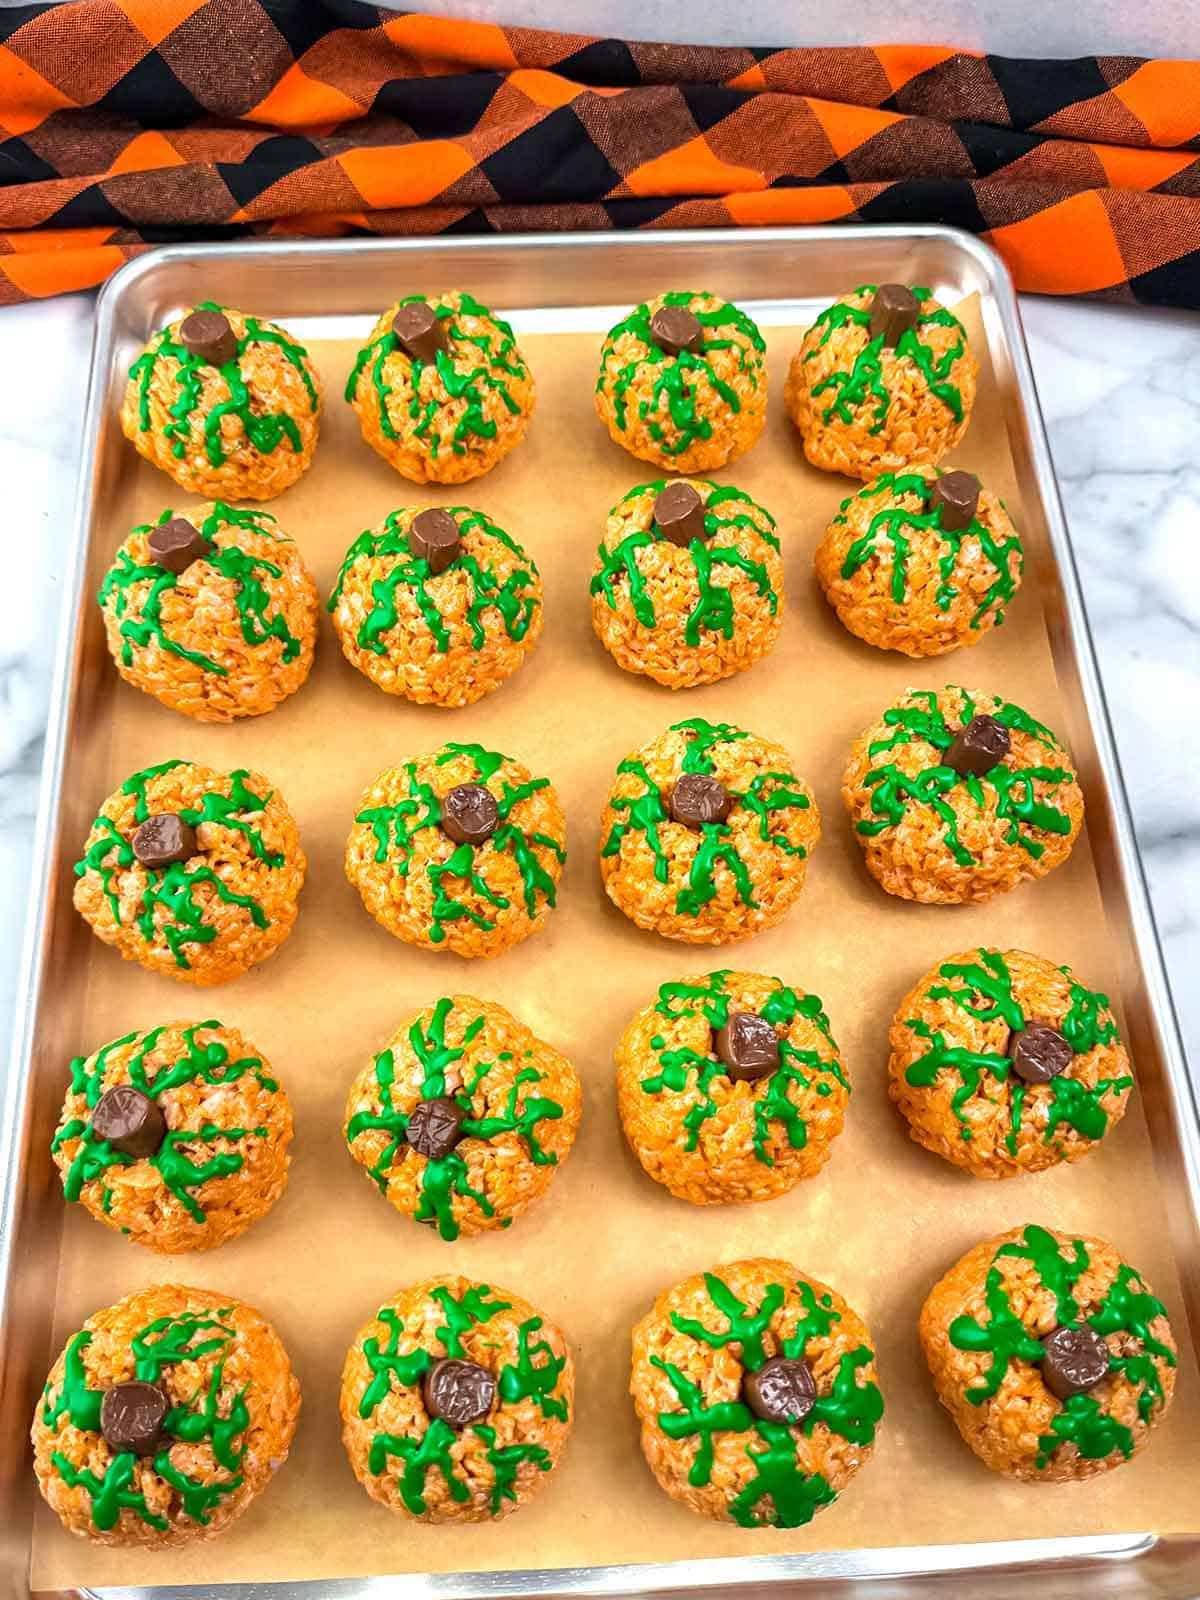
- After you've formed all of the Rice Krispie mixture into balls, cut the Tootsie Roll Midgees in half. Then, place a small amount of the green cookie icing in the center top of one of the balls. This little bit of icing will hold the Tootsie Roll in place.

- Immediately place one of the Tootsie Roll halves onto the icing on the top of the ball. Then, slightly press the Tootsie Roll into the ball. Pick the ball into your hands and press it together again, reforming the ball, to make sure it holds its shape.
- Use the green cookie icing to draw veins over the tops and slightly down the sides of the Rice Krispie Pumpkins.
- Allow the cookie icing to harden for four hours. Once dry, transfer the Rice Krispie Pumpkins to an airtight container.
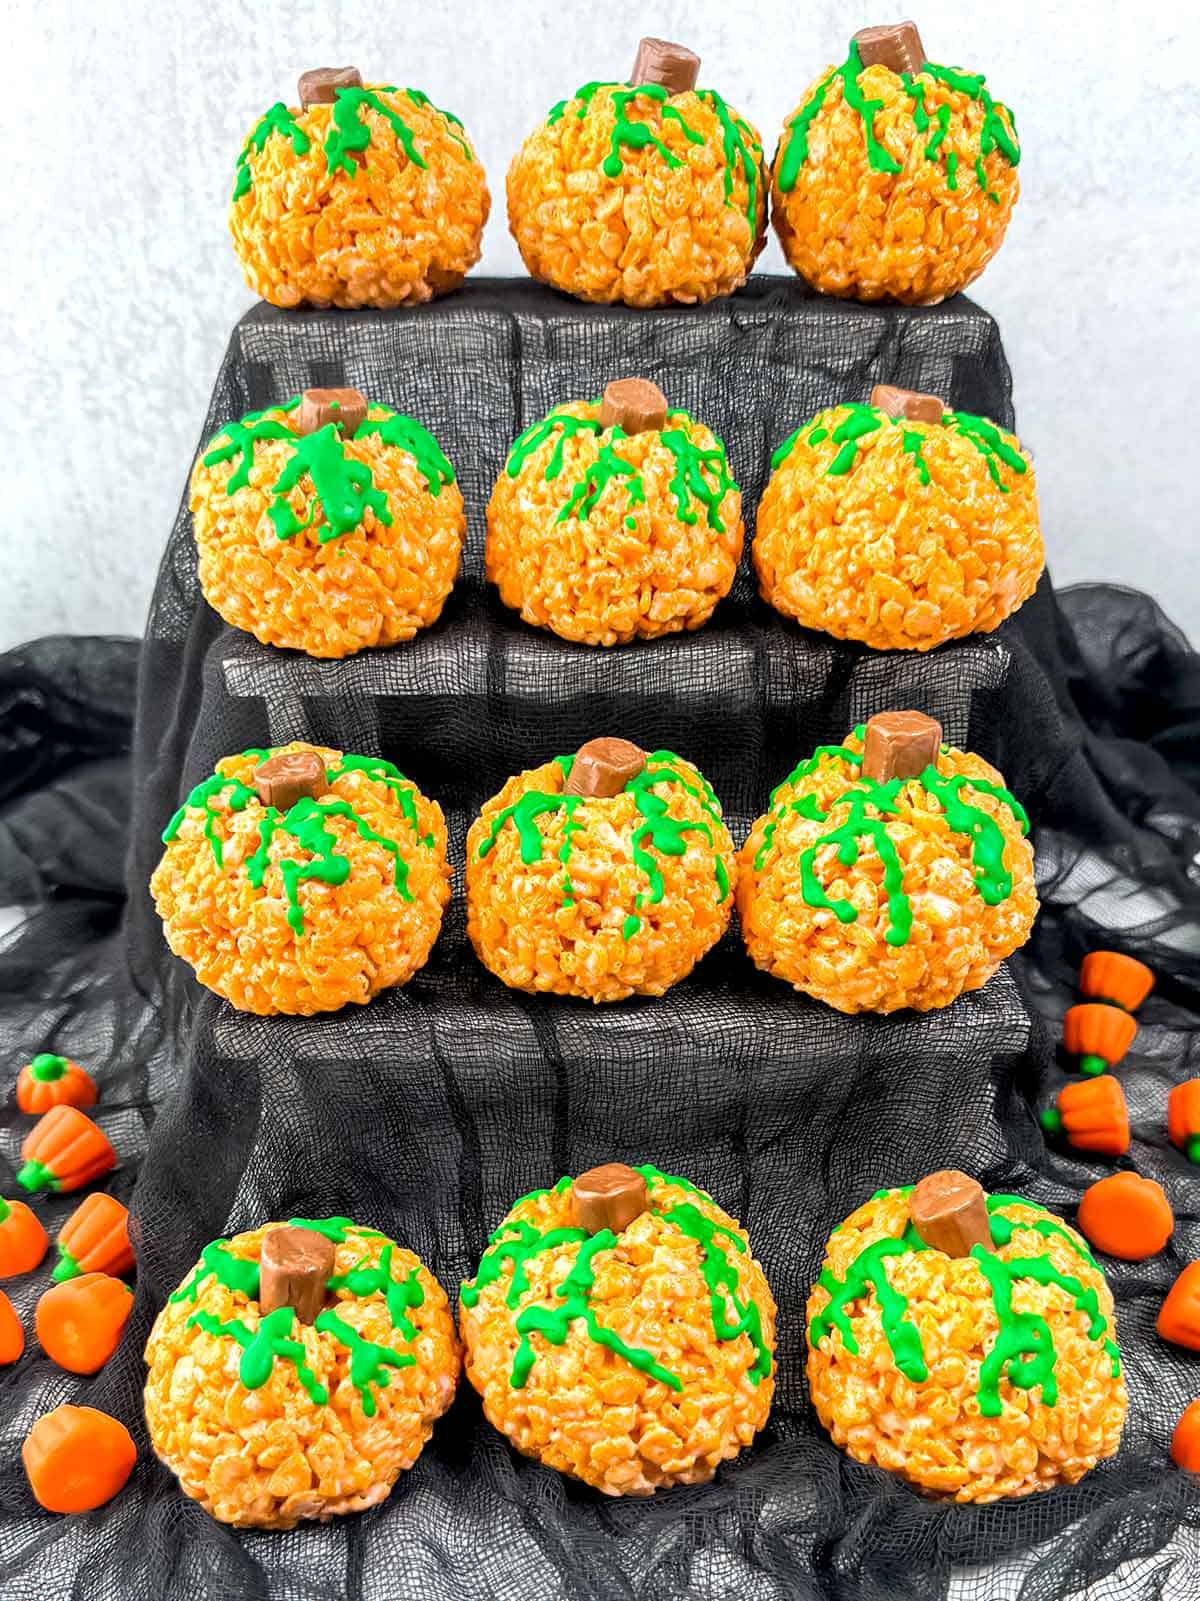
These easy Rice Krispie Pumpkins prove you don't need fancy baking skills to create the best Halloween treats for the season. With just a few simple ingredients and a quick process, you'll have a delightful dessert that satisfies that nostalgic sweet craving. Whether you're looking for a fun school snack or a quick party dish, these no-bake pumpkins are a winner every time.
Frequently Asked Questions
When stored in an airtight container at room temperature, these treats stay fresh and chewy for about 3 to 5 days. For the best quality, enjoy them within 72 hours of making them.
Absolutely! If you don't have or prefer not to use a Tootsie Roll, you can use a small pretzel stick, a piece of green fruit leather rolled into a stem shape, or simply pipe a small brown dot using chocolate frosting.
They are likely too hard because the butter and marshmallow mixture was cooked for too long or over too high a heat. Always cook on low heat and remove them before the marshmallows are completely liquid. If they are falling apart, you may not have used enough butter or didn't pack the mixture firmly enough when shaping the balls.
Absolutely! Miniature marshmallows are actually preferred by many because they melt faster and more evenly than large marshmallows. The standard measurement ratio remains the same: 1 standard 10-ounce bag of regular marshmallows is equivalent to about 4 cups of miniature marshmallows
Recipe Tips and Tricks
- Using Regular Rice Krispies and Food Coloring: If you can't find the specialty Shocking Orange Colored Cereal, you can use regular Rice Krispies. After the marshmallows are melted, stir in 4-6 drops of orange food gel coloring until the mixture is a vibrant pumpkin hue before adding the cereal.
- Don't Overcook the Marshmallows: For the best texture, melt the butter first, then add the marshmallows and remove the mixture from the heat just before they are fully melted. The residual heat will finish the job, resulting in a softer, chewier treat.
- Boost the Flavor: While delicious on their own, you can enhance the flavor by adding 1 teaspoon of pure vanilla extract to the melted marshmallow mixture just before you stir in the cereal. This small addition makes the final product taste richer and less processed
- Adding the "Vine" Detail: When decorating with the green cookie icing, don't just drizzle! Pipe a small, tight spiral or a classic "S" shape down from the stem to mimic the look of a pumpkin vine tendril.
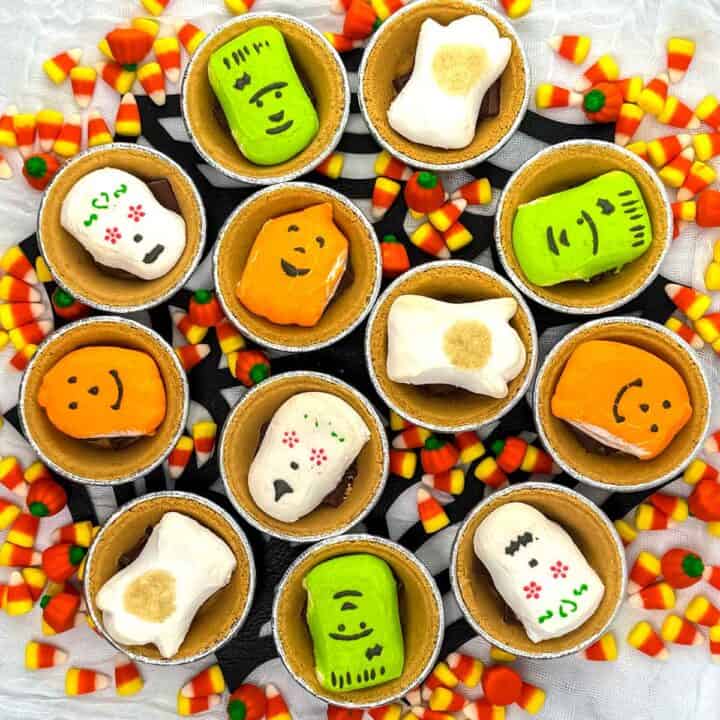
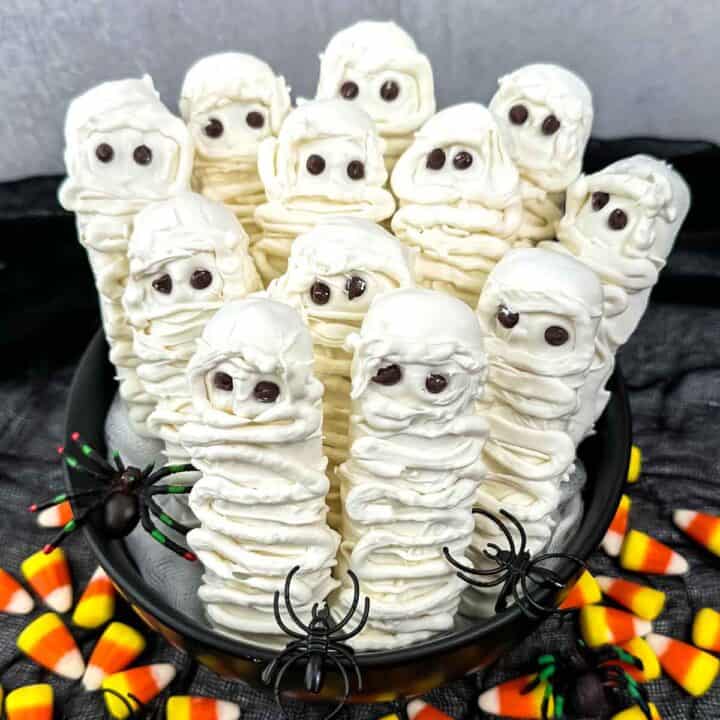
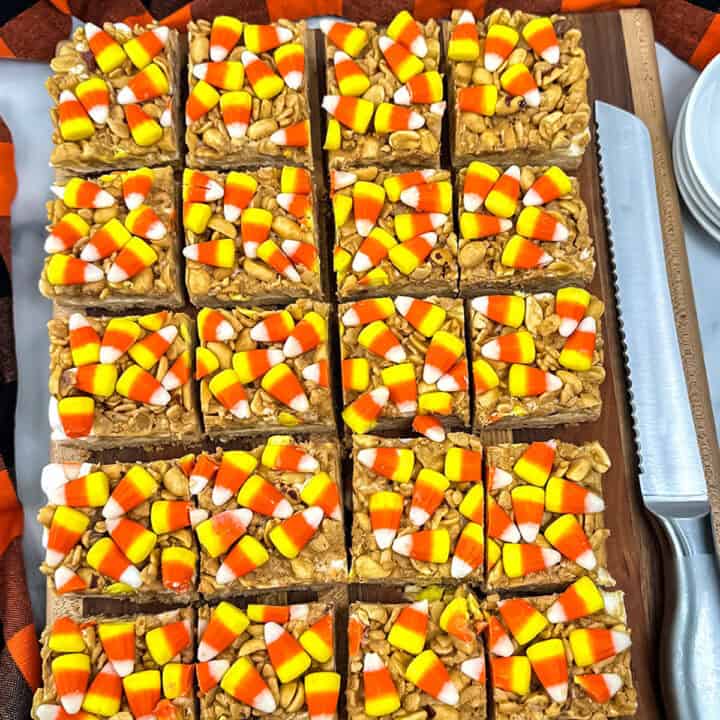
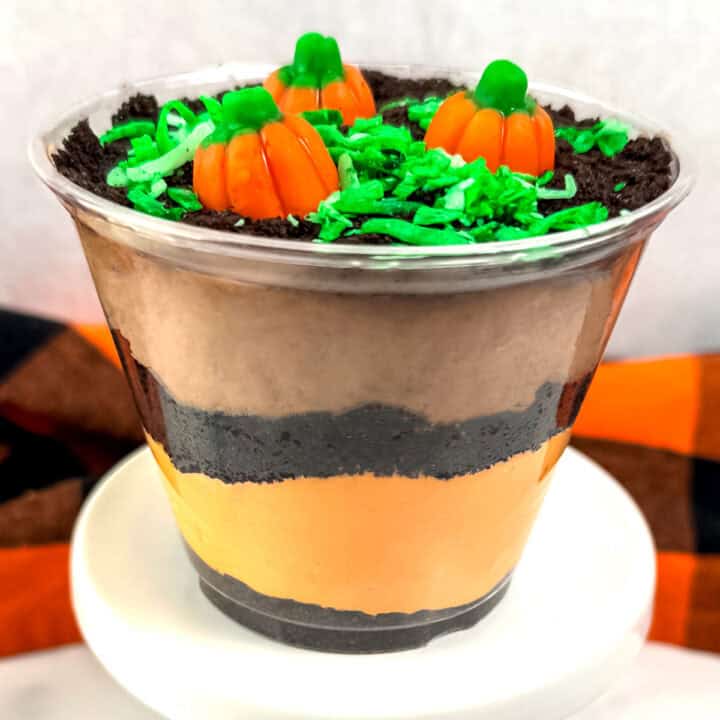
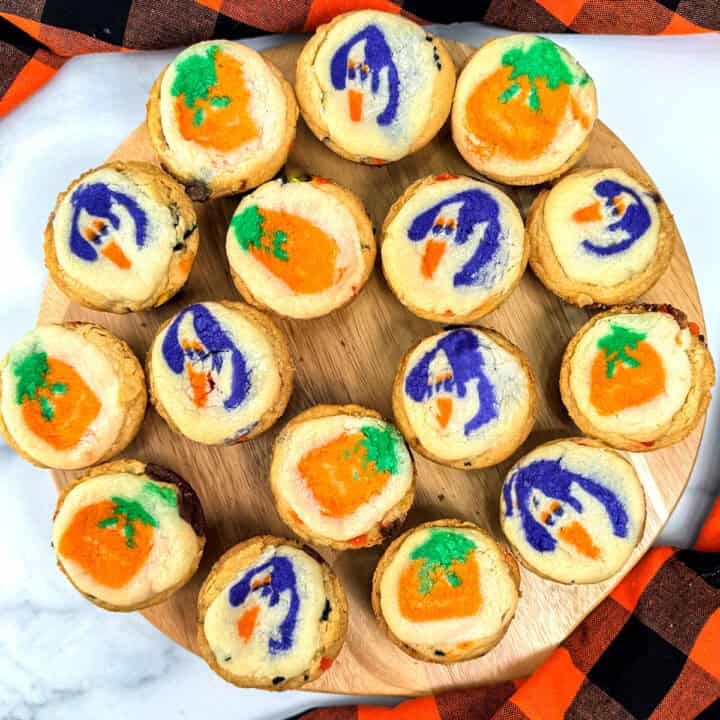
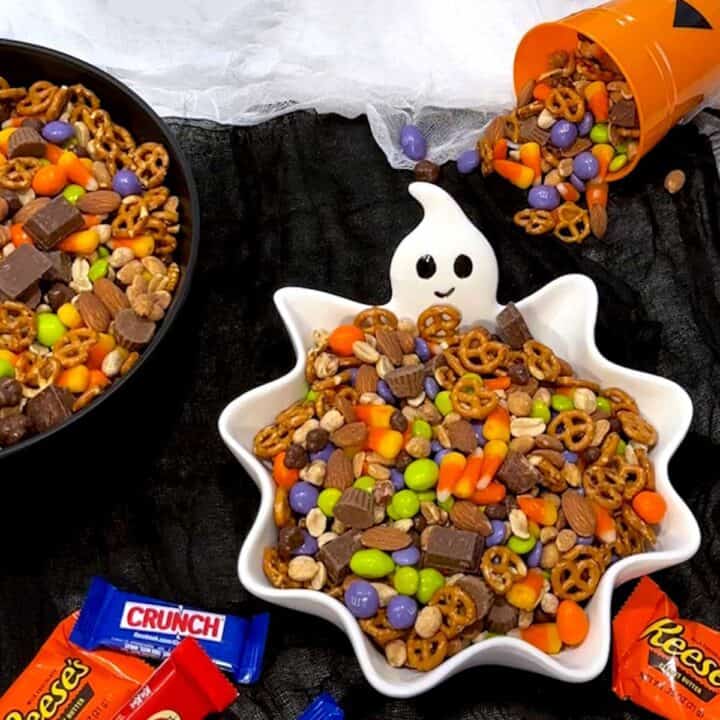
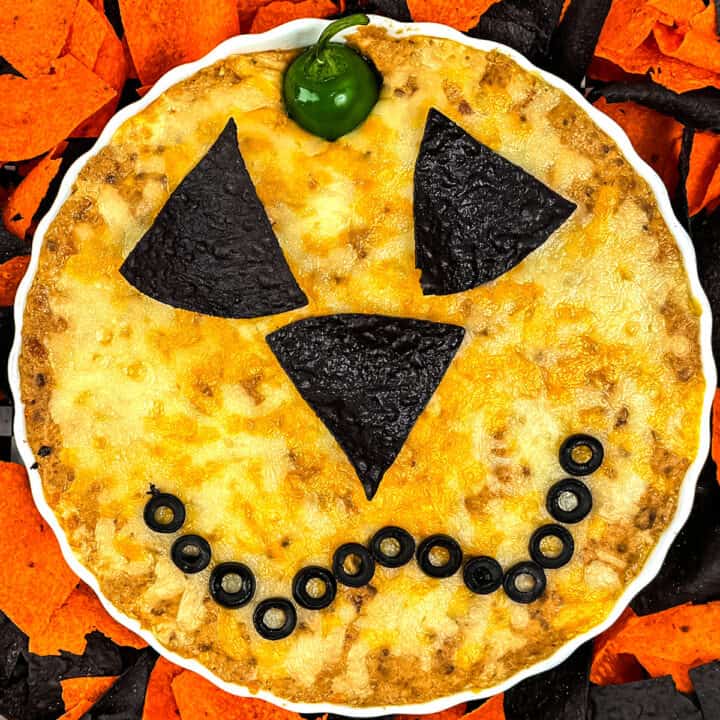
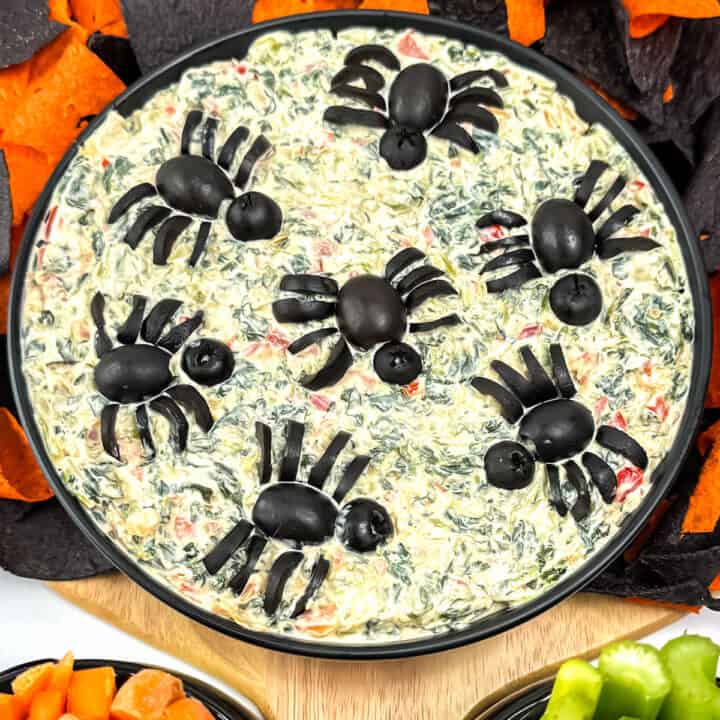
Other Great Spooky Halloween Treats

Did you make this recipe? We'd love to know how it turned out! Leave a review below. Then, share a picture on Instagram and tag @pudgefactor so we can see it.
Don't forget to follow us on Pinterest, Facebook, YouTube, Flipboard, and Instagram.
Thank you so much for visiting PudgeFactor. We hope you'll come back!
Recipe
Want to Save This Recipe?
Enter your email & I'll send it to your inbox. Plus, enjoy weekly doses of culinary inspiration as a bonus!
By submitting this form, you consent to receive emails from Pudge Factor.

Rice Krispie Pumpkins
Equipment
- half-sheet pan
- Parchment paper
- 4-qt pot
- Vinyl Gloves
- 3.25 oz. ice cream scoop
- non-stick cooking spray
Ingredients
- 3 tbs Unsalted Butter
- 40 Jumbo Extra-Large Marshmallows
- 6 c Rice Krispies Shocking Orange Colored Cereal1
- 6 Tootsie Roll Midgees
- Green Cookie Icing
Instructions
- Line a half-sheet pan with parchment paper and set aside until ready to use.
- Melt the unsalted butter in a large pot set over low heat. Once the butter has melted, add the jumbo extra-large marshmallows. Stir the marshmallows with the melted butter so that they are all well coated. Then, continue stirring occasionally until the marshmallows are melted and the mixture is smooth.
- Next, remove the pot from the heat and add the Rice Krispies Shocking Orange Colored Cereal. Then, carefully stir the Rice Krispies into the marshmallow mixture to combine them well.
- Put on a pair of vinyl food-grade gloves. Spray the inside of a large ice cream scoop2 and one of your gloved hands with non-stick cooking spray. Rub your hands together so they're both coated with the spray. While the mixture is still warm, use the ice cream scoop to portion out the Rice Krispie mixture.
- Then, use your gloved hands to form the Rice Krispie mixture into a ball, pressing the mixture as tight as possible. Then, place it on the prepared sheet pan. Repeat making balls with the remaining mixture.
- After you've formed all of the Rice Krispie mixture into balls, cut the Tootsie Rolls in half. Then, place a small amount of the green cookie icing in the center top of one of the balls. This little bit of icing will hold the Tootsie Roll in place.
- Immediately place one of the Tootsie Roll halves onto the icing on top of the ball. Then, slightly press the Tootsie Roll into the ball. Pick the ball up in your hands and press it together again, reforming it to make sure it holds its shape.
- Use the green cookie icing to draw veins over the tops and slightly down the sides of the Rice Krispie Pumpkins. Allow the cookie icing to harden for four hours. Once dry, transfer the Rice Krispie Pumpkins to an airtight container.
- Yield 12 Rice Krispie Pumpkins
Tips/Notes
- If you can't find Rice Krispies Shocking Orange Colored Cereal, you can use regular Rice Krispies and add some orange food coloring.
- I used my 3.25 oz. ice cream scoop.


Leave a Reply