
Craving incredibly Crispy Oven-Baked Buffalo Wings without the greasy mess of frying? This recipe is your new go-to. We'll show you how to achieve that perfect restaurant-quality crunch right in your own kitchen, all while keeping it simple. Say goodbye to soggy wings and hello to a healthier, flavor-packed alternative that's perfect for game day, parties, or a delicious weeknight meal.

Jump to:
Why You'll Want to Make Crispy Oven-Baked Buffalo Wings
- Insanely Crispy: Our secret technique using baking powder guarantees a shatteringly crispy skin that will have everyone convinced these wings were fried.
- Healthier Alternative: By skipping the deep fryer, you get all the delicious flavor and crunch with far less oil, making this a lighter option without sacrificing taste.
- Foolproof Recipe: This method is simple and reliable. We guide you through each step, from prepping the wings to getting them perfectly golden brown.
- Simple Ingredients: You'll use common kitchen staples, making it easy to whip up a batch whenever the craving strikes.
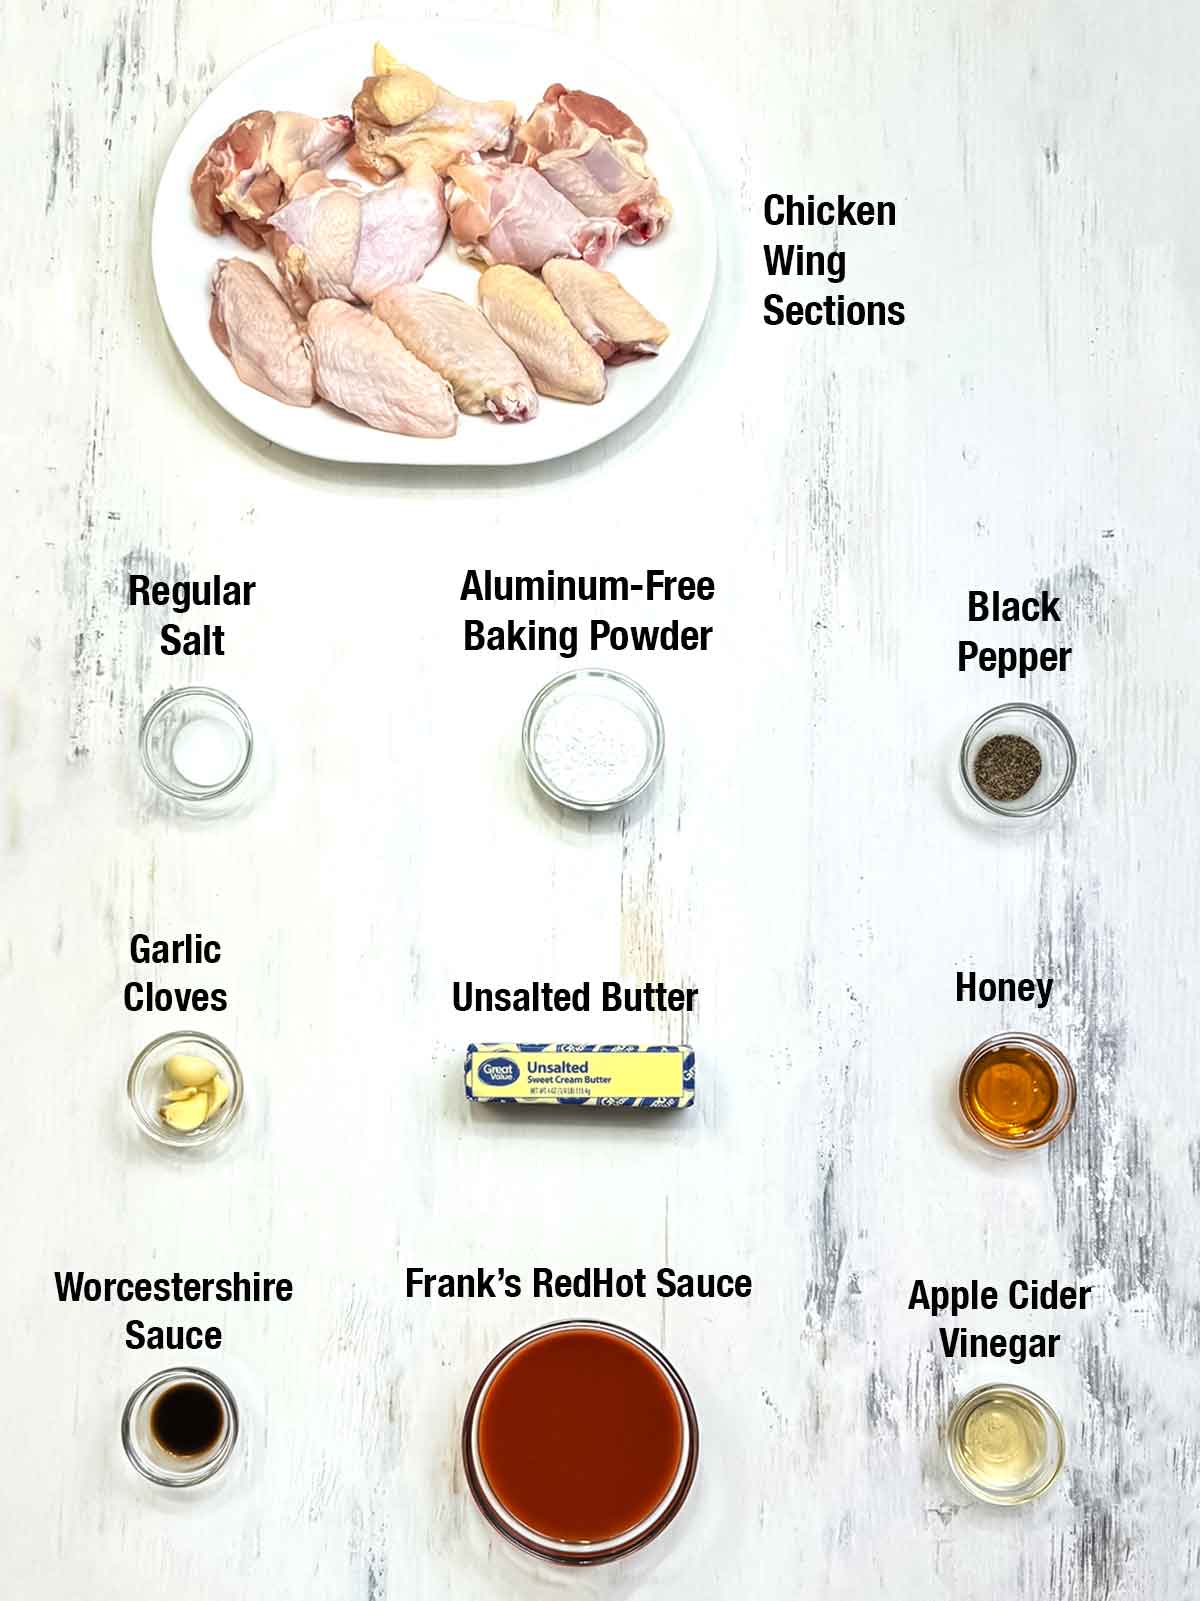
Ingredients - Here's What You'll Need
Steps to Make Crispy Oven-Baked Buffalo Wings
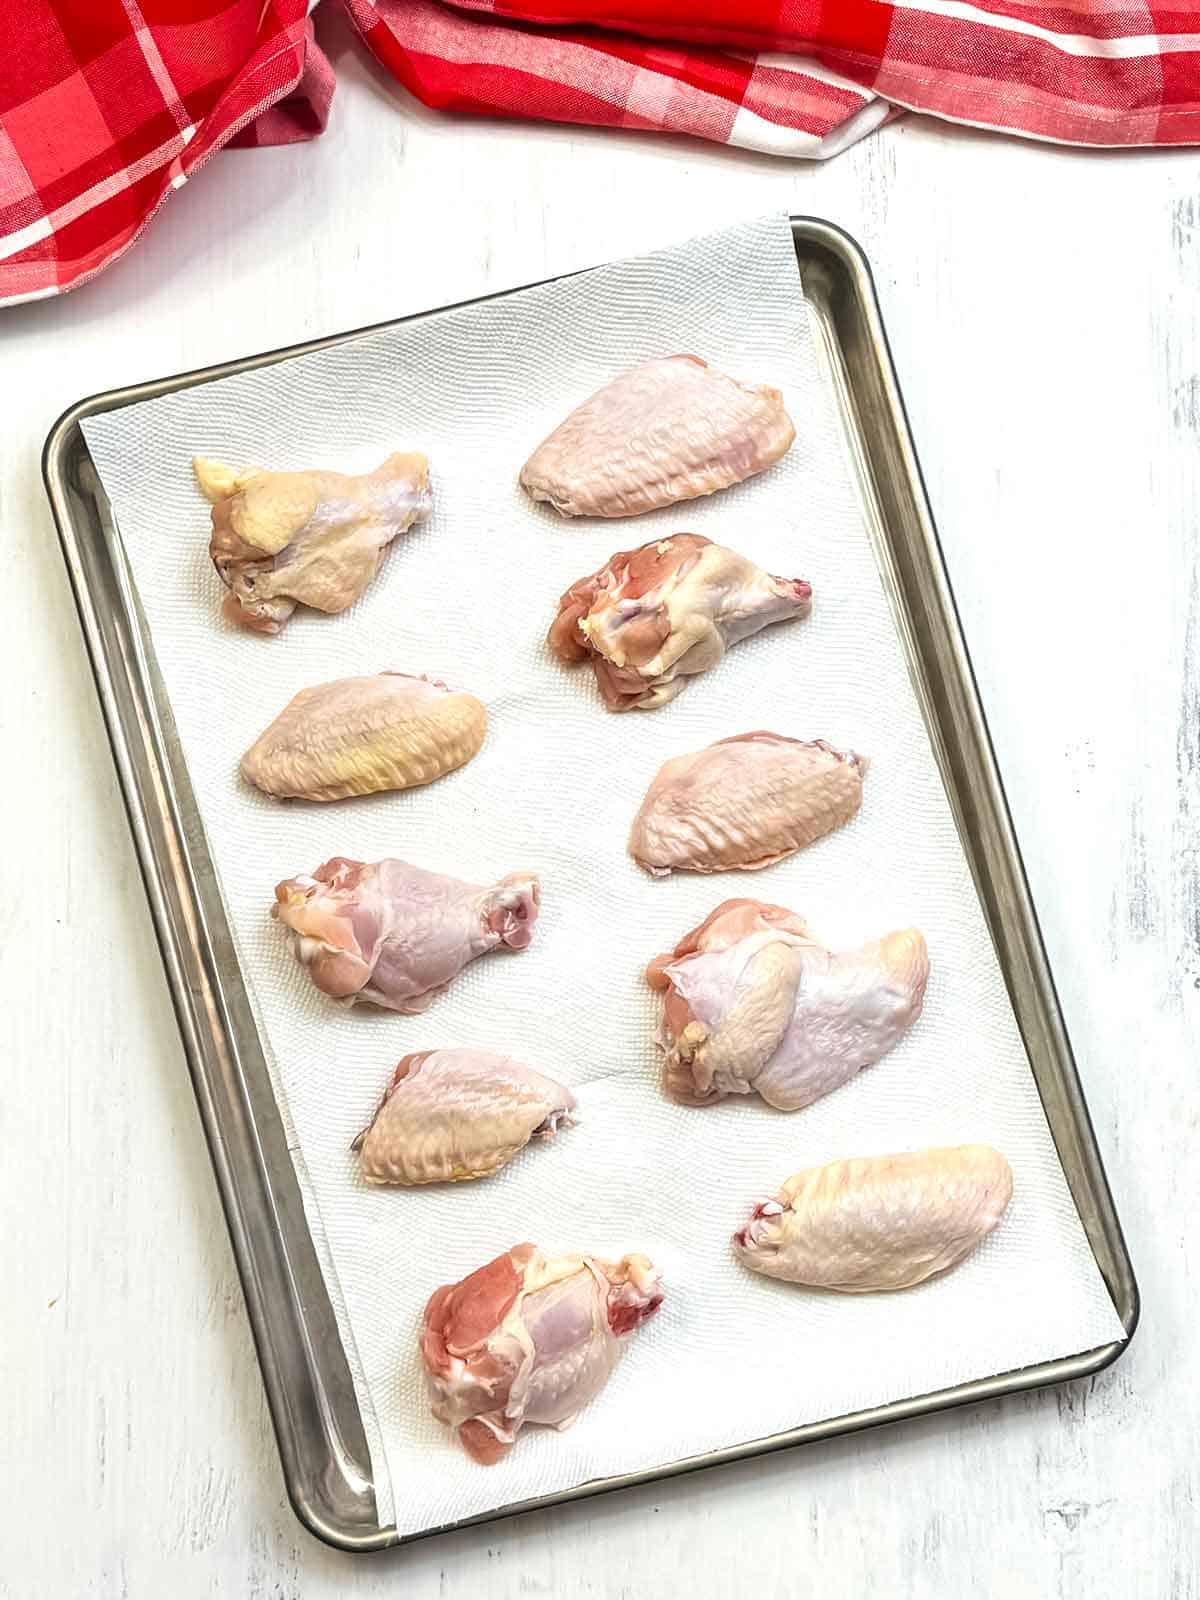
- Preheat your oven to 250°F. Place the chicken wings on a layer of paper towels, for 30-60 minutes to dry them out and bring to room temperature.
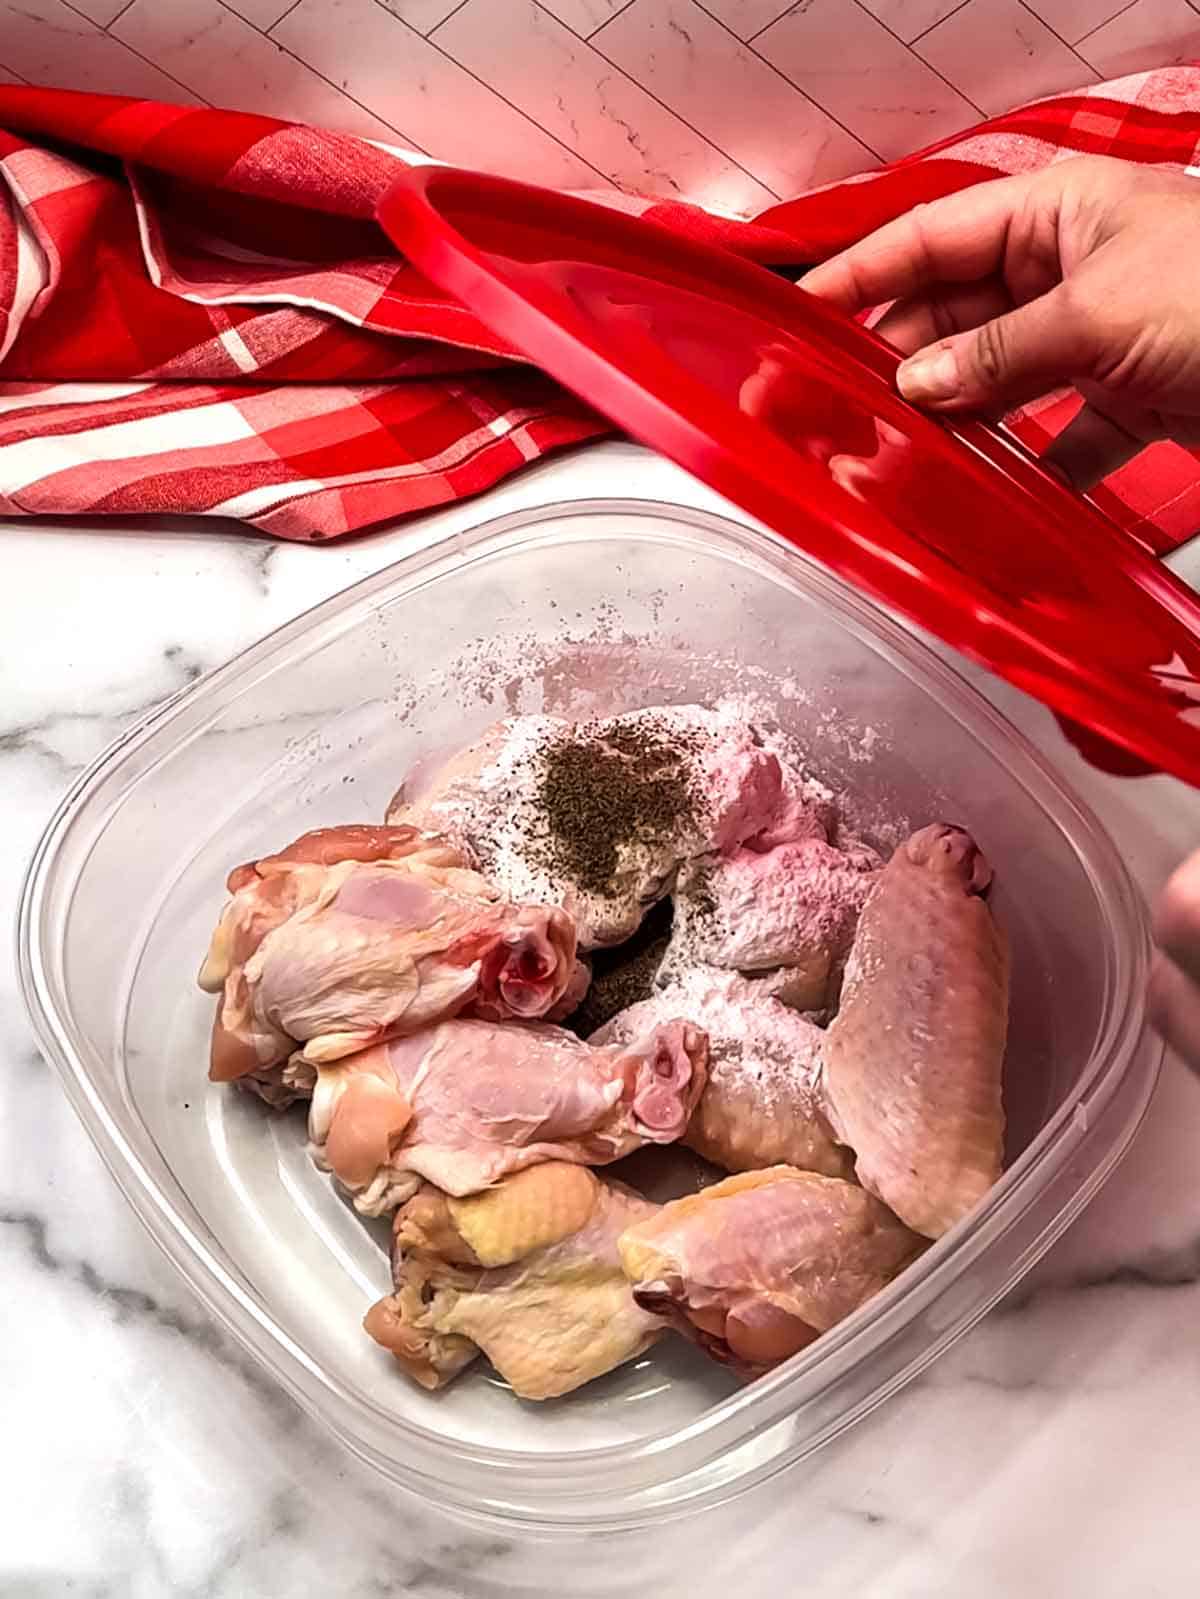
- Once the wings have dried out, place them in a large plastic container with a lid or a Ziploc bag.

- Next, add the baking powder, salt and pepper. Then, place the lid on the container and give it a good shake to coat the wings evenly and completely.
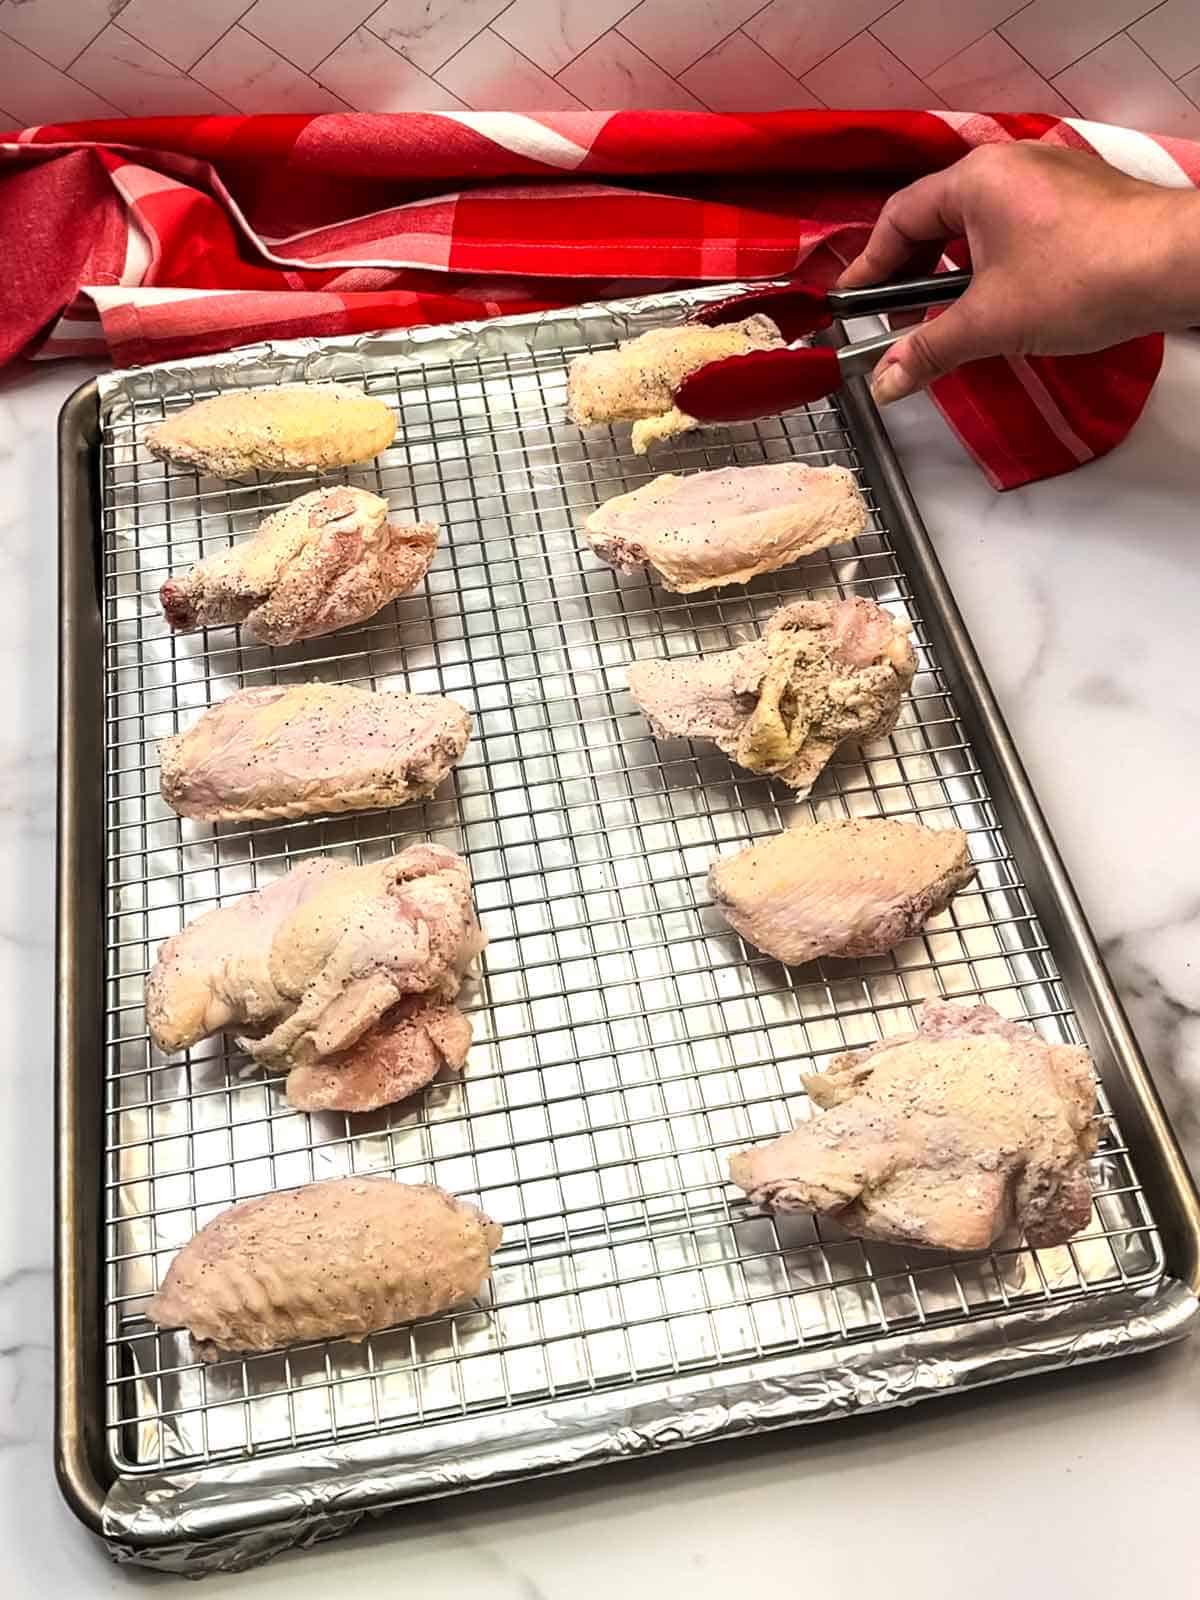
- Then, line a half-sheet pan with aluminum foil and place an oven-proof rack inside. Place the wings in a single layer on the rack, skin side up, and cook in the 250°F oven for 30 minutes.
- After 30 minutes, increase the oven temperature to 425°F, and rotate the pan in the oven, for even cooking. Cook for an additional 50 minutes until the wings are golden and crispy. Remove from the oven and let them cool slightly.

- Begin making the buffalo sauce when you have about 20 minutes of cooking time remaining for the wings. Start by adding the unsalted butter to a medium size saucepan set over medium-high heat. Once the butter has melted, mince the garlic and add it to the melted butter. Then, let it cook for about a minute until it is fragrant.

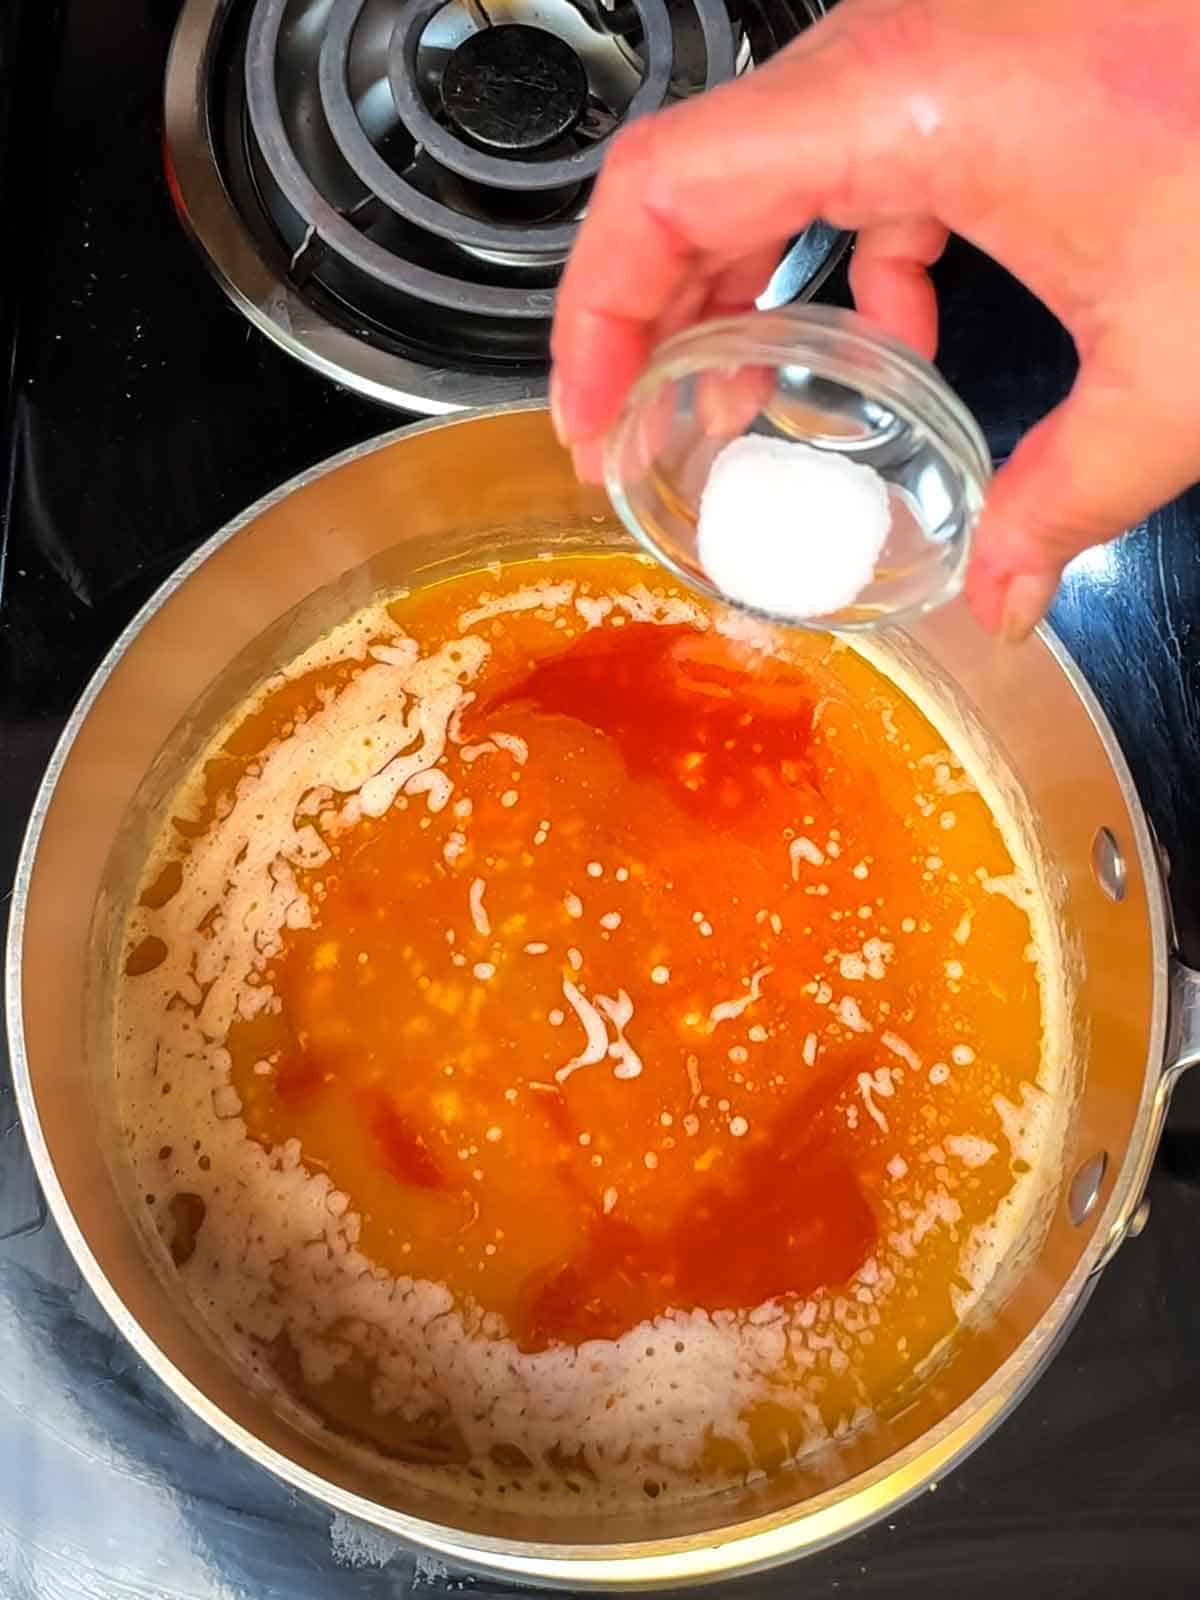
- Next, add the Frank's RedHot sauce, apple cider vinegar, Worcestershire sauce, honey, and salt.
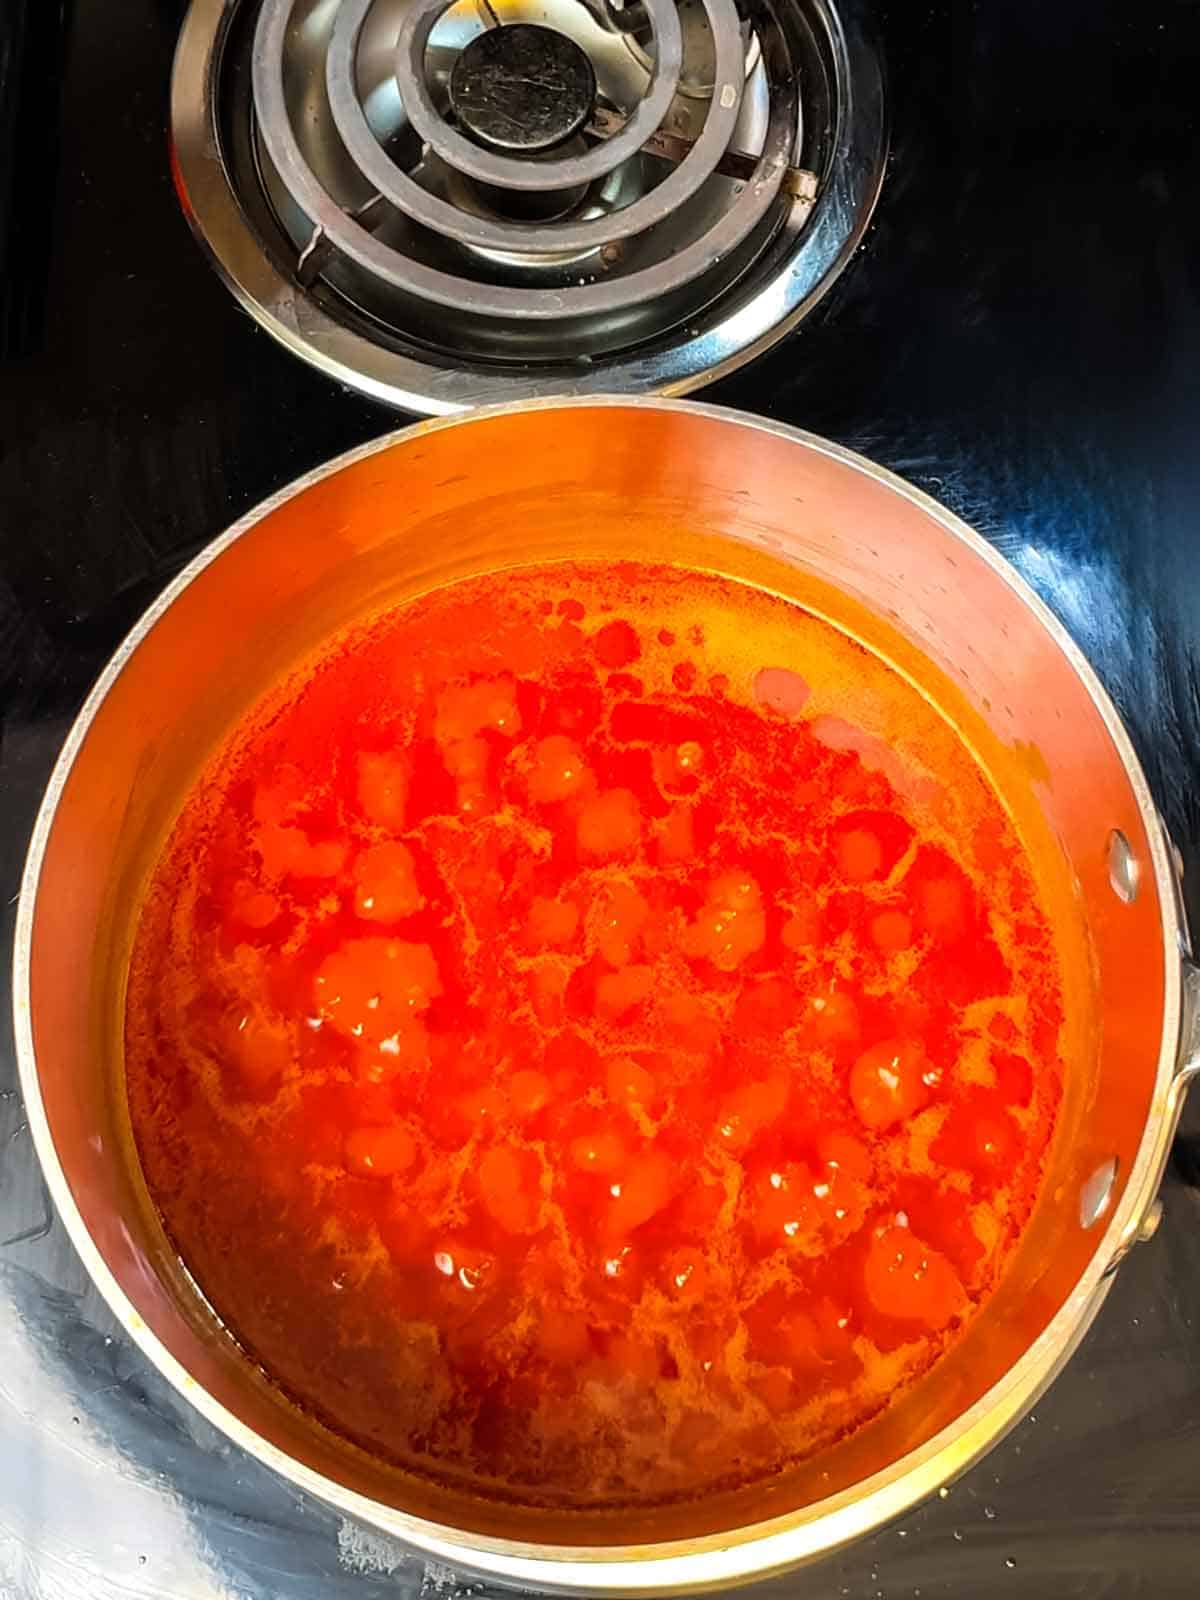
- Whisk the sauce vigorously so that it emulsifies. Then bring the sauce to a gentle simmer. If the sauce begins to separate, just give it a good whisk.
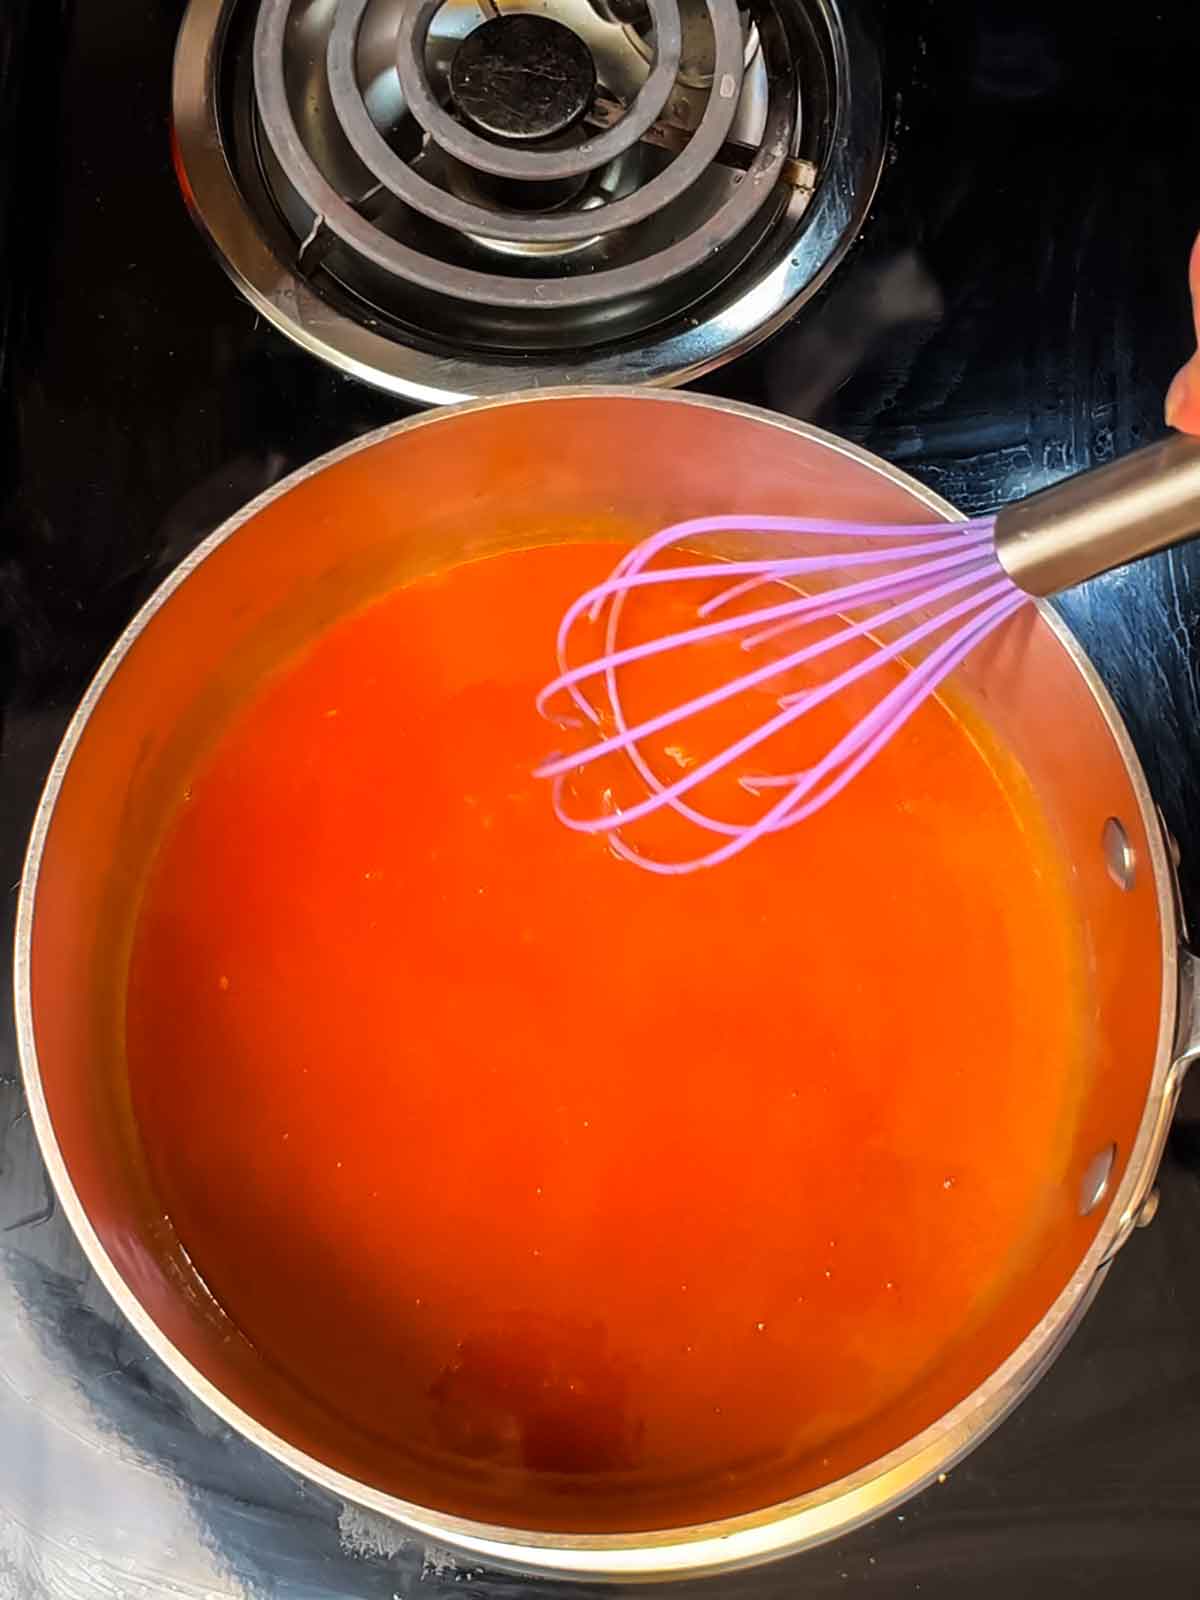
- Once the sauce has come to a simmer, turn off the heat and allow it to cool slightly. If you notice the sauce separating while it's cooling, then whisk it again.
- To coat the wings in the sauce, place them into a clean container with a lid and pour the sauce over them.

- Then, place the lid on the container and give it a good vigorous shake to coat all of the wings in the sauce.

- Serve the wings with some blue cheese and/or ranch dressing on the side, whatever your preference might be.

Whether you're hosting a party or just satisfying a craving, these Crispy Oven-Baked Buffalo Wings are the ultimate crowd-pleaser. With our simple techniques and your favorite sauce, you'll be serving up a batch of perfectly crispy, juicy wings that will have everyone asking for your secret. So, ditch the deep-fryer and get ready to enjoy the best homemade wings of your life.

Frequently Asked Questions
While tempting, starting low helps render fat and ensures even cooking. Chicken wings have a significant amount of fat under the skin. Starting at a low temperature allows this fat to slowly render and melt away, preventing it from burning while cooking. This creates space between the skin and the meat, allowing it to crisp up beautifully when the temperature is increased later. If you skip it, you might end up with dry or unevenly cooked wings.
When it comes to achieving crispy perfection for your oven-baked chicken wings, drying them thoroughly before baking is absolutely crucial. The main reason drying is so important is to minimize surface moisture on the wings. When water droplets remain on the skin, they create steam during baking, preventing the skin from achieving that desirable golden brown, crispy texture. Instead, the skin will end up rubbery and soggy, a far cry from the ideal bite. Also, check your baking powder (use aluminum-free) and experiment with slightly higher finishing temperatures.
Sure! But making your own allows for customization and can be healthier.
Yes, you can. You can prep the wings by patting them dry and tossing them in the baking powder mixture, then storing them in the refrigerator on a wire rack uncovered for up to 24 hours. This actually helps to dry out the skin even more, resulting in an even crispier wing. When you're ready to bake, just take them out of the fridge and proceed with the recipe.

Recipe Tips and Tricks
- Drying is Key: Pat, pat, pat! Thoroughly dry your wings with paper towels, paying extra attention to nooks and crannies. Residual moisture hinders crispness.
- Air dry it out: Time permitting, leave the wings uncovered in the fridge for 30-60 minutes for natural drying.
- Don't overcrowd: Give your wings enough space on the baking sheet to ensure even heat distribution and crisping.
- Dipping delights: Offer an array of dipping options like blue cheese, ranch, celery sticks, or carrot sticks for added variety and flavor bursts.
Other Great Appetizers
- Crispy Cheese and Bacon Potato Rounds
- Easy Oven-Baked Honey Teriyaki Chicken Wings with Sriracha Aioli Sauce
- Croque Monsieur Toast Points: A Delicious And Easy Appetizer
- Garlic Parmesan Chicken Wings with Buffalo Ranch Dipping Sauce
- The Ultimate Easy Warm Bacon Cheese Dip (Perfect Party Appetizer!)
- Easy Mustard Hasselback Kielbasa Bites
- Chicken Cordon Bleu Bites: A Delicious and Easy Appetizer
- Quick & Easy Warm and Cheesy Bean Dip


Did you make this recipe? We'd love to know how it turned out! Leave a review below. Then, share a picture on Instagram and tag @pudgefactor so we can see it.
Don't forget to follow us on Pinterest, Facebook, YouTube, Flipboard, and Instagram.
Thank you so much for visiting PudgeFactor. We hope you'll come back!
Recipe
Want to Save This Recipe?
Enter your email & I'll send it to your inbox. Plus, enjoy weekly doses of culinary inspiration as a bonus!
By submitting this form, you consent to receive emails from Pudge Factor.

Crispy Oven-Baked Buffalo Wings
Equipment
- 2 large plastic containers with lids
- half-sheet pan
- aluminum foil
- half-sheet wire rack
- medium saucepan
- whisk
Ingredients
Chicken Wings
- 2 lbs chicken wing sections 10-12 wing pieces depending on the weight
- 2 tbs aluminum-free baking powder
- ½ teaspoon regular salt
- ½ teaspoon black pepper
Buffalo Sauce
- ½ c unsalted butter
- 3 cloves garlic minced
- ⅔ c Frank's RedHot sauce
- 1 tbs apple cider vinegar
- 1 teaspoon Worcestershire sauce
- 1 tbs honey
- ¼ teaspoon salt
Instructions
Chicken Wings
- Preheat your oven to 250°F.
- Place the chicken wings on a layer of paper towels to dry them out.
- Once the wings have dried out, place them in a large plastic container with a lid.
- Next, add the baking powder, salt and pepper. Then, place the lid on the container and give it a good shake to coat the wings evenly and completely.
- Then, line a half-sheet pan with aluminum foil and place an oven-proof rack inside. Place the wings in a single layer on the rack, skin side up, and cook in the 250°F oven for 30 minutes.
- After 30 minutes, increase the oven temperature to 425°F, and rotate the pan in the oven, for even cooking. Cook for an additional 50 minutes until the wings are golden and crispy. Remove from the oven and let them cool slightly.
To Make the Buffalo Sauce
- Begin making the buffalo sauce when you have about 20 minutes of cooking time remaining for the wings.
- Start by adding the unsalted butter to a medium size saucepan set over medium-high heat.
- Once the butter has melted, mince the garlic and let it cook for about a minute until it is fragrant.
- Then add the Frank's RedHot sauce, apple cider vinegar, Worcestershire sauce, honey, and salt. Whisk the sauce vigorously so that it will emulsify.
- Then bring the sauce to a gentle simmer. If the sauce begins to separate, just give it a good whisk.
- Once the sauce has come to a simmer, turn off the heat and allow it to cool slightly. If the sauce separates, just give it a good whisking.
- To coat the wings in the sauce, place them into a clean container with a lid and pour the sauce over them. Then, place the lid on the container and give it a good vigorous shake to coat all of the wings in the sauce.
- Yield 10-12 wings, depending on the weight.


Leave a Reply