
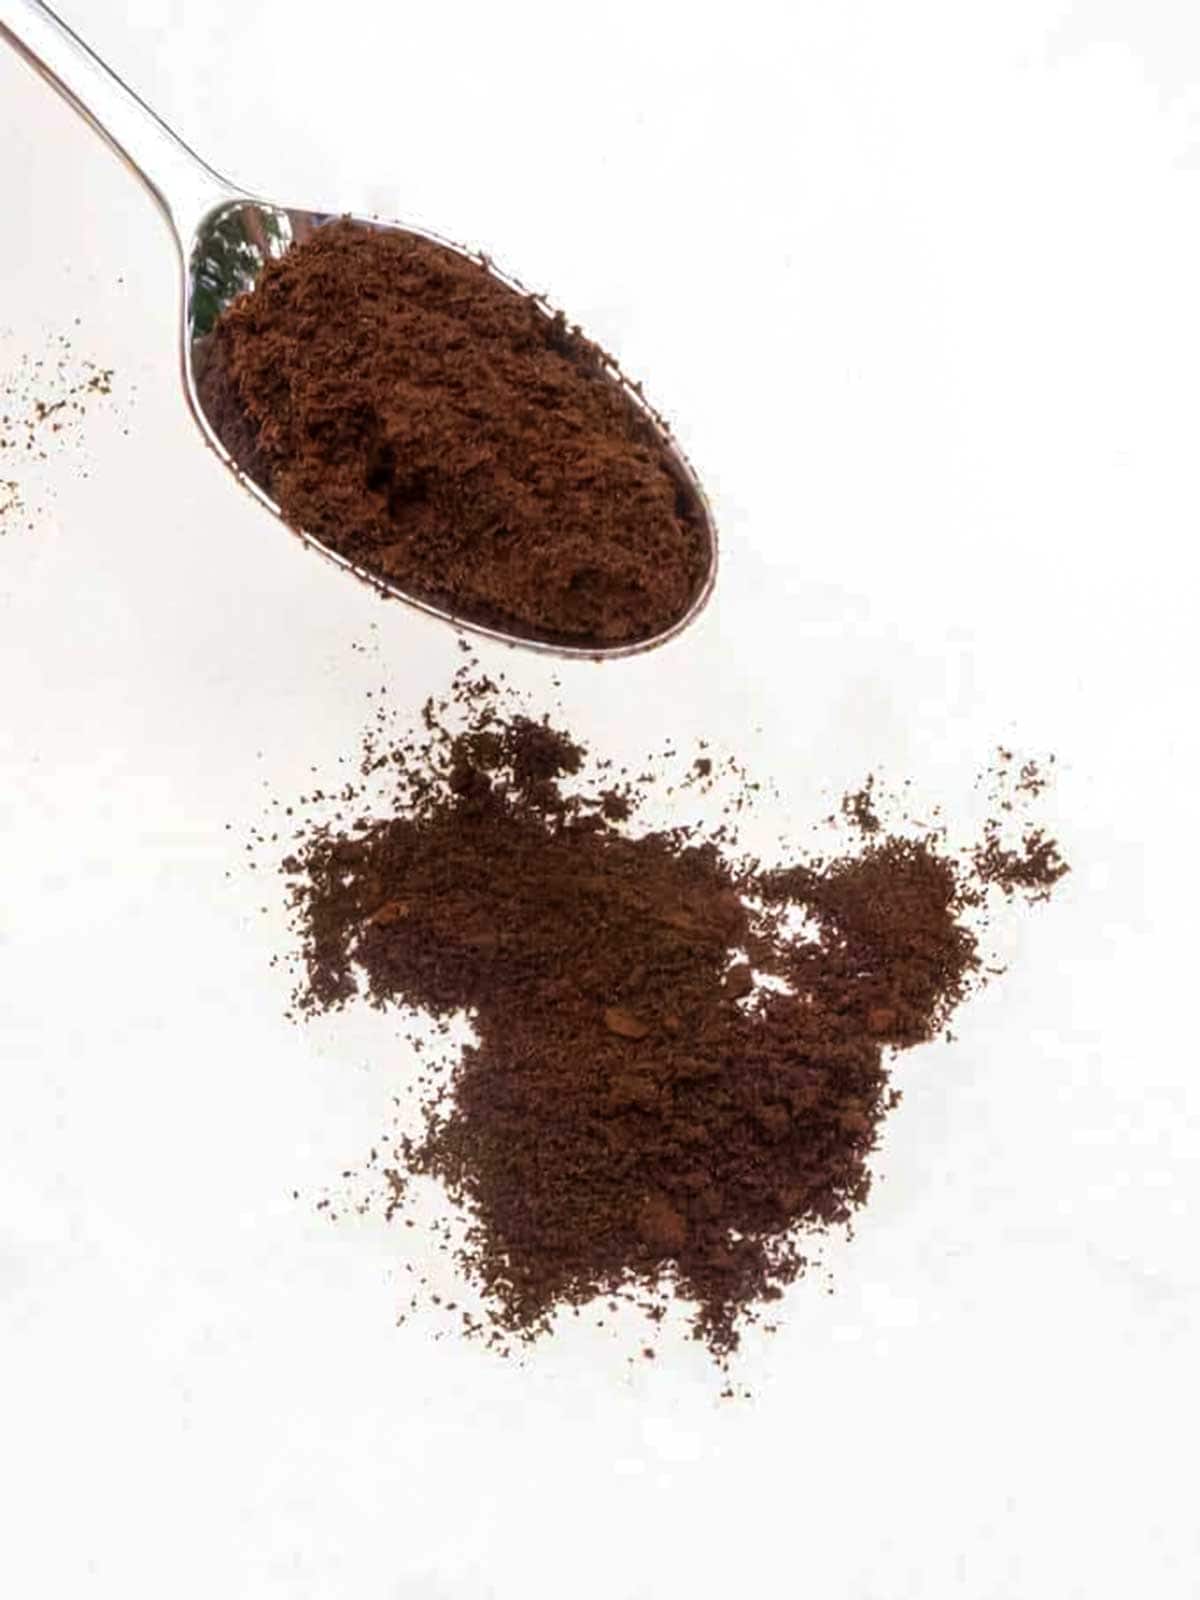
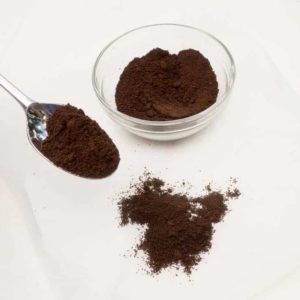
Making your own Espresso Powder takes a few simple steps. A small amount of this powder will add a depth of flavor to many sweet and savory recipes without producing a coffee flavor. Even if you are not a coffee lover, you should try this simple DIY recipe for a secret ingredient to many of your recipes.
Jump to:
Why You Should Make Your Own Espresso Powder
- It's Cheaper: Espresso powder can be expensive, especially if you buy it in small quantities. Making your own is a much more affordable option.
- It Uses Leftover Coffee Grounds: According to the King Arthur site, espresso powder is made from ground, brewed, and dried coffee beans. Therefore, I figured that if I brewed coffee, I could make it from the leftover grounds! Seriously? Yes - it worked like a charm!

- It's Fresher: Espresso powder loses its flavor over time, so it's best to use it within a few months of purchase. Making your own ensures that you're always using the freshest possible ingredients.
- It's Easy To Make: Making espresso powder is a simple process that can be done at home with just a few basic ingredients.
Making the Espresso Powder - Simple Steps:
- First, I spread the leftover coffee grounds on a baking sheet. Then I put them in my oven at the lowest temperature possible, 170°F. The key here is that I wanted to dry the grounds, not roast them.
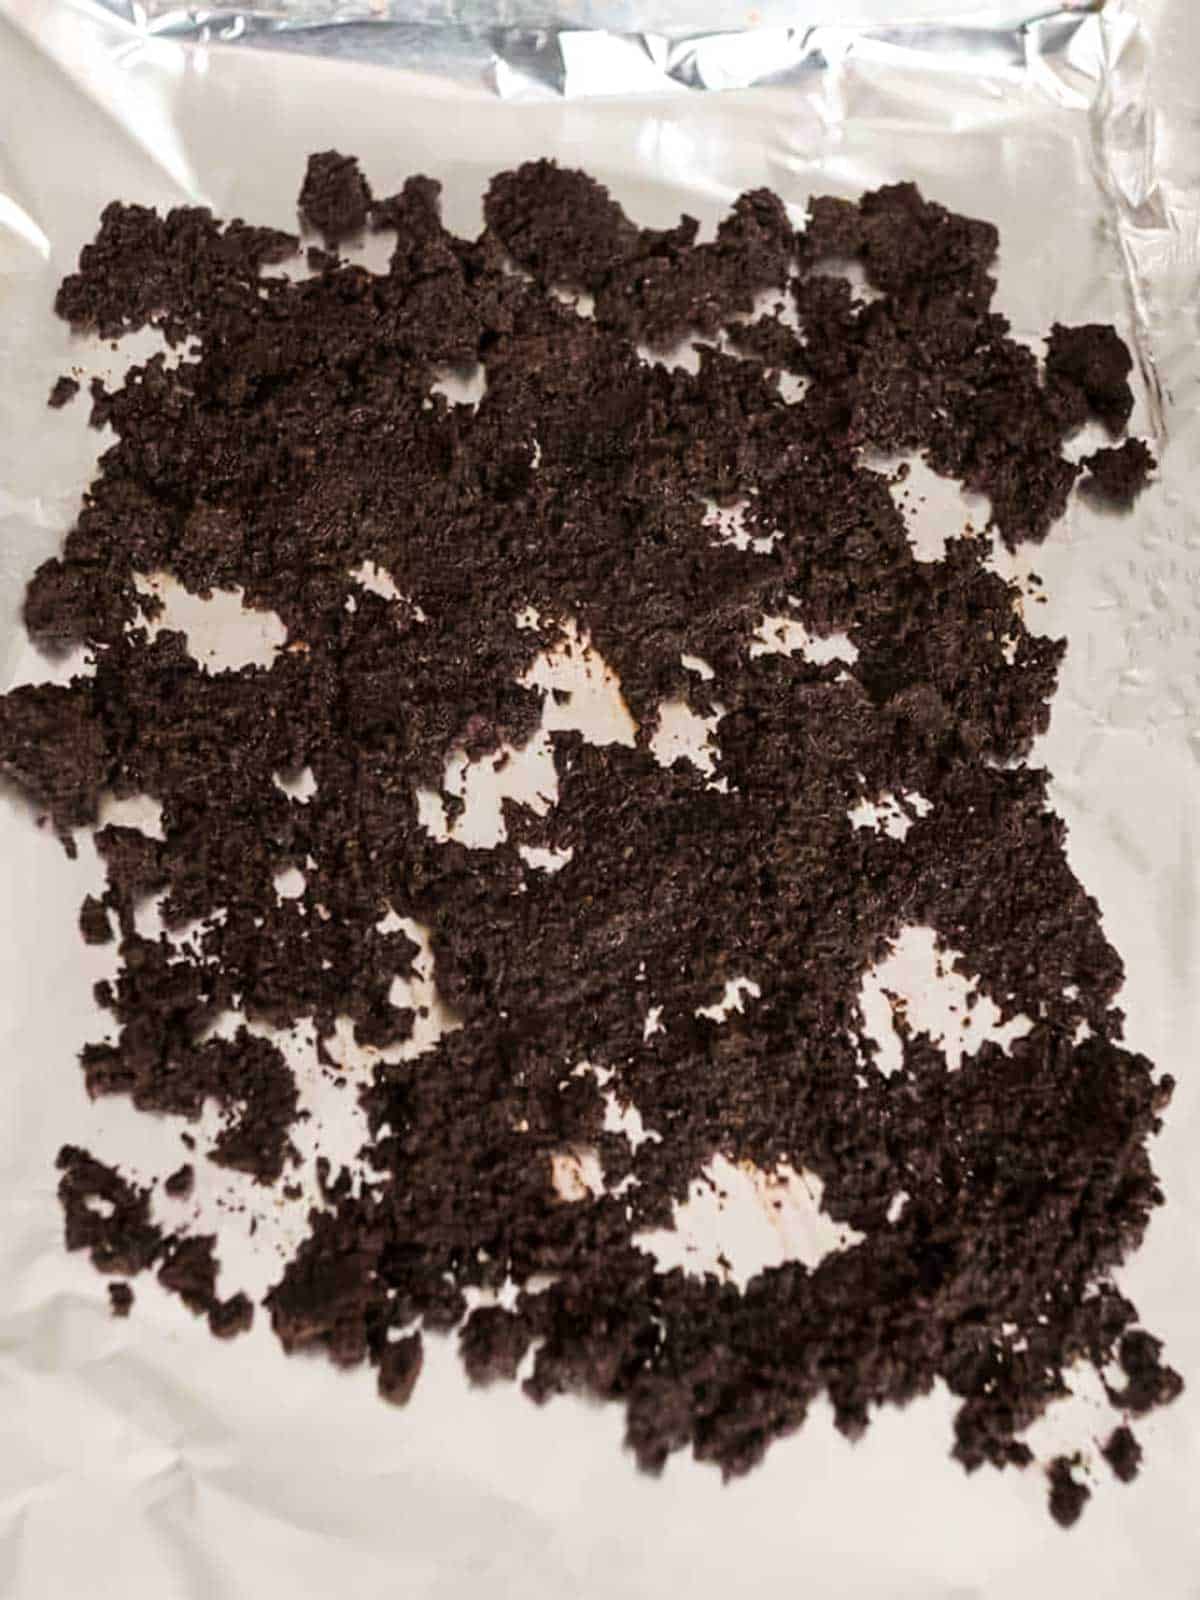
- I left the coffee grounds in the oven for several hours until they dried out and felt slightly crunchy. After two hours, the grounds were dried out but still not crunchy. It took me another 30 minutes before the grounds felt crunchy.
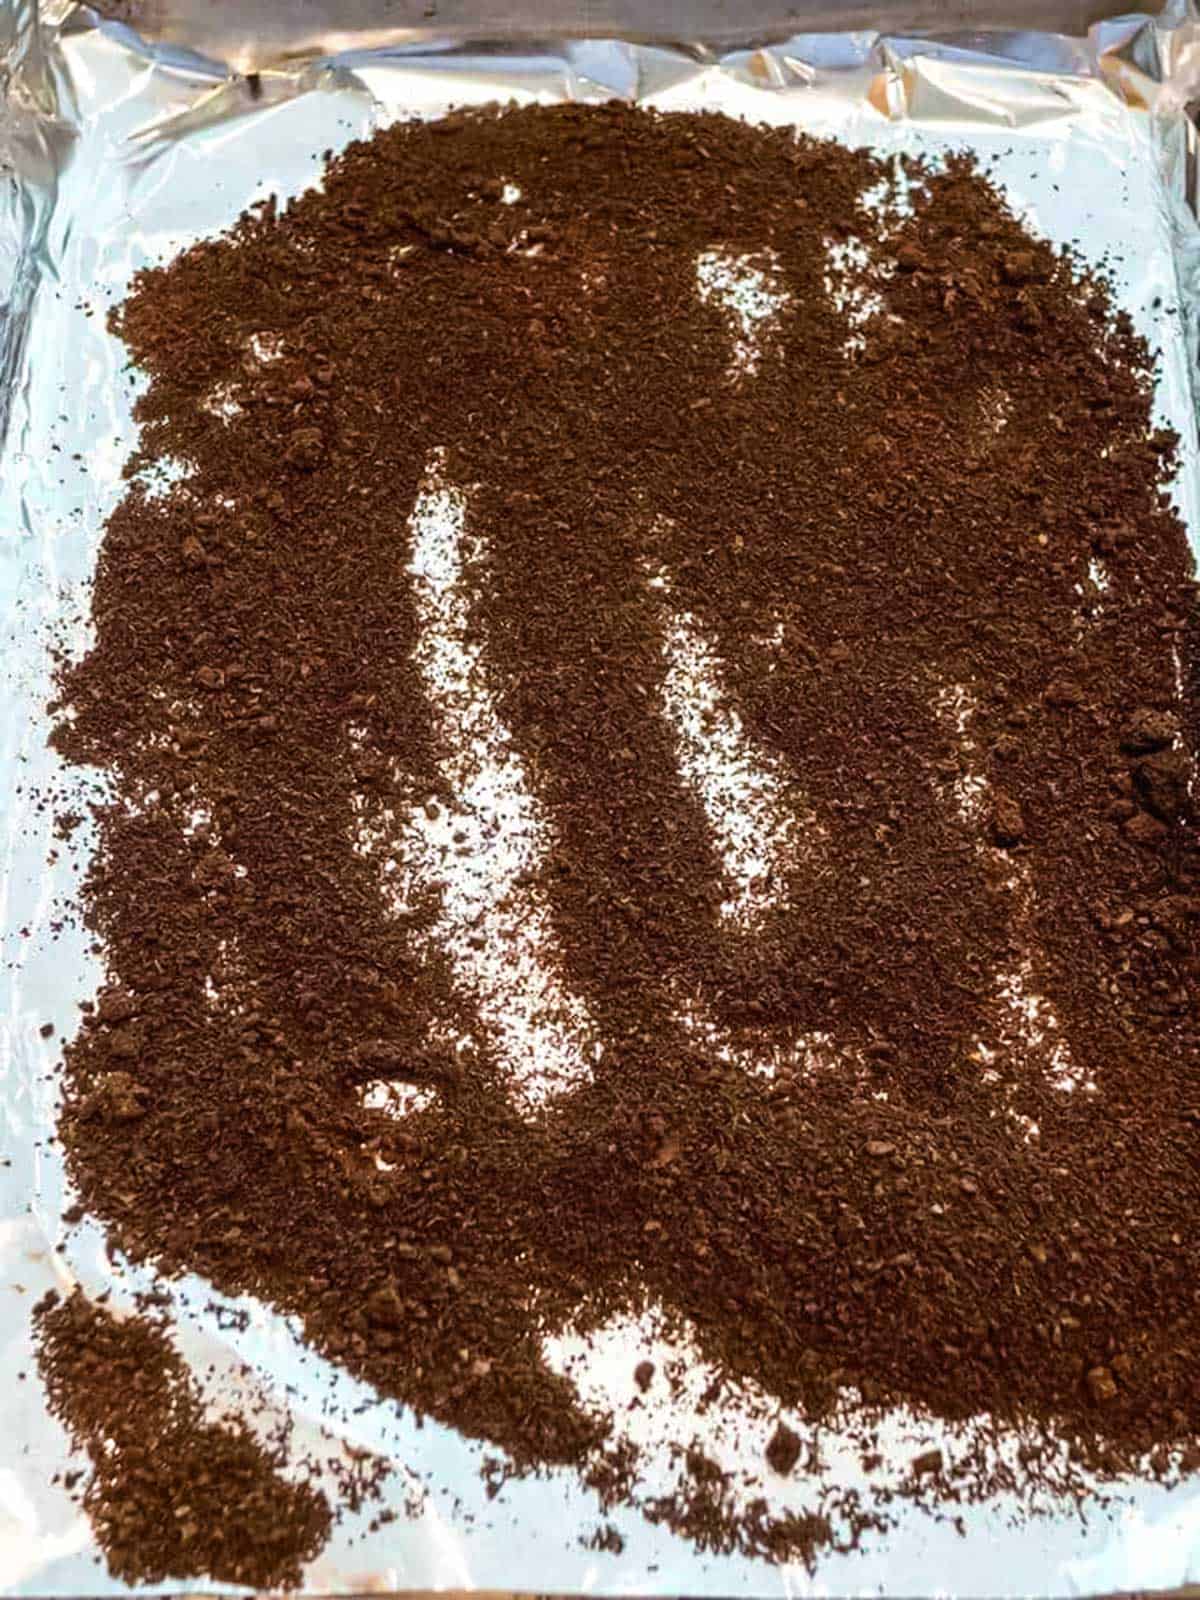
- Next, I put the dried-out grounds in a coffee grinder and ground them until I had a fine powder. If I hadn't had a coffee grinder, I could have used a clean spice grinder.

I ended up with my own perfect flavor enhancer for my sweet and savory recipes. Yum!

Frequently Asked Questions
Adding a bit of espresso powder, like a teaspoon of espresso powder, does not produce a strong flavor or bitter taste in your recipes. Rather, it is a great way to add a depth of flavor to your recipes.
Add espresso powder to your dry spice rubs, marinades, or barbecue sauces. It will enhance the flavor profile of your dishes.
You can use any coffee beans to make espresso powder. We like medium-roast coffee. A dark roast will produce more concentrated and flavorful espresso grounds. It is not, however, necessary to use espresso beans.
Once the powder is completely dry, store it in an airtight container in a cool, dark place. The espresso powder will keep for up to 6 months.
I've not used either a blender or a food processor. However, I don't see any reason not to try one or the other.
Espresso powder is made from finely ground, roasted coffee beans that have been brewed, dried, and then ground into a very fine powder. It is highly concentrated and has a strong, rich flavor. Ground coffee and instant coffee have a much less concentrated flavor.
Watch How I Made This Espresso Powder (Video)
This homemade Espresso Powder uses a simple recipe that introduces a versatile ingredient in chocolate recipes and other baked goods, as well as dry rubs, marinades, and sauces.
Three of my favorite recipes using this Espresso Powder are Espresso Chocolate Shortbread Cookies, Classic Brownies, and Flourless Chocolate Cake. Do yourself a favor and give this recipe a try.
Did you make this recipe? We'd love to know how it turned out! Leave a review below. Then, share a picture on Instagram and tag @pudgefactor so we can see it.
Don't forget to follow us on Pinterest, Facebook, YouTube, Flipboard, and Instagram.
Thank you so much for visiting PudgeFactor. We hope you'll come back!
Recipe
Want to Save This Recipe?
Enter your email & I'll send it to your inbox. Plus, enjoy weekly doses of culinary inspiration as a bonus!
By submitting this form, you consent to receive emails from Pudge Factor.
Make Your Own Espresso Powder
Ingredients
- Used coffee grounds (the amount you use will determine how much espresso powder you end up with)
Instructions
- Preheat oven to 170° F, or lowest setting if above 170°F
- Spread used coffee grounds on foil lined baking sheet. Bake for 2 to 3 hours until grounds are dry and slightly crunchy.
- Transfer to coffee grinder, and process to a fine powder.
- Store in airtight container.
- Yield: Depends on the amount of coffee grounds you start with.


DDC says
Abby, 10-23-23, makes 'common sense' to me BUT JUST USE A LITTLE MORE OF YOUR HOMEMADE EXSPREESO POWDER & " I WOULD TRY THIS & USE BECAUSE IT WOULD HAVE LESS LESS CAFFEINE CONTENT !!! (+;
Abby says
This is a cool recipe idea but espresso powder isn’t the same as actual finely ground espresso beans. Espresso powder is made by brewing and then dehydrating the actual
Liquid usually via freeze drying. Most recipes that call for espresso powder especially chocolate baked goods are referring to actual espresso powder and not just used beans that were dehydrated. Plus when you make espresso you are extracting ALOT of flavor out of the beans so there isn’t much flavor in the left over coffee grounds. Also “instant” espresso is actually MUCH more potent than just ground espresso beans so this recipe is definitely misleading. The reason espresso powder works so good in baked goods is bc it dissolves in the liquid and you don’t end up with grainy coffee grinds randomly dispersed through your cake or whatever else you are making. The flavor wouldn’t be properly incorporated into the whole batch with this. I’ve never seen a baked good recipe call for just unbrewed ground espresso beans unless you are supposed to actually brew the coffee first and use that like with chocolate cake. When king aurther brand says they use ground, brewed and dehydrated espresso they are referring to the actual brewed espresso being dehydrated. If you are going to dehydrate the beans you might as well just use straight up finely ground espresso bc by brewing it you are removing a ton of the coffee flavor. It would actually have less flavor than if you just used the unused ground beans. Not trying to be rude just trying to help bc this isn’t the same as espresso powder this is literally just ground espresso that you removed some of the flavor from (aka less intense than if you hadn’t used it to brew espresso first) so it kinda is pointless until you are looking for a way to not waste leftover used coffee beans. Instant espresso and instant coffee are different bc instant coffee is made from brewed coffee and lower quality beans whereas instant espresso is made from brewed espresso and usually uses much better quality coffee beans but they are both made from the actual drink.
Traci jo Rogers says
That was an amazing explanation! Thank you