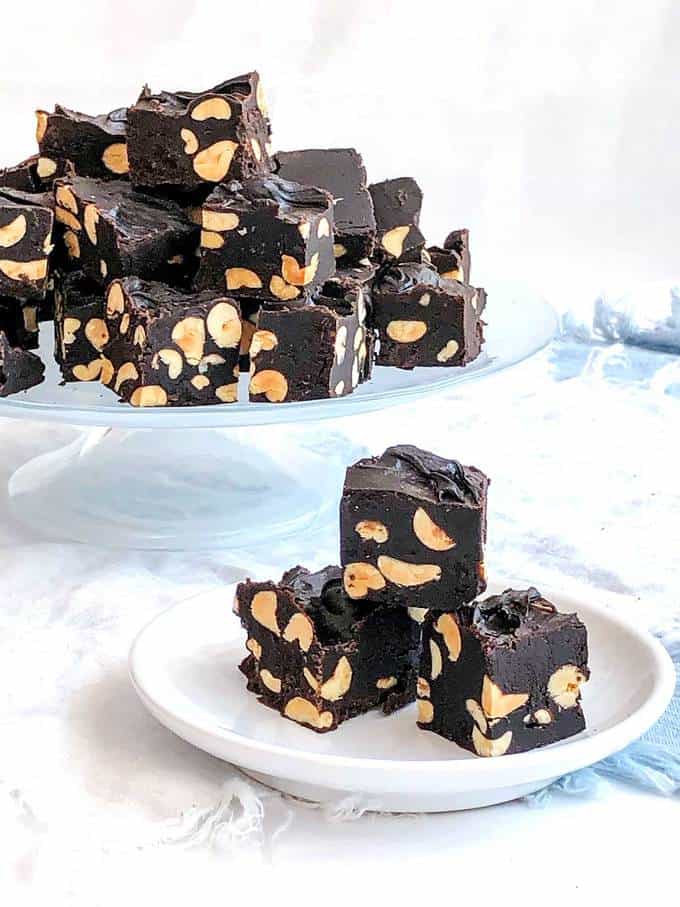
Old-Fashioned Chocolate Fudge is likely to be the fudge you remember from your childhood. It’s not necessarily easy to make, nor is it quickly put together. However, its creamy dreamy ultra smooth consistency and deep chocolate taste is well worth the effort. For an added bonus, add nuts of your choice. I chose to add unsalted peanuts!
If you were to ask Susan what two things I cannot make, one would be fudge! The other would be fried chicken! Go figure.
I remember how incredibly tasty this fudge was when I was a kid. I asked for the recipe and tried to make it when I was about 10. At that time, I had no idea that there were different types of cocoa and ended up using the type that you mix with milk to make chocolate milk.
Needless to say, the result was pretty disastrous. In subsequent tries, I was less than successful even though I used the right type of cocoa. Then, I discovered that the problem was not being patient. As it turns out, patience is not one of my virtues. Just ask the Master Taste Tester! Anyway, on to how to make this awesome fudge.
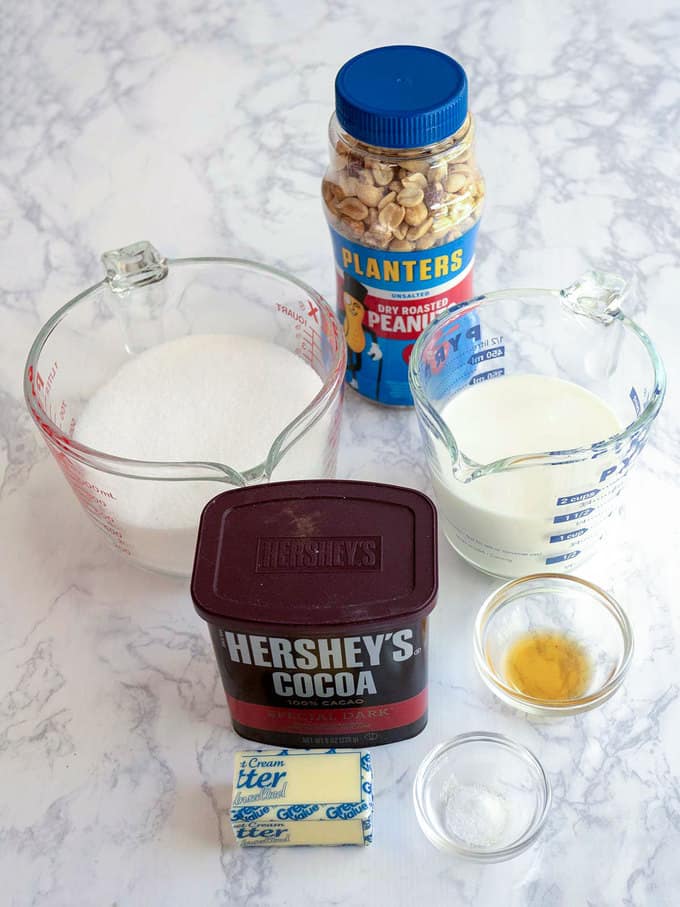
Ingredients for Old-Fashioned Chocolate Fudge with Peanuts
I used the following ingredients based on the recipe that used to be on the back of Hershey’s Cocoa tin: Granulated sugar, special dark cocoa powder (unsweetened), salt, milk, unsalted butter, vanilla extract and unsalted peanuts. The reason that I used the special dark cocoa was that it was what I had on hand. However, I could have also use regular unsweetened cocoa powder here.
Bringing the Fudge to the Soft Ball Stage
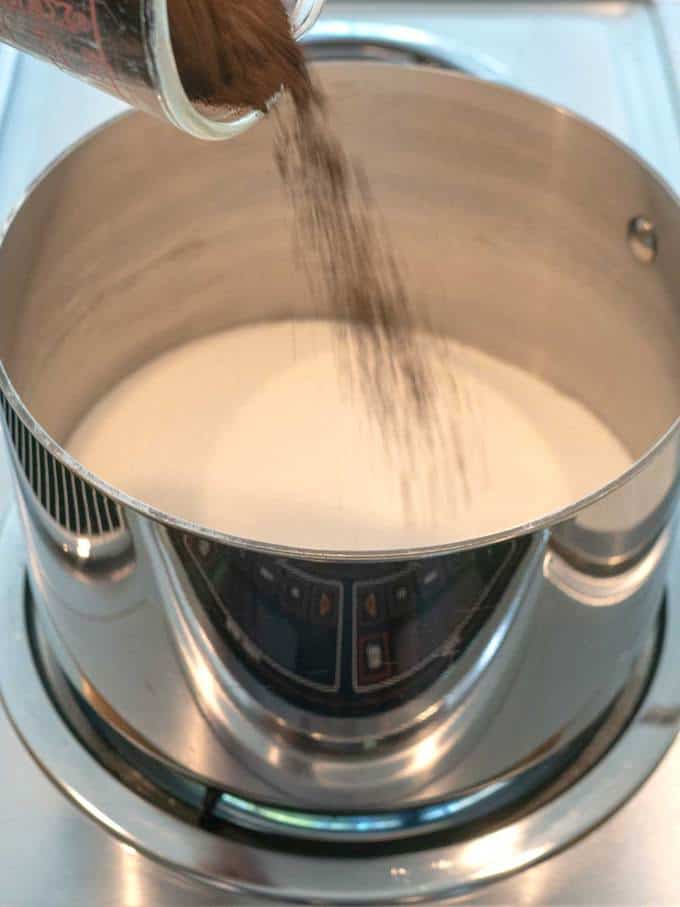
I started by combining the sugar, cocoa and salt in a 4-quart heavy saucepan. It’s important to use a large saucepan for making this fudge. The reason is that the fudge mixture ultimately bubbles up quite a bit.
After stirring together the sugar, cocoa and salt, I added the milk. I used a whisk to fully incorporate the milk with the other ingredients. The reason for using the whisk was that I wanted to make sure that there were no lumps of either the sugar or the cocoa.
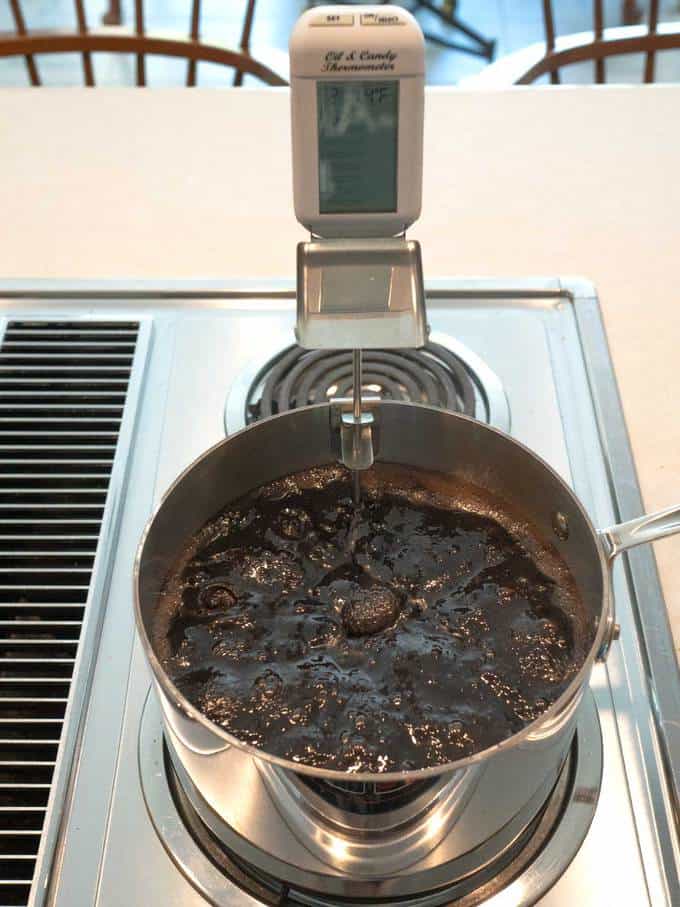
Once all of the ingredients were well combined, I heated the mixture over medium heat until it came to a rolling boil. This took about 9 minutes. Then, I clamped a digital thermometer to the side of the pan and waited for the temperature to reach 234° F. This took about 12 minutes. During this time, I made sure that I didn’t stir the fudge mixture.
234° F is the soft ball stage. At the soft ball stage, the mixture will form a soft, flexible ball when dropped into cold water. When removed from the water, the ball will flatten like a pancake. Therefore, if you don’t have a thermometer, you can use this technique to determine when the mixture has reached the appropriate temperature.
Finishing the Old-Fashioned Fudge with Peanuts
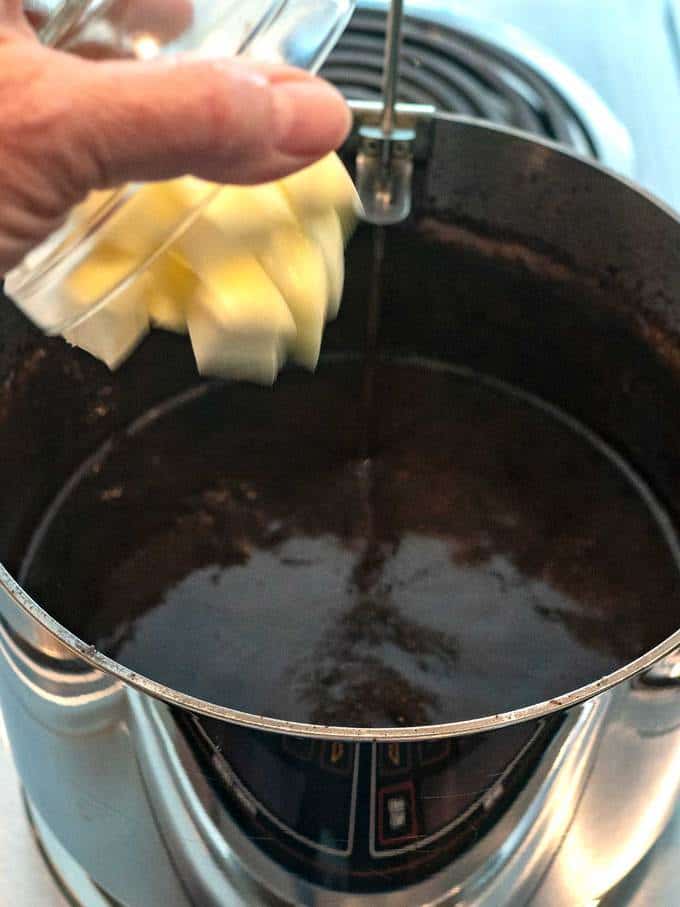
When the temperature of the mixture reached 234° F or the soft ball stage, I removed the pan from the heat and added the butter and vanilla extract. Again, I did not stir the mixture. Rather, I waited until it reached 110° F or was lukewarm. This is where I had to be patient – it took 1 hour and 15 minutes for the mixture to cool to 110° F!
If you don’t have a thermometer, you can guesstimate the temperature when you can comfortably place your hand on the pot.
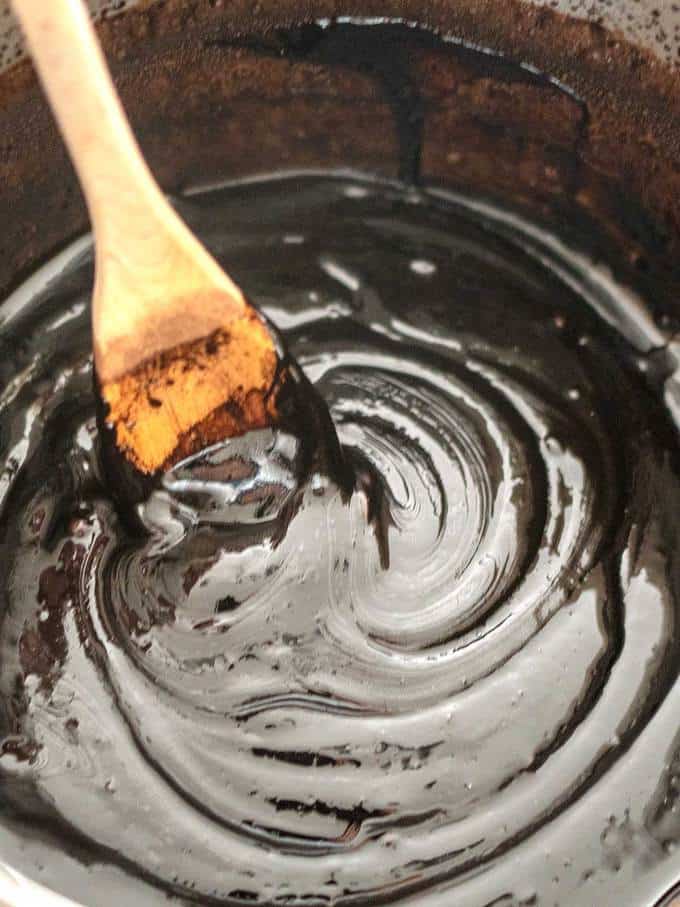
Now comes the part that I hate because of the elbow grease involved. I beat the Old-Fashioned Chocolate Fudge mixture with a wooden spoon until it thickened and started to lose some of its gloss. This took a total of about 8 minutes.
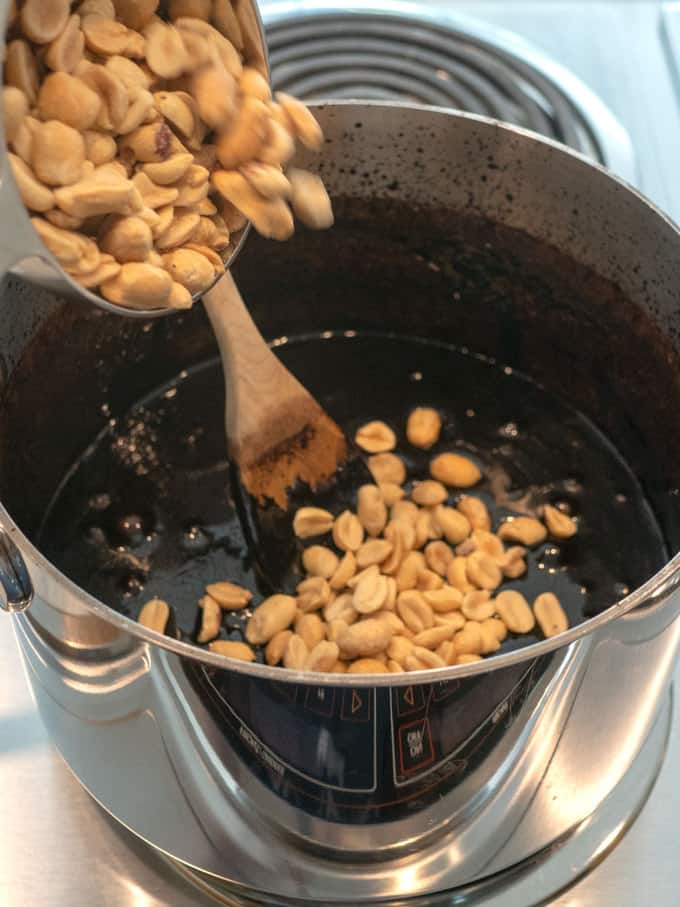
After about 5 minutes of beating the fudge mixture, I added the peanuts. I continued beating the mixture for several additional minutes until the desired consistency and look were achieved.
The beating is really the most critical step in making the fudge. If the mixture is not beaten enough, it won’t harden like it’s supposed to. If it’s beaten too much, it’ll take on a grainy texture.
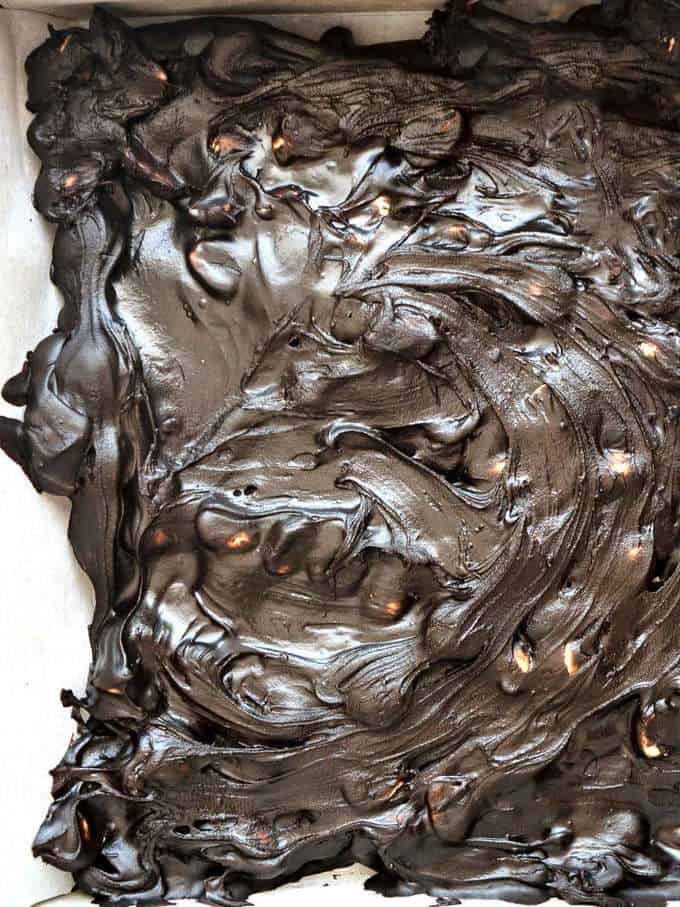
When the fudge had started to lose its gloss, I quickly poured it into an 8-inch square pan that I had lined with parchment paper. I smoothed the fudge out as best as I could given that it started to harden very quickly. Then, I let the fudge cool completely.
Once the fudge had cooled, I lifted it out of the pan and cut it into 1-inch squares using a bread knife. The reason for the bread knife was to cleanly cut through the peanuts.
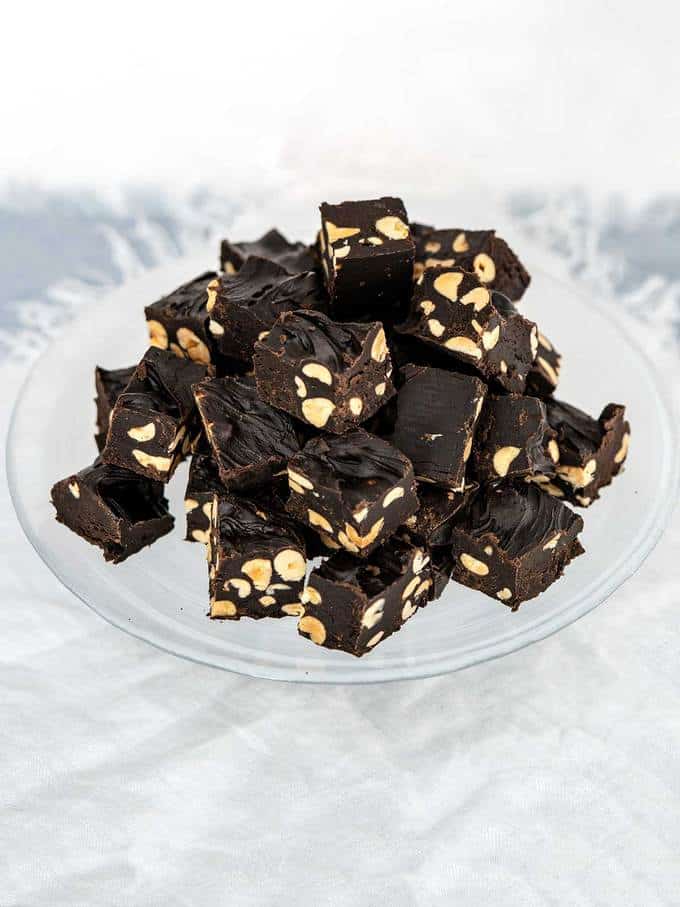
I ended up with about 4 dozen pieces of absolutely delicious Old-Fashioned Chocolate Fudge with Peanuts. Each bite took me back to my childhood days!
The fudge had hardened perfectly and was not at all grainy. Rather it was velvety smooth with a deep chocolate taste and crunch of peanuts. Yum!
- Chocolate Pecan Toffee Clusters
- Chocolate Almond Toffee
- Chocolate Peanut Butter Meltaways
- Chocolate Desert Roses
- Chocolate Covered Peanut Butter Balls
- Chocolate Billionaires
If you try the fudge or one of these other recipes, please consider leaving a comment to let me know how it turned out. Also, if you’d like to receive notifications of new posts by email, ever your email address in the Subscribe box. Thank you so much for visiting Pudge Factor. I hope you’ll come back!
Recipe
Want to Save This Recipe?
Enter your email & I’ll send it to your inbox. Plus, enjoy weekly doses of culinary inspiration as a bonus!
By submitting this form, you consent to receive emails from Pudge Factor.

Old-Fashioned Chocolate Fudge with Peanuts
Ingredients
- 3 cups (21 ounces) granulated sugar
- ⅔ cup (2.4 ounces) Special Dark Cocoa (See Tip 1)
- ⅛ teaspoon salt
- 1 ½ cups (12 ounces) milk (See Tip 2)
- ¼ cup (½ stick, 2 ounce) unsalted butter (See Tip 3)
- 1 teaspoon vanilla extract
- 1 cup unsalted peanuts (See Tip 4)
Instructions
- Line an 8-inch square pan with buttered parchment paper or buttered aluminum foil. (See Tip 5)
- Combine sugar, cocoa and salt in a heavy 4-quart saucepan. (See Tip 6)
- Add milk; whisk to thoroughly combine the ingredients making sure that there are no sugar or cocoa lumps.
- Place pan over medium heat and bring to a rolling boil stirring constantly. This will take 8 to 10 minutes.
- Fit a digital thermometer to pan; allow to continue boiling without stirring until mixture reaches 234° F. (See Tip 7)
- Remove pan from heat; add the butter and vanilla extract. Do not stir. Allow mixture to reach 110° F or lukewarm. (See Tip 8)
- Beat the mixture with a wooden spoon until it thickens and starts to lose its gloss, about 8 minutes. After about 5 minutes, add the nuts if desired. Continue beating to desired consistency and look.
- Quickly spread the mixture in the prepared pan; cool completely. Cut into 1-inch squares. (See Tip 9)
- Yield about 48 pieces of fudge.
Tips/Notes
- You can also use regular unsweetened cocoa powder.
- I used whole milk. However, you could also use 2% milk.
- I cut the butter into 1-inch pieces. However since the mixture is very hot when the butter is added, this is really not necessary.
- Adding nuts is optional. However, if you want to use nuts, you could also use toasted pecans pieces, toasted walnut pieces or toasted almond pieces.
- I would avoid using a 9-inch pan unless you want thin pieces of fudge. To prepare the pan, I cut two pieces of parchment paper in rectangles that were as wide as the pan, and long enough for over-hang on both sides. The parchment paper that I used was 15-inches long, so was the perfect length. I buttered the pan and placed one of the pieces of parchment paper in the pan. Then, I buttered the parchment paper and placed the other piece to overlap the other sides. I secured the parchment paper with binder clips. The reason for buttering the pan and the parchment paper was to ensure that the parchment paper stuck to the pan and stuck together.
- When the fudge mixture boils, it will expand quite a bit. Therefore, you want to make sure that your pan is large enough to accommodate the boiling mixture.
- 234° F is the soft-ball stage. At this point, the syrup will form a soft, flexible ball when dropped in cold water. If you don't have a thermometer, use this method to determine when the mixture has reached the appropriate temperature.
- It took 1 hour and 15 minutes for the mixture to reach 110° F. It's important that you do not stir the mixture while it is cooling. If you don't have a thermometer, you can guesstimate the lukewarm temperature if you can comfortably place your hand on the outside of the pan.
- I used a bread knife to cut the fudge. The reason was so that the peanuts would be cleanly cut. Also, the knife was long enough to cut entire strips of the fudge.



Barb says
Just finished the Old Fashioned Chocolate Fudge and followed instructions to a tee, including using my gauge to be sure it was cooled to 111 before beating, It hardened too fast and is crumbly!
What ca n I do to save
Chula King says
Barb,
I’m so sorry that this happened to the fudge.
You might try reheating the fudge on low on the stovetop or in a double boiler with a small amount of milk, stirring constantly until it’s melted and smooth. Once melted and smooth, pour it into the prepared pan.
Alternatively, if the fudge is still a bit moist, you could try forming it into balls and rolling them in either cocoa powder, or chopped nuts for truffles.
Chula