Red and Green Christmas Caramel Corn is a delicious and easy holiday treat perfect for parties, gifts, or snacking on your own. This festive treat is made with popcorn coated in a rich, buttery caramel sauce that is all dressed up in Christmas colors. It’s an ideal way to add a touch of Christmas fun to your next gathering.

Jump to:
Why You’ll Love This Recipe
- Festive and Fun: The caramel corn’s vibrant red and green colors add a festive touch to any holiday party or celebration.
- Easy to Make: You might think that making caramel popcorn is difficult, but it isn’t! The best thing about this recipe is that it is straightforward and doesn’t require special skills, making it accessible to home cooks of all levels.
- Affordable: The ingredients for these holiday treats are relatively inexpensive, so you can make a large batch without breaking the bank.
- Gift-Worthy: The festive appearance and delicious taste make Red and Green Christmas Caramel Corn an ideal gift when packaged in a clear cello bag for friends, family, and neighbors.
- A Make-Ahead Treat: This caramel corn can be made and stored in an airtight container, so it’s perfect for busy holiday schedules when you want a delicious appetizer.
Ingredients – Here’s What You’ll Need

- For the Popcorn: I like to pop my own popcorn kernels in the microwave with no oil or salt using my Skinny Microwave Popcorn technique. You could also use an air popper.
- For the Caramel: I used unsalted butter, light brown sugar, light corn syrup, Kosher salt, vanilla extract, and baking soda for the caramel.
- For the Festive Colors: I used red and green gel colors to add the festive color to the caramel.
Here’s How I Made the Popcorn
- I started by adding unpopped popcorn kernels to a brown lunch bag. I folded the top several times and popped the kernels in my microwave using the popcorn function.

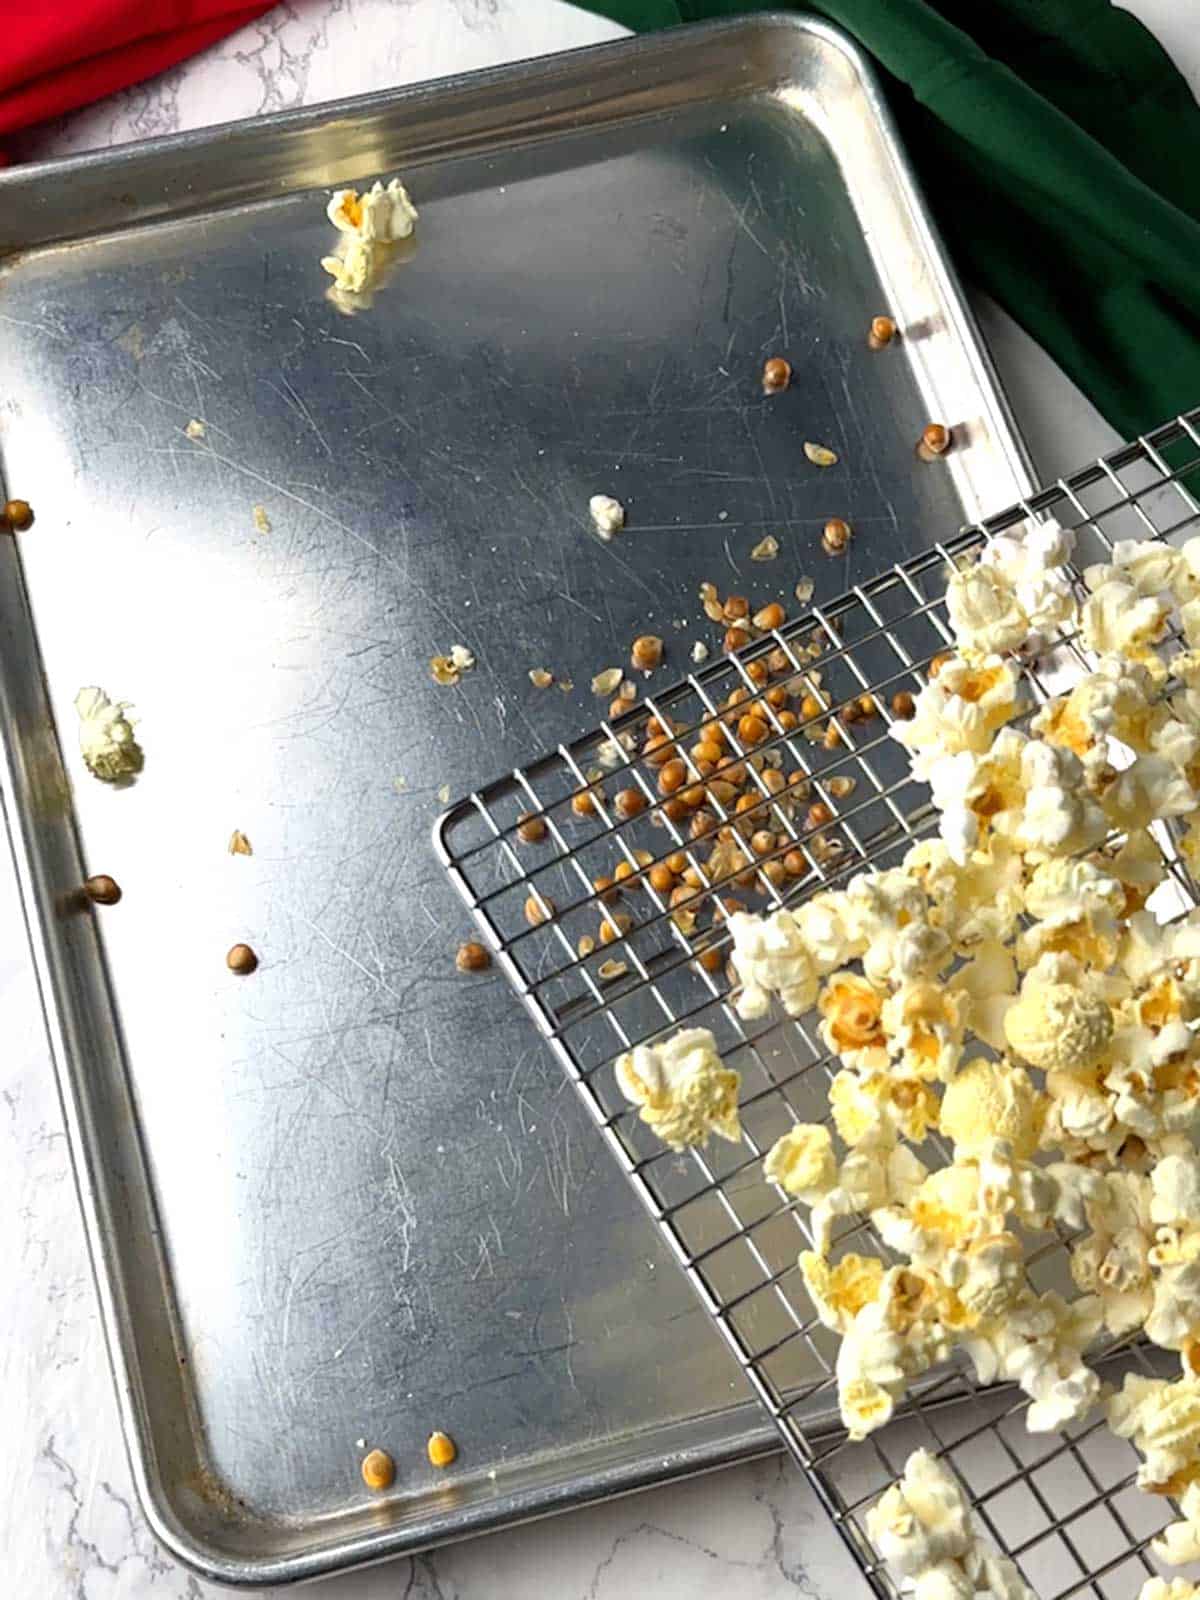
- When the microwave stopped, I dumped the popcorn onto a wire rack that I had set inside a rimmed baking sheet.

- I use the wire rack to allow the unpopped kernels to be easily separated from the popped kernels. The last thing I want is for me or someone else to break a tooth on an unpopped kernel. This little trick works every time!
Here’s How I Made the Caramel
You might think that making the caramel to coat the popcorn is difficult, but it isn’t at all.
- First, I added the unsalted butter, light brown sugar, and corn syrup to a small saucepan over medium-high heat. I stirred the mixture constantly until the butter had melted.
Once the butter had melted, I continued to stir the caramel mixture until it came to a boil.
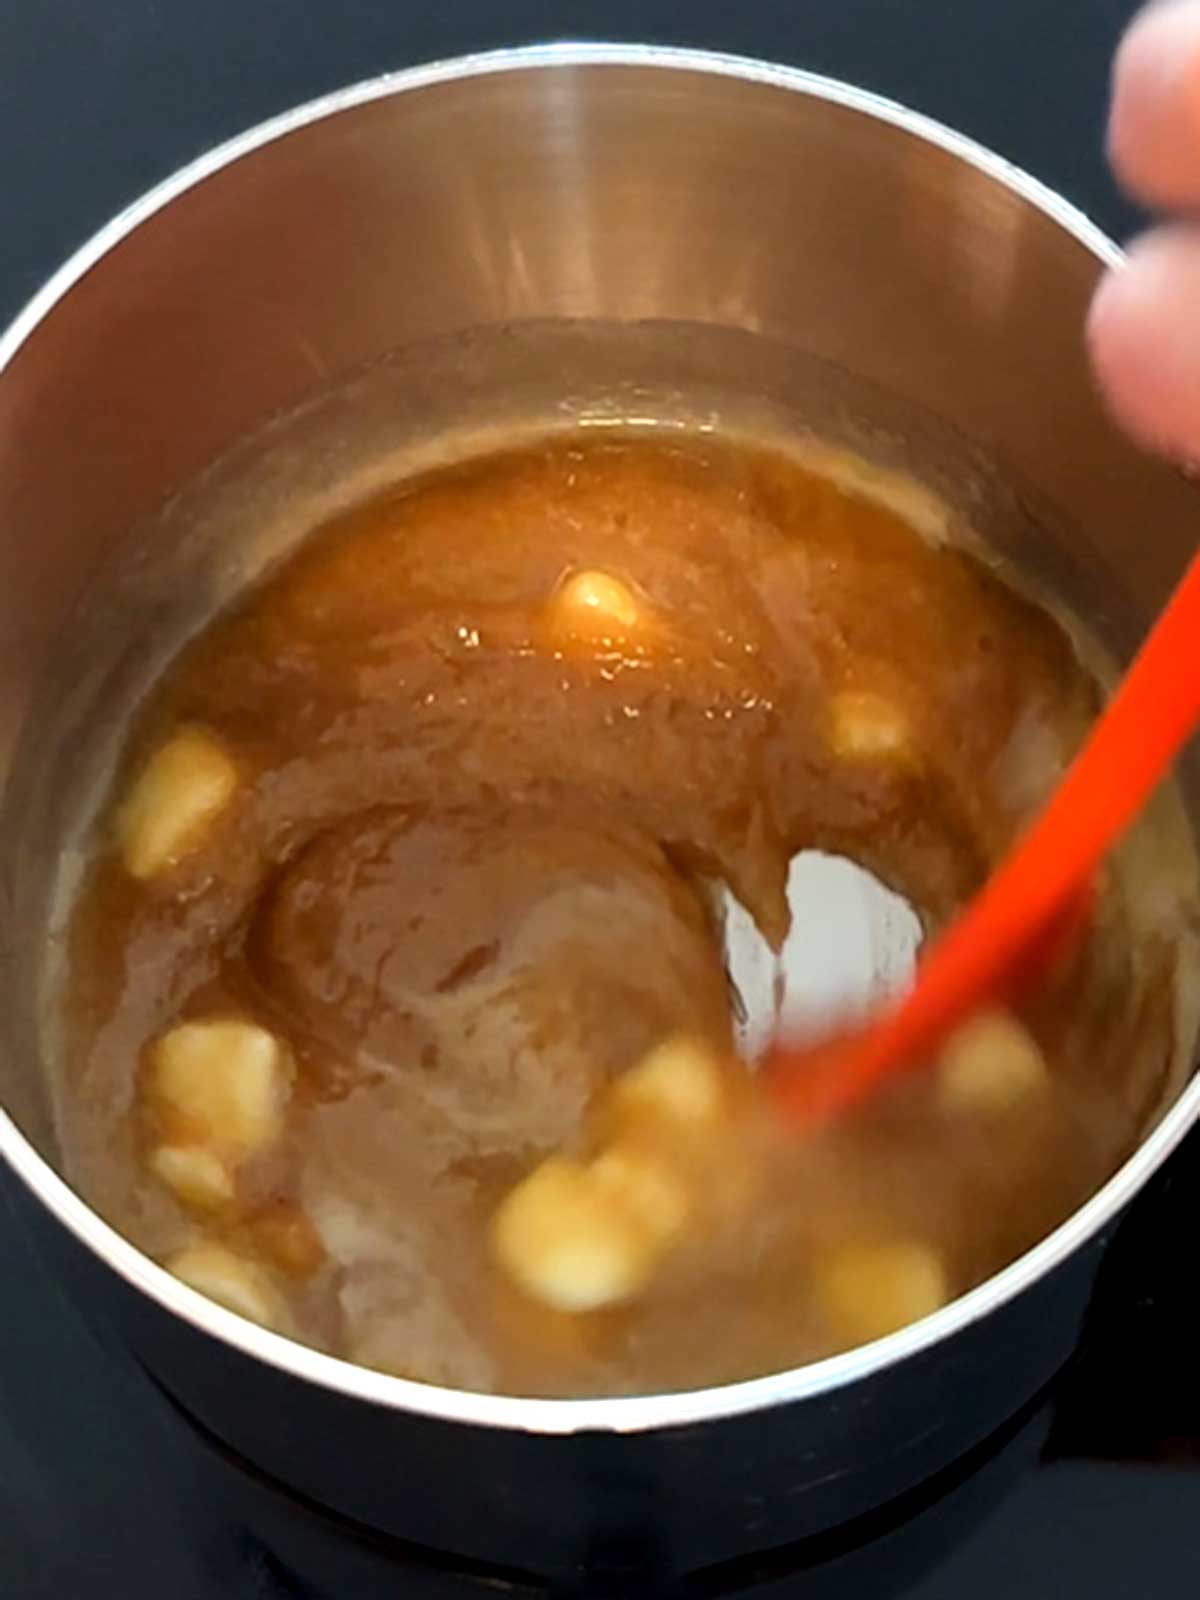
- I lowered the heat to medium-low and let the caramel mixture continue to boil undisturbed for five minutes.

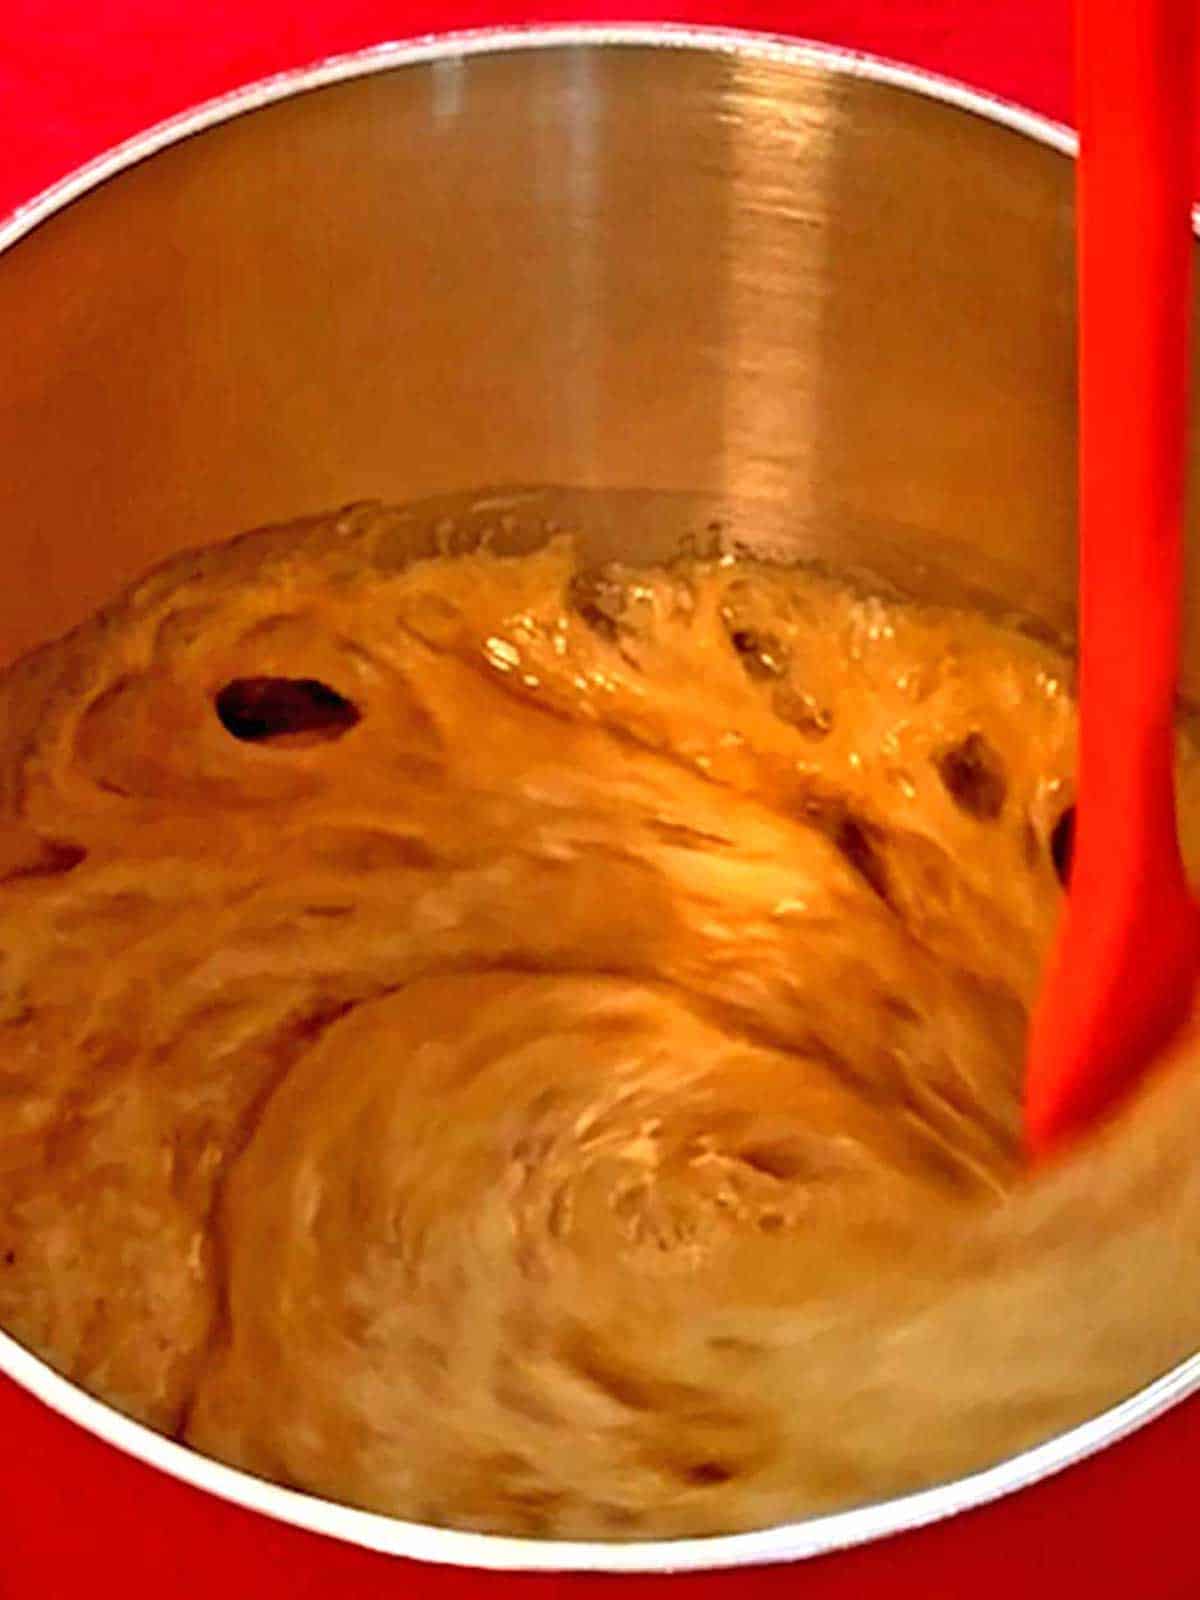
- After five minutes, I removed the caramel from the heat and added the salt, vanilla extract, and baking soda. I stirred the mixture with a silicone spatula until it was well combined.
I had to be careful here because the baking soda made the caramel bubble up quite a bit.
Here’s How I Finished the Christmas Caramel Corn
Because I was making two different colors of caramel corn, I made two different batches of popcorn and caramel at separate times. First I made the red caramel corn; then I made the green caramel corn.
- Once the caramel was well mixed, I added ten drops of red gel food color. I stirred the colored caramel with a silicone spatula until the color was well incorporated into the caramel. I repeated this for the green caramel, adding ten drops of green gel color to the caramel.

- I placed the popcorn in a large disposable roasting pan and poured the red-colored caramel mixture on top. I did the same with the green-colored caramel mixture.
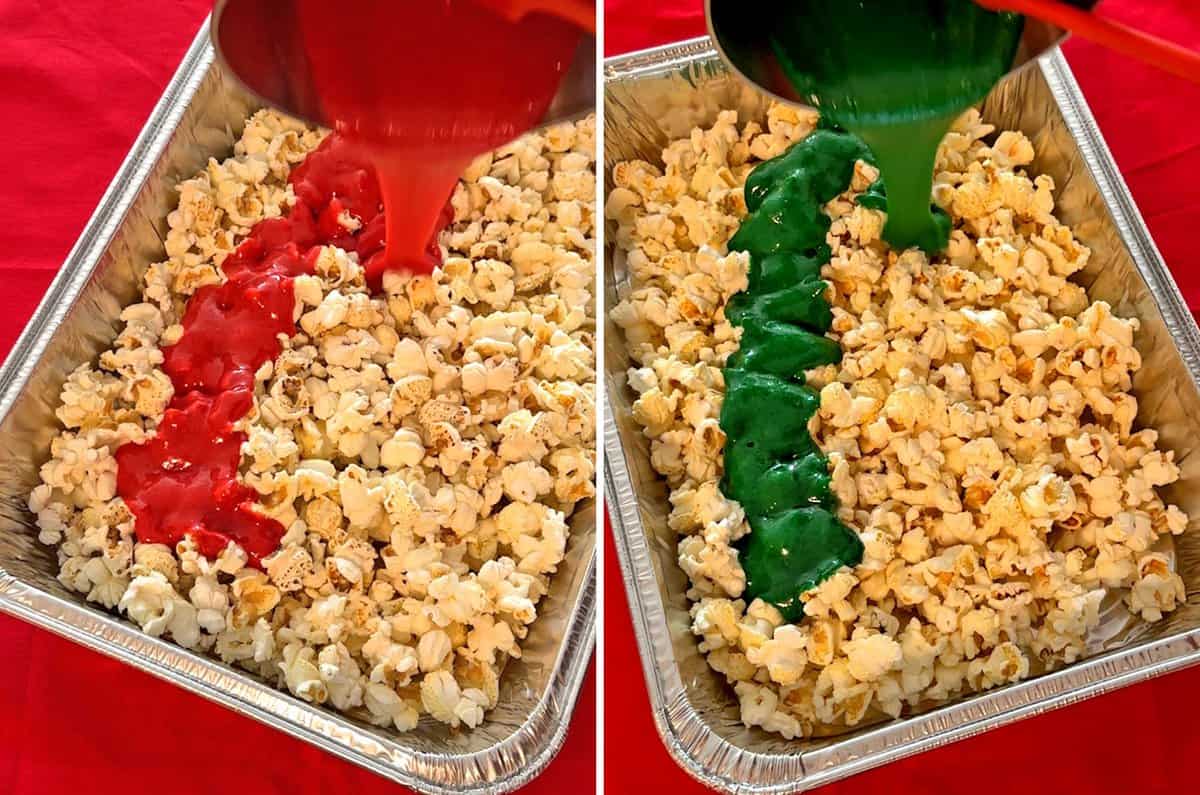
- Once I had poured the colored caramel, I stirred it into the popcorn to start coating it. At this point, I didn’t worry too much if some of the popcorn wasn’t well coated.

- I baked each batch of colored caramel corn in a 250°F oven for one hour and 15 minutes, stirring after each 15-minute increment. The heat of the oven kept the caramel coating melted, so the stirring further coated the popcorn.
- After an hour and 15 minutes, I dumped the caramel corn onto a silicone-lined baking sheet. I broke it into pieces once the caramel corn came to room temperature.
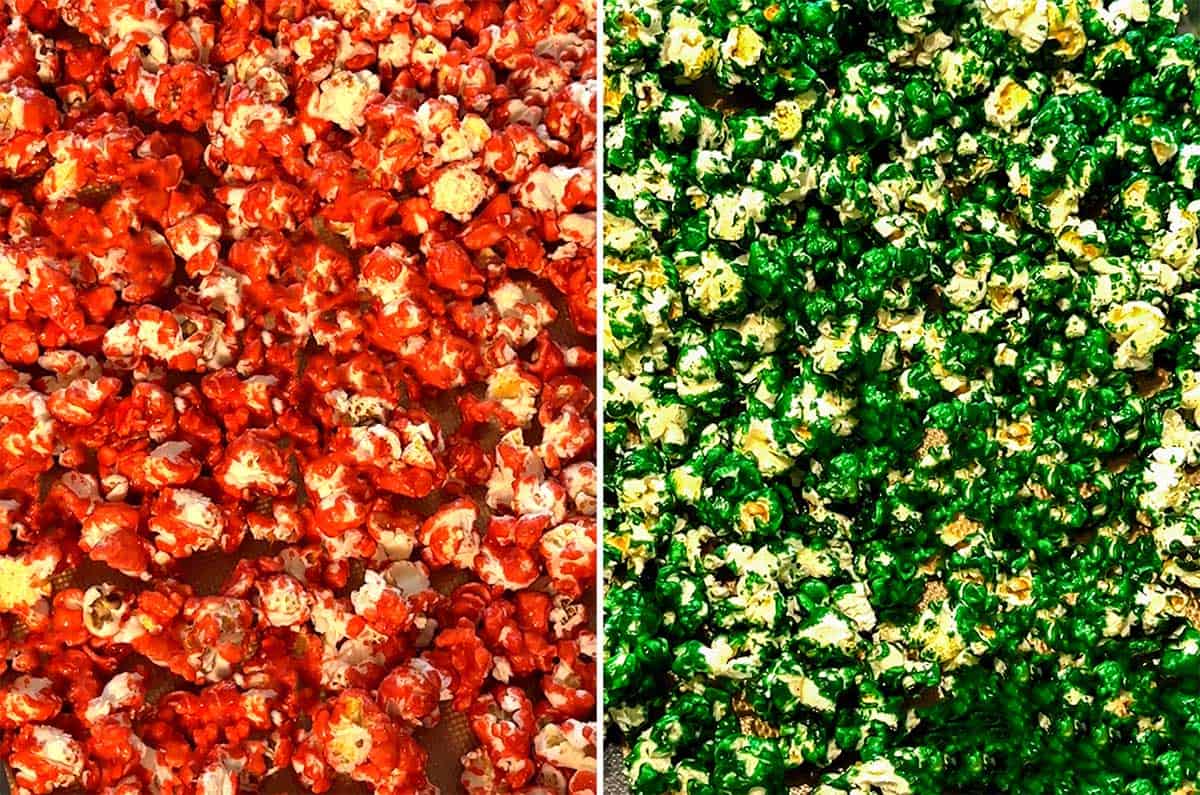
I ended up with about nine cups of amazingly delicious red caramel corn and nine cups of outstanding green caramel corn.
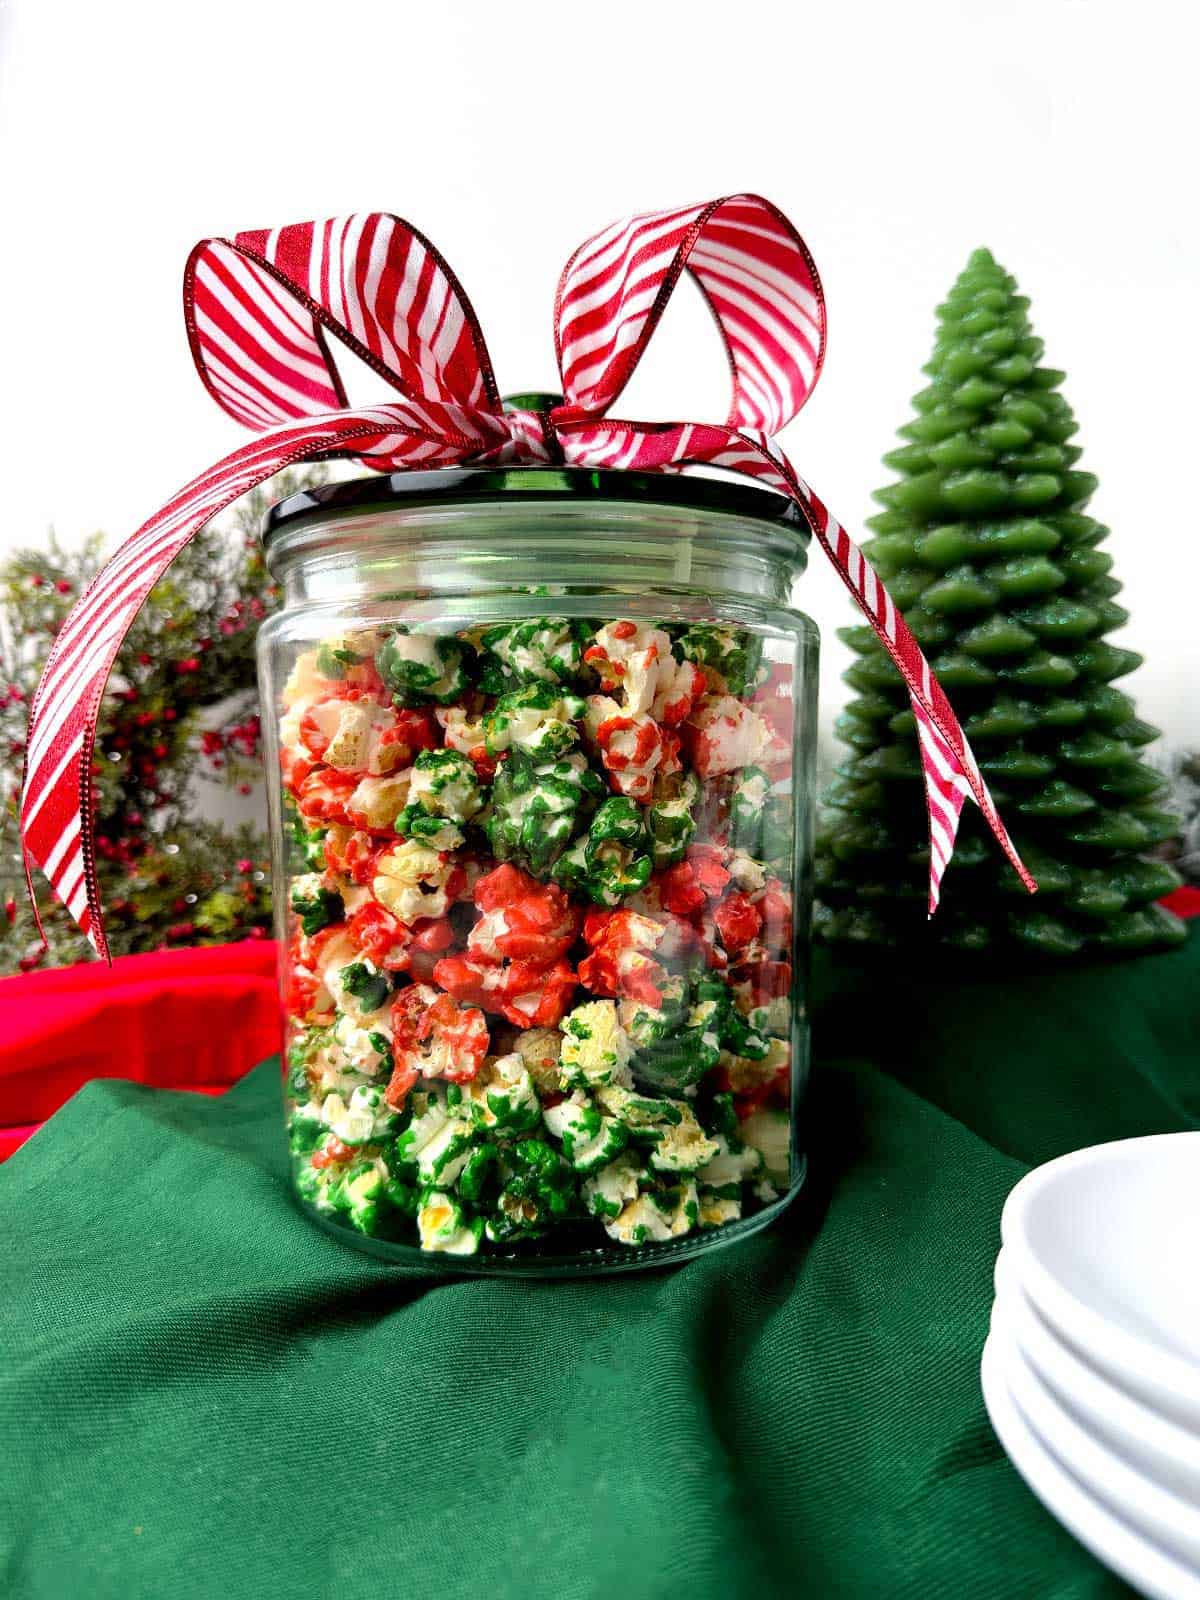
Overall, Red and Green Christmas Caramel Corn was a delightful and festive treat sure to be a hit with everyone who tries it. Its easy-to-follow recipe, delicious flavor, and festive appearance make it a perfect addition to any holiday gathering or celebration. Yum!
Frequently Asked Questions
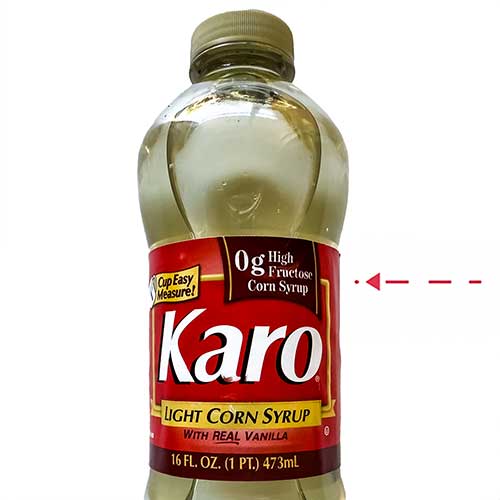
I use Karo light corn syrup which specifically indicates on the label: 0g High Fructose Corn Syrup.
When baking soda reacts with the acids in caramel, it releases carbon dioxide bubbles. These bubbles can create a lighter, airier texture in the caramel when the bubbles escape. This effect is particularly noticeable in caramel corn, where the baking soda helps to create a delicate crunch.
You can use liquid or gel food color to color your caramel corn. Gel food color is generally more concentrated than liquid food color, so you may need less of it to achieve the desired color.
I have quite a bit of experience working with caramel and know that it’s important to work quickly once the caramel is ready to be added to the popcorn. You can make one batch of caramel and separate it, but I personally wouldn’t do this because of concern that the caramel would harden to quickly.
For the best results, use plain, popped popcorn kernels. Avoid using microwave popcorn, as it often contains added oils and flavorings that can affect the taste and texture of your caramel corn.
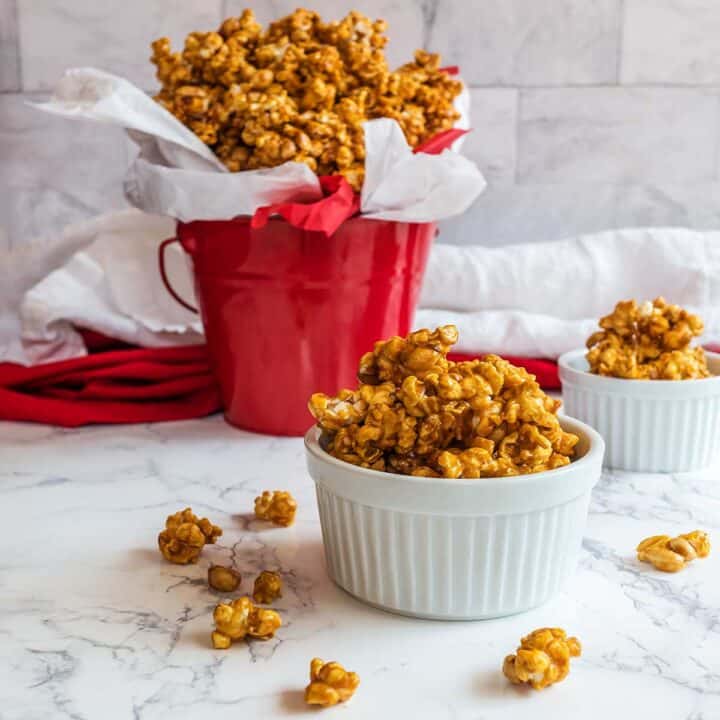
Store caramel corn in an airtight container in a cool, dry place. It should keep for up to 2 weeks.
Other Caramel Corn Recipes
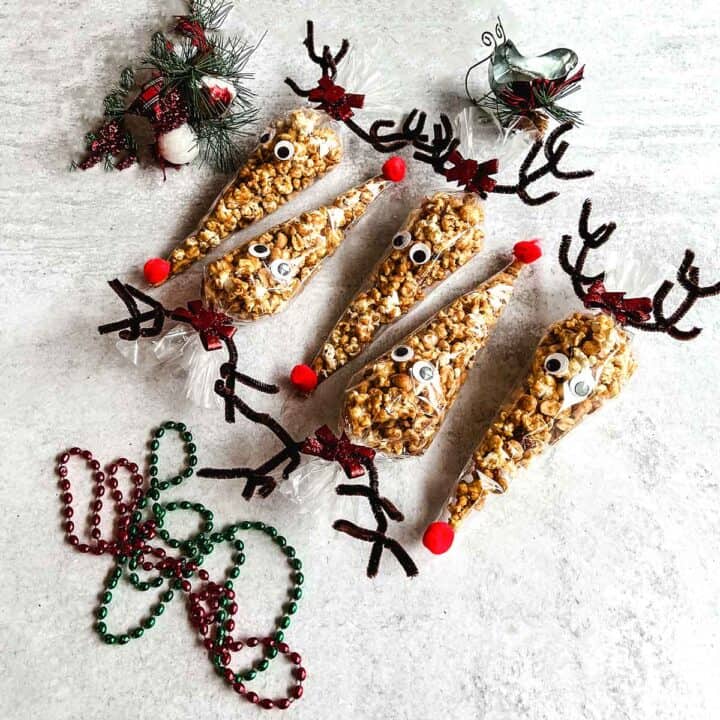
If you’re a fan of good caramel corn like I am, you should check out these easy recipes. They are perfect to add to your repertoire of easy appetizers.
I hope you liked this recipe for Red and Green Christmas Caramel Corn as much as I do. If so, please consider rating it and leaving a comment. Also, if you’d like to receive notifications of new posts by email, enter your email address in the Subscribe box.
Thank you so much for visiting Pudge Factor. I hope you’ll come back!
Recipe
Want to Save This Recipe?
Enter your email & I’ll send it to your inbox. Plus, enjoy weekly doses of culinary inspiration as a bonus!
By submitting this form, you consent to receive emails from Pudge Factor.

Red and Green Christmas Caramel Corn
Equipment
- 2 large disposable aluminum roasting pans (See Note 1)
- large wire cooling rack
- Large rimmed baking sheet
Ingredients
The Popcorn (For Both the Red and Green Caramel Corn)
- 1 cup unpopped popcorn kernels, divided
- 4 brown sandwich bags
The Caramel (For Both the Red and Green Caramel Corn)
- 10 Tablespoons (5 ounces) unsalted butter, cut into cubes divided in half
- 1 cup (7.5 ounces) light brown sugar, divided in half
- ½ cup (5.5 ounces) light corn syrup, divided in half
- 1 teaspoon Kosher salt, divided in half
- 1 teaspoon vanilla extract, divided in half
- 1 teaspoon baking soda, divided in half
Red and Green Christmas Caramel Corn
- The popcorn from above divided
- The caramel from above divided
- 10 drops of red gel food color
- 10 drops of green food color
Instructions
The Popcorn
- Add ¼ cup of unpopped kernels to one of the brown bags. Fold two to three times. Cook in microwave on popcorn function. (See Note 2)
- Empty popped popcorn on a wire cooking rack set inside a rimmed baking sheet to allow the unpopped kernels to fall out. Repeat with remaining popcorn kernels for 16 to 18 cups of popped popcorn and 8 to 9 cups for each red and green caramel corn.
- If making the popcorn ahead of time, store it in airtight containers such as Ziploc bags.
The Caramel
- Add five tablespoons of unsalted butter, ½ cup of light brown sugar, and ¼ cup of light corn syrup to a small saucepan over medium-high heat. Cook, stirring constantly until the butter melts and the caramel mixture comes to a boil.
- Reduce the heat to medium-low and cook for five minutes undisturbed.
- Remove from heat; add ½ teaspoon of Kosher salt, ½ teaspoon of vanilla extract, and ½ teaspoon of baking soda. Stir with a silicone spatula until bubbly and fully combined. (See Note 3)
- Repeat with the remaining ingredients for the caramel after putting one batch of caramel corn together, as described below.
Red and Green Caramel Corn
- Preheat the oven to 250°F.
- Add half of the popcorn, 8 to 9 cups, to a large disposable aluminum roasting pan. Set aside.
- Working quickly, add ten drops of red gel food color to the saucepan with the prepared caramel as soon as you have stirred in the salt, vanilla, and baking soda. Stir with a silicone spatula to distribute the color evenly.
- Pour the red caramel on the popcorn and stir to coat. Don't worry if some of the popcorn isn't coated. (See Note 4)
- Bake in a preheated 250°F oven for one hour and 15 minutes, tossing every 15 minutes to distribute the colored caramel further.
- After one hour and 15 minutes, transfer the caramel corn to a silicone or parchment-lined baking sheet. Allow to cool completely.
- Repeat with the remaining popcorn and the other batch of caramel, adding ten drops of green gel food color to the caramel.
- Yield: 24 servings. (See Note 5)
Video
Tips/Notes
- I use disposable aluminum roasting pans because I don’t have to worry about cleaning the hard caramel. I just throw the pans away when I’m finished. This is a personal preference of mine.
- On my microwave, I needed to add about a minute to the popping of each bag of popcorn to minimize the unpopped kernels. This will vary depending on your specific microwave.
- Be very careful when you add the baking soda to the hot caramel. It will bubble up and can burn you if you’re not careful.
- When you first add the caramel to the popcorn, many pieces are not covered. As the caramel continues to be heated in the oven and the caramel corn is tossed every 15 minutes, more of the popcorn will be coated.
- Store the caramel corn in an airtight container for up to two weeks.



Leave a Reply