
Meet Zelda, my Sourdough Starter. She's the newest edition to my culinary bag of tricks. Nine days ago, she was nothing but a blob of water and flour. However, with regular feedings, she grew into a vibrant and bubbly sourdough starter!

Through the years, I've tried with no avail to produce a sourdough starter from the wild yeast in the air. I've used grapes, organic rye flour, whole wheat flour, and different ratios of flour to water. Nothing seemed to work until now.
Borrowing from Chef John's approach on Allrecipes, I began the process of making the sourdough starter nine days ago. It takes a long time, but requires very little effort.
Ingredients for Sourdough Starter:
I used only filtered water and bread flour. The filtered water is important because tap water contains chlorine which can kill the yeast. Other types of flour can be used, but avoid bleached flour.
In addition to the water and flour, I used a kitchen scale. The reason for the kitchen scale was that I used equal parts of water and flour by weight to both begin the process, and feed the starter.
Making the Sourdough Starter:
On Day 1, I mixed together 70 grams of filtered water and 70 grams of bread flour in a glass bowl. There wasn't anything particularly special about 70 grams which is around ⅓ cup. I could have just as easily used 60 grams of each, 80 grams of each, etc. Also, I could have used 2.5 ounces each of the flour and water
What was important, however, was that I used the same weight of each. The reason that I measured in grams as opposed to ounces was that it produced a more precise measurement. However, I've also made starter using ounces with equally good results.

I loosely covered the bowl and set it on the kitchen counter. The main reason for covering the starter was to keep any little insects from descending upon it. However, I didn't want to cover it too tightly because the gases created during the fermentation needed a way to escape. We keep our house at 73° F, which was a somewhat perfect temperature for making sourdough starter.
On Day 2, after 24 hours, the blob of water and flour had smoothed out and started to exhibit a few bubbles. I was so excited! It was alive, and time for its first feeding. I added 70 grams of filtered water and 70 grams of bread flour, and stirred the mixture until it was smooth. I again loosely covered the bowl, and set it on the kitchen counter.

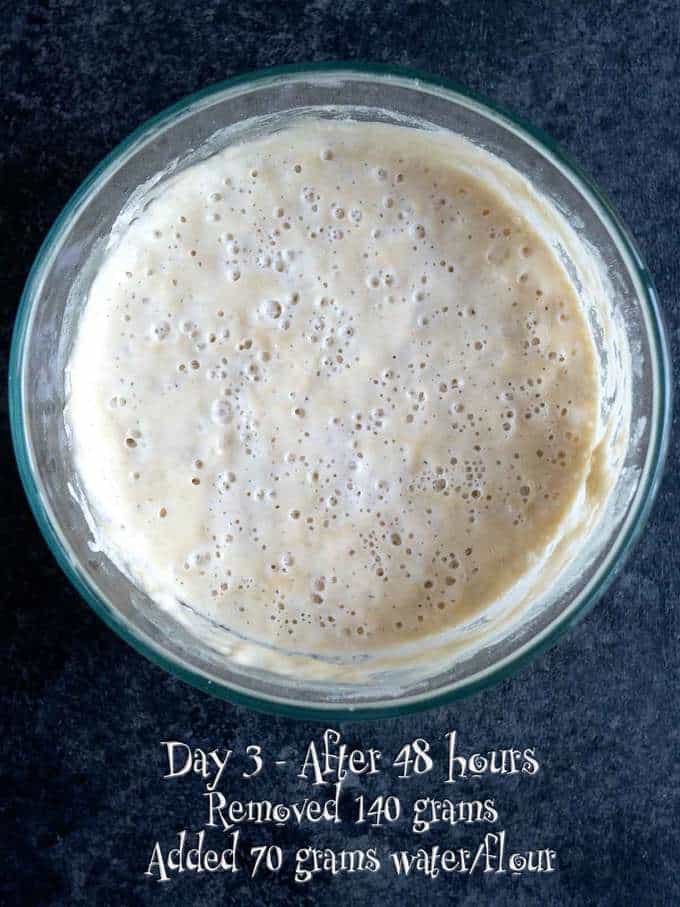
On Day 3, after 48 hours, the starter had developed a lot more bubbles, but also showed some discoloration. I've read that as the starter begins to ferment, bad bacteria is killed off by good bacteria. Therefore, I wasn't too concerned at that point.
Rather than just feed the starter as I had done on Day 2, I discarded 140 grams or half of the starter, and fed what remained with 70 grams each of filtered water and bread flour.
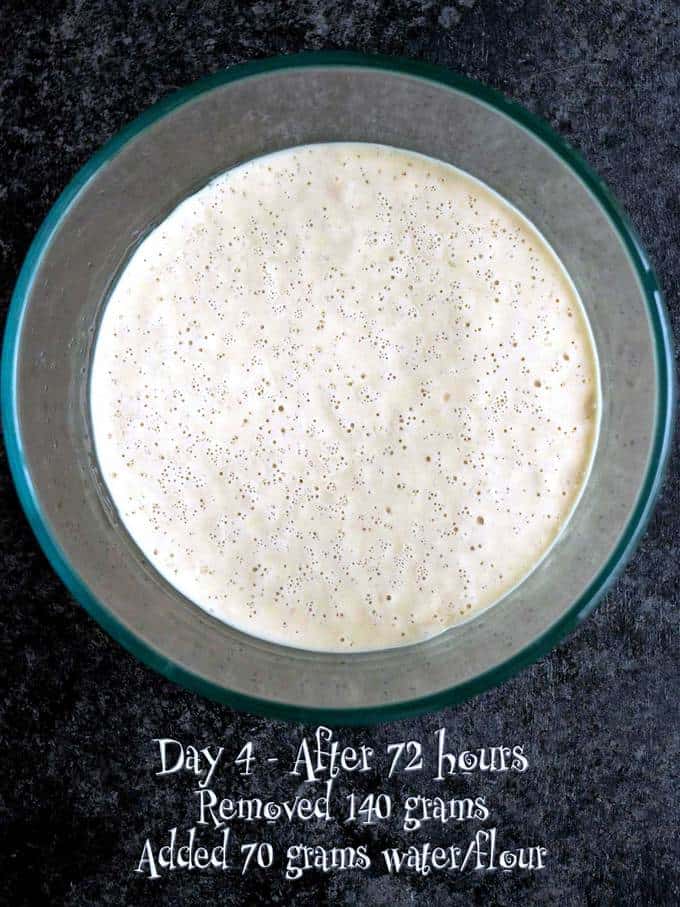
On Day 4, most of the discoloration was gone, and there were lots of little bubbles in the starter. As on Day 3, I discarded half or 140 grams of the starter, and fed what remained with 70 grams each of filtered water and bread flour. I covered it loosely and placed it on the kitchen counter.
On Days 5 through 8, I repeated the process of removing half or 140 grams of the starter, and adding 70 grams each of filtered water and flour to the remaining starter. I loosely covered the bowl, and placed the starter on the kitchen counter. Each day, the starter had small bubbles on top, indicating that fermentation was still occurring. However, the appearance of the starter really didn't change from day to day.

Then, during Day 8, I noticed that the starter became more active, and had begun to expand somewhat. I was so excited! However, I patiently waited until the next morning to see if the activity had continued overnight. The answer was yes!
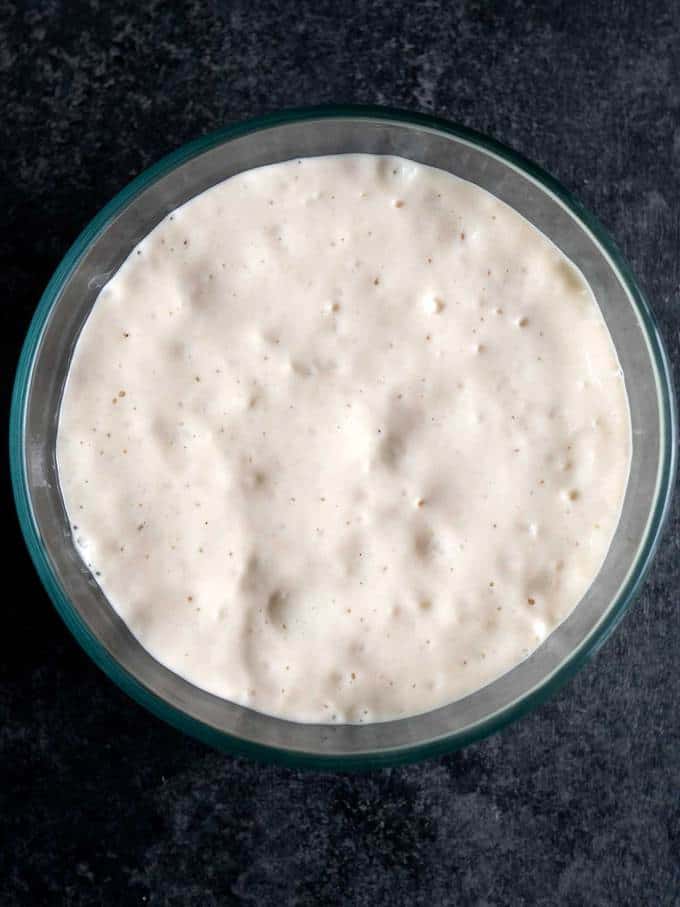
On Day 9, there were lots of little bubbles on top. However, there were also mounds of starter which had expanded by about 50%.

I again discarded half or 140 grams of the starter, and fed what was left with 70 grams each of filtered water and bread flour. I loosely covered the bowl, and left it on the kitchen counter. After about three hours, the starter had more than doubled in volume.

This told me that the starter had matured and was ready to be named! I decided to call it Zelda.
How to Tell if Your Starter is Ready
There are two ways that I know of to tell if your starter is ready. One way is as described above - if after the feeding, the starter doubles in volume within 3 to 4 hours.
Another way is to take a teaspoon of starter and drop it into a glass of water. If it floats, the starter is ready. If it doesn't float, the starter needs more time to mature.
How to Store Mature Sourdough Starter
Once your starter has reached maturity, you need to transfer it to some sort of covered vessel. I personally like to use a mason jar.
After I've fed the starter, I leave it on the counter covered loosely for several hours to re-start the fermentation process. Then, I securely cover the starter and place it in the refrigerator.
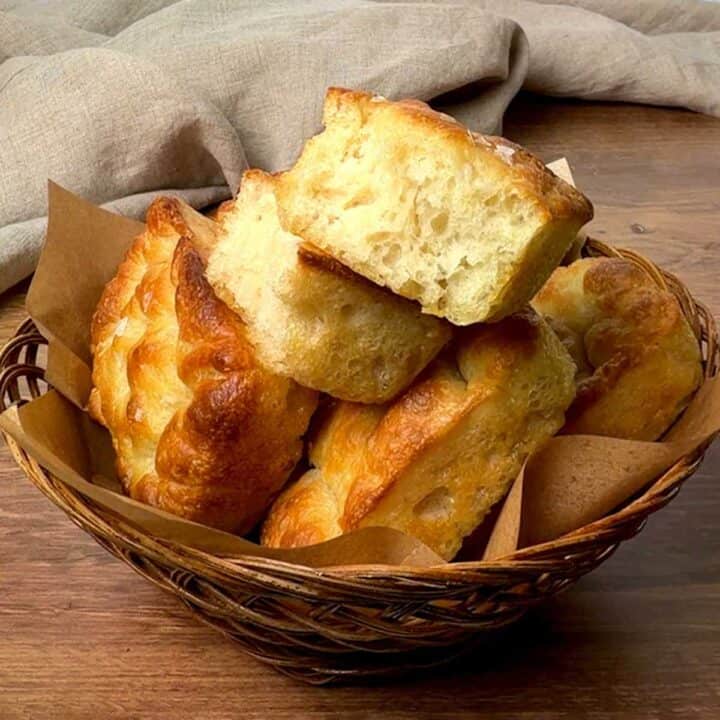
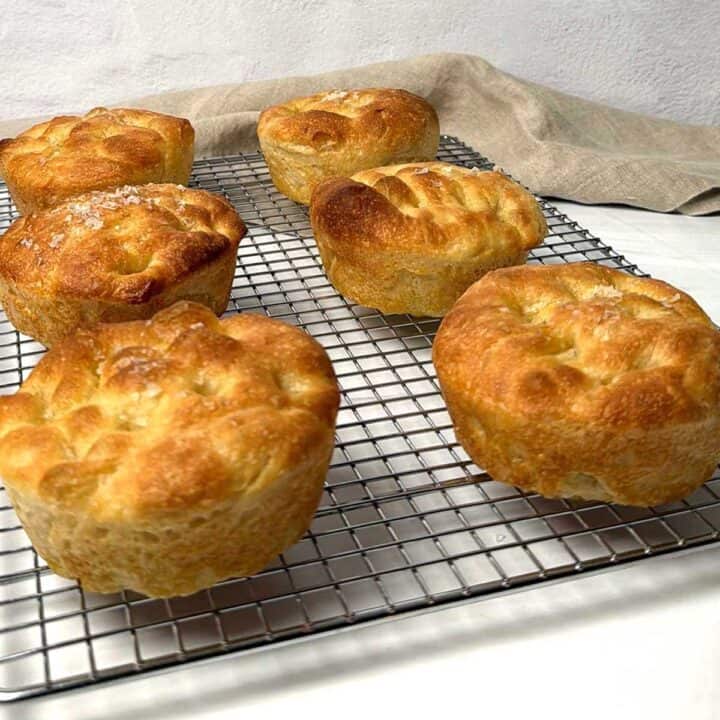
Nine days earlier, Zelda was nothing more than a blob of water and flour. Everyday, I fed and cared for it, and watched Zelda grow into a vibrant and bubbly sourdough starter. Right now, she's sitting in the refrigerator waiting for Part 2 - making delicious sourdough bread. Here's my first sourdough bread made with Zelda!
Before I make the sourdough bread, I will need to remove 140 grams of Zelda from the refrigerator, and feed her at room temperature with 70 grams each of filtered water and bread flour. Thereafter, when I'm not making sourdough bread, I will need to feed Zelda once a month by discarding half of the starter, and adding 70 grams each of filtered water and bread flour. Yum!
Recipe
Want to Save This Recipe?
Enter your email & I’ll send it to your inbox. Plus, enjoy weekly doses of culinary inspiration as a bonus!
By submitting this form, you consent to receive emails from Pudge Factor.

Sourdough Starter
Ingredients
- 630 grams filtered water (See Notes 1 and 3)
- 630 grams bread flour (See Notes 2 and 3)
Instructions
- Day 1: Combine 70 grams filtered water and 70 grams bread flour in a non-reactive bowl. Stir until smooth. Cover loosely, and place in 70° F to 75° F area. (See Notes 4 and 5)
- Day 2: Add 70 grams filtered water and 70 grams bread flour to Day 1 mixture. Stir until smooth. Cover loosely, and place in 70° F to 75° F area.
- Day 3: Pour 140 grams of starter into a clean bowl, and discard the rest. Feed the 140 grams with 70 grams each of filtered water and bread flour. Cover loosely, and place in 70° F to 75° F area.
- Days 4 - 8 or 9: Each day, pour 140 grams of starter in a clean bowl, and discard the rest. Feed the 140 grams with 70 grams each of filtered water and bread flour. Cover loosely, and place in 70° F to 75° F area.
- Day 9 or 10: When the starter becomes more active, pour 140 grams in a clean bowl and discard the rest. Feed the 140 grams with 70 grams each of filtered water and bread flour. Cover loosely, and place in 70° F to 75° F area. (See Note 5)
- The starter is ready when it is nicely fermented, smells a bit sour, and doubles in volume within 2 to 3 hours of it being fed. (See Note 6)
- Refrigerate the starter, loosely covered until needed. Generally, the mature starter should be fed as on Day 3 about once every month.
- Two days before making bread using a refrigerated starter, refresh the starter by feeding it at room temperature each of the two days. The refreshed starter can be used make bread on the third day. Before returning the remaining starter to the refrigerator, set aside 140 grams and feed it with 70 grams each of filtered water and bread flour.
Tips/Notes
- It's important to use filtered water to make sourdough starter. The reason is that tap water contains chlorine, and chlorine can kill the yeast or retard its growth.
- It's possible to use other types of flour to make starter. In general organic flours work best. However, avoid bleached flour.
- Rather than using grams as your measurement you can use ounces. I like to use 2.5 ounces (½ cup) of bread flour and 2.5 ounces (about 6 tablespoons) of filtered water. The measurements aren't important. What is important is that you use equal parts by weight of the flour and water.
- A key to making this starter is using equal parts by weight of the filtered water and bread flour to both build the starter, and feed it. Therefore, it's best to weigh the ingredients.
- The starter should be covered to keep any stray insects out. However, it should only be loosely covered. The reason is that the process of fermentation that takes place releases gases, and the gases need to be able to escape.
- If after 9 or 10 days, the starter doesn't double in size within several hours of feeding, continue to discard half, and feed what remains with equal parts of filtered water and bread flour.
- During the fermentation of the starter, a brown alcoholic liquid called "hooch" may form on the top. This is an indication that the starter needs to be fed. Before feeding the starter, pour off the hooch.

Dianna says
I haven't tried the recipe, yet. What I want to know is, how can you make bread (sourdough) without yeast?
Chula King says
Diana,
When you make sourdough bread, you don’t use commercial yeast. Instead, you create a special mixture called a “sourdough starter” by mixing flour and water and letting it sit out for a few days. This mixture attracts tiny, natural wild yeast and bacteria from the flour and the air around you. Over time, the wild yeast and bacteria grow and become active, which makes your starter bubbly and alive. When you use this starter in your bread dough, it acts like commercial yeast.
Chula
Henry Herbert says
sourdough starter
Refrigerated started should be fed for two days at room temp before using it, you don't mantion any discard.
Chula King says
Sorry Henry,
Any time I feed the sourdough starter, I always discard half of the starter before feeding it.
Chula
robert estes says
I have made sourdough starter for many years. I do not use water, i use milk. Only once about 25 years ago did I have a strain of Serratia marcescens (pink bacteria) grow in my starter. Other than milk instead of water, my recipe is just like Zelda.
Chula King says
I've not heard of using milk in place of water for making sourdough starter. It's certainly an intriguing concept! Thanks for your comment.
Chula
LMM says
Hello Chula - I agree with the others that your recipe is so well laid out. I kept a sourdough for almost 15 years then life happened. It has been decades since I started one and as I surfed the net I become more and more confused. Over the past few weeks I have had a number of false starts with other recipes. I will not be using bread flour (I don't have any in the pantry); all I have is rye. Can you describe the consistency of the initial mixture? I don't think the proportions listed will yield a smooth mixture since rye is so dense. Your guidance is much appreciated.
Chula King says
Hi! The consistency was like a thick pancake batter or a poolish if you've ever used a poolish as a starter. From what I've read, using rye should be fine, especially if it's organic. I also had some false starts in the past like using grapes, pineapple juice, etc. This simple water and flour mixture worked like a charm. Good luck!
Chula
Lorraine Olivarez says
Im on day ten and realize on day eight that i wasn't transferring the starter into a clean bowl. I would just take out and feed it in the same bowl. on day eight is when I realizeI wasn't doing it right, then I started using clean bowls. Its still fermenting, should I start over from at the beginning or keep going until something happens?
Chula King says
Lorraine,
Unless the starter has turned a pink color and smells bad, it should be fine
Karen Todd says
I started mine yesterday. It is already bubbling away. I have a son-in-law that loves sour dough. Can't wait for him to try it. Thanks for a well set out, easy to follow recipe.
Chula King says
WOW - that's awesome that the starter is already bubbling away. It's pretty amazing to watch isn't it?
Anonymous says
You can use the starter you remove after a few days if nice and bubbly for things like pancakes. Check it out.
Anonymous says
Im so impressed by your beautifully organized and set up of your notes. You make it easy for others to follow. Thank you very much and will try to make this as soon as I have time.
PudgeFactor says
It's actually a lot of fun watching the sourdough starter "come to life"! It just takes a bit of patience. Hope your's turns out well.