
Easy Garlic Knots made in a food processor are truly pizzeria-quality. This recipe uses simple pantry staples and the power of your food processor to create a soft, fluffy dough that's perfect for these delicious garlic knots. This recipe is ideal for busy weeknights, Italian dinners, or any time you want a fantastic roll.

Jump to:
Why You'll Love This Simple Recipe
- Quick and Easy: The food processor does most of the work in this recipe meaning that no kneading is required.
- Homemade Taste: This recipe allows you to produce homemade garlic knots from scratch rather than using pre-made dough. The result is fresher and more flavorful garlic knots.
- Versatile: Garlic knots can be served as an appetizer, side dish, or snack and pair well with a variety of Italian dishes and dipping sauces.
- Crowd-Pleasing: Who doesn't love crowd-pleasing garlic knots? This easy recipe is sure to impress family and friends.
Ingredients - Here's What You'll Need for the Dough
Garlic knots are traditionally made using pizza dough, and this recipe is no exception.

- The Flour: Bread flour forms the foundation for the dough used in this recipe.
- The Flavorings: I used granulated sugar and Kosher salt in this recipe. The granulated sugar adds flavor to the dough and "feeds" the yeast. The salt also adds flavor. In addition, it controls the yeast fermentation and strengthens the gluten in the dough.
- The Liquids: I used filtered water and olive oil for this dough. The water hydrates the flour. The olive oil adds flavor and also helps make the dough softer, more pliable, and easier to work with.
- The Yeast: To me, yeast is a magical ingredient. It ferments the sugars in the dough, producing carbon dioxide bubbles that cause the dough to rise and become light and airy. Also, as the yeast ferments, it produces the distinctive flavor of homemade bread.
Making the Dough - Step-by-Step
I like to use my food processor to make this dough because its so effortless.
- I started by adding the bread flour, sugar, and yeast to the bowl of my food processor fitted with the steel blade. Then, I pulsed the ingredients five times to combine them.

- Then, with the food processor running, I removed the plunger and added the water. I processed the ingredients until the dough was just combined and no dry flour remained about 10 seconds. I let the shaggy dough rest for 10 minutes.

- After the 10-minute rest, I turned on the food processor. With it running, I added the salt and olive oil through the feed tube. I let the food processor run until a satiny dough formed, about 30 seconds.

- I transferred the dough to a container and coated the dough in olive oil. Then, I covered the container in plastic wrap and let it rise in a warm location for about 45 minutes.

That's it for the dough! How easy is that?
Making the Garlic Knots
For the garlic knots, I used the dough described above, unsalted butter, fresh garlic, Kosher salt, and Italian seasoning.

- I started by transferring the dough to a floured surface. I cut the dough into 16 pieces. Each piece weighed roughly 1.13 ounces.

- I took each piece of dough and rolled it into a rope that was approximately 9 inches long.

- Then, I "tied" the rope into a knot, tucking the ends into the center of the knot.

- I placed eight of the dough knots on a silicone-lined half-sheet pan. I covered the pan and put it in a warm location to allow the knots to rise. Since I wasn't feeding a crowd, I froze the other knots for later use.

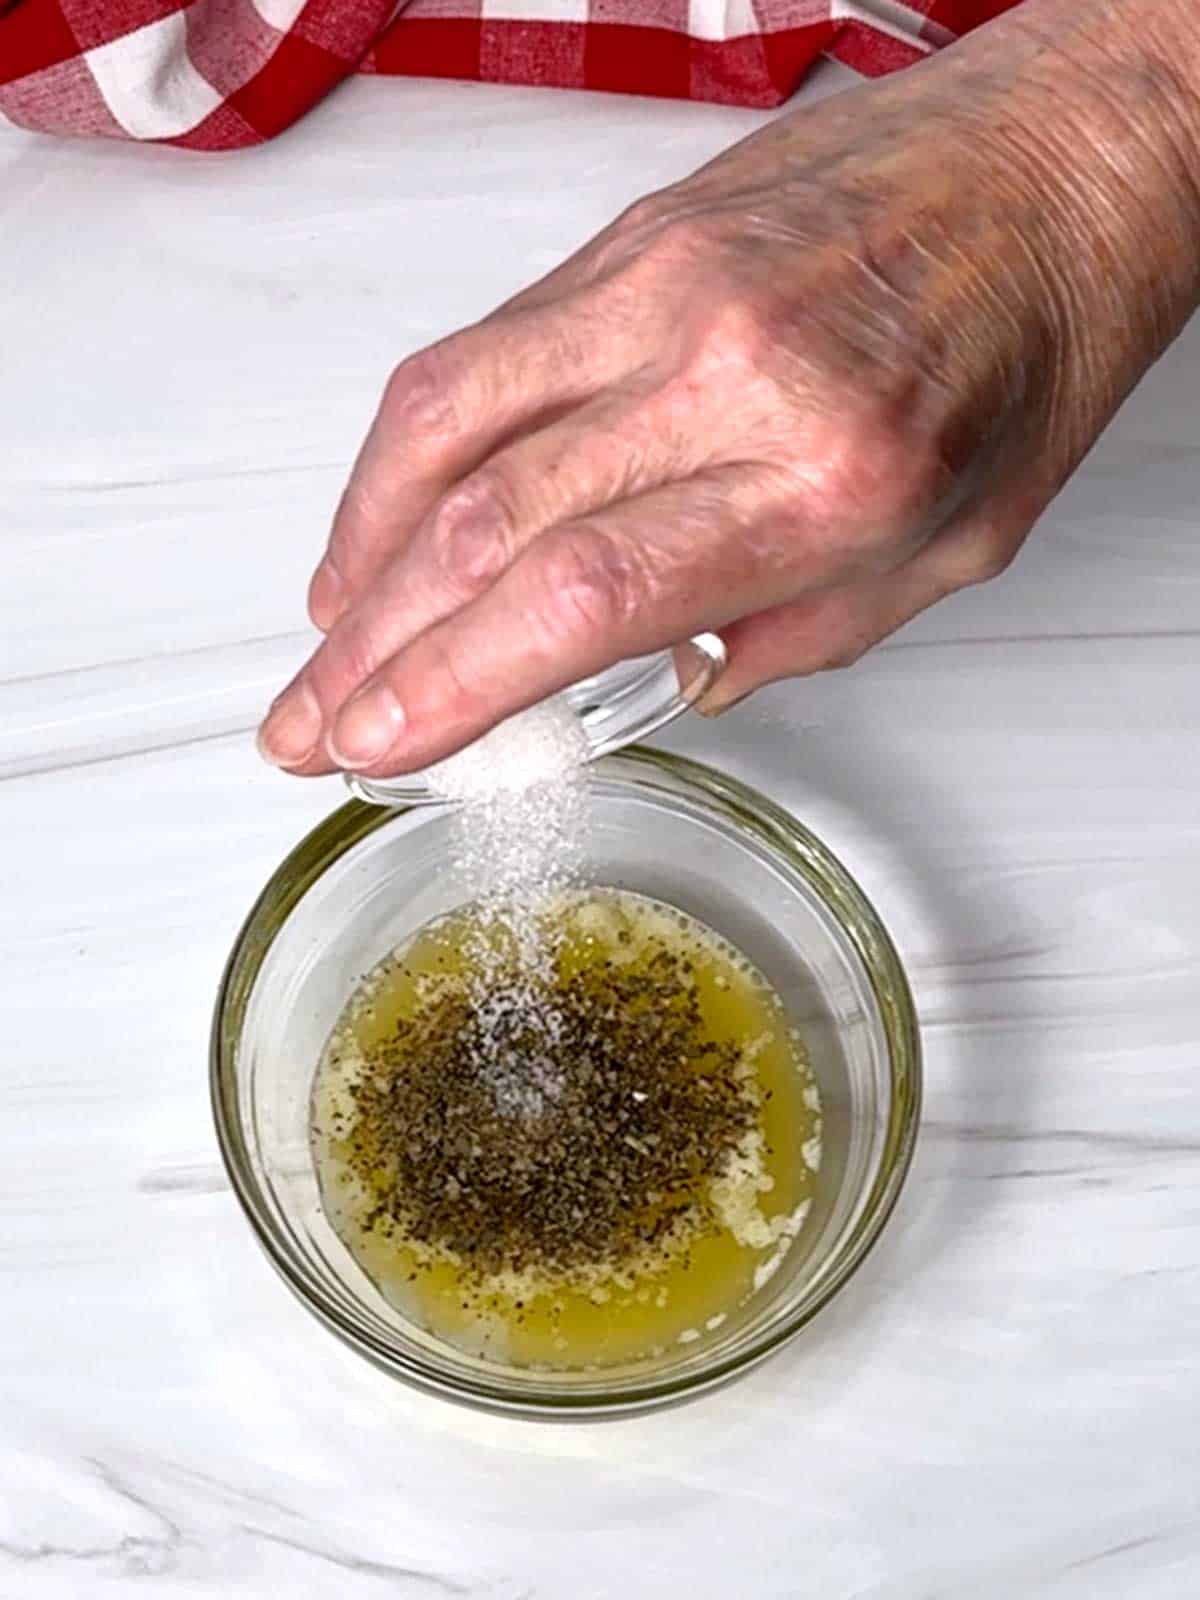
- While the knots were rising, I made the garlic butter. I started by melting the butter with the garlic added. I let this sit for about 10 minutes to allow the garlic flavor to infuse into the butter.
After 10 minutes, I poured the butter through a wire mesh strainer to remove the pieces of garlic and added the salt and the Italian seasoning.
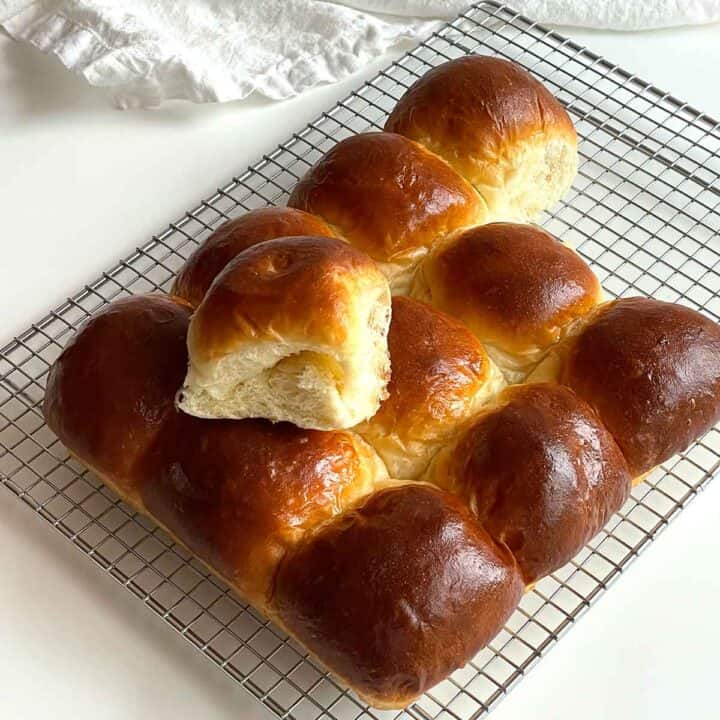
- After 45 minutes, the knots had doubled in size and were nice and puffy. I brushed each of the knots with the garlic butter and baked them in a preheated 375°F oven for 20 minutes.

- After 20 minutes, the garlic knots were golden brown and perfectly done. I removed them from the oven, and brushed the garlic knots with some more garlic butter.

So there you have it - a simple, foolproof way to make delicious garlic knots at home using a food processor! These soft, buttery knots are the perfect accompaniment to any Italian meal or even just as a tasty snack.
The food processor makes quick work of the dough, and the garlic-infused butter topping takes the garlic knots over the top. Yum!

Frequently Asked Questions
After I formed the knots, but before letting them rise, I placed the knots on a parchment-lined baking sheet and put it in the freezer. Once the knots were frozen, I placed them in a freezer Ziploc bag, pressed as much air as possible from the bag, and stored the knots in the freezer. They can keep for up to three months.
I thaw the frozen knots and let them come to room temperature. Then I let the knots rise, brush them with garlic butter, and bake the garlic knots as described above.
In addition to freezing the formed knots, the dough can be made ahead of time and refrigerated overnight. This allows for a slow rise of the dough. Also, the baked garlic knots can be frozen for up to three months.
I like to serve the garlic knots with either pizza sauce or marinara sauce. You could also serve them with ranch dressing or cheese sauce.
You can sprinkle the tops of the garlic knots with Parmesan or mozzarella cheese.
You can use a bread machine to make this dough. You could also use a stand mixer.
Recipe Tips and Tricks
- This is a tried and true recipe for garlic knots. To ensure the turn out perfectly for you, weigh your ingredients. The weights are included in the recipe below.
- I always use instant or bread machine yeast in this recipe and in other yeast bread recipes. Instant or bread machine yeast does not require proofing like active dry yeast does.
- I use filtered water for the dough. The reason is that tap water contains chlorine which can retard the yeast growth and sometimes actually kill the yeast. You could, however, also use club soda, which works really well in this recipe.
- I recently got a new oven that has a built-in proof function. This is what I use for the warm location for the rising. Before I got the new oven, I used Julia Child's method of turning the electric oven for precisely one minute and 45 seconds and then turning the oven off. This warms the oven just enough to create the perfect proofing environment.
- This dough recipe also makes delicious breadsticks!
- For a real treat, serve these garlic knots with my homemade spaghetti meat sauce with Italian sausage.
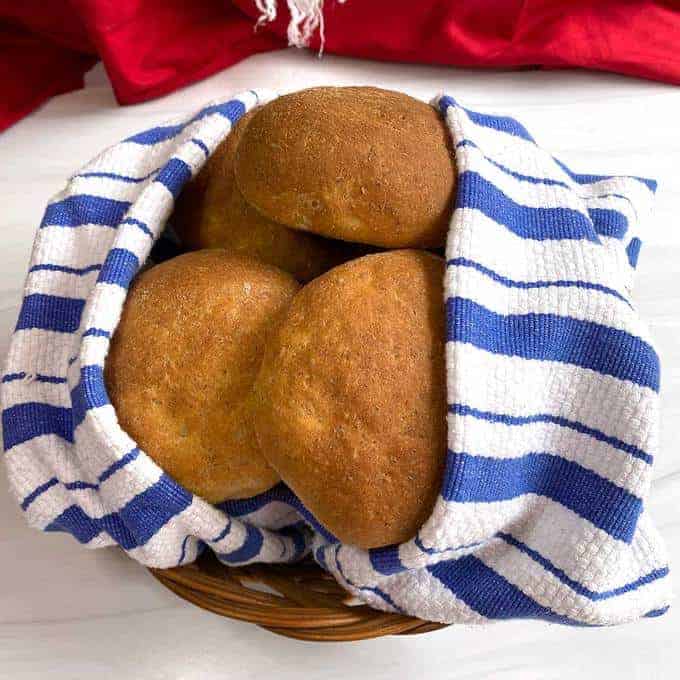
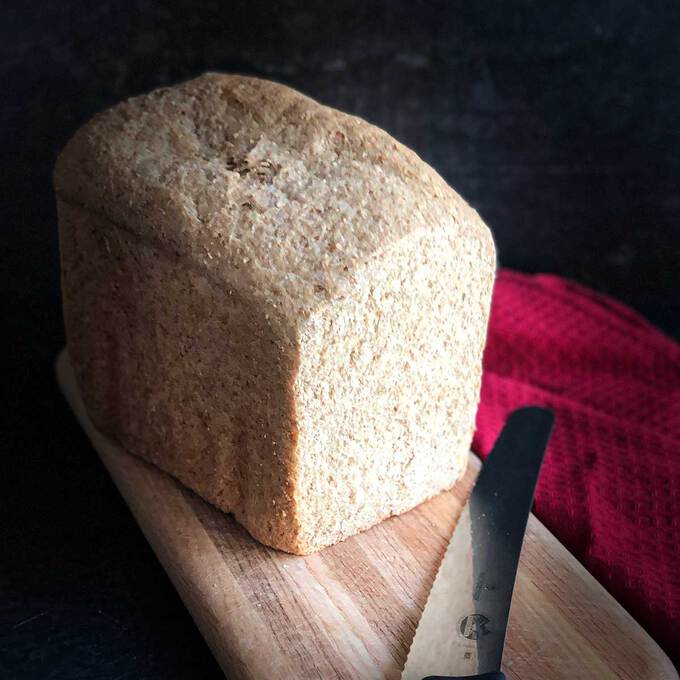
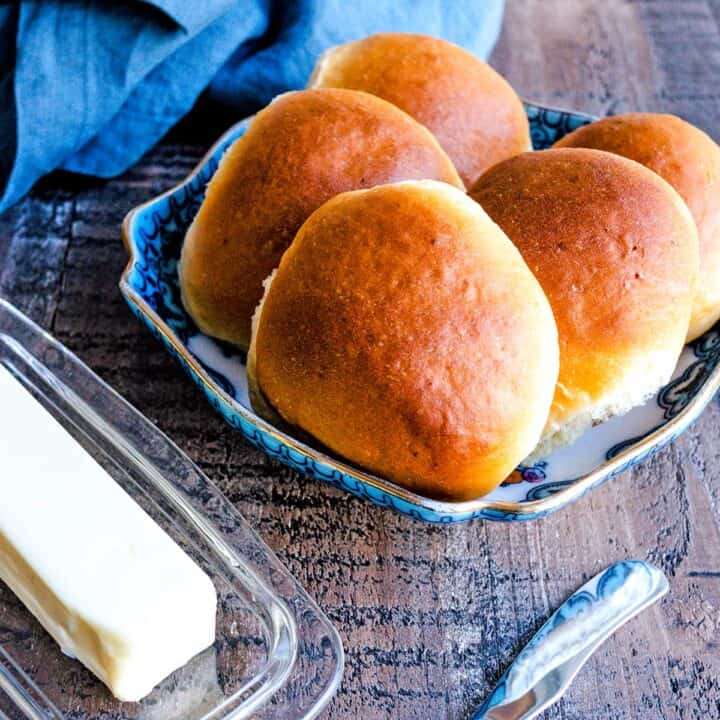
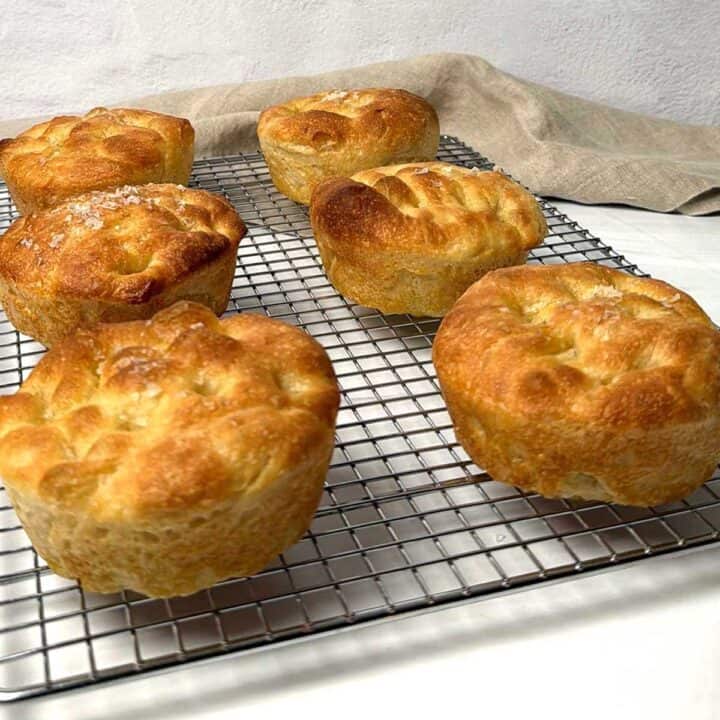
Other Yeast Breads
One of my favorite things to make is bread. To me, yeast is magical. Here are some of my favorite yeast bread recipes.


Did you make this recipe? We'd love to know how it turned out! Leave a review below. Then, share a picture on Instagram and tag @pudgefactor so we can see it.
Don't forget to follow us on Pinterest, Facebook, YouTube, Flipboard, and Instagram.
Thank you so much for visiting PudgeFactor. We hope you'll come back!
Recipe
Want to Save This Recipe?
Enter your email & I'll send it to your inbox. Plus, enjoy weekly doses of culinary inspiration as a bonus!
By submitting this form, you consent to receive emails from Pudge Factor.

Easy Garlic Knots
Equipment
- Food Processor with Steel Blade
Ingredients
Dough
- 2 cups plus 2 tablespoons (11 ounces, 316bgrams) bread flour
- 1 Tablespoon (0.44 ounces, 12 grams) granulated sugar
- 1 ⅛ teaspoons instant yeast (See Tip 1)
- ¾ cup (6 ounces, 177 ml) filtered water (See Tip 2)
- ¾ teaspoon Kosher salt
- 1 Tablespoon olive oil, plus 1 tablespoon more to coat the finished dough
Garlic Knots
- 18 ounces pizza dough (from above)
- ¼ cup (½ stick, 2 ounces) unsalted butter
- 2 cloves garlic, minced
- ¼ teaspoon Kosher salt
- ¾ teaspoon Italian seasoning
Instructions
Dough
- Add bread flour, sugar, and yeast to the bowl of a food processor fitted with a steel blade. Pulse 5 times to combine.
- Remove the feed plunger. With the food processor running, slowly add the water through the feed tube; process until the dough is just combined and no dry flour remains for about 10 seconds. Let the dough rest for 10 minutes.
- With the food processor running, add the salt and one tablespoon of olive oil through the feed tube. Process until the dough forms a satiny, sticky ball that clears the sides of the food processor, about 30 seconds.
- Transfer the dough to a container; coat in remaining olive oil. Cover and let rise in a warm location until double in size, about 45 minutes. (See Tip 3)
- Yield: 18 ounces of dough.
Garlic Knots
- Transfer the dough to a floured surface. Cut it into 16 pieces, roughly 1.13 ounces each. Take each piece of dough and roll it into a rope approximately 9 inches long. Tie the rope into a knot, tucking the ends into the center of the knot. Place 8 knots on a silicone-lined baking sheet. Cover and let rest in a warm location until doubled in size, about 45 minutes. Repeat with the remaining dough. (See Tip 4)
- While the knots are rising, melt the butter with the minced garlic. Let sit for 10 minutes to allow the garlic to infuse into the butter. Pour butter through a wire mesh strainer to remove the garlic bits. Add the salt and Italian seasoning to the garlic-infused butter. Set aside.
- Preheat oven to 375°F.
- Once the knots are puffy, brush with garlic butter. Bake in 375°F oven for 20 minutes or until golden brown. Remove from the oven and brush with additional garlic butter.
- Yield: 16 garlic knots.
Video
Tips/Notes
- Use either instant or bread machine yeast in this recipe because either can be added directly to the ingredients. Active dry yeast must be proofed before adding it to the other ingredients.
- Use filtered water in this recipe. The reason is that tap water contains chlorine that can retard the growth of the yeast and even kill the yeast if the concentration is too high.
- You can store the dough in a Ziploc bag and refrigerate it overnight if desired. Remove from the refrigerator. Allow to come to room temperature and proceed as above.
- Once formed, the dough knots can be frozen and stored in the freezer for up to three months. Remove them from the freezer, allow them to thaw and come to room temperature, and proceed as above.


Leave a Reply