Easy Cheesy No-Knead Mini Focaccia is a small batch focaccia recipe that is huge on flavor and texture. It requires minimal preparation and no special bread-making equipment like stand mixers or bread machines. This recipe adds shredded mozzarella cheese and Parmesan cheese to the top, resulting in irresistible, crunchy, crispy, cheesy goodness.

As soon as I saw this amazing homemade focaccia bread recipe on the King Arthur Baking site, I knew that I had to try making it. The result was awesome! Read on.
Jump to:
Why You’ll Love This Recipe
With so many reasons to love it, Easy Cheesy No-Knead Mini Focaccia is sure to become your new go-to recipe! Here are a few reasons.
- No-Knead Magic: If you’re like I am, you do not like messy kneading yeast dough. This recipe solves that. After stirring the dry ingredients and wet ingredients together, all that is required is a simple stretching and folding technique to develop the gluten.
- Small-Batch Convenience: This easy focaccia recipe is perfect for solo snacking or impressing small crowds without leftover worries.
- Cheesy Goodness: Who can resist the crispy, crunchy goodness of cheese in every bite, with easy customization of your favorite cheeses?
- Impressive Meal Side: Pair this cheesy focaccia bread with soups, salads, or main courses for a show-stopping side dish.
Ingredients – Here’s What You’ll Need
This recipe uses only a handful of simple ingredients that you probably have on hand.

- Flour: This recipe uses bread flour because of its high protein content. The high protein content helps in the important gluten formation.
- Additions to the Flour: Only two flour additions are required – fine sea salt and instant or bread machine yeast.
- Liquids: For the liquids, I used filtered water and olive oil
- Cheeses: I opted for shredded, low-moisture shredded mozzarella cheese, and freshly grated Parmesan cheese.
Forming the Focaccia Dough
No stand mixer or bread machine is needed in this recipe. Only two simple steps are required.
- I started by whisking the bread flour, salt, and yeast in a medium bowl. I used a Danish Dough Whisk, but you could use a regular whisk or a fork to combine flour, salt, and yeast.

- Then, I added the water and olive oil to the flour and yeast mixture. I used the whisk to combine the ingredients into a shaggy dough ball. This took about a minute.
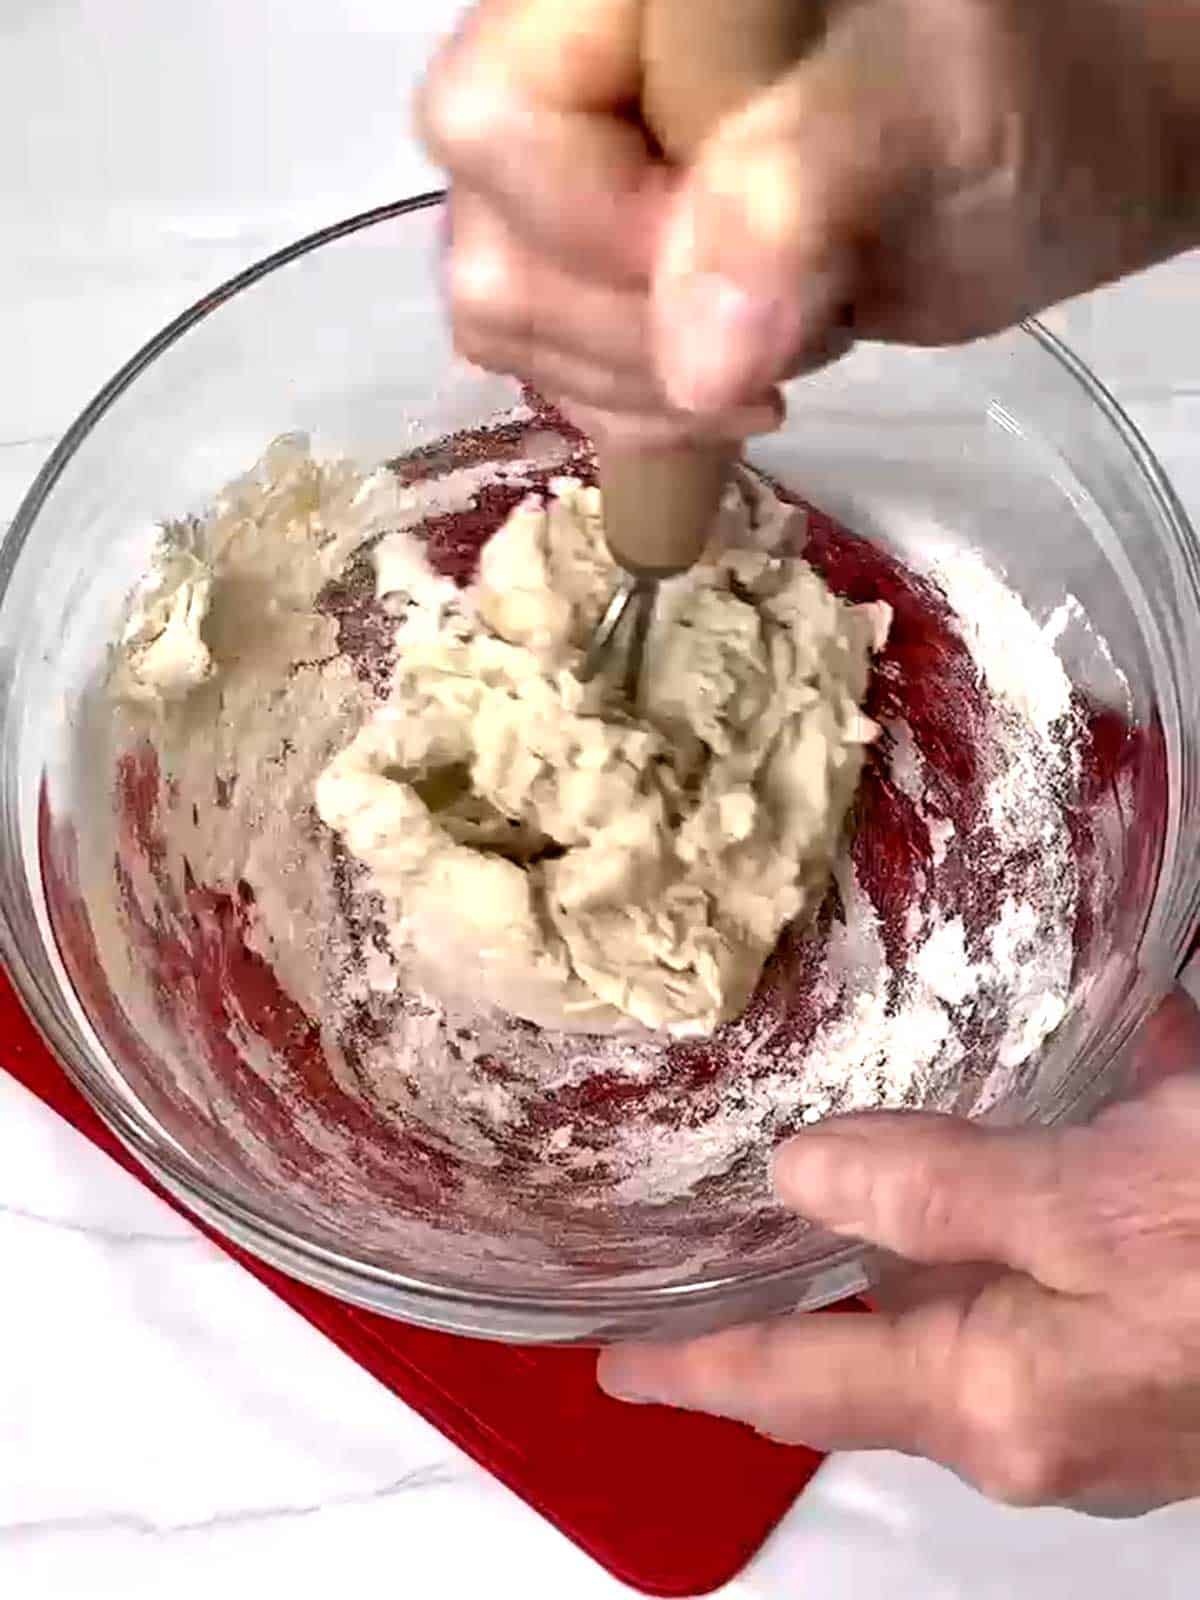
That’s it for making the focaccia dough!
Stretching and Folding the Dough
As I previously indicated, this easy recipe does not require the traditional kneading of the dough. Rather, it utilizes a stretching and folding technique to build structure and achieve the signature airy crumb. It also encourages the dough to spread evenly and maintain its shape during baking.
After allowing the dough to rest covered with plastic wrap in a warm place for 15 minutes, I gently grabbed a portion of the dough near the edge of the bowl with a wet hand and stretched it upwards and outwards. I could have also covered the dough with a clean kitchen towel.

Then, I folded the stretched dough over and onto the dough in the center of the bowl.

I turned the bowl a quarter turn and repeated the stretching and folding another three to five times.
Then, I covered the dough with plastic wrap and let it rest in a warm location for another 15 minutes.
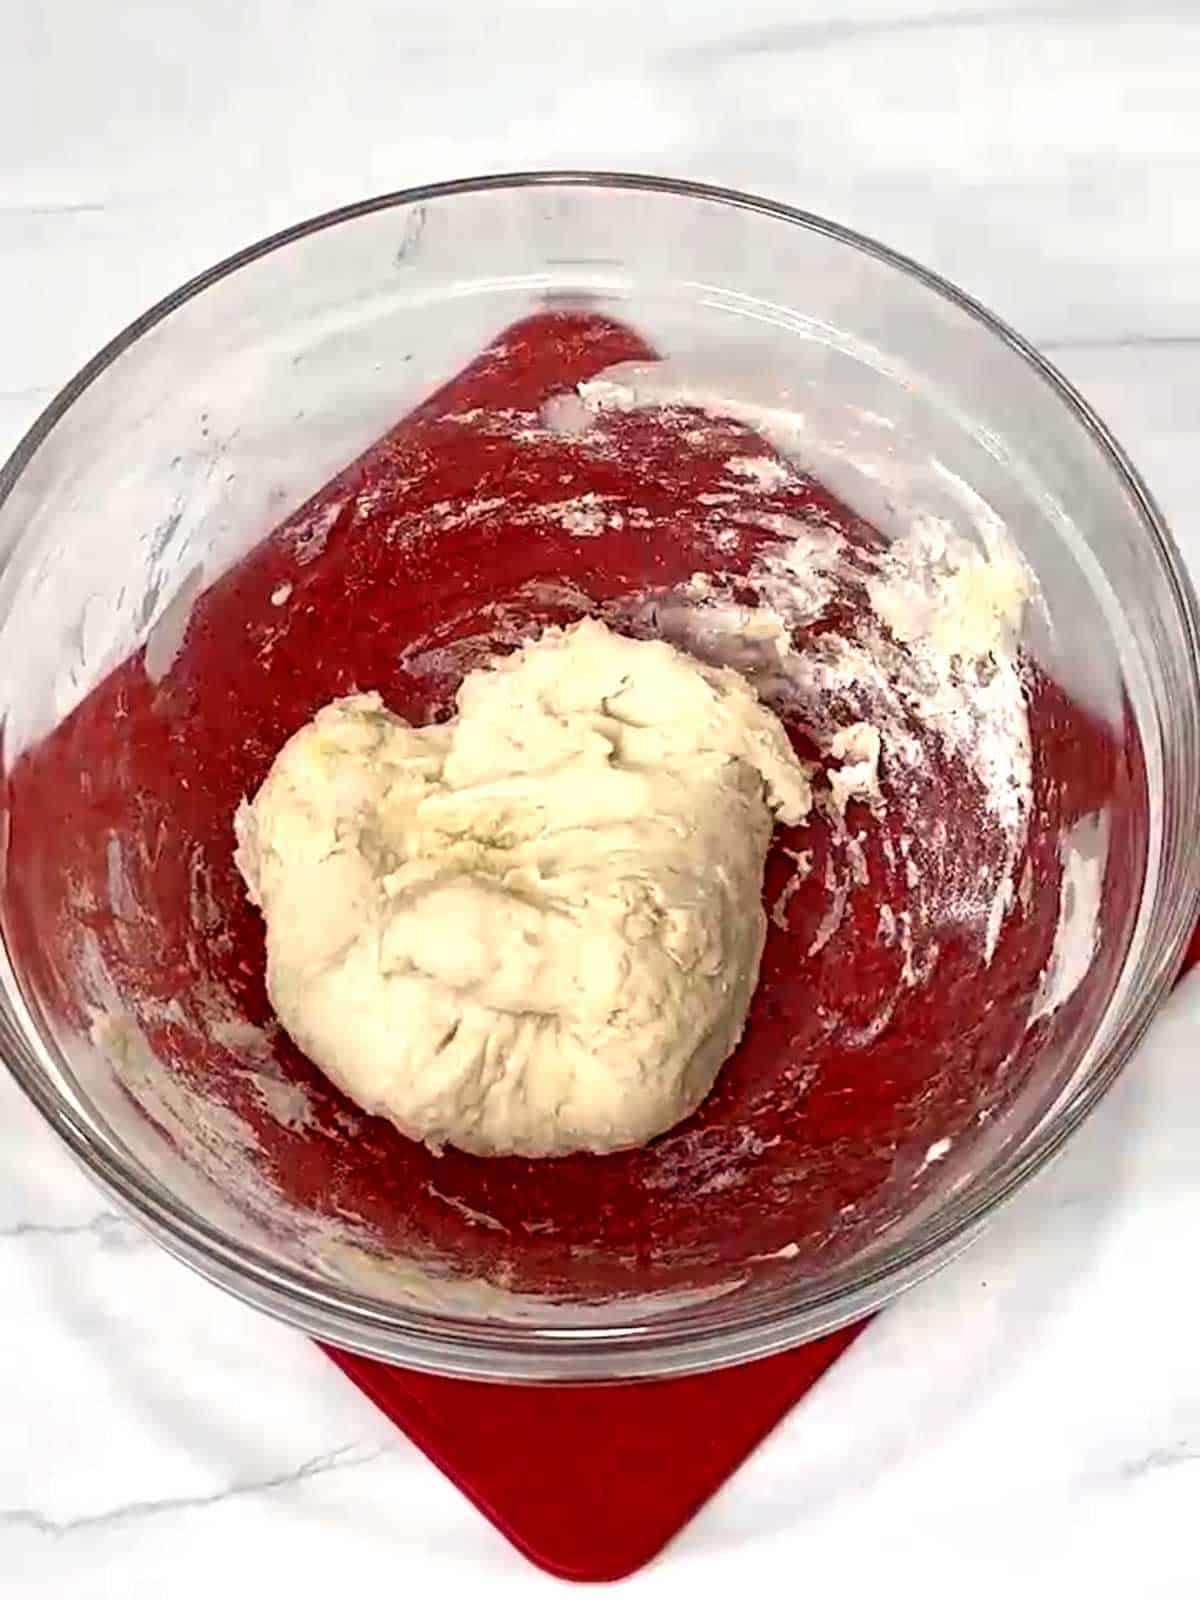
After 15 minutes, I repeated the series of stretching and folding the dough for the second time.

I covered the dough and placed it in my oven on the proofing setting for an hour and 30 minutes for the first dough rise. If you don’t have a proofing setting on your oven, just select a warm spot for the dough.
Forming the Mini Focaccia
After allowing the dough to sit covered in a warm location, it hadn’t quite doubled in size but was puffy.
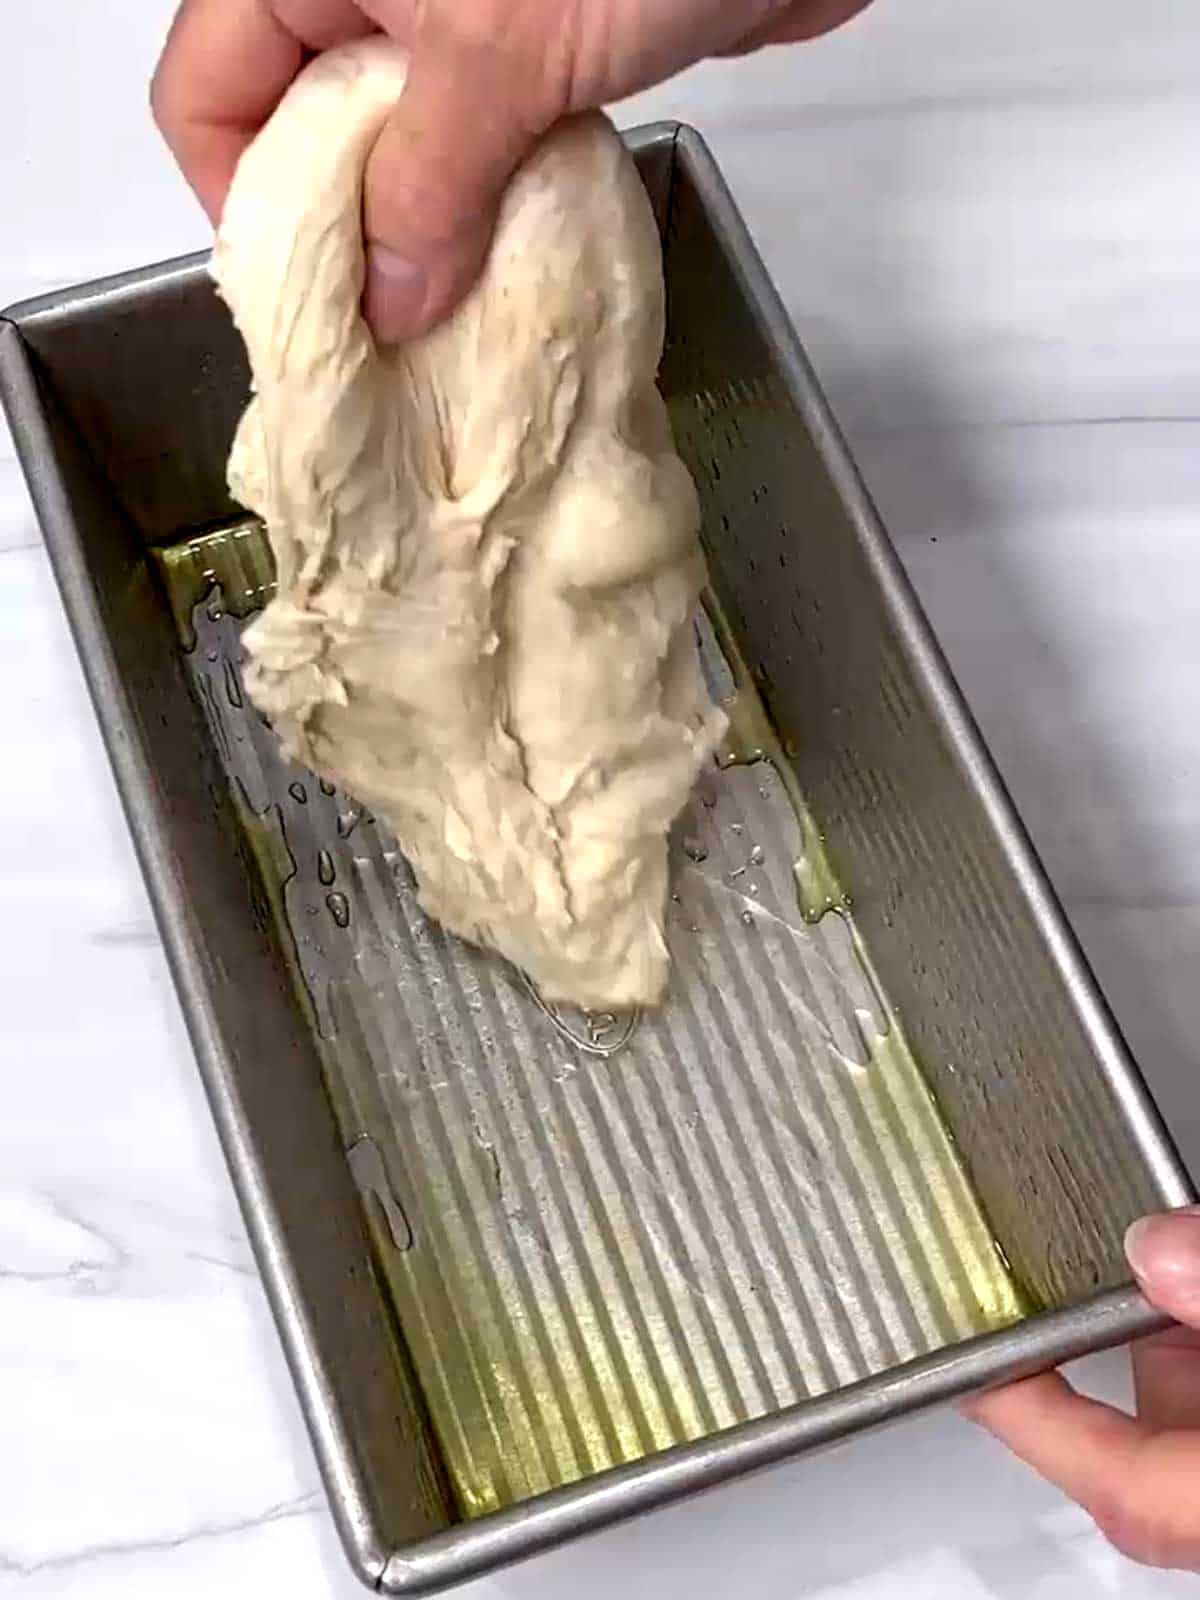
I brushed the bottom and sides of a metal 9 x 5-inch loaf pan with olive oil.

Then, I transferred the dough to the loaf pan and turned it over to coat it in olive oil.
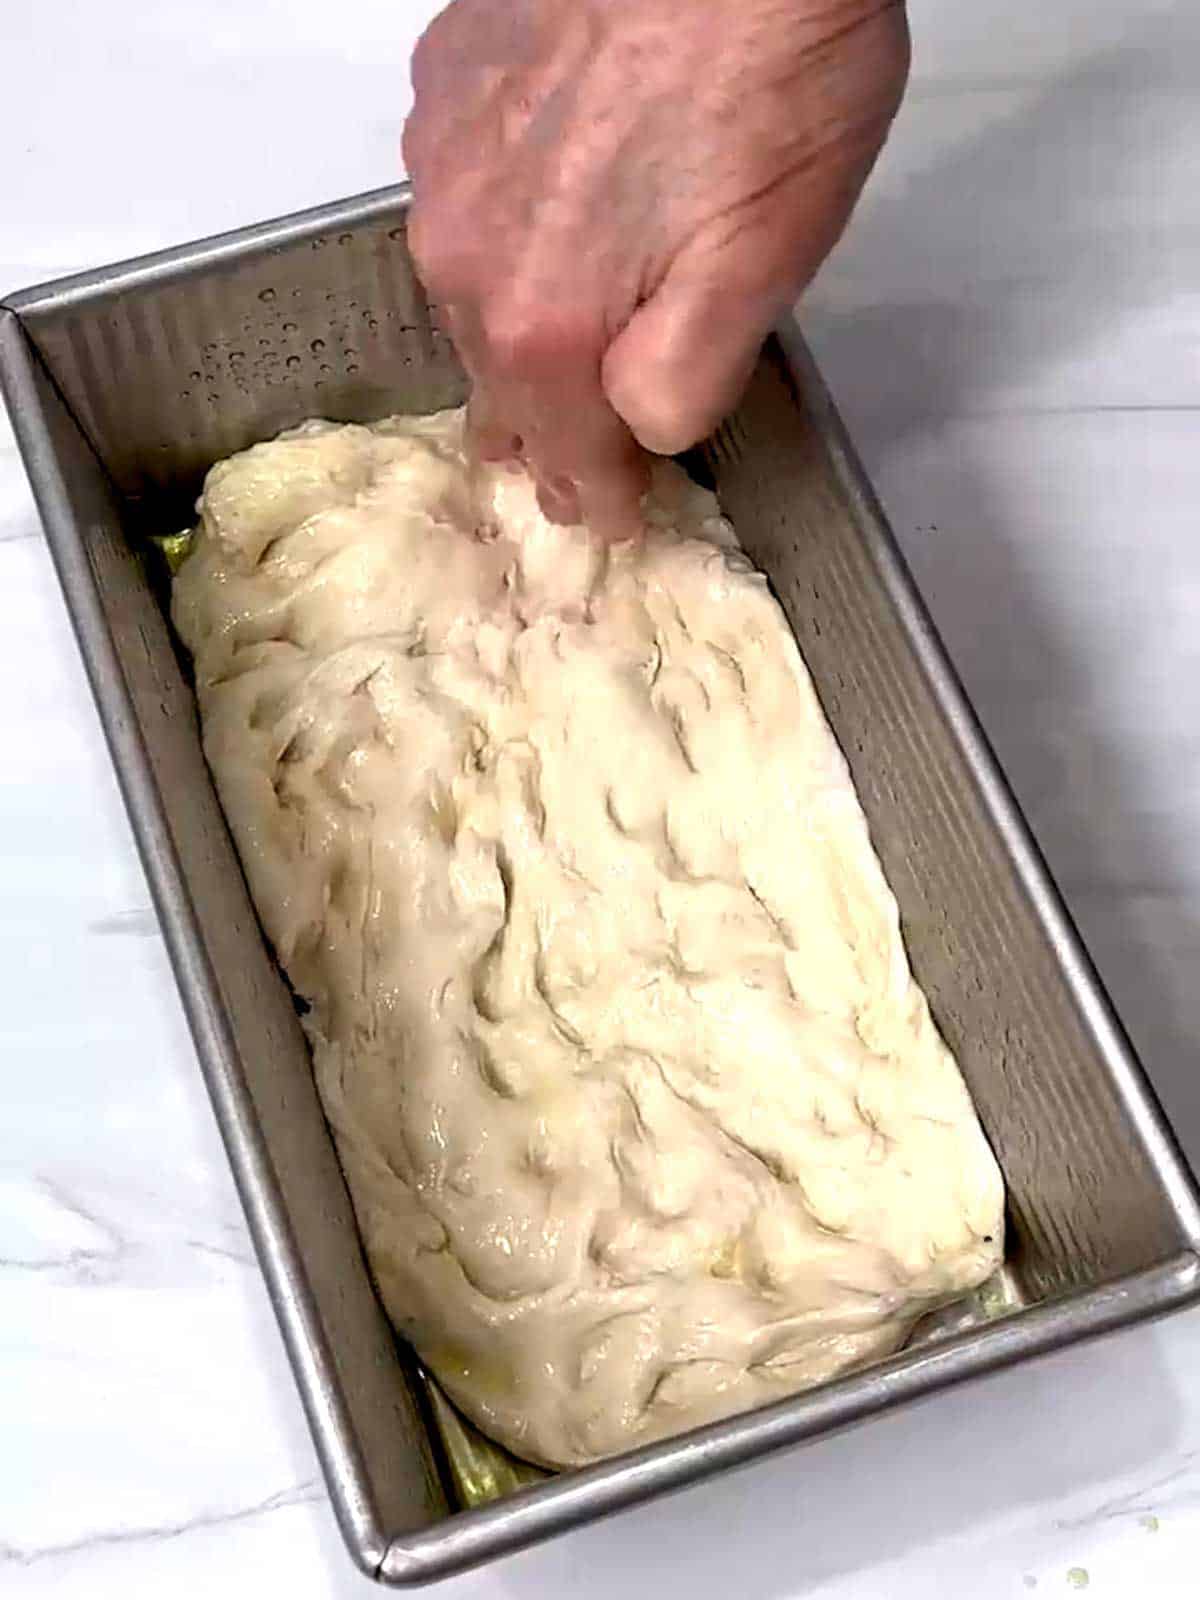
Using my fingertips, I gently pressed and stretched the top of the dough to dimple it and cover the bottom of the pan.
I covered the loaf pan and placed it in my oven on the proof setting for the final rise.
After an hour and 15 minutes, I removed the focaccia from the oven but kept it in a warm location for another 45 minutes for its continued rise.
Then, I placed an inverted large cast iron skillet on the bottom shelf of the oven. I used my cast iron skillet as a make-shift baking steel.
I turned my oven on to 500°F and let it heat for 45 minutes.
Baking the Mini Focaccia
After allowing the oven to heat at 500°F for 45 minutes, it was time to bake the focaccia.

I uncovered the focaccia, turned the oven temperature down to 450°F, and placed the loaf pan on the inverted cast iron skillet.
I let the focaccia bake at 450°F for 10 minutes. Then, I removed the focaccia from the oven to sprinkle cheeses on the top. Specifically, I sprinkled the mozzarella cheese and Parmesan cheese on top around the sides of the pan.
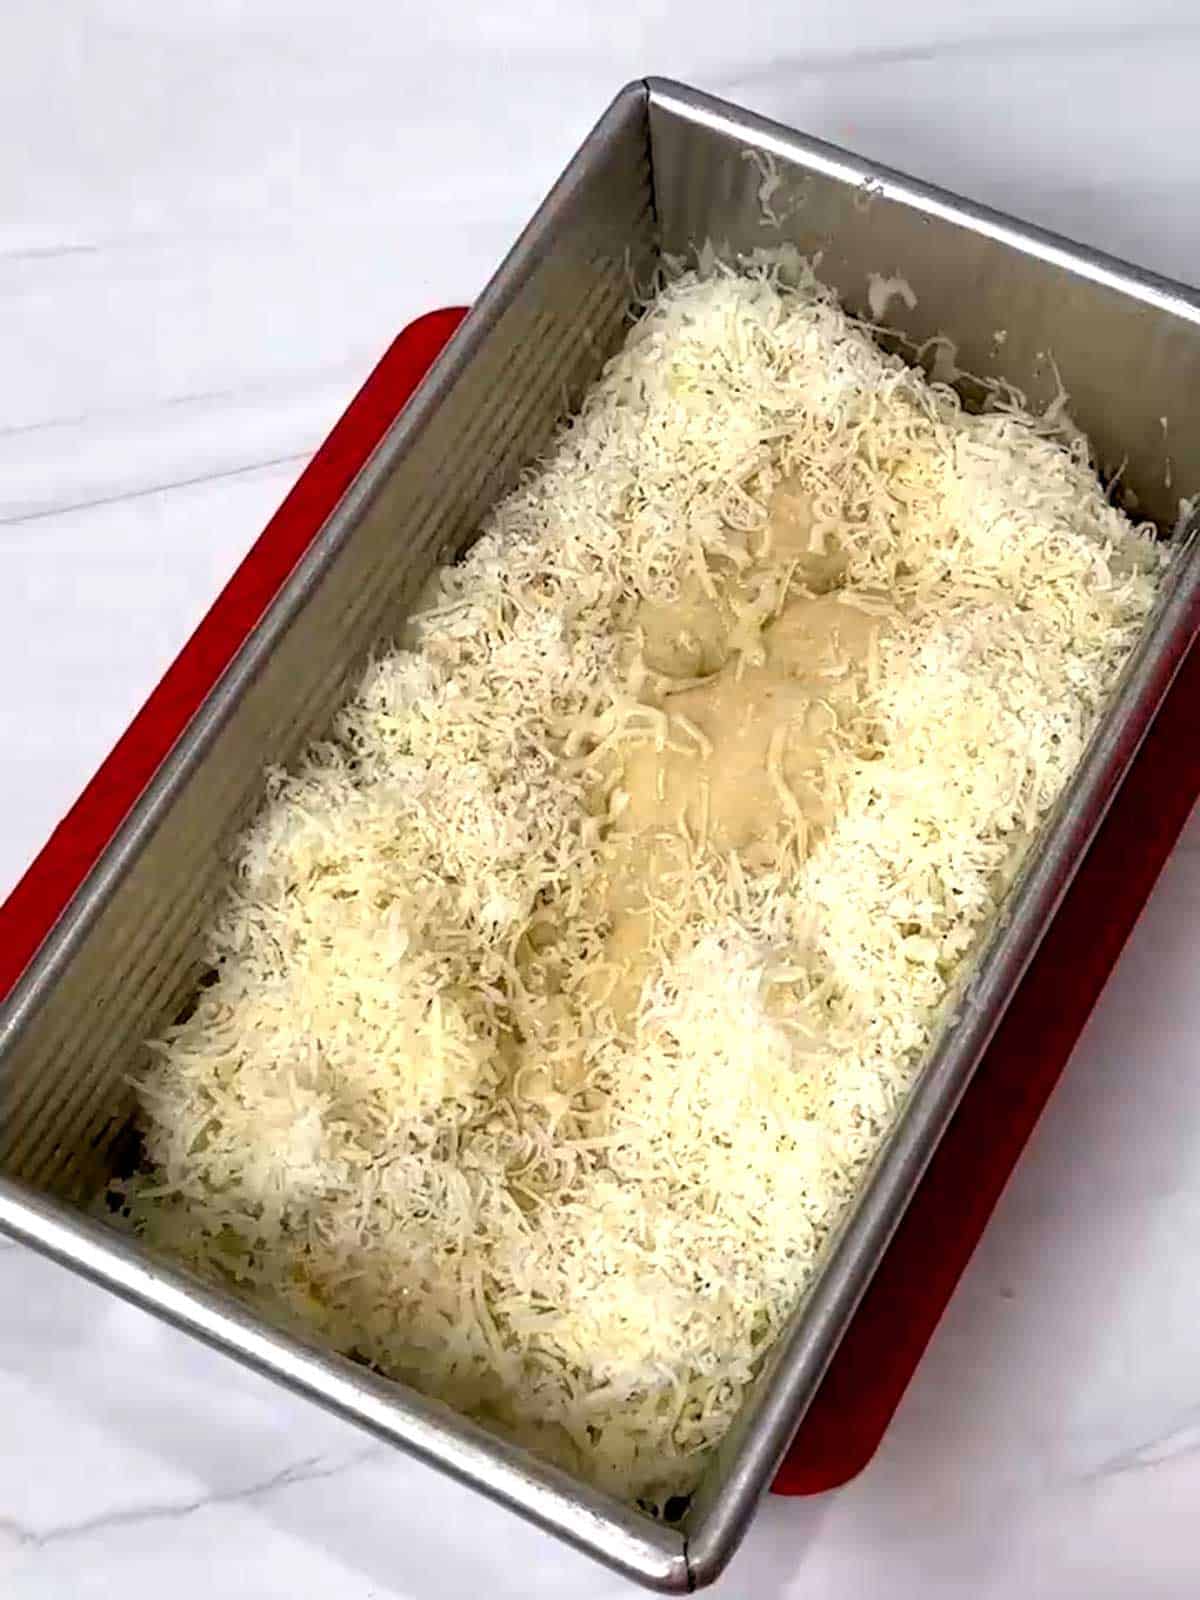
I returned the focaccia to the 450°F oven for another 12 minutes. After 12 minutes, the cheeses were melted, and crispy, and the focaccia was golden brown.
I removed the focaccia from the oven and ran a spatula around the pan’s edges to loosen the sides of the focaccia.
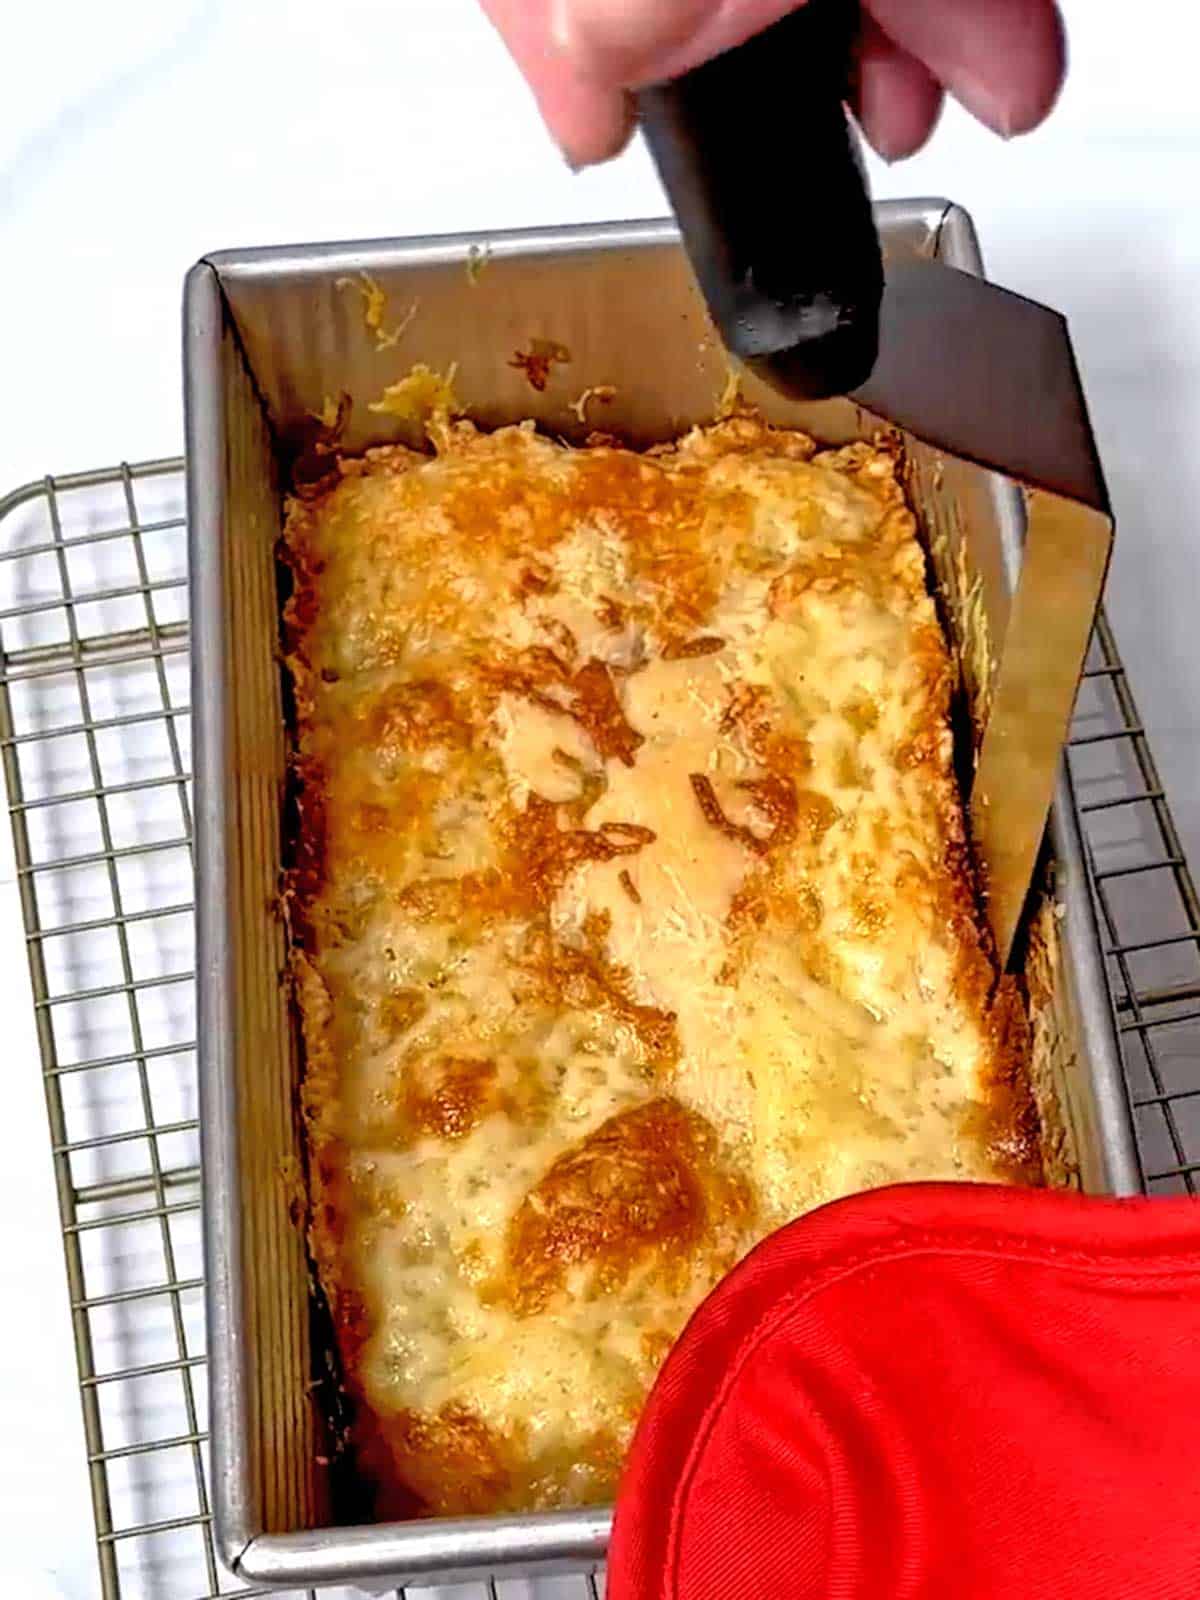
I let the focaccia rest in the pan for about five minutes. Then, I removed the focaccia from the pan and placed it on a wire rack to allow it to cool.
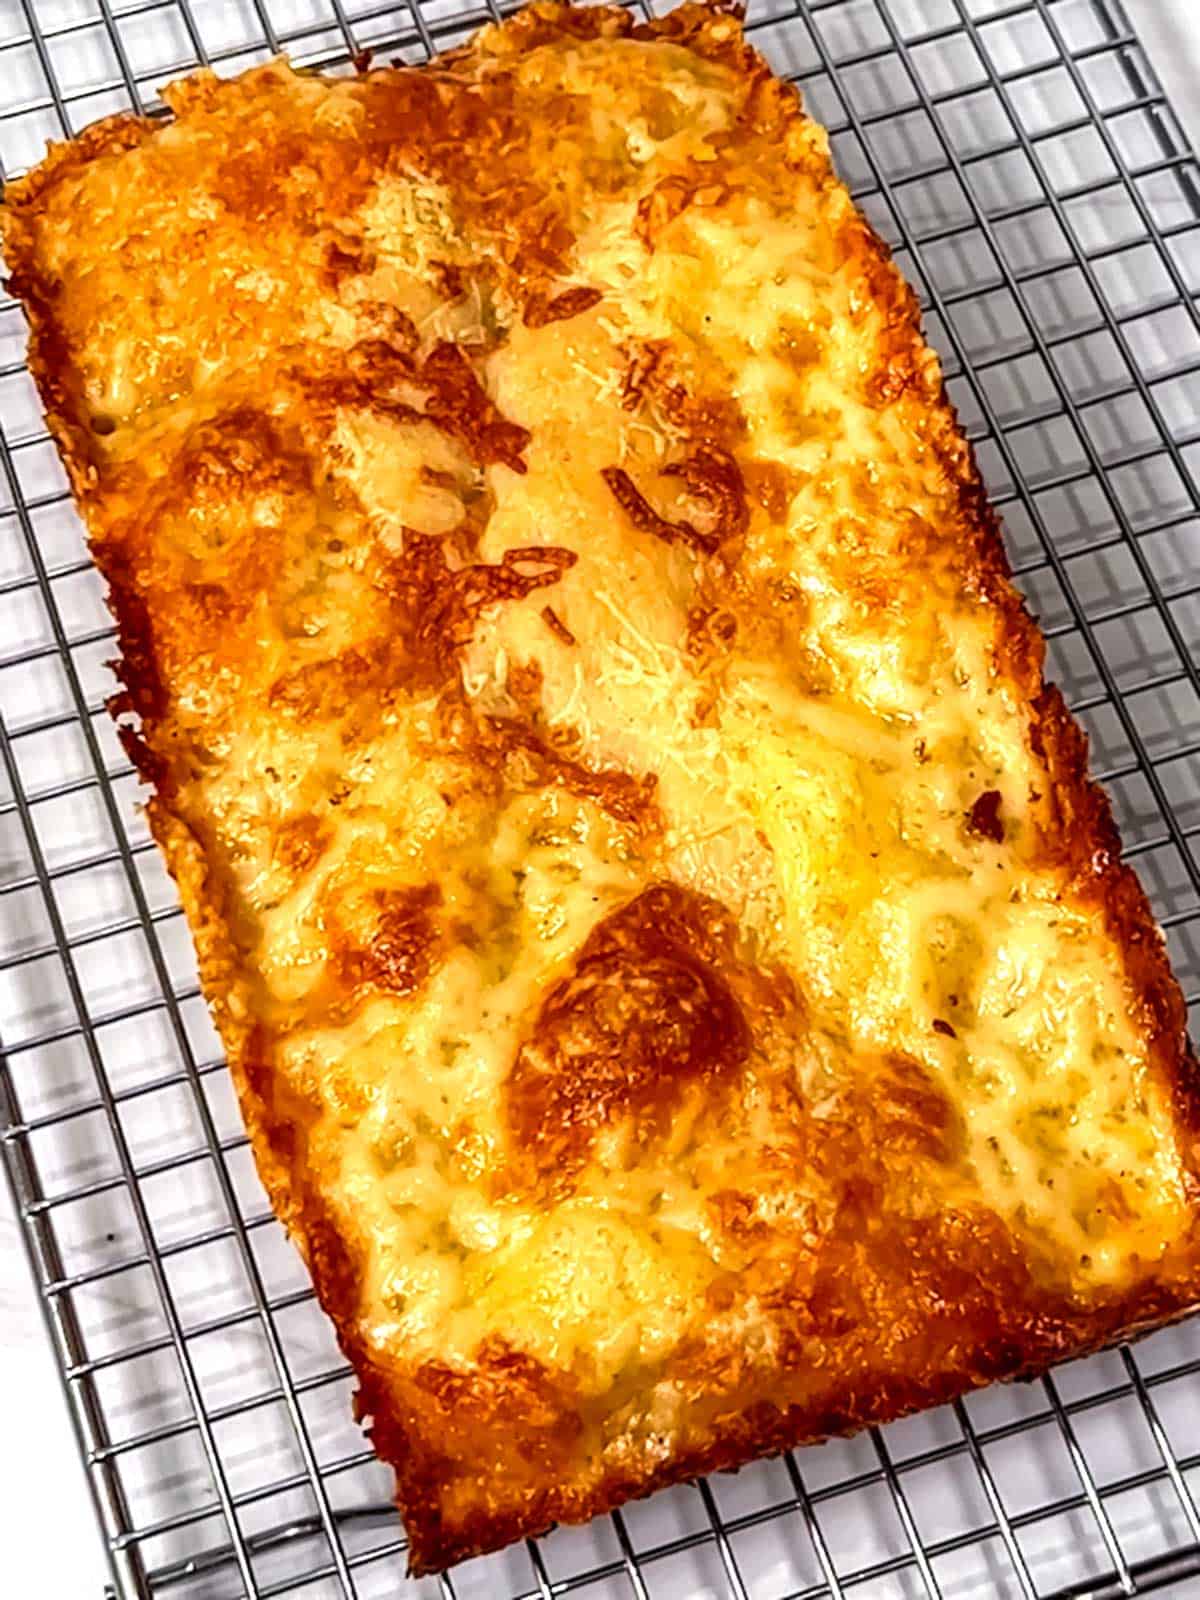
This Easy Cheesy No-Knead Mini Focaccia was beyond amazing. The crispy, crunchy edges from the cheeses were as delicious as they looked in the photograph!
The thin, golden crust had a satisfying crunch and slight chew, and the interior was soft and moist—a perfect little loaf of focaccia.

Forget about store-bought bread. This amazing Easy Cheesy No-Knead Mini Focaccia has huge flavors in a tiny package.
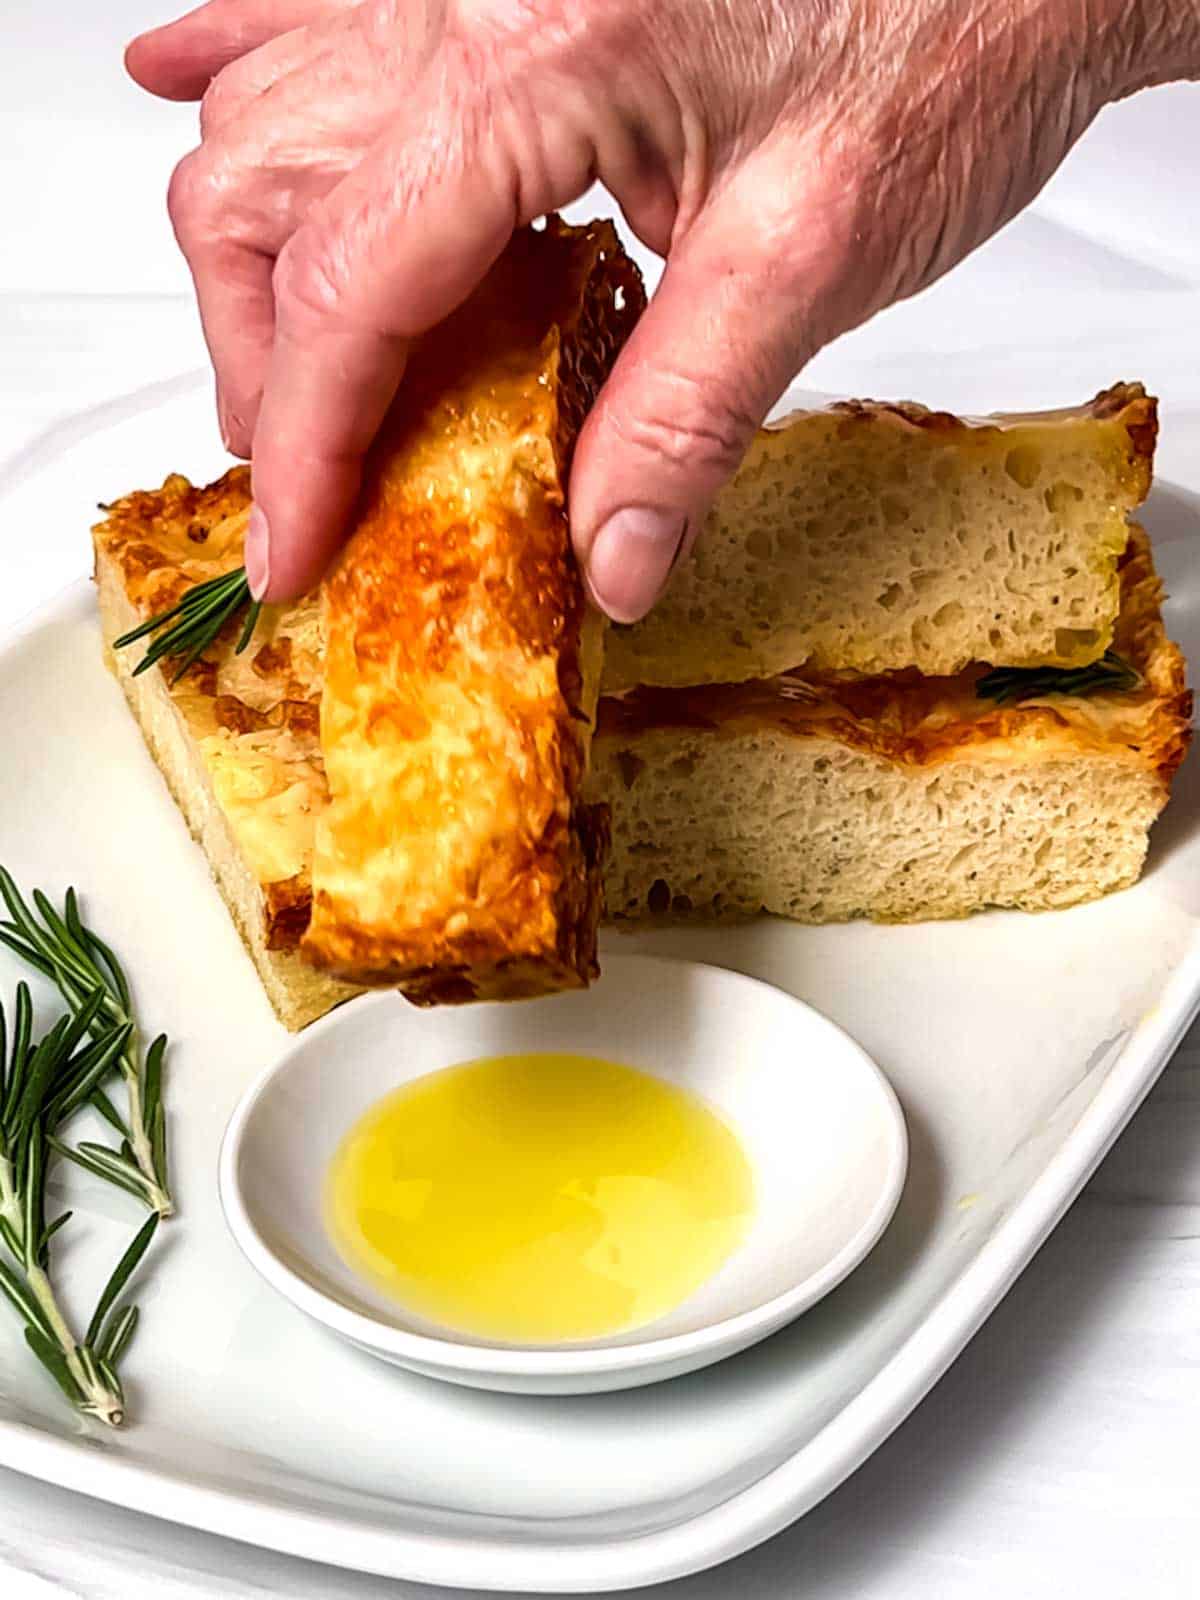
Add a drizzle of olive oil, dip the focaccia in olive oil or enjoy it on its own. You won’t believe how good it is. Yum!
Frequently Asked Questions
Active dry yeast can be used, but it must be activated first. To activate the active dry yeast, mix it with warm water with a pinch of sugar before adding it to the dough. Allow it to foam before proceeding.
You can shorten the first rise, but it’s best to let the second rise happen fully for optimal texture and flavor.
A different size of baking dish can be used. Specifically, you can use an 8 ½ x 4 ½-inch loaf pan. Size of your pan will impact the height of the cooked focaccia.
I sometimes substitute Monterey Jack cheese for mozzarella cheese. You can also substitute any good melting cheese in this recipe.
The cheese provides a delicious crispness to the cheese focaccia bread. However, feel free to omit the cheese and experiment with different toppings such as fresh herbs, sun-dried tomatoes, caramelized onions, black olives, garlic, grape tomatoes, etc. You can even sprinkle on maldon sea salt flakes or Italian seasoning for an added treat.
For best results, enjoy the cheesy focaccia on the day it’s baked. Store leftovers in an airtight container at room temperature for up to 2 days; to reheat, wrap in foil and place in a low-temperature (300°F) oven until warm.
Recipe Tips and Tricks
- Weigh your ingredients to ensure perfect results every time. If you don’t have a kitchen scale, get one. They are inexpensive – I use mine daily!
- Focaccia dough typically has a higher water content than most bread doughs. This creates a light, airy crumb with plenty of space for those signature dimples. Don’t be afraid of sticky dough. It helps to use wet hands to handle the dough.
- Don’t skimp on the salt. Salt enhances the flavor.
- A scorching hot pan is crucial for a beautifully browned crust and crispy bottom. Don’t just preheat the oven; preheat your baking stone or baking steel. If you don’t have a baking stone or steel, use an inverted cast iron pan like I did. It works beautifully!
- Drizzle the focaccia generously with olive oil before and after baking. The oil adds flavor, creates a crispy crust, and helps prevent dryness. Use good quality extra virgin olive oil for the best taste.
Other Amazing Yeast Bread and Roll Recipes
Yeast breads and rolls are among my favorite things to make. To me, yeast is magical. Here are some delicious bread recipes.
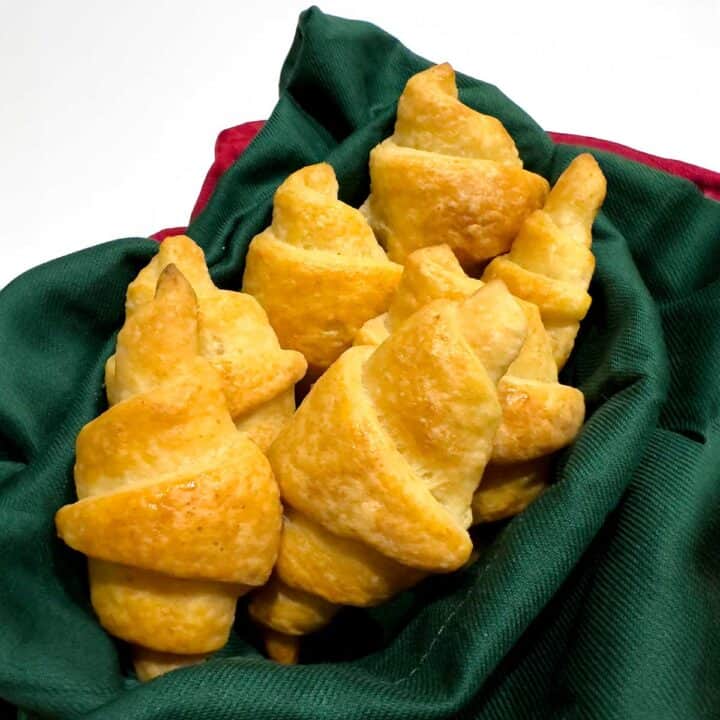
- Flaky Buttery Homemade Crescent Rolls (Food Processor)
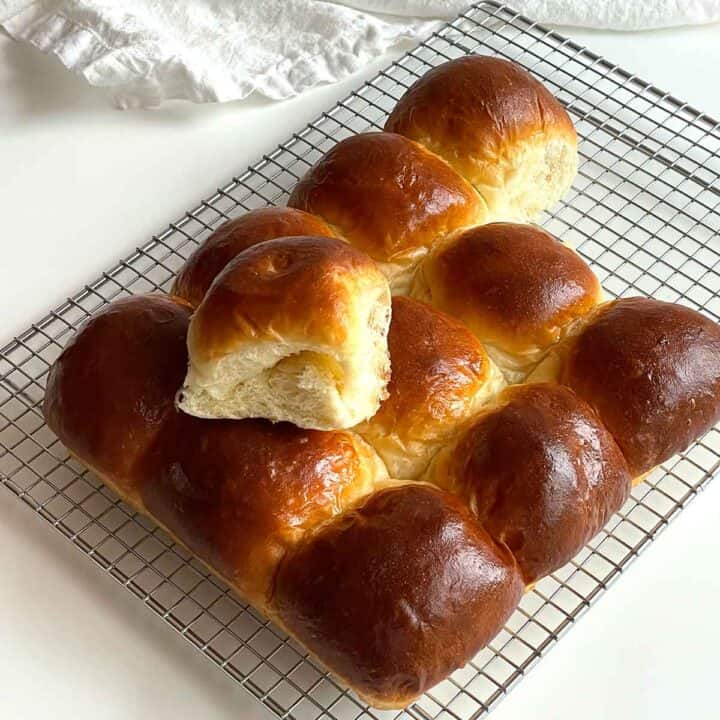
- Brown and Serve Dinner Rolls-Bread Machine
- Homemade Crusty French Bread Rolls (Bread Machine)
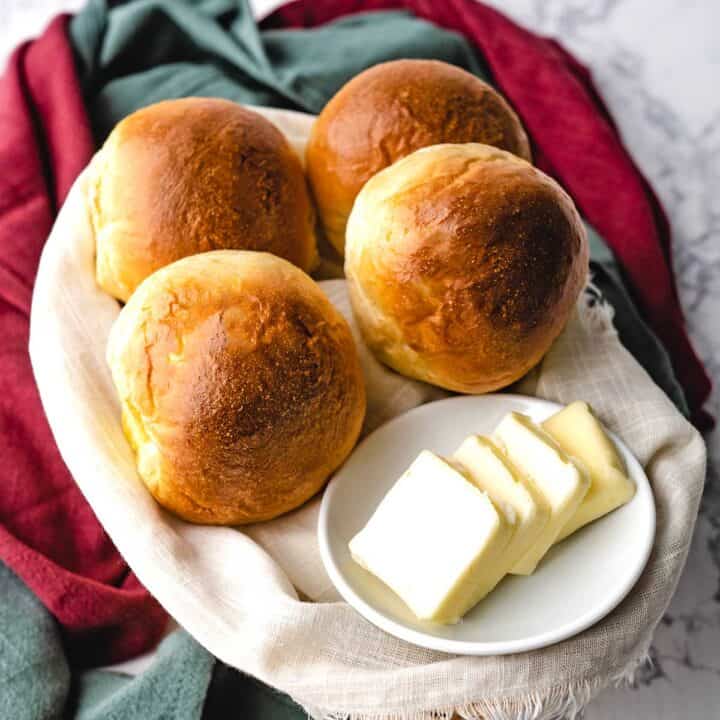
- Milk Bread Rolls
- Amish Potato Rolls (Bread Machine)
- Oat Rolls (Bread Machine)
- 10-Grain Whole Wheat Bread (Bread Machine)
- Best Homemade Crusty French Bread – Bread Machine
I hope you liked this Easy Cheesy No-Knead Mini Focaccia recipe as much as I do. If so, please consider rating it and leaving a comment. Also, if you’d like to receive notifications of new posts by email, enter your email address in the Subscribe box.
Thank you so much for visiting Pudge Factor. I hope you’ll come back!
Recipe
Want to Save This Recipe?
Enter your email & I’ll send it to your inbox. Plus, enjoy weekly doses of culinary inspiration as a bonus!
By submitting this form, you consent to receive emails from Pudge Factor.

Easy Cheesy No-Knead Mini Focaccia
Ingredients
- 120 grams (4.23 ounces, ¾ plus 1 ½ tablespoons) bread flour
- ½ teaspoon fine sea salt or table salt
- ½ teaspoon instant or bread machine yeast
- 3 ½ teaspoons olive oil, divided
- 85 grams (3 ounces, ¼ cup plus 2 tablespoons) lukewarm filtered water
- 57 grams (2 ounces, ½ cup) shredded low-moisture mozzarella cheese (See Tip 1)
- 28 grams (1 ounce, ¼ cup) freshly grated Parmesan cheese
Instructions
- Whisk together the bread flour, salt, and yeast in a medium bowl. Add water and 1 ½ teaspoons of olive oil. Mix until well combined and a shaggy dough forms.
- Cover the dough and let sit in a warm location for 15 minutes. Apply the stretching and folding technique: Use a wet hand to grab a section of dough from one side, lift it up, and then press it down into the middle. Give the bowl a turn and repeat 3 to 5 times until you’ve circled the dough and it’s become resistant to stretching. Cover the bowl and let sit in a warm location for 15 minutes.
- Apply the stretching and folding technique again: Use a wet hand to grab a section of dough from one side, lift it up, and then press it down into the middle. Give the bowl a turn and repeat 3 to 5 times until you’ve circled the dough and it’s become resistant to stretching. Cover the bowl and let sit in a warm location for 1 hour and 30 minutes.
- Brush the bottom and sides of a 9 x 5-inch metal loaf pan with the remaining 2 teaspoons of olive oil. Transfer the dough to the pan and turn it once to coat in oil. (See Tip 2)Gently press and stretch the dough, using your fingertips to dimple the surface and cover the entire bottom of the pan.Cover the dough and let it rest in a warm location for 2 hours or until the dough is visibly puffy and has filled the pan.
- In the last 45 minutes of the rise time, preheat the oven to 500°F with a baking stone or steel on the bottom rack. (See Tip 3)
- Turn the oven temperature down to 450°F. Bake the focaccia for 10 minutes on the baking stone or steel until it turns golden on top. Carefully remove the focaccia from the oven and sprinkle the mozzarella cheese and Parmesan cheese on top of the dough, concentrating the cheese around the edges. Return to the oven for an additional 12 minutes or until the cheese is crispy and golden brown around the edges.
- Remove the focaccia from the oven and transfer it to a wire rack. Immediately run a thin knife or offset spatula around the edges of the pan to prevent the cheese from cooling and sticking to the sides. Let the cheesy focaccia cool for 5 minutes in the pan. Then carefully remove it from the pan and transfer the focaccia to a wire rack to cool for at least 20 minutes before slicing.
- Yield: One mini loaf of focaccia. (See Tip 4)
Video
Tips/Notes
- I like to shred my mozzarella cheese. I haven’t tried pre-shredded mozzarella cheese in this recipe, so don’t know how it would work.
- You can use an 8 ½ x 4 ½-inch loaf pan instead of the 9 x 5-inch loaf pan.
- I have both a baking stone and a baking steel. However, when I’ve used them, the Master Taste Tester complained about the smell. Therefore, I’ve used an inverted large cast-iron skillet instead of the baking stone or steel. It works like a charm.
- This focaccia is best eaten shortly after it comes out of the oven. However, once it reaches room temperature, it can be stored in an airtight container for several days. to reheat, wrap in foil and place in a low-temperature (300°F) oven until warm.



Leave a Reply