Homemade Yogurt is super simple to make and beneficial to one’s heath. In addition to its probiotic benefits, yogurt contains calcium, protein, potassium, phosphorus, and magnesium along with vitamins B6 and B12. The fermentation of milk and yogurt with live and active cultures requires precise temperature control making Sous Vide the perfect technique for making Yogurt.
Health Benefits of Yogurt
There are numerous health benefits of yogurt containing live and active cultures. One of the best known is its probiotic benefit. However, some yogurts contain starter bacteria, some contain probiotic bacteria, some contain both types, and some are processed at temperatures that kill the live and active cultures.
Starter bacteria includes Lactobacillus bulgaricus and Streptococcus thermophilus. Probiotic bacteria includes Bifidobacterium lactis, Lactobacillus casei, and acidophilus, among others.
The difference between starter bacteria and probiotic bacteria is that the latter are able to survive in the intestines. This enhances healthy gut bacteria and immune functions. Therefore, if you’re interested in your yogurt containing probiotic bacteria, make sure that your starter yogurt contains the right bacteria!

Why Sous Vide?
Yogurt’s fermentation process generally occurs between 95° F and 115° F. At the lower end of this temperature spectrum, the yogurt will take significantly longer to coagulate and not be as thick as one would like. At the higher end of the this temperature spectrum, the yogurt will coagulate much more quickly, but will likely curdle if left for too long. When left to ferment at its sweet spot of 110° F, the yogurt will perfectly coagulate in four to five hours and can be left for a longer period of time to produce more tang.
Outside of the 95° F to 115° F temperature spectrum, either the yogurt will fail to properly coagulate (less than 95° F), or its good bacteria will die leaving the way for bad bacteria to grow (greater than 115° F).
Therefore, proper temperature control is crucial in making yogurt. Because Sous Vide is built on precise temperature control, it is the perfect technique for making yogurt.
Ingredients and Special Equipment for Sous Vide Yogurt Fruit Cups
I used the following ingredients to make the Yogurt Fruit Cups: Whole milk, plain yogurt with live and active cultures (containing both starter bacteria and probiotic bacteria), and Simply Fruit. Rather than whole milk, I could have used low-fat milk or skim milk.

While I used strawberry Simply Fruit, I could have also used a different fruit and/or jam or preserves. The idea was to flavor the yogurt with something that I liked!
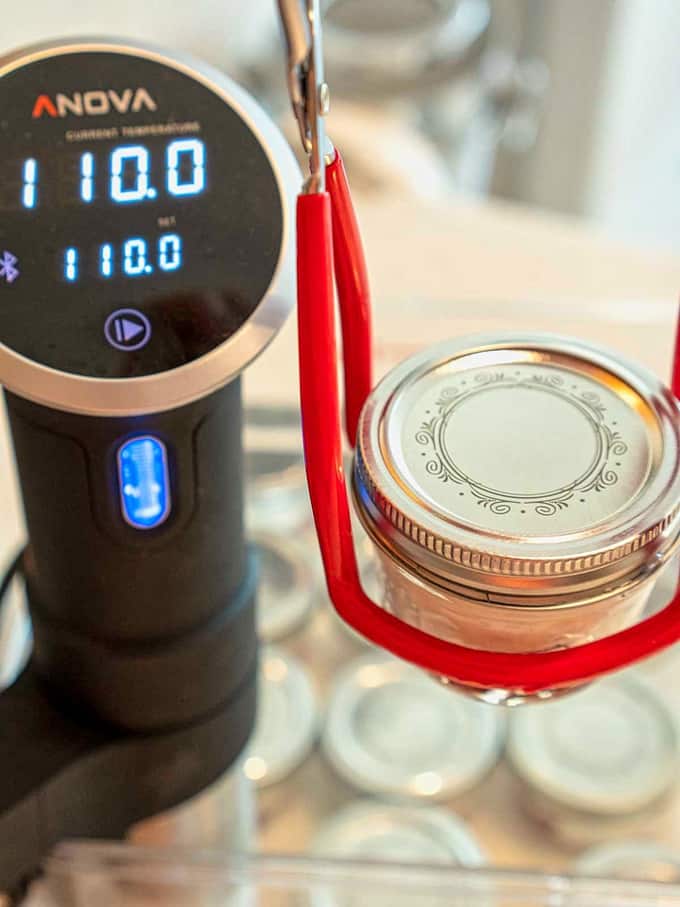
The key appliance for anything prepared utilizing the Sous Vide technique is an immersion circulator. An immersion circulator is an electrical appliance that is immersed in a container of water and circulates the water to achieve a consistent precise temperature. Mine is the Anova Culinary Precision Sous Vide Cooker.
Then you need something deep enough to allow the water to circulate. My container is the 12-quart Camware square polycarbonate food storage container.
As I’ll discuss in a minute, I also needed a thermometer and water-tight containers in which to actually make the yogurt. For the containers, I used 4-ounce mason jars with lids and bands.
Heating the Milk
I started by heating the milk to 185° F. While this step is not crucial, the heat actually alters the whey proteins in the milk and helps create a finer and more dense consistency in the yogurt.
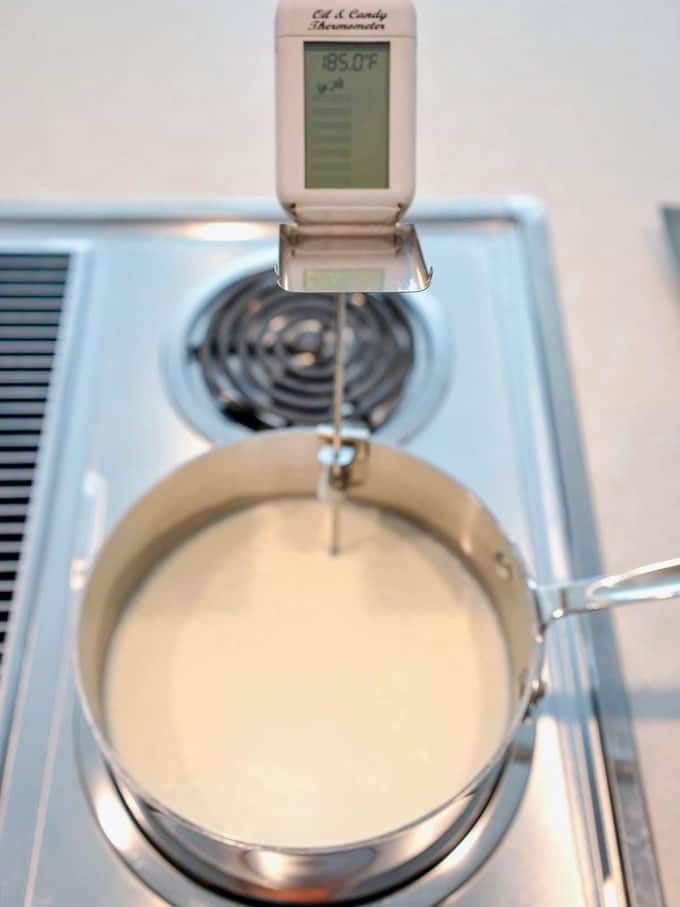
During this time, which took about 30 minutes, I stirred the milk occasionally to ensure that it didn’t form a film on the top. I could have put the heated milk in an ice bath to speed up the cooling.
Finishing the Sous Vide Yogurt Fruit Cups
While I was waiting for the milk to cool to 110° F, I added about a tablespoon of the Simply Fruit to the bottom of each of the 4-ounce mason jars that I had sterilized. I also, heated the water in my Sous Vide container to 110° F with the immersion circulator.
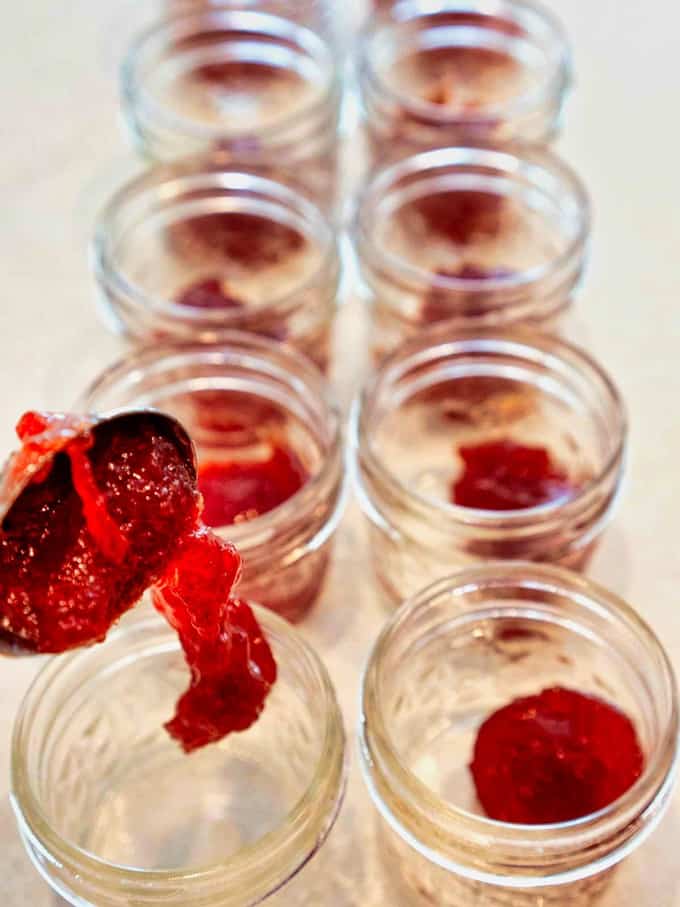
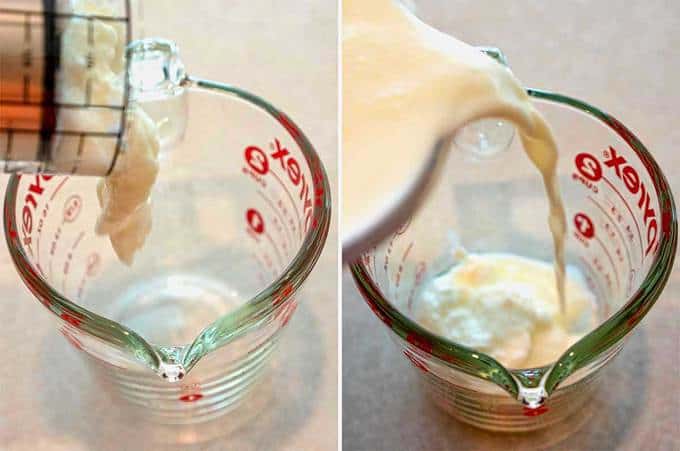
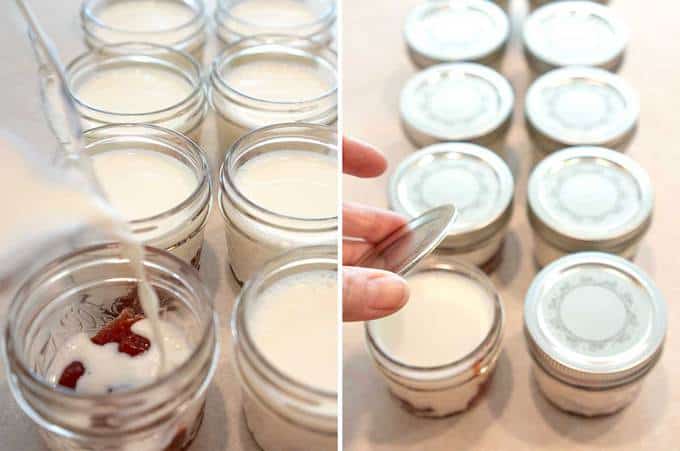
I removed the mason jars from the water and allowed them to cool for about 15 minutes. Before refrigerating the yogurt, I unscrewed each the lids and poured off the whey that had accumulated on top.

Recipe
Want to Save This Recipe?
Enter your email & I’ll send it to your inbox. Plus, enjoy weekly doses of culinary inspiration as a bonus!
By submitting this form, you consent to receive emails from Pudge Factor.

Sous Vide Yogurt Fruit Cups
Ingredients
- 3 ¾ cups (30 ounces) whole milk (See Note 1)
- ¼ cup (2 ounces) plain yogurt with live and active cultures (See Note 2)
- 10 Tablespoons Simply Fruit (See Note 3)
Instructions
- Heat milk to 185° F. Remove from heat; pour through fine wire mesh strainer into 4 or 8-cup measuring cup. Allow to cool to 110° F.
- Add enough water to container such that jars will be completely immersed. Using immersion circulator, heat water to 110° F.
- While milk is cooling, add a tablespoon of fruit to bottom of 10 4-ounce mason jars that have been sterilized.
- When milk reaches 110° F, about 30 minutes, add about ½ cup to ¼ cup of yogurt. Whisk to combine. Pour into remaining milk; whisk to combine.
- Pour milk mixture into mason jars with fruit plus additional mason jar with no fruit (this becomes the starter for your next batch). Screw on lids and bands; carefully lower into 110° F Sous Vide water bath. Heat for 5 hours and up to 24 hours. (See Note 4)
- Remove the yogurt cups from the water bath; allow to cool for 15 minutes. Remove the lids and carefully pour off any whey that has accumulated on the top. Return the lids; refrigerate for up to a week.
- Yield: 10 Sous Vide Yogurt Fruit Cups, plus additional container to use as starter for next batch. (See Note 5 for how to make Greek Yogurt)
Tips/Notes
- May also use 2% milk or skim milk.
- Many commercial yogurts are processed in such a way as to kill the live and active cultures. It's imperative that you use yogurt with live and active cultures for the starter. Therefore, be sure to check. Starter bacteria in yogurt includes Lactobacillus bulgaricus and Streptococcus thermophilus. Probiotic bacteria includes Bifidobacterium lactis, Lactobacillus casei, and acidophilus, among others. If you want the probiotic benefits be sure that your starter has probiotic bacteria!
- Use whatever fruit flavor you like. You can also use jam or preserves in place of the Simply Fruit.
- After 5 hours, the yogurt is properly coagulated and ready. However, if you prefer a more tart yogurt, leave it in the water bath for a longer period. The longer it sits in the water bath, the more tart it will become.
- The difference between regular yogurt and Greek yogurt is that Greek yogurt is strained through cheesecloth or a coffee filter to remove most of its liquid. This is what gives Greek yogurt its thicker consistency and stronger flavor compared to regular yogurt. If you'd rather make Sous Vide Greek yogurt, skip the fruit and place the milk with starter in larger sterilized jars. Heat as for regular yogurt. Line fine-mesh strainer with a double layer of cheesecloth or coffee filters and set over large bowl. Transfer completely cooled yogurt to prepared strainer; cover, and refrigerate until desired consistency is achieved. This could take 7 to 8 hours. Discard drained liquid.





Anna says
Please explain the pouring off of whey? Does this step then break the seal? How long is the yogurt good for then when kept refrigerated?
Chula King says
Anna,
After the yogurt has set via Sous Vide, there is a layer of liquid on the top which I pour off. The heat from the Sous Vide process is not enough to actually seal the jar as would occur in a regular canning process. When kept refrigerated, the yogurt should be good for two weeks.
Chula
Bridget Baiss says
Finally, a recipe for sous vide yogurt with important tips! Chula helped me so much especially with temperature. I used a culture starter and it turned out perfect! Other recipes have let me down and were not as specific.
Thank you!
PudgeFactor says
Bridget, I’m so pleased that the yogurt turned out well for you! I love using sous vide!
Chula