Thin crust pizza is a type of pizza that is characterized by its thin, crispy crust. It is typically made with a simple dough that is stretched out to a thin thickness before being topped with sauce and cheese. This recipe for Thin Crust Pizza is the ultimate in simplicity and taste.

Jump to:
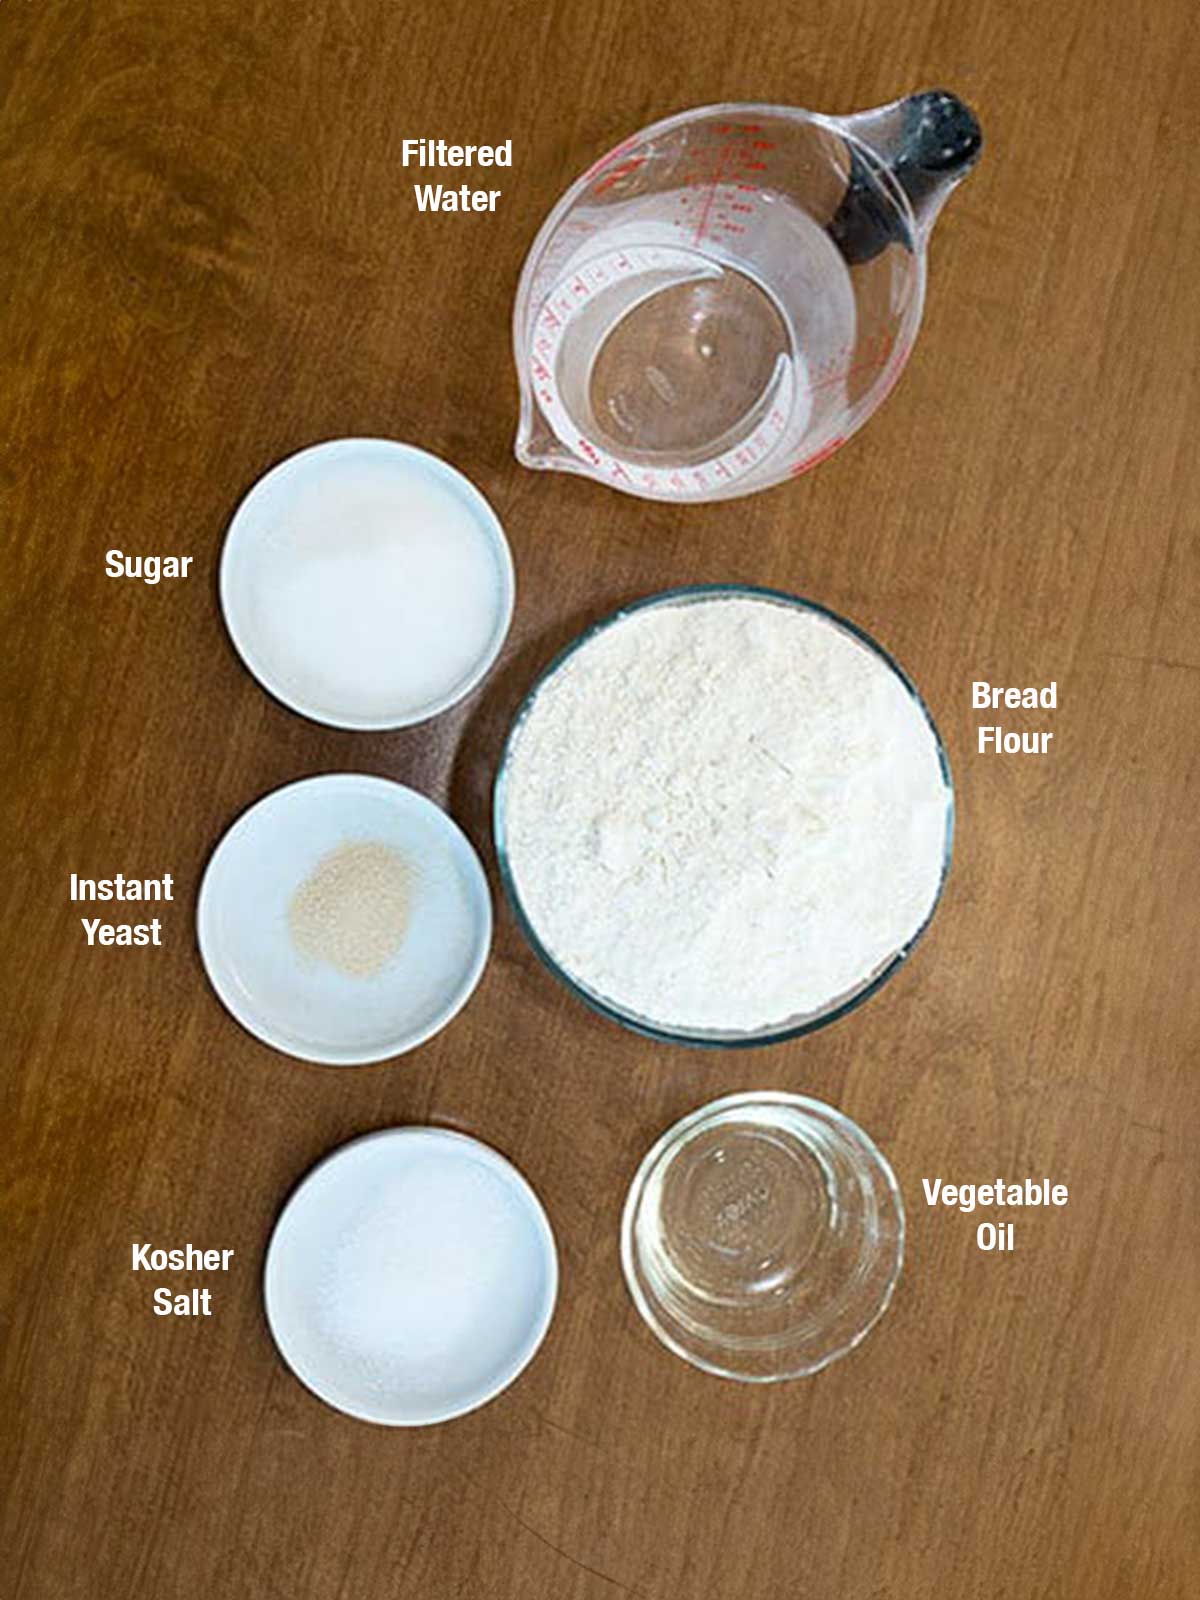
Ingredients For the Dough
I used the following ingredients for the pizza dough: Bread flour, Kosher salt, sugar, instant yeast, vegetable oil, and filtered water.
Here's How I Made the Dough
- For the dough, I added the flour, sugar, and yeast to the bowl of my food processor, which was fitted with a metal blade. Then, I processed the ingredients for about 5 seconds.
- I slowly added the water through the feed tube with the food processor running. I processed the mixture until the dough was just combined and no dry flour remained. This took about 10 seconds.
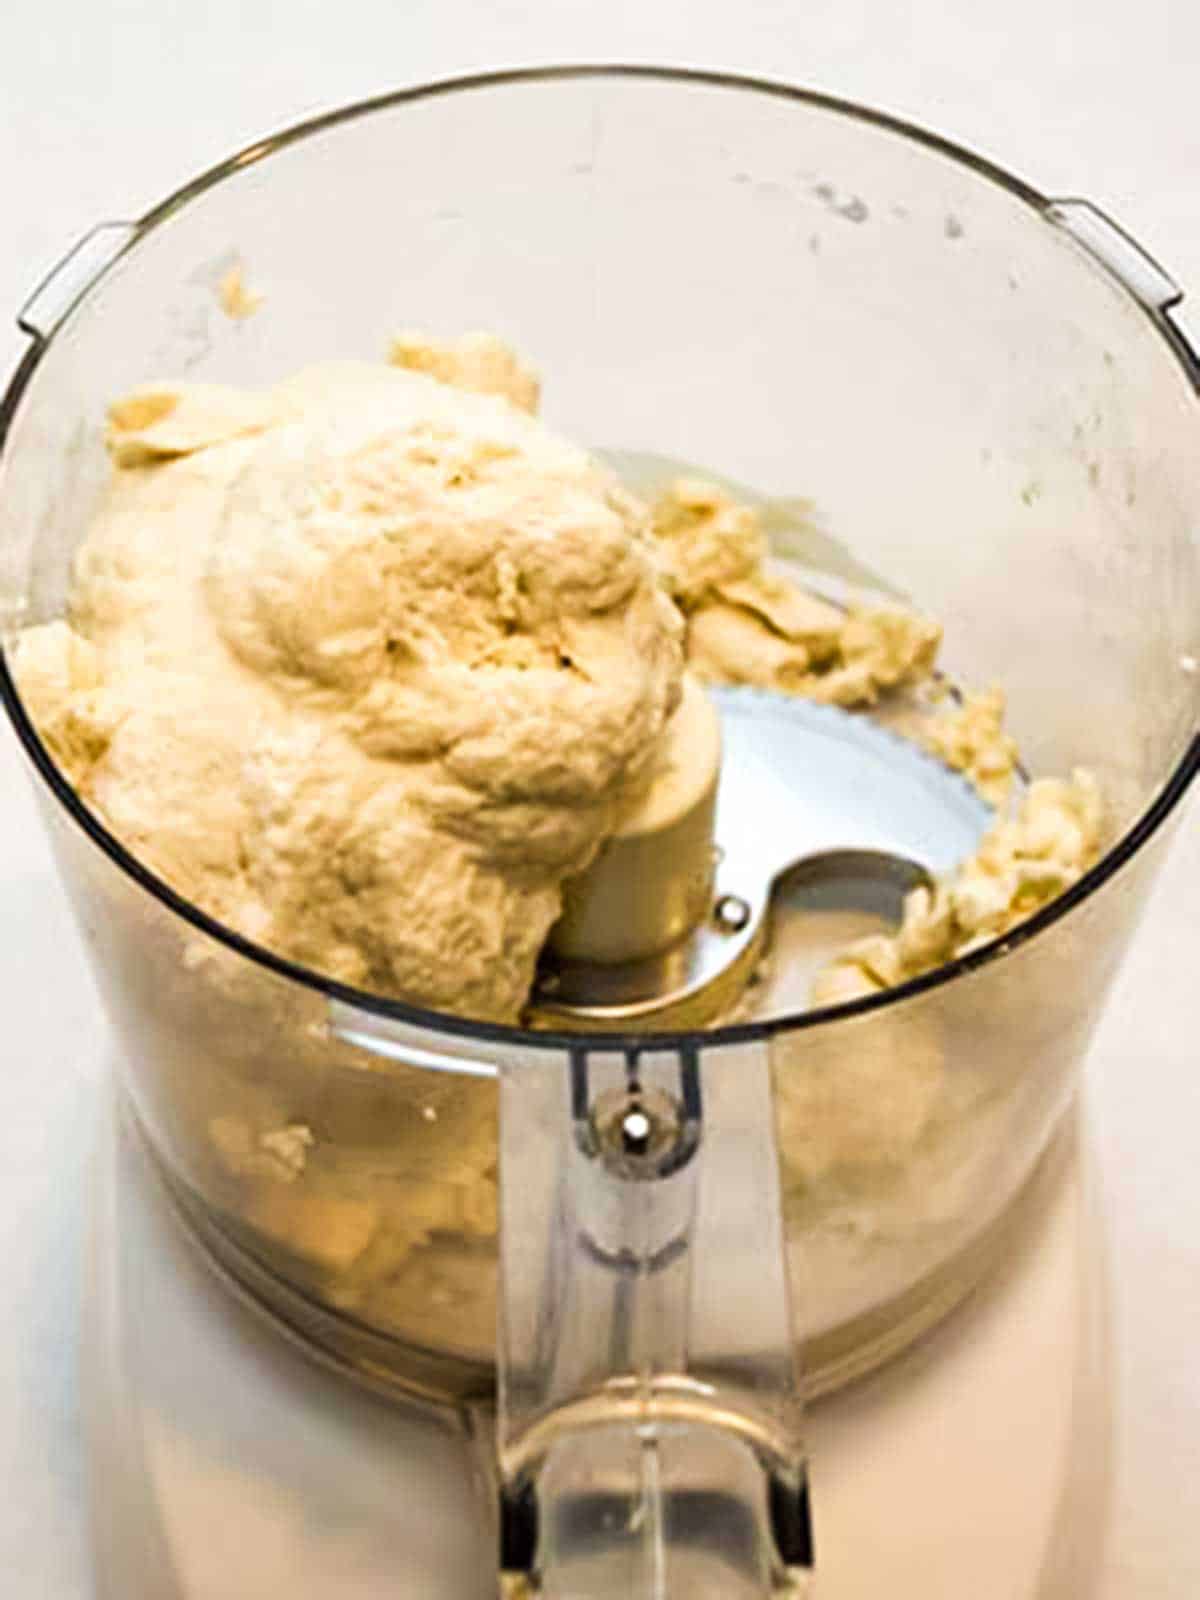
- I let the dough stand for about 10 minutes. Then, I added the oil and salt. I processed it for about 45 seconds until it was satiny and cleared the sides of the bowl.
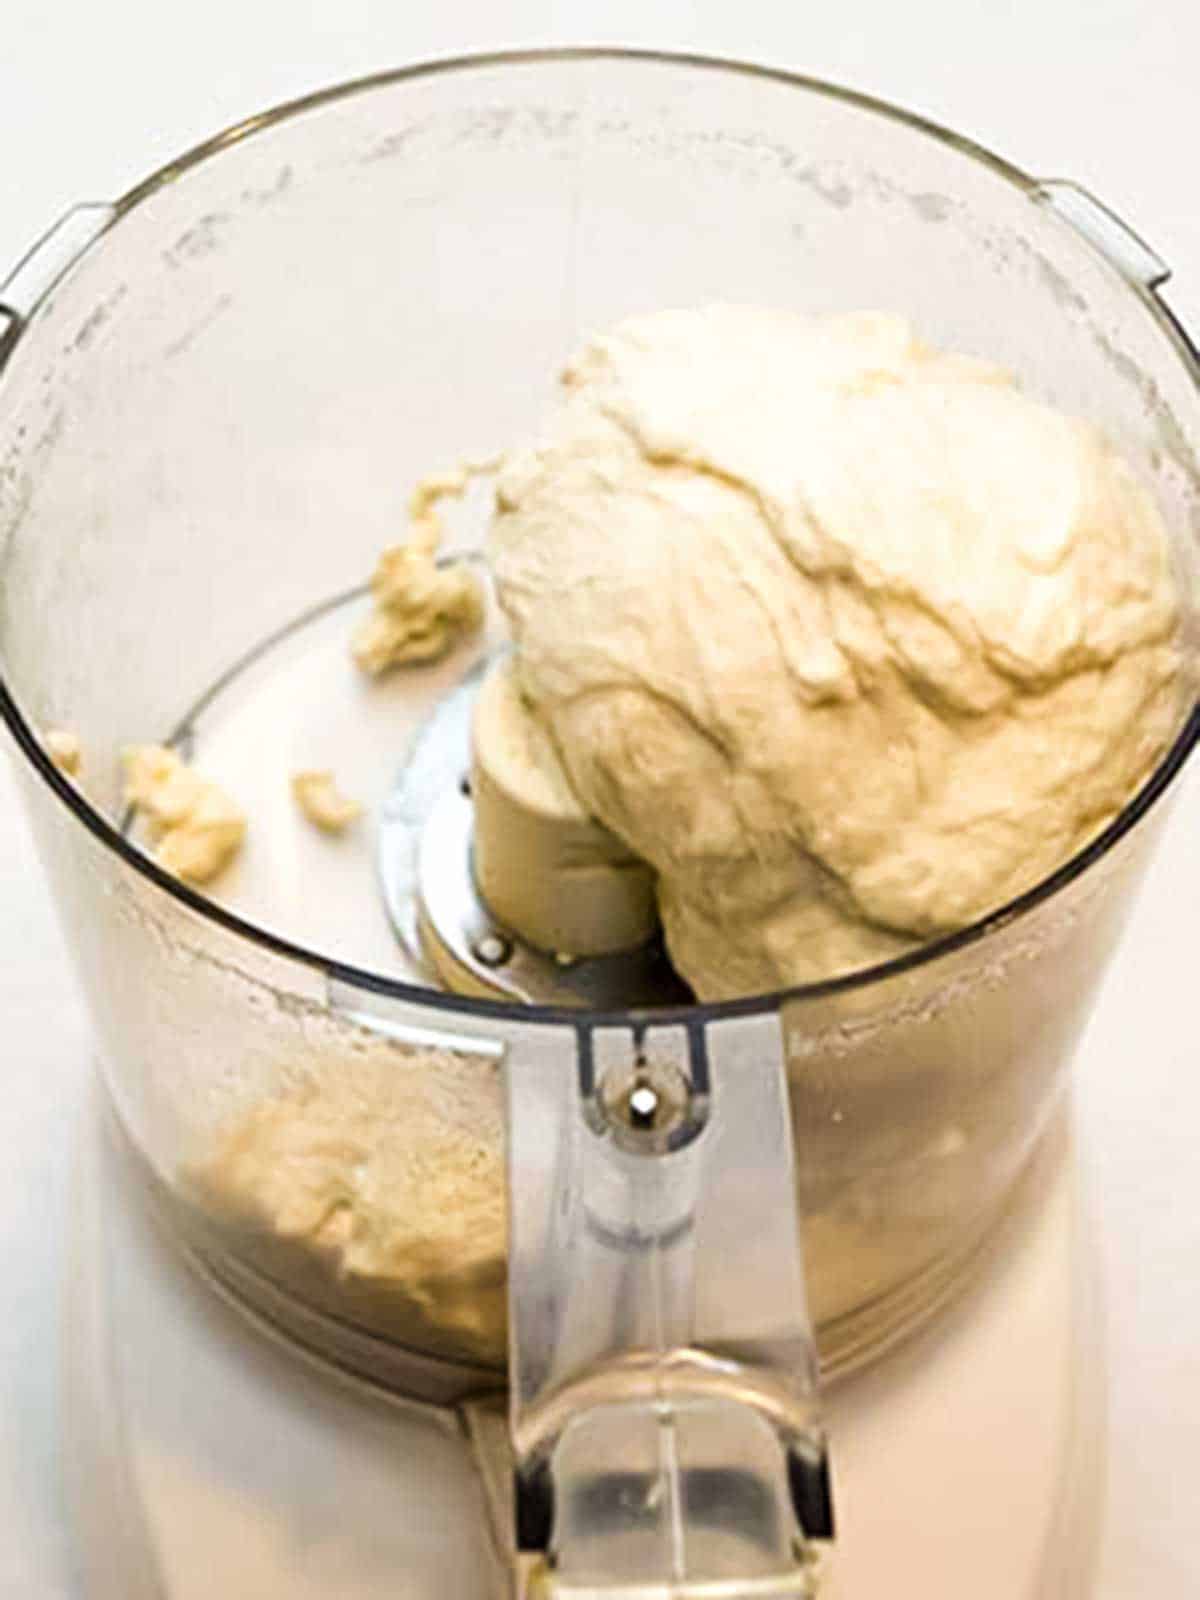
- Next, I removed the dough from the bowl of the food processor. I kneaded it briefly on a lightly oiled piece of parchment paper until it was smooth. This took about 1 minute.
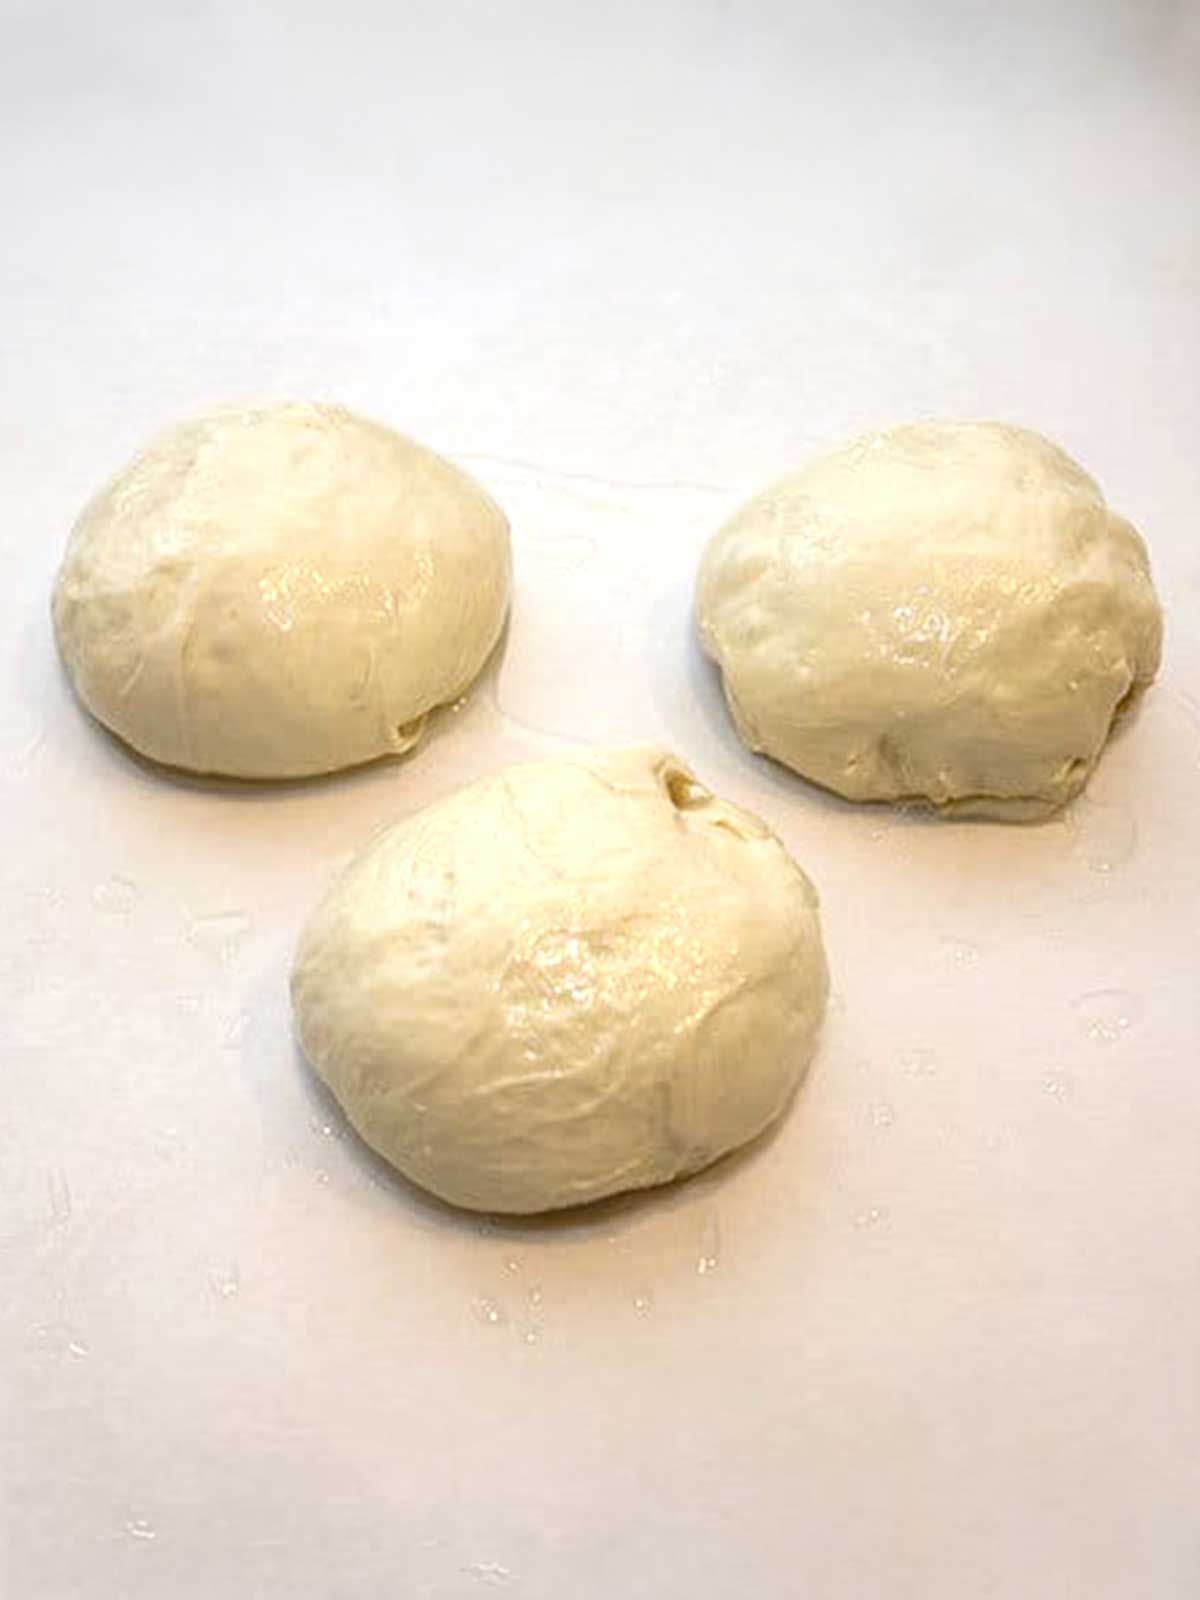
- Then, I shaped the dough into three tight balls. Each piece of dough was about 9 ounces. I lightly oiled each dough ball and placed each piece in a Ziploc sandwich bag. Then, I refrigerated the dough for at least 24 hours and up to 3 days.

Ingredients For the Pizza Sauce
The day that we made the pizzas, I made the sauce.
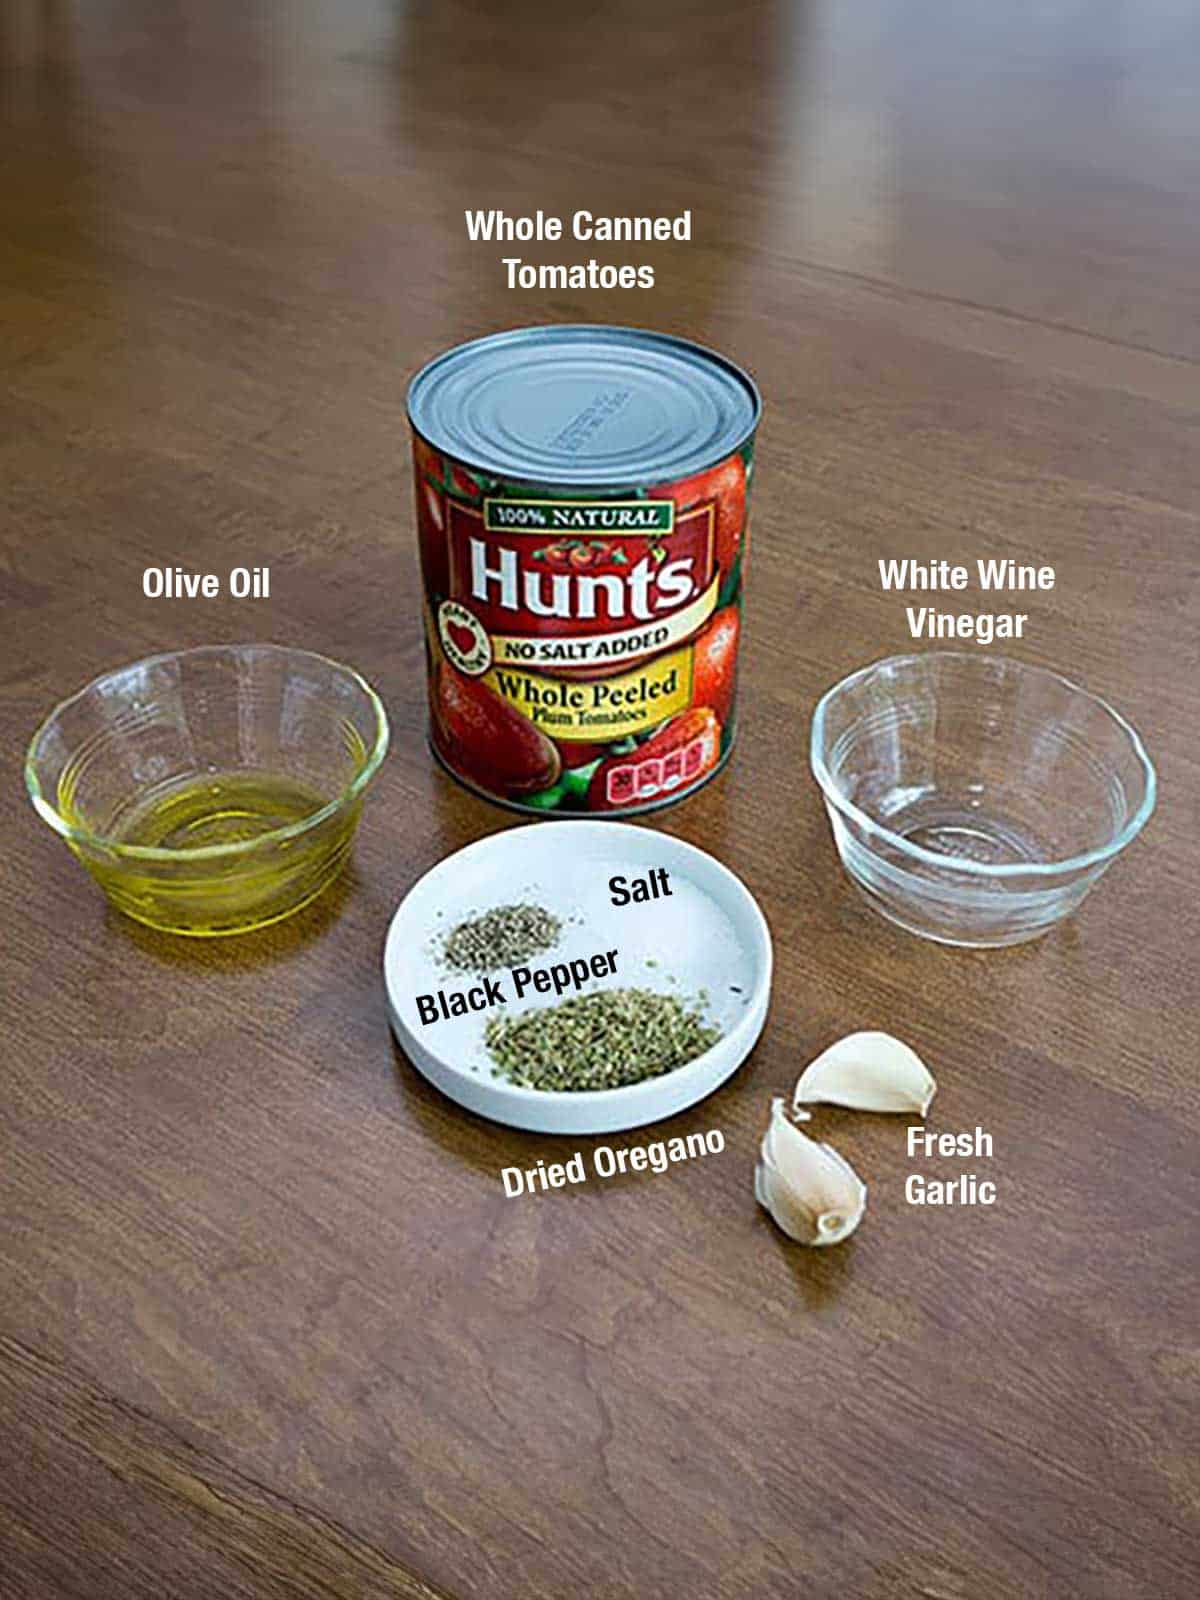
The ingredients for the sauce included whole canned tomatoes, olive oil, white wine vinegar, fresh garlic, salt, dried oregano, and freshly ground black pepper.
Here's How I Made the Pizza Sauce
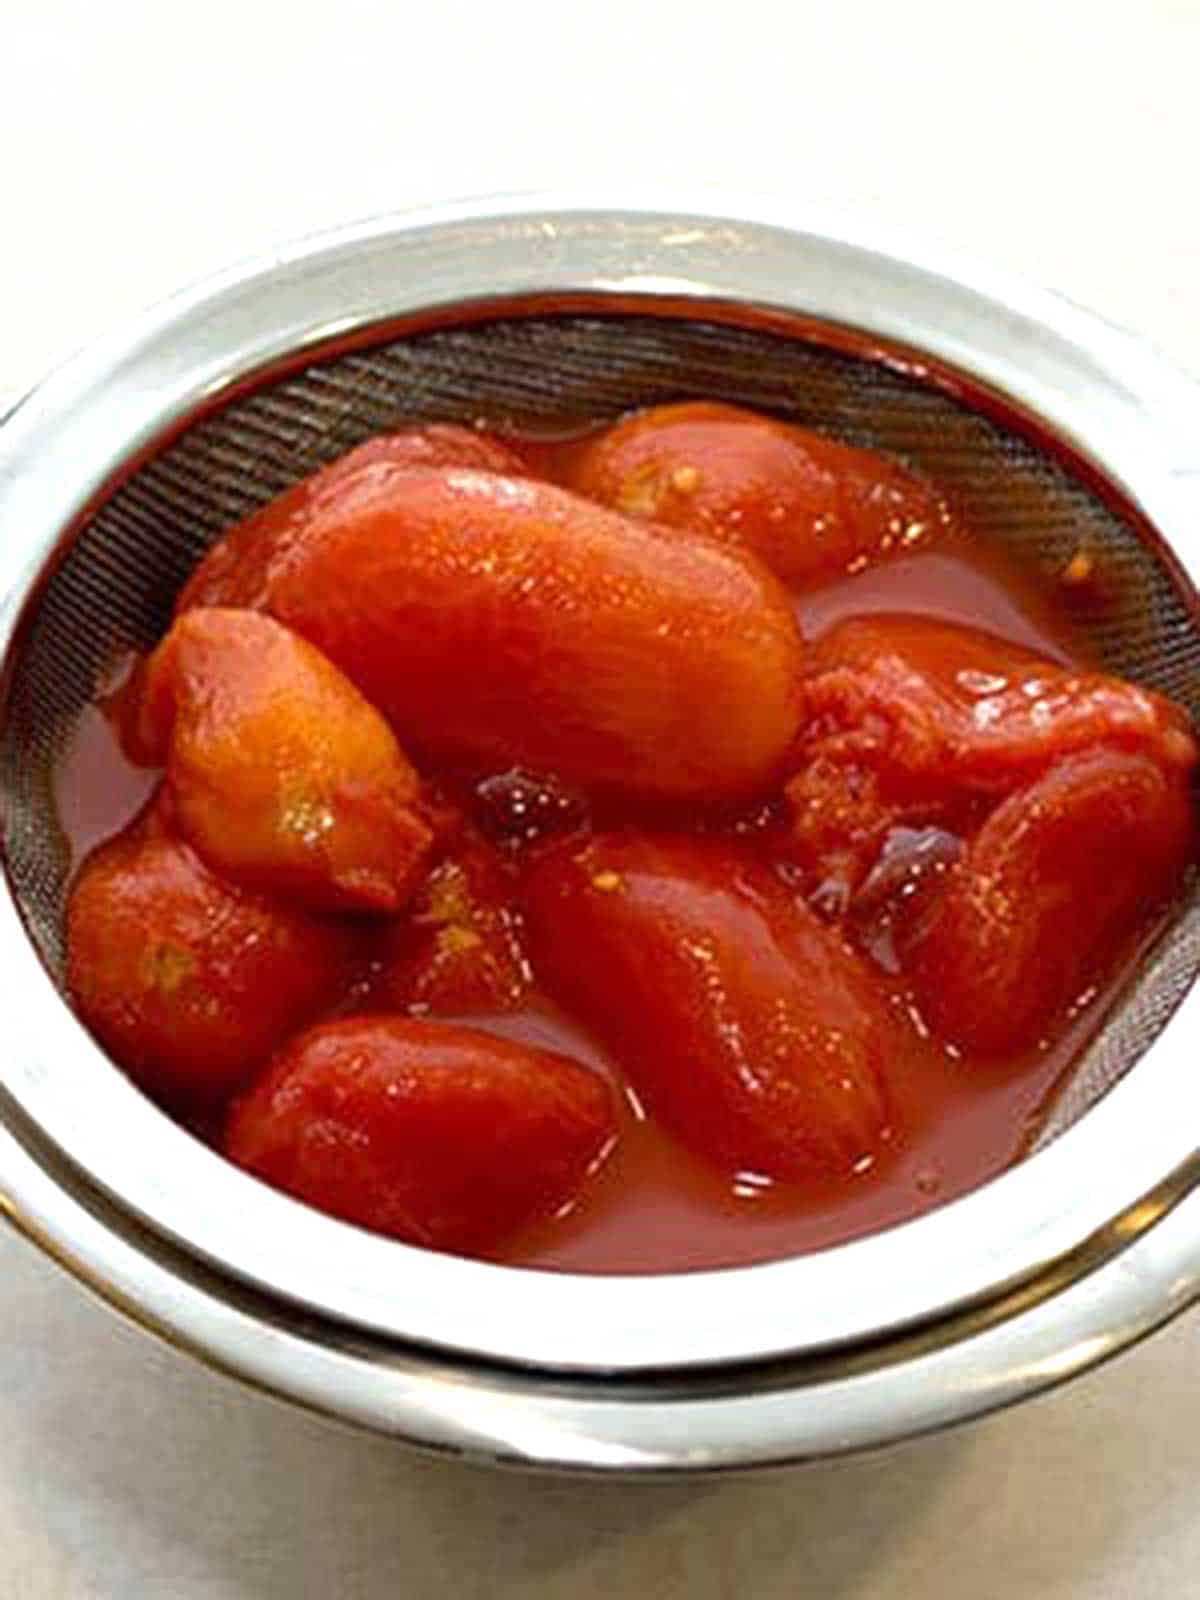
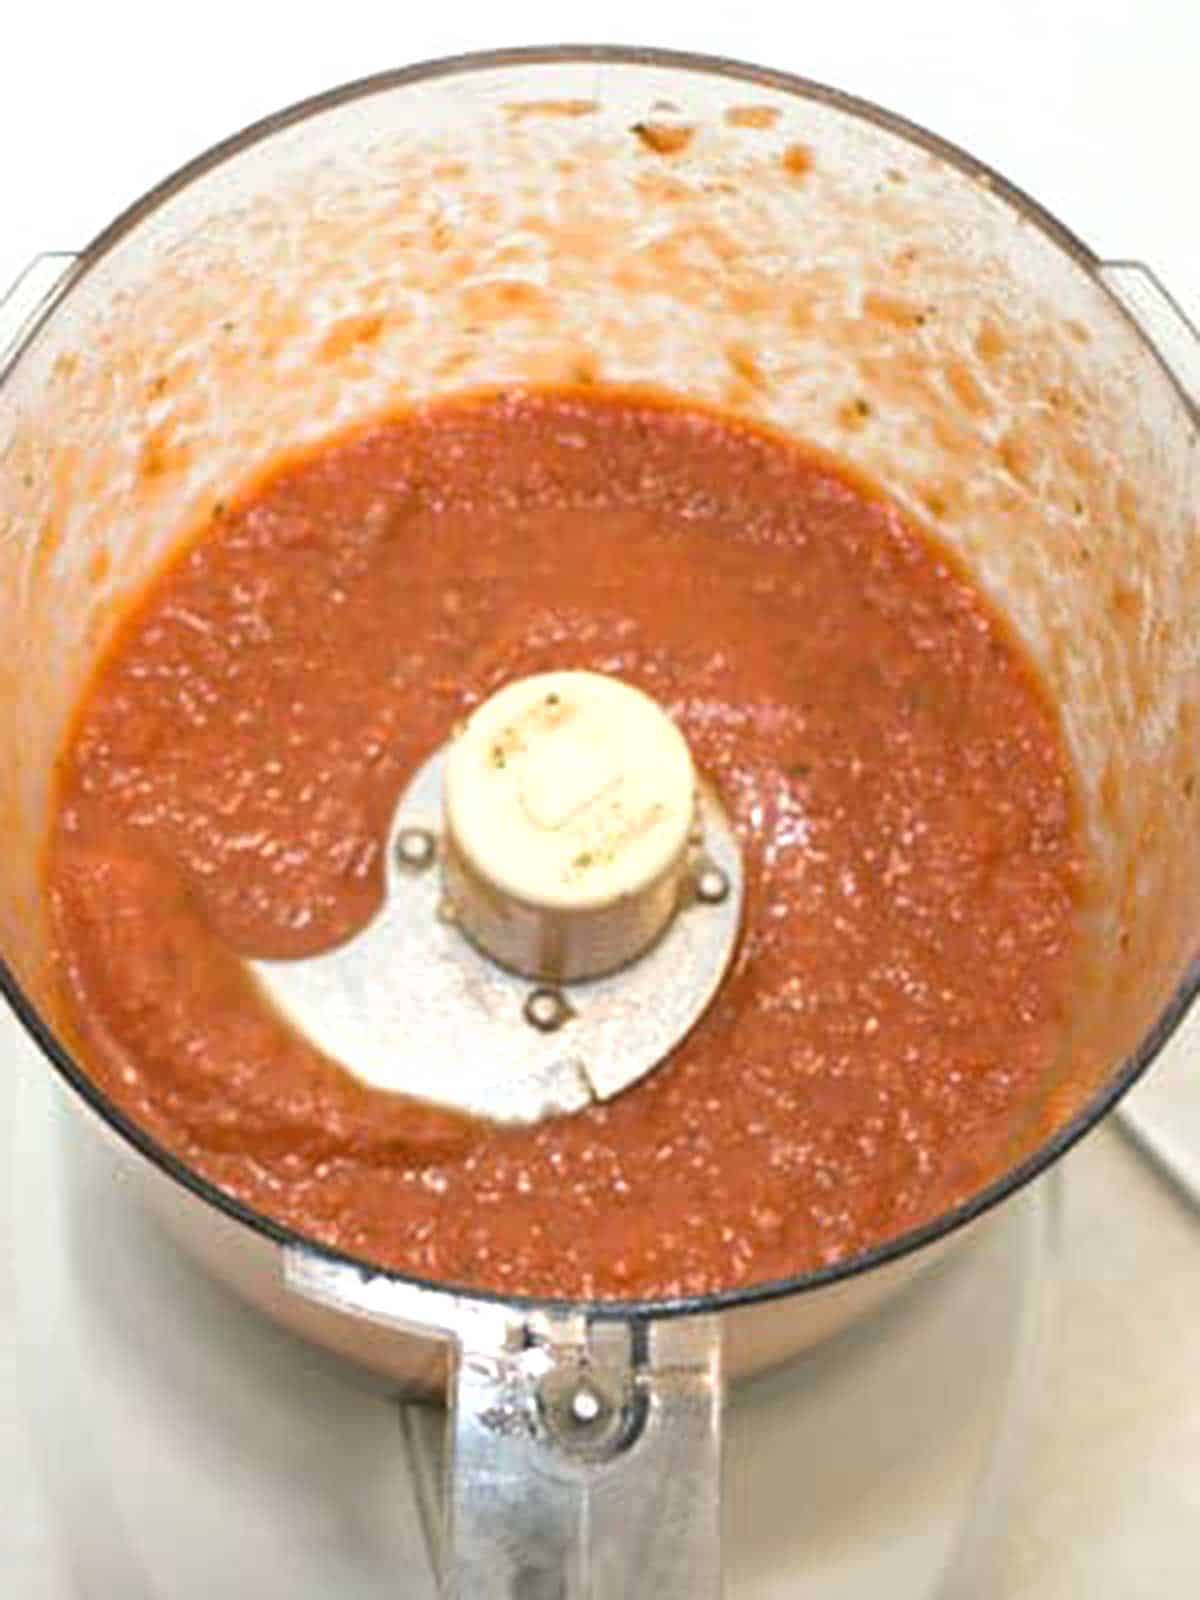
- First, I drained the canned tomatoes in a wire strainer. I took care to remove as many of the seeds as possible.
- Then, I added the drained tomatoes, olive oil, white wine vinegar, minced garlic, salt, dried oregano, and freshly ground black pepper to the bowl of my food processor fitted with a metal blade. I processed the mixture until it was smooth. This took about 30 seconds. Next, I transferred the sauce to a covered container and refrigerated it until it was ready to use.
Here's How I Made the Thin Crust Pizza
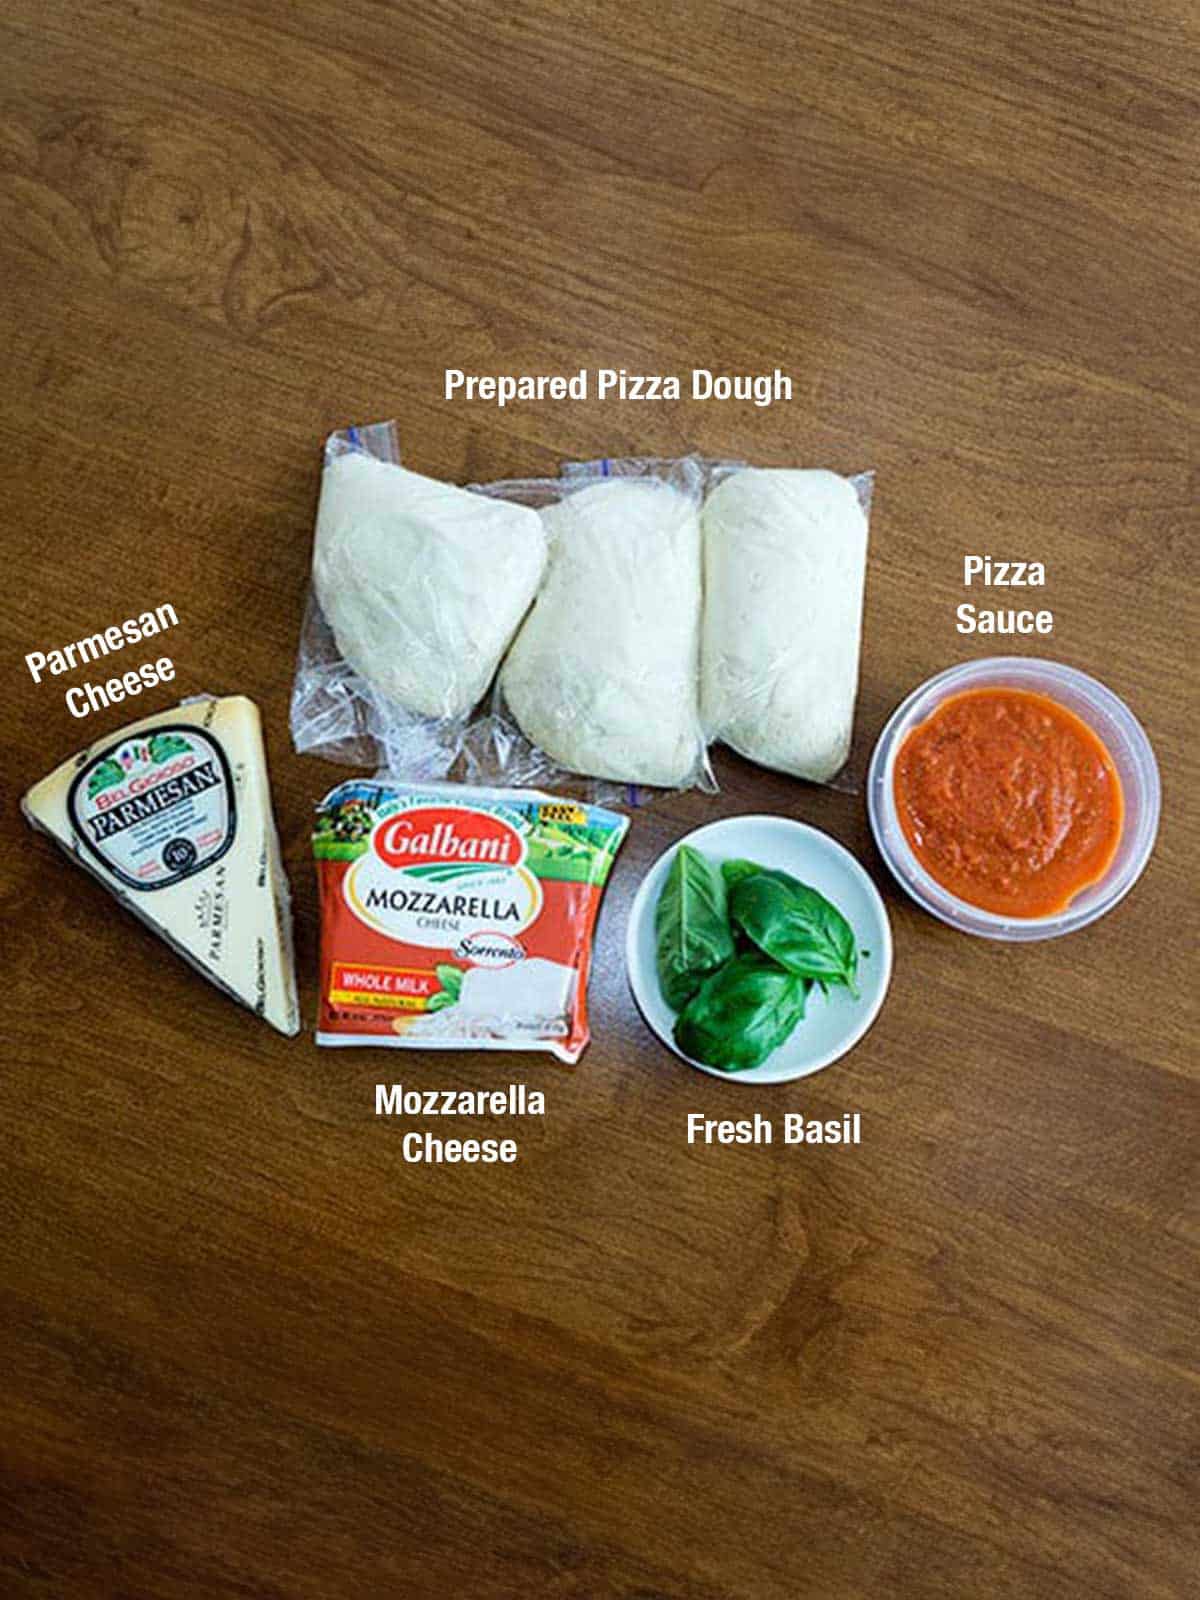
Now for the pizza itself. I used the prepared dough, the prepared sauce, Mozzarella cheese, Parmesan cheese, and fresh basil.
One to two hours before making pizza, I removed the dough from the refrigerator and removed the dough from the Ziploc bags.
Then, I shaped each piece into smooth, tight balls.
Next, I placed the dough on a lightly oiled piece of parchment paper, spacing the dough at least 3 inches apart. I covered the dough loosely with plastic wrap coated with nonstick cooking spray and let them stand until ready to make the pizzas.
One hour before baking the pizza. I adjusted the oven rack to the second-highest position (the rack should be about 4 to 5 inches below the broiler) and set the pizza stone on the rack. I then heated the oven to 450°F.
This is where Susan stepped in. She coated one ball of dough generously with flour and placed it on a well-floured piece of parchment paper.
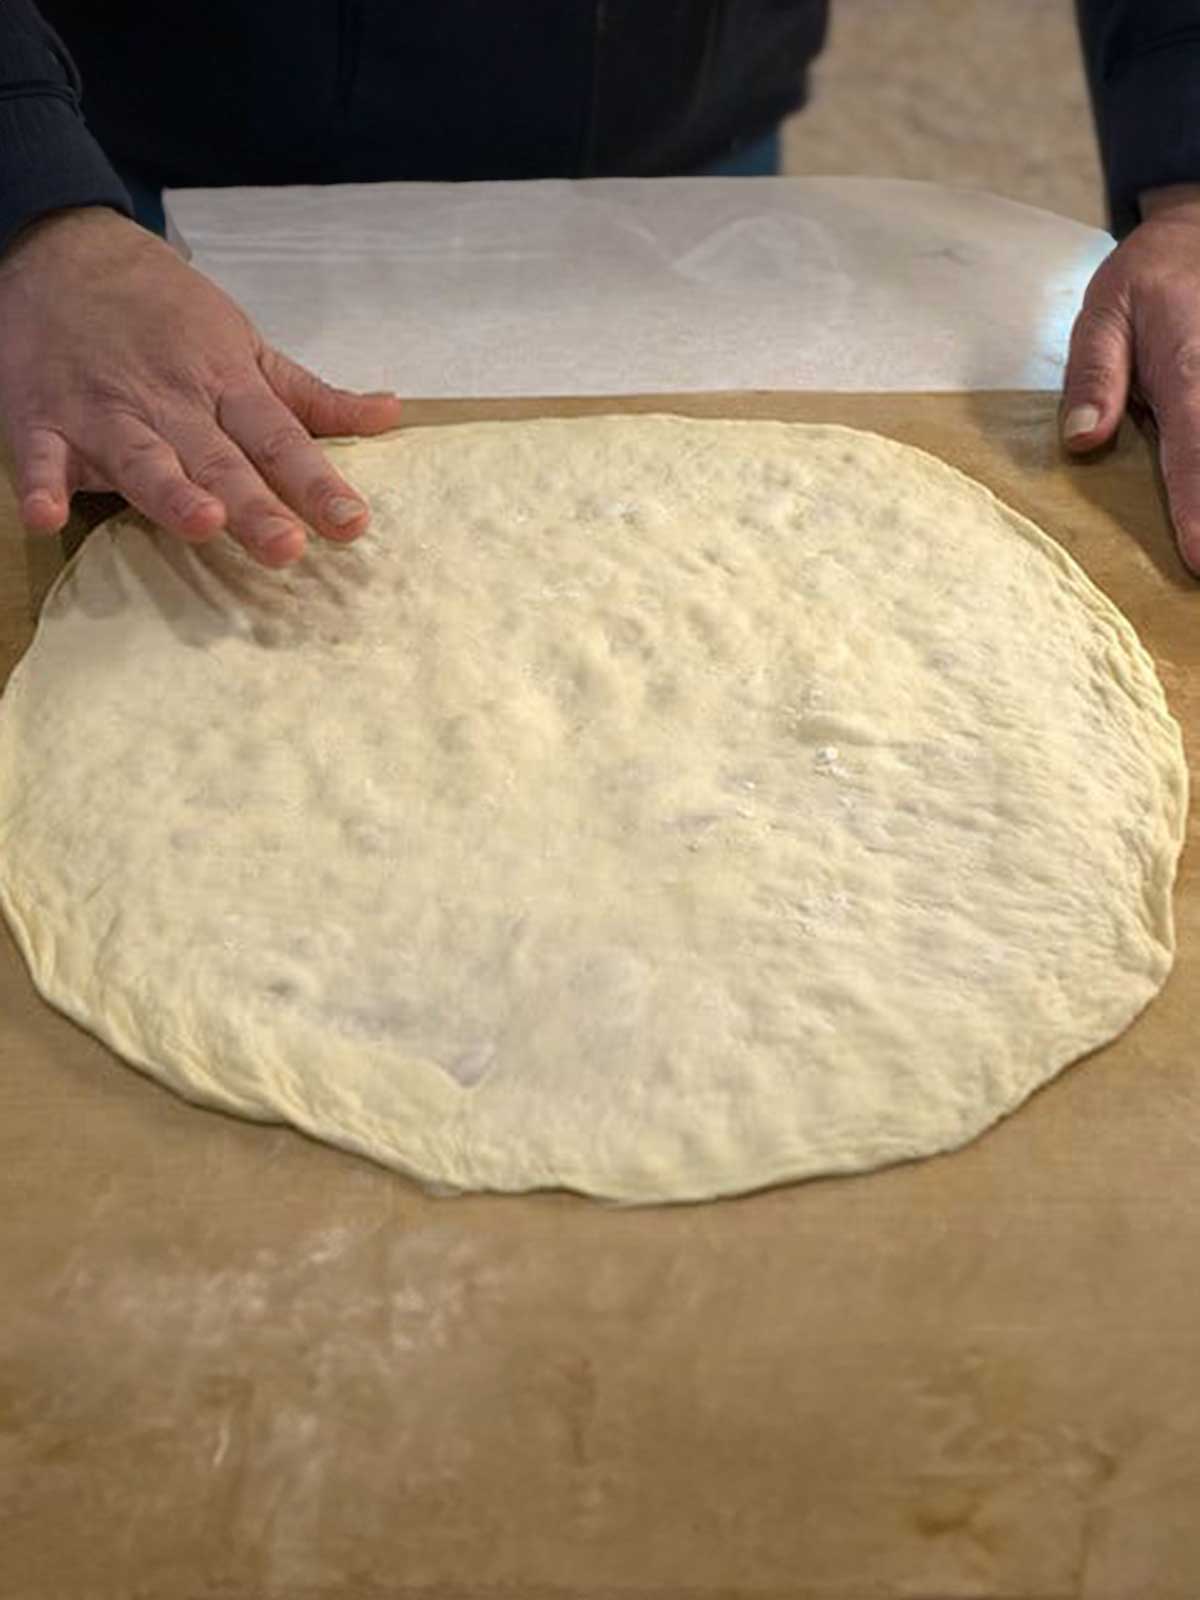
Using her fingertips, she gently flattened each piece of dough into an 8-inch disk, leaving 1 inch of outer edge slightly thicker than the center. She let the dough rest for 10 minutes.
Using her hands, she gently stretched each disk into a 10-inch round, working along the edges and giving the disk quarter turns as it stretched. Then she transferred the dough to a piece of reusable parchment and let it rest for another 10 minutes.
Finally, she stretch each disk into a 12-inch round.
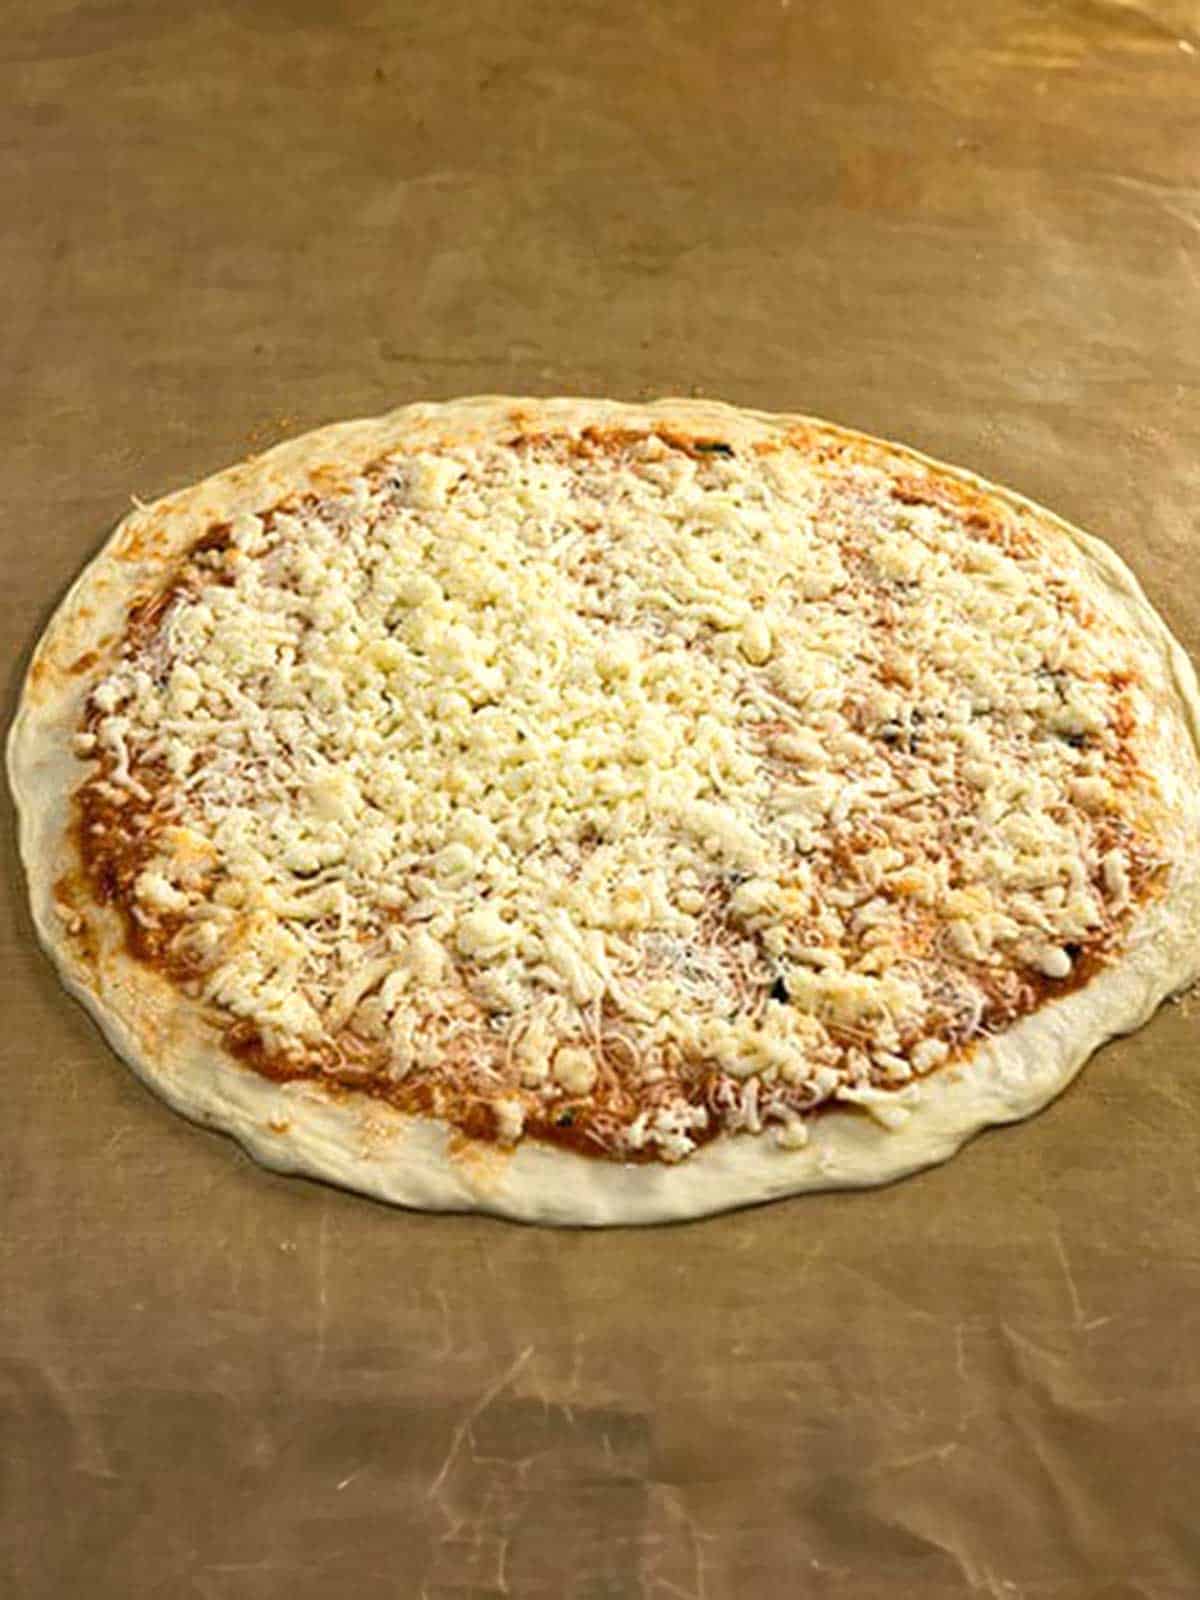
Using the back of a ladle, she spread ½ cup tomato sauce in a thin layer over the surface of the dough, leaving a ¼-inch border around the edge.

Then she sprinkled on 1 to 2 Tablespoons of chopped basil.
Next, she sprinkled ¼ cup of grated Parmesan cheese evenly over the sauce, followed by 1 ¼ cups of shredded Mozzarella cheese.
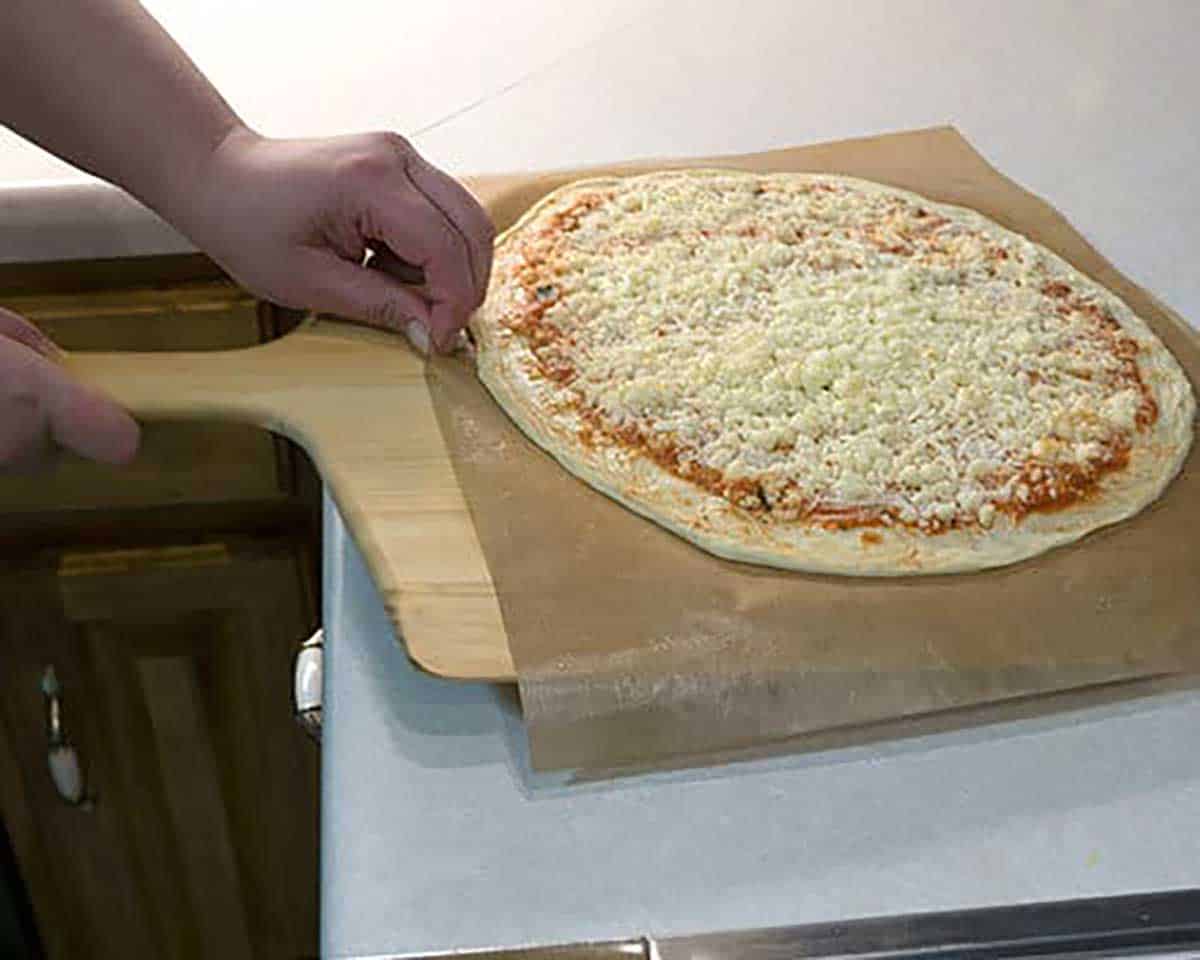
Susan carefully slid the reusable parchment with the pizza onto a pizza peel.
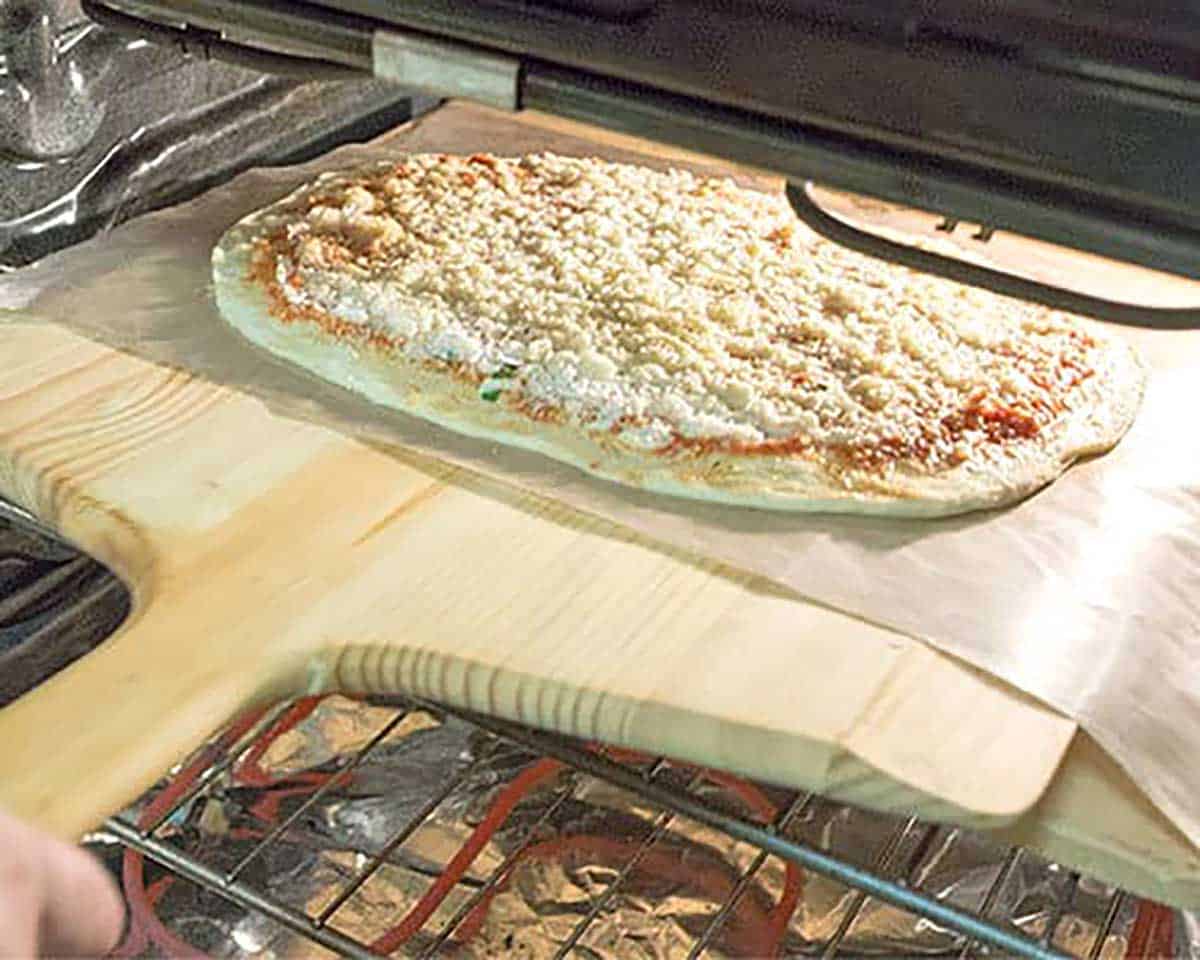
Then she slid the pizza on the reusable parchment from the peel onto the stone and baked it until the crust was well browned, and the cheese was bubbly and beginning to brown. This took about 8 minutes.
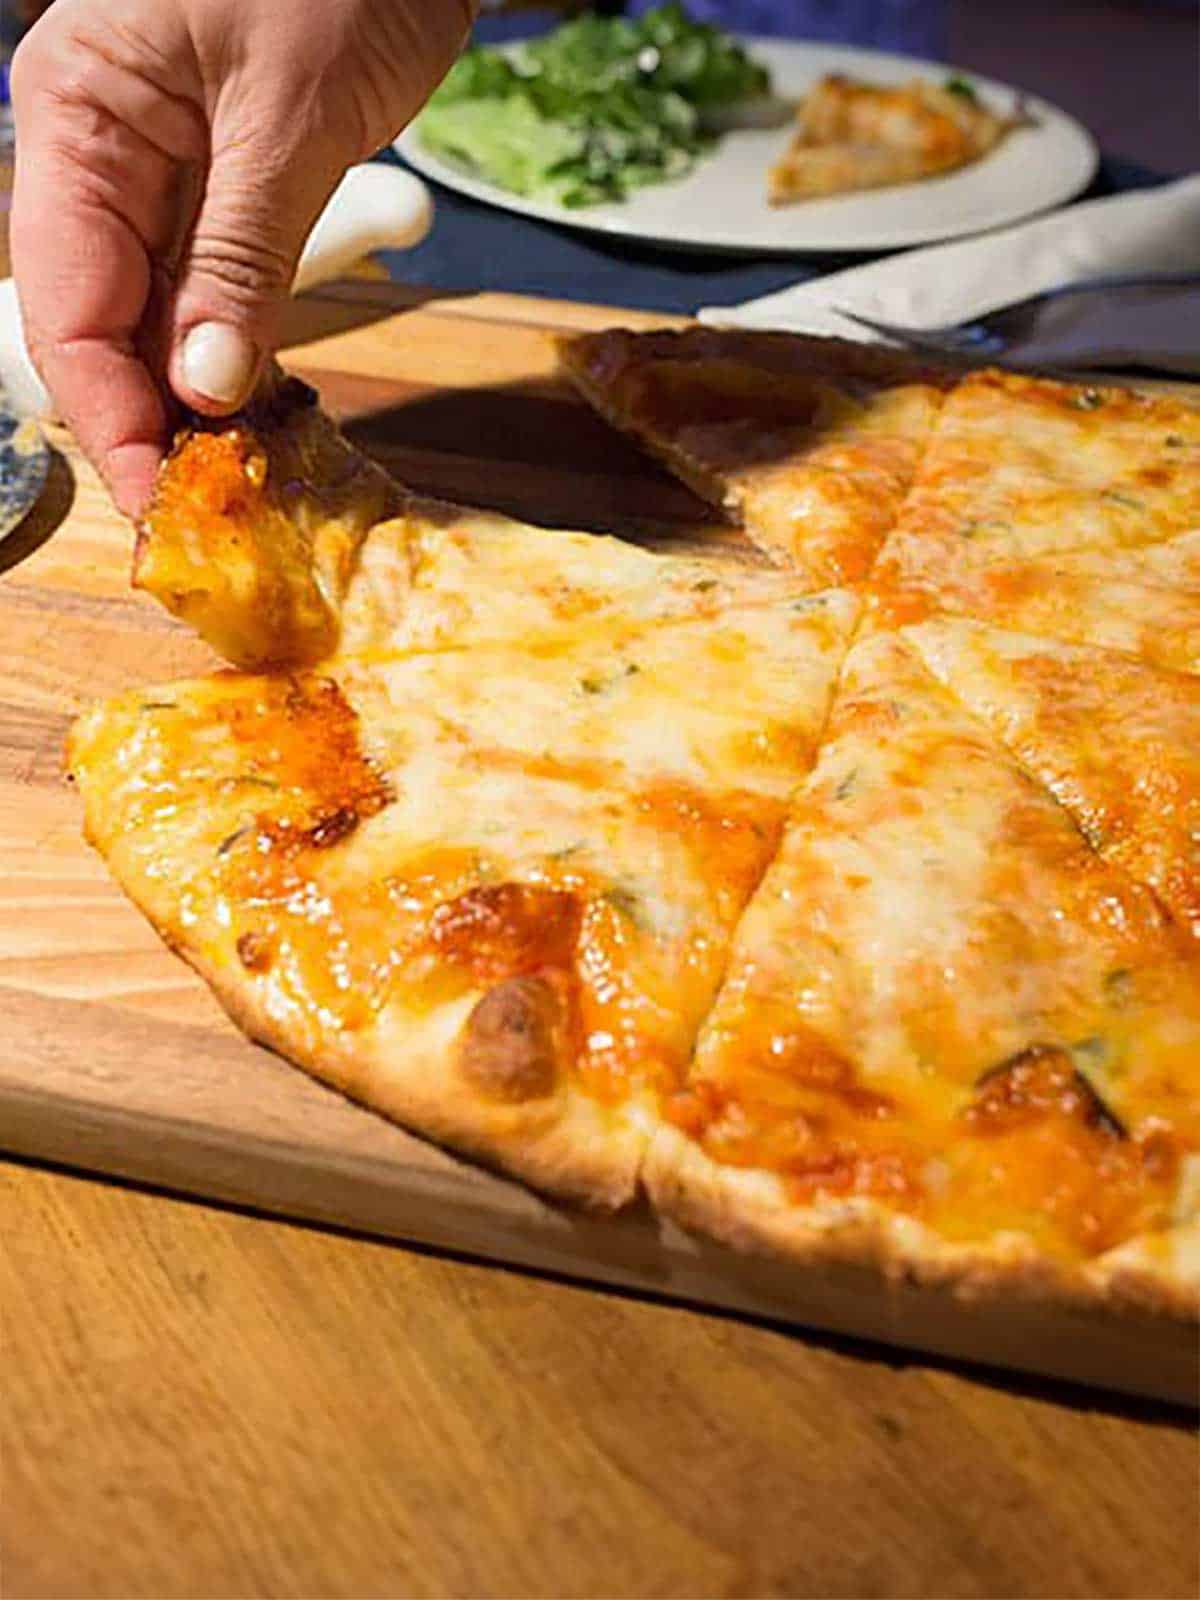
After 8 minutes, Susan carefully slid the pizza onto the pizza peel and placed it on a wire rack for 5 minutes before slicing and serving. She repeated this with the remaining ingredients.
The result was three incredibly tasty thin crust pizzas. Yum!
If you're looking to try a different kind of pizza, check out my CPK Rosemary Chicken and Potato Pizza.
I hope you liked this recipe for Thin Crust Pizza as much as I do. If so, please consider rating it and leaving a comment. Also, if you'd like to receive notifications of new posts by email, enter your email address in the Subscribe box.
Thank you so much for visiting Pudge Factor. I hope you'll come back!
Recipe
Want to Save This Recipe?
Enter your email & I'll send it to your inbox. Plus, enjoy weekly doses of culinary inspiration as a bonus!
By submitting this form, you consent to receive emails from Pudge Factor.

Thin Crust Pizza (adapted from America's Test Kitchen recipe)
Equipment
- Food Processor
Ingredients
Pizza Dough
- 3 ¼ cups (16.25 ounces) bread flour
- 2 Tablespoons granulated sugar
- ½ teaspoon instant or rapid-rise yeast
- 1 ⅓ cups (10.67 ounces)ice water
- 1 Tablespoon vegetable oil, plus more for work surface
- 11/2 teaspoons Kosher salt
Pizza Sauce
- 28 ounce can whole peeled tomatoes, drained and liquid discarded
- 1 Tablespoon extra-virgin olive oil
- 1 teaspoon white wine vinegar
- 2 garlic cloves, minced
- ¼ teaspoon Kosher salt
- 1 teaspoon dried oregano
- ¼ teaspoon freshly ground black pepper
Topping for Pizza
- ¾ cup (3 ounces) freshly grated Parmesan Cheese
- 4 cups (16 ounces) whole milk mozzarella cheese, shredded shredded
- Chopped fresh basil
Instructions
Pizza Dough
- In a food processor fitted with a steell blade, process flour, sugar, and yeast until combined, about 5 seconds. With the machine running, slowly add water through the feed tube; process until the dough is just combined and no dry flour remains for about 10 seconds. Let the dough stand for 10 minutes.
- Add oil and salt to the dough and process until the dough forms a satiny, sticky ball that clears the sides of the food processor, 30 to 60 seconds.
- Shape the dough into three balls, approximately 9 ounces each. Lightly oil each ball and place it in individual Ziploc sandwich bags. Refrigerate for at least 24 hours and up to 3 days.
Pizza Sauce
- Drain the tomatoes in a wire strainer, removing as many of the seeds as possible. Add the tomatoes and remaining sauce ingredients to the bowl of a food processor fitted with a steel blade. Process until smooth, about 30 seconds. Transfer to a medium bowl or container and refrigerate until ready to use.
Pizza
- One to two hours before making pizza, remove the dough from the refrigerator and remove it from Ziploc bags. Shape each into a smooth, tight ball. Place on a lightly oiled piece of parchment or waxed paper, spacing them at least 3 inches apart; cover loosely with plastic wrap coated with nonstick cooking spray; let stand until ready to make the pizzas.
- One hour before baking the pizza, adjust the oven rack to the second highest position (the rack should be about 4 to 5 inches below the broiler), set the pizza stone on the rack, and preheat the oven to 450°F.
- Coat one ball of dough generously with flour and place on a well-floured piece of parchment paper. Using fingertips, gently flatten into an 8-inch disk, leaving 1 inch of the outer edge slightly thicker than the center. Let rest for 10 minutes. Using your hands, gently stretch the disk into a 10-inch round, working along the edges and giving the disk quarter turns as you stretch. Transfer the dough to a piece of reusable parchment. Let rest for 10 minutes. Stretch the disk into a 12-inch round.
- Using the back of a spoon or ladle, spread ½ cup of pizza sauce in a thin layer over the surface of the dough, leaving a ¼-inch border around the edge. Sprinkle ¼ cup Parmesan evenly over the sauce, followed by 2 cups of mozzarella cheese. Sprinkle on 1 to 2 Tablespoons of chopped basil.
- Carefully slide the reusable parchment with the pizza onto the stone and bake until the crust is well browned, and the cheese is bubbly and beginning to brown for 8 to 10 minutes. Remove the pizza and place on a wire rack for 5 minutes before slicing and serving. Repeat with the remaining pizza ingredients.
- Yield: Three 12-inch pizzas.