Surprise young and old with these easy to make Easter Candy Cones. These no-bake treats are the perfect way to say Happy Easter to friends, family and co-workers.

Jump to:
Here’s What I Used

- Supplies: For the supplies, I used cone-shaped treat bags, rubber bands, and an assortment of pastel-colored ribbon.
- The Cones: I used store-bought sugar cones decorated with white candy melts and Easter sprinkles. Then, I filled them with an assortment of Easter candy.
Here’s How I Decorated And Filled The Sugar Cones
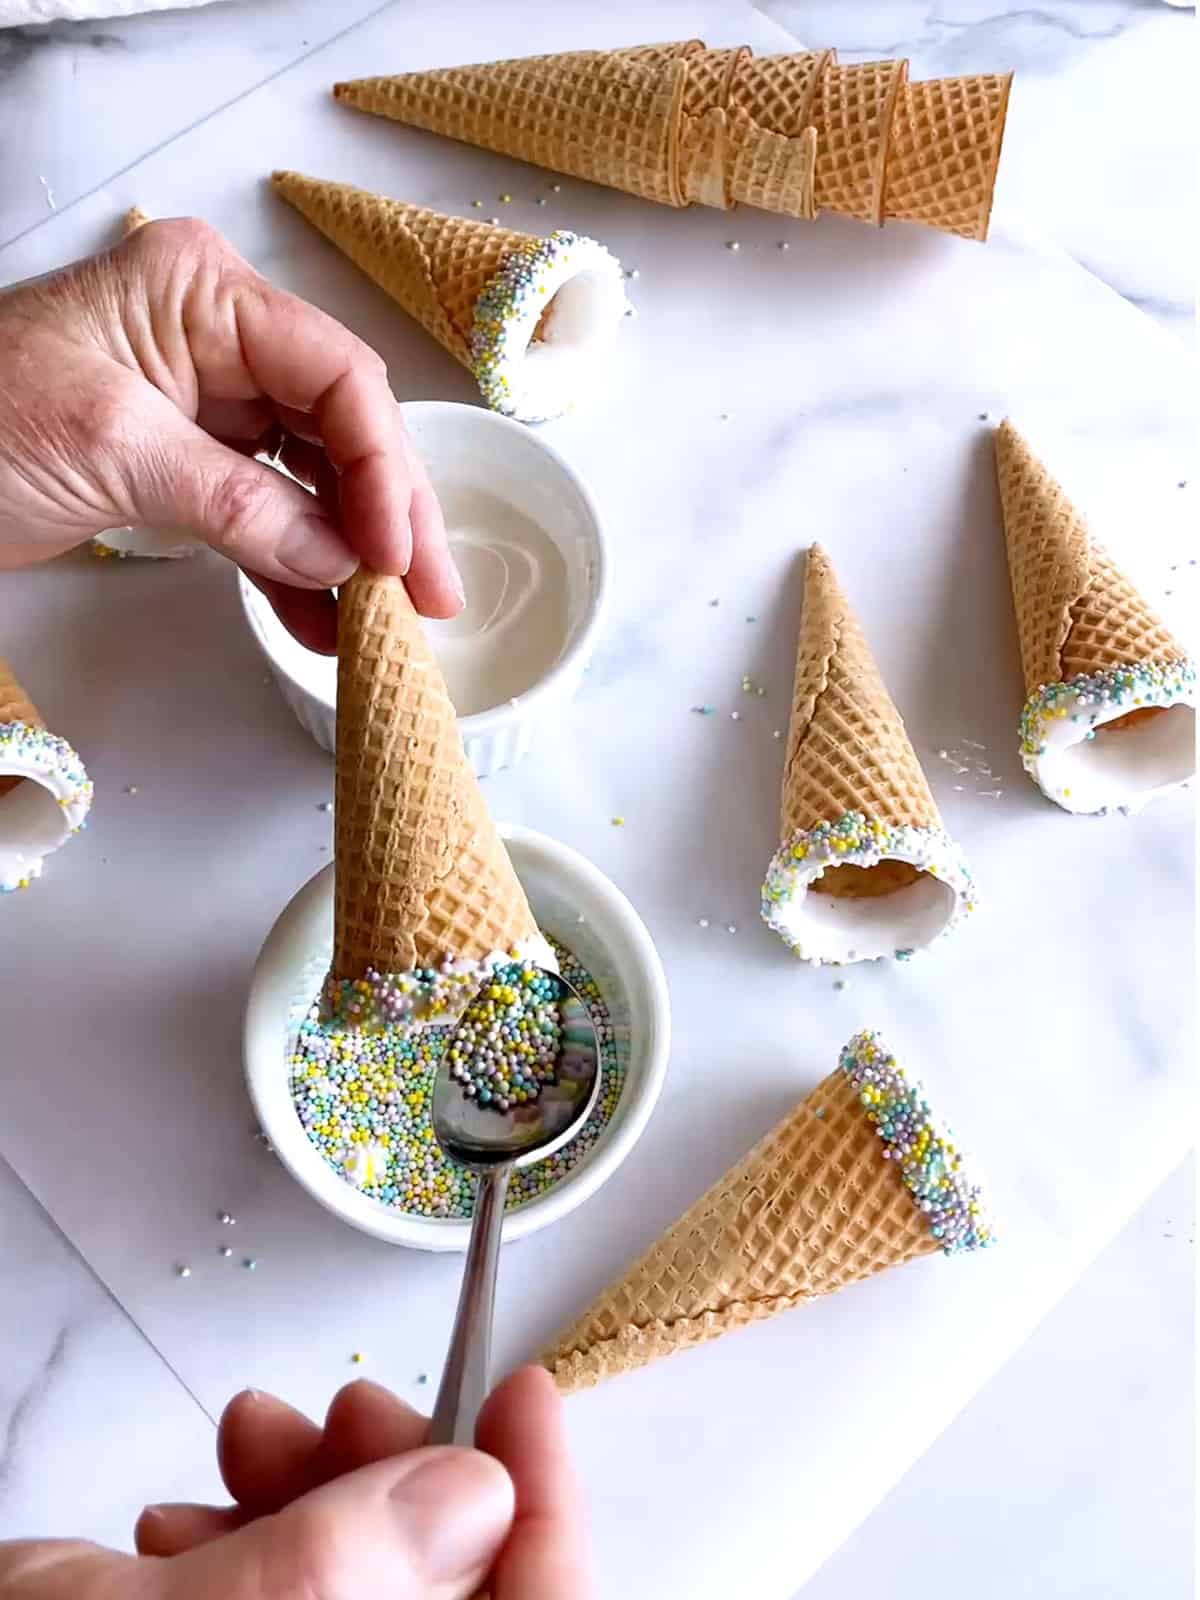
I started by melting bright white candy melts according to the package directions. Then, I dipped the top of the sugar cones into the melted candy melts.
Before the candy melts hardened, I spooned on the Easter sprinkles. Then, I let the candy melts harden.
Here’s How I Filled and Finished the Cones
- I started by inserting a decorated cone into a cone-shaped treat bag. I needed something to support both the cone and the treat bag. Therefore, I placed the bag with the cone into a tall glass.

- Next, I spooned the Easter candy into the cone. For this, I used plain and peanut M&M’s, small jellybeans, and chocolate eggs. Because the cone and bag were supported by the glass, I used enough candies to extend about an inch above the cone.
For this, you could use whatever candy you wanted. It’s best, though, to use smallish candies to fill the cone.
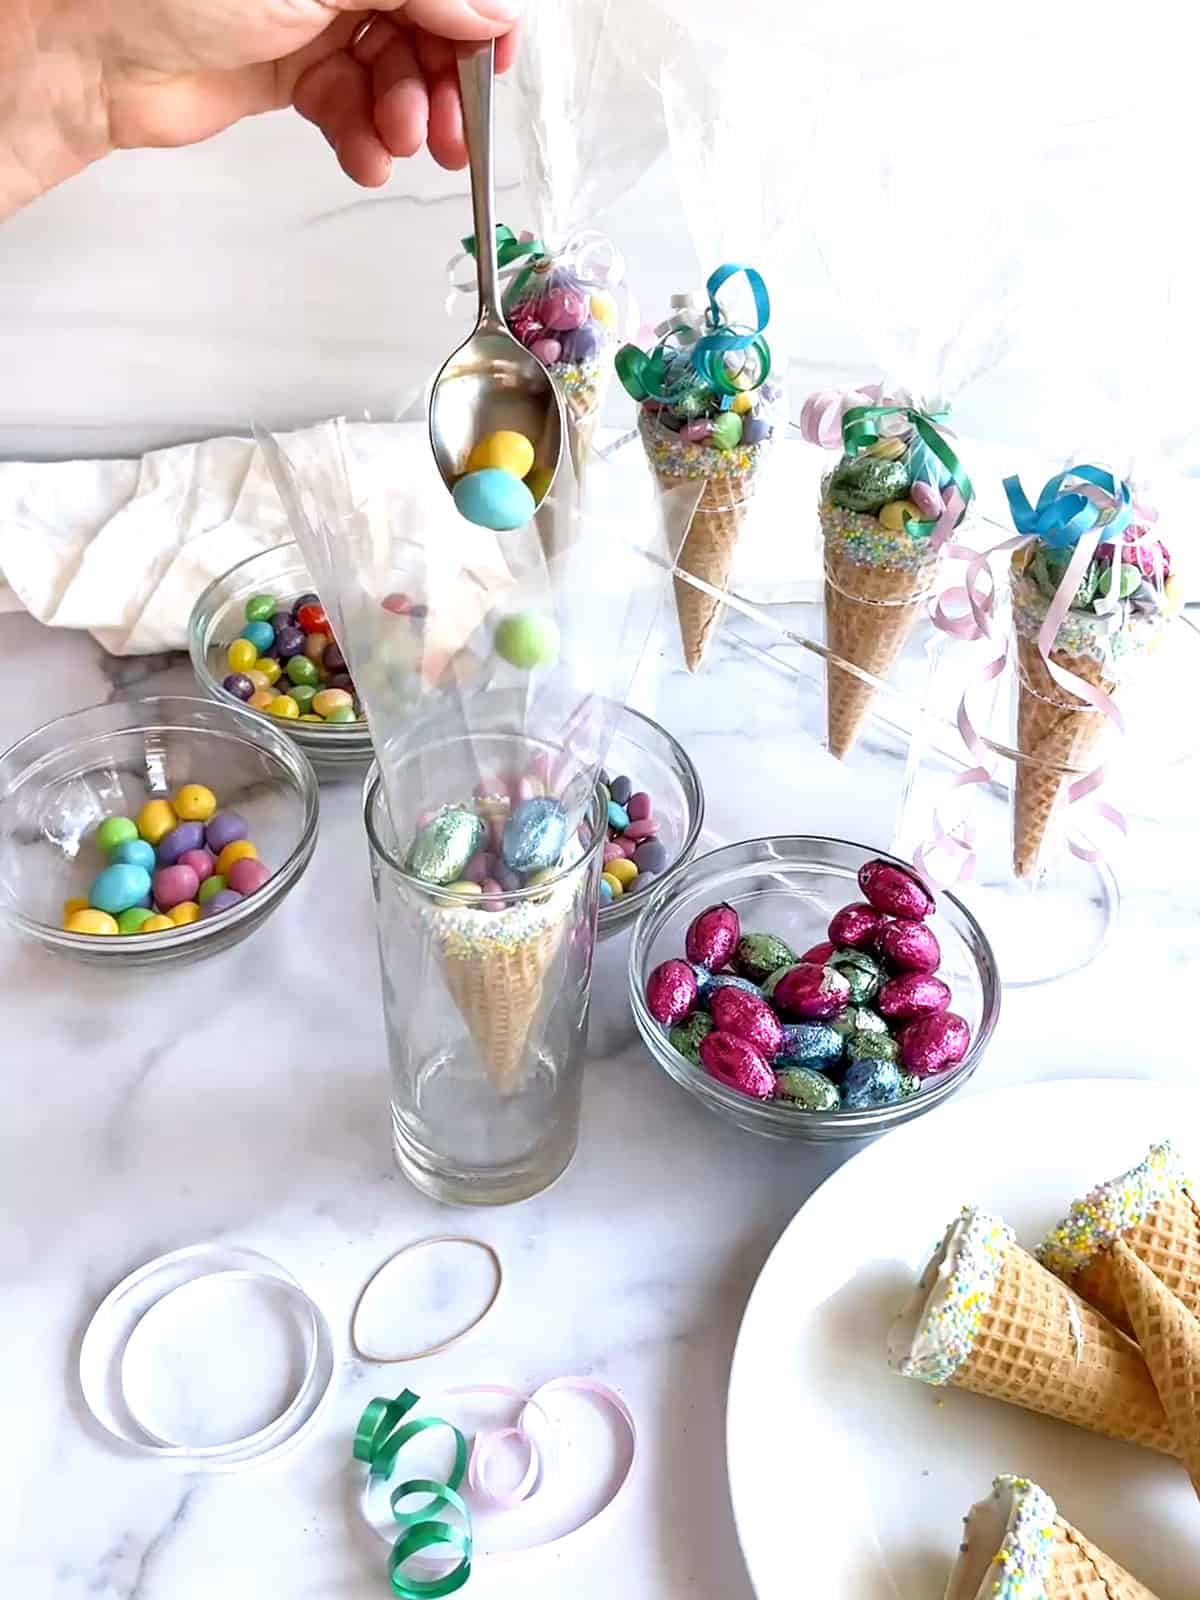
- Once I had added the candy, I secured the treat bag with a small rubber band.

- Finally, I decorated the Easter Candy Cone with some pastel-colored curling ribbon.
I repeated the process with the remaining sugar cones.

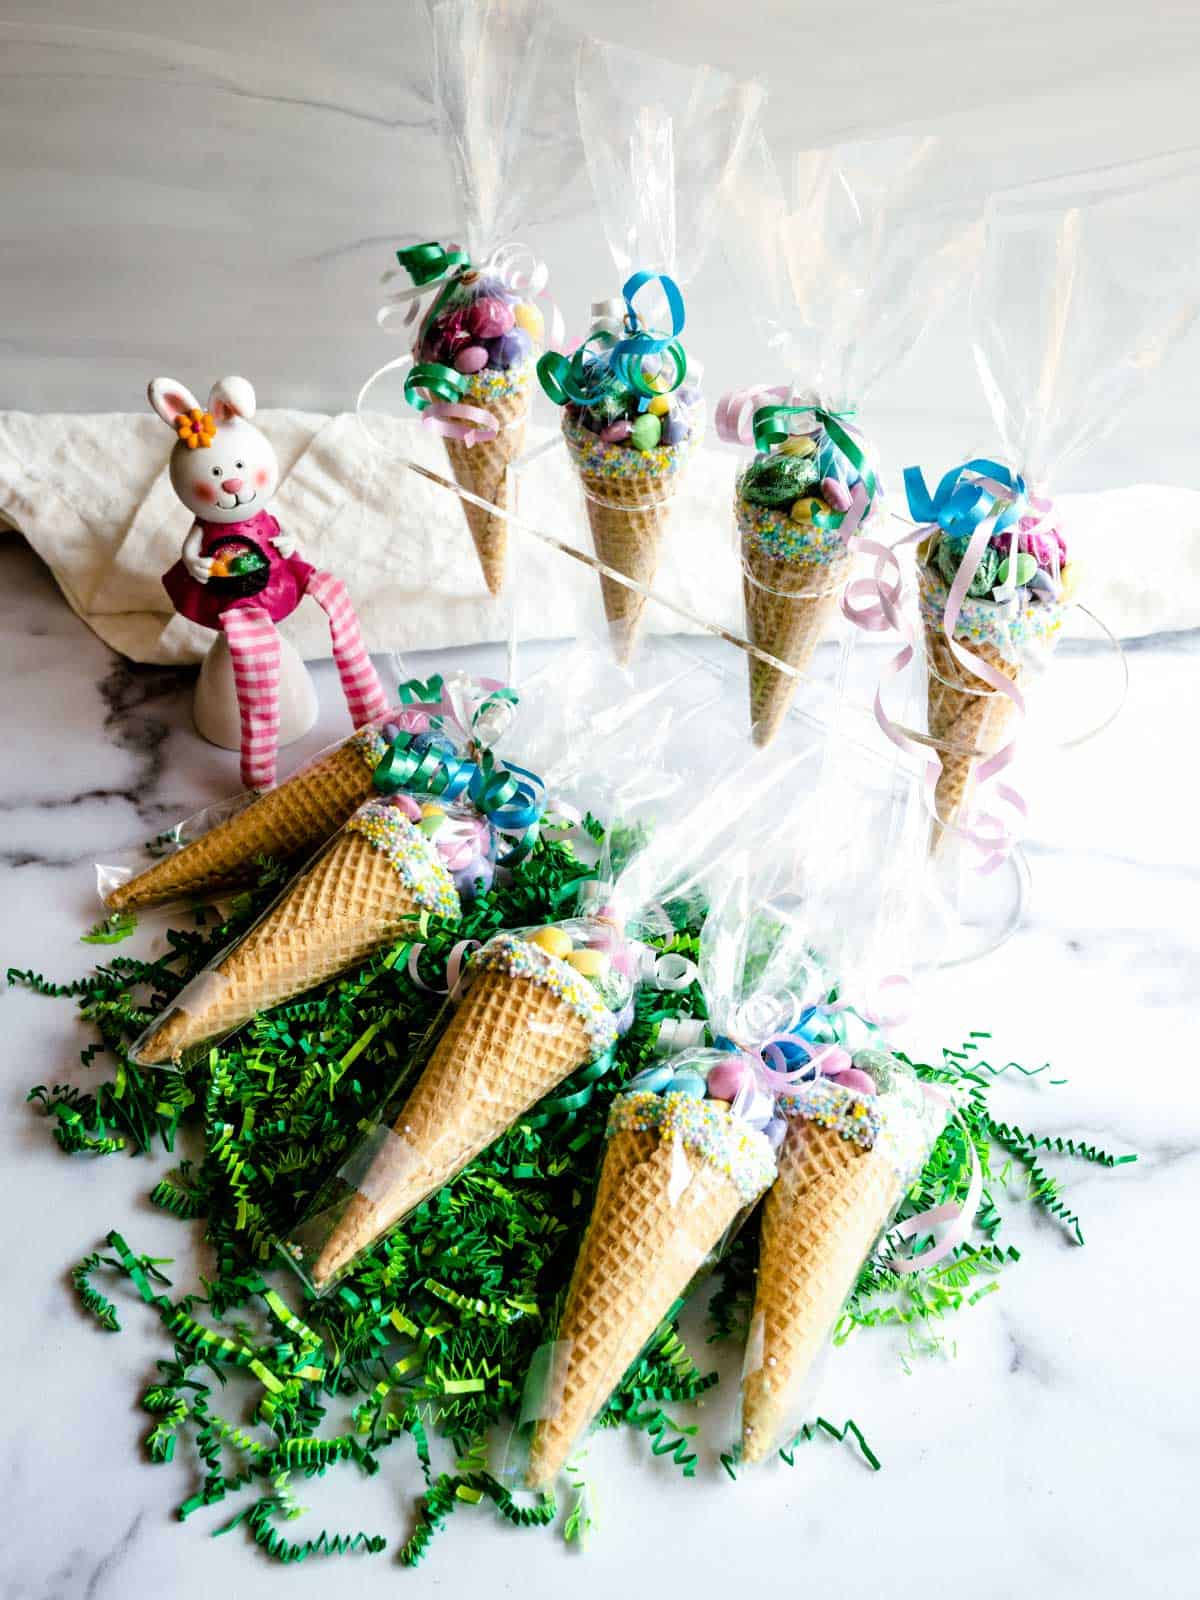
I ended up with 12 absolutely adorable Easter Candy Cones. To say that they were a hit is an understatement. Yum!
Frequently Asked Questions
Once the Easter Candy Cones have been packaged in the treat bags, they should be good for about a week. It’s important, however, to make sure that the bag is securely sealed with the rubber band.
I’ve used waffle cones before in this recipe. While they work, I don’t think that the presentation is as striking as when the sugar cones are used.
I purchased the cone-shaped treat bags at Michaels.
I would use a glass that is a bit taller than the actual cone and one whose diameter is close to that of the cone. This way, the candy stays in the cone and the treat bag when it’s added.
Once you have mastered the techniques in this recipe, you can definitely use them for other holidays. For the 4th of July, use red, white, and blue sprinkles and candies. For Halloween, use autumn-colored sprinkles and autumn-colored candies. For Christmas, use red and green sprinkles and candies.
Other Easter Treats You Should Try
If you’re interested in making other Easter treats, I have you covered. Check out these amazing recipes.
- Easter Basket Cookies: Turn ordinary sugar cookies into beautiful Easter Basket Cookies. They’re not only easy to make but also make delightful Easter goodies for both young and old alike.
- Easy Easter Basket Cookie Cups: If you’re looking for an easy and adorable treat for Easter, look no further! These Easy Easter Basket Cookie Cups take only a few ingredients and are a snap to make.
- Easter Surprise Lemon Bundt Cake: Brighten your Easter season with this rich and moist Easter Surprise Lemon Bundt Cake. It feels like springtime and tastes amazing under a layer of lemon glaze. Every piece is a surprise.
- Chocolate-Covered Peanut Butter Easter Treats: If you like Reese’s Peanut Butter Cups, you’ll love these easy-to-make Chocolate-Covered Peanut Butter Easter Treats. They only require four ingredients and are the perfect combination of chocolate and peanut butter.
- Easter Bunny Bark: Easter Bunny Bark contains only two ingredients and takes minutes to make. It will surely delight your family and friends who gather for your Easter celebration!
- French Lemon Cream Tart: French Lemon Cream Tart is the perfect combination of sweet and tart. The amazing velvety smooth dessert is perfect for Easter or anytime.
Watch How I Made This Adorable Easter Treat
I hope you liked this recipe for Easter Candy Cones as much as I do. If so, please consider rating it and leaving a comment. Also, if you’d like to receive notifications of new posts by email, enter your email address in the Subscribe box.
Thank you so much for visiting Pudge Factor. I hope you’ll come back!
Recipe
Want to Save This Recipe?
Enter your email & I’ll send it to your inbox. Plus, enjoy weekly doses of culinary inspiration as a bonus!
By submitting this form, you consent to receive emails from Pudge Factor.

Easter Candy Cones
Ingredients
Supplies
- 12 cone-shaped treat bags (See Tip 1)
- 12 small rubber bands
- Assorted colors of pastel ribbon
Easter Candy Cones
- 12 store-bought sugar cones (See Tip 2)
- 1 cup Bright White candy melts, melted according to package directions
- Pastel-colored sprinkles
- Assorted Easter candy (See Tip 3)
Instructions
- Dip top of sugar cones in melted candy melts. Before the candy melts harden, spoon on the pastel-colored sprinkles. Allow to harden.
- Place decorated cone into the cone-shaped treat bag. Place in a tall glass to support the cone. Add Easter candy. (See Tip 4)
- Secure treat bag with a rubber band. Decorate with pastel colored ribbon.
- Yield: 12 Easter Candy Cones.
Tips/Notes
- I purchased the cone-shaped treat bags at Michaels. You could also use 12-inch piping bags.
- While waffle cones will work in this recipe, sugar cones provide a better presentation.
- I used pastel milk chocolate M&M’s, pastel M&M peanuts, small jellybeans and chocolate eggs. You can use whatever candy you want. However, the candy should be on the smallish side.
- I like to use a glass that’s taller than the cone and has a diameter that’s slightly larger than the cone. This way, when the candy is added, it will stay in the cone.




Leave a Reply