
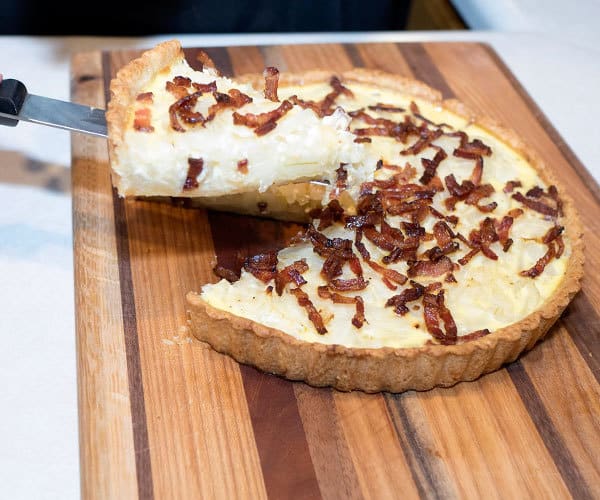
Similar to a quiche, this French Onion and Bacon Tart delivers incredible onion flavor that is accented with crispy bacon. I saw the recipe for this in the Cooks Illustrated All-Time Best French Recipes magazine that Susan gave me for Mother's Day.
When the Master Taste Tester suggested quiche for dinner, I asked whether this tart would work instead. Since he's a fan of onion dishes, the Master Taste Tester quickly agreed. As it turned out, it was an excellent choice.
Ingredients
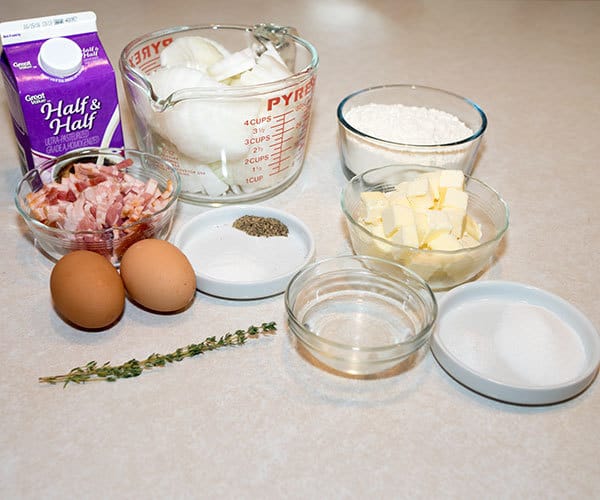
I used the following ingredients for the tart dough: All purpose flour, sugar, salt, unsalted butter and ice water. For the filling, I used bacon, onions, salt, fresh thyme, eggs, half-and-half, and freshly ground black pepper.
Making the Tart Shell
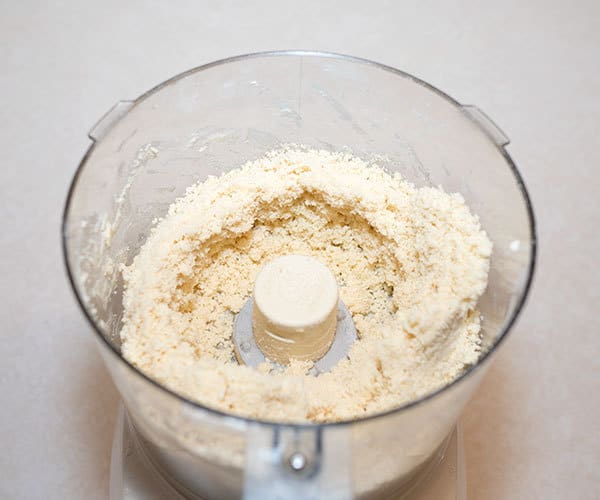
To make the tart dough, I added the flour, sugar, and salt to the food processor, and pulsed it about 4 times to combine everything. Then I scattered chilled butter, that I had cut into small cubes, over the top and pulsed it until the mixture resembled coarse sand, about 15 times.

Next I added the ice water and processed the mixture until clumps started to form. This took about 5 seconds.
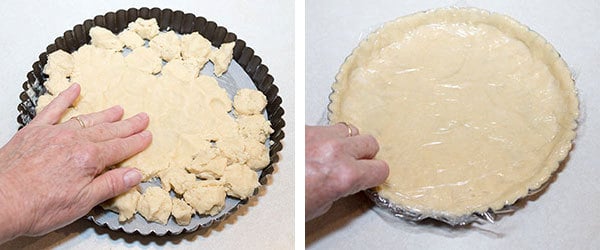
Rather than rolling out the dough, I tore it into small pieces and sprinkled it into the tart pan. I pressed the dough firmly into the corners and up the sides of the tart pan, into the fluted ridges. As a finishing step I laid a piece of plastic wrap over the dough and finished smoothing it out.
Once the tart shell was formed, I put it in the freezer for 30 minutes. Before baking it I sprayed a piece of extra-wide heavy aluminum foil with vegetable oil spray and gently pressed it against the dough, covering the edges to prevent over browning. I filled the tart shell all the way to the top with dried beans to prevent the sides from shrinking down. Then I baked it in a preheated 375° F oven for 30 minutes.
After 30 minutes I carefully removed the foil and beans and continued baking the shell until it was golden brown. This took another 10 minutes. I placed the baked tart shell on a wire cooling rack, however I noticed that several cracks formed as it was cooling. To seal the cracks, I brushed it with egg white. The last thing that I wanted was for the custard to seep out during baking. The seal worked perfectly!

Making the Filling
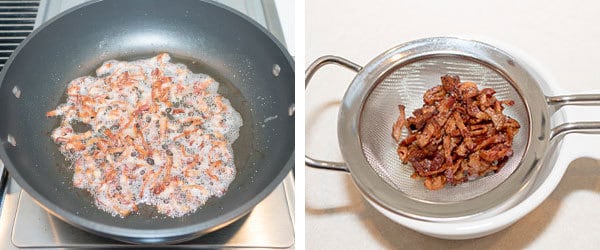
To make the filling, I started by cooking the bacon over medium heat until it was crispy. Because some of the bacon fat was needed for cooking the onions, I drained the bacon in a wire strainer set over a bowl to catch the grease.
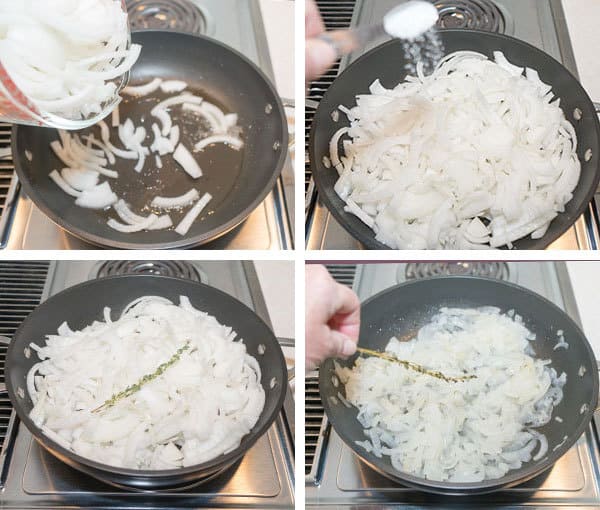
I returned 2 Tablespoons of the bacon fat to the skillet and added the onions, salt, and thyme sprig. Next I covered the pan and cooked the onions over medium heat until they started to release liquid and wilt. This took about 10 minutes. Then I reduced the heat to low and continued to cook the onions for another 15 minutes. After 15 minutes there was still a fair amount of liquid in the pan, so I removed the lid and continued cooking until the onions until the liquid had evaporated. This took another 5 minutes or so. I removed the pan from the heat, removed the thyme sprig, and let the onions cool for about 5 minutes.
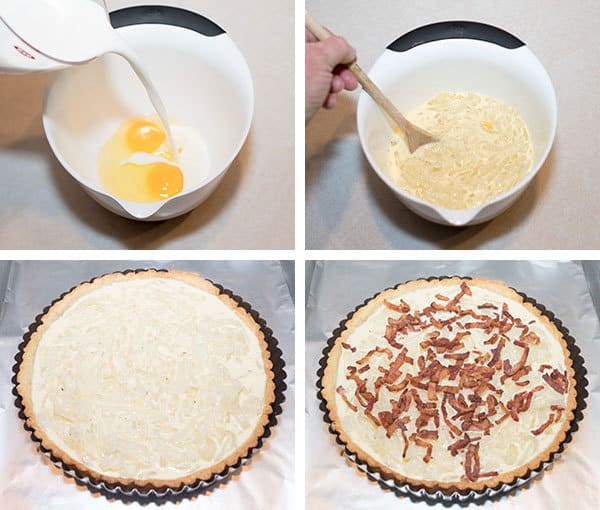
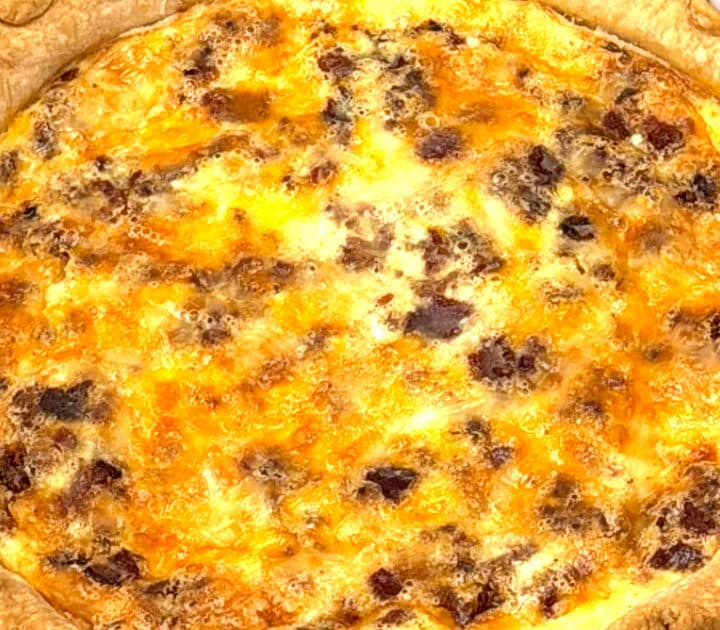
Next I whisked the eggs, half-and-half, and pepper together. I then stirred the onions in just until they were incorporated. I spread the onion mixture over the tart shell and sprinkled the bacon evenly over the top. Just in case it leaked, I placed the tart on a foil lined baking sheet. I baked the tart in a preheated 375° F oven for 25 minutes until the center felt firm to the touch.
After 25 minutes, the tart was perfectly set. I transferred it to a wire rack and let it cool for about 10 minutes.
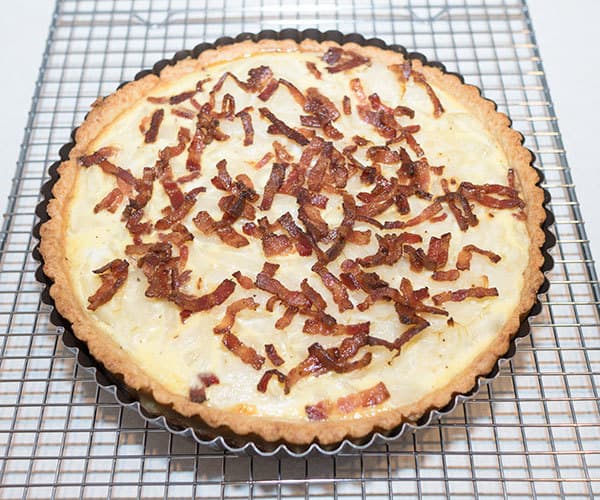
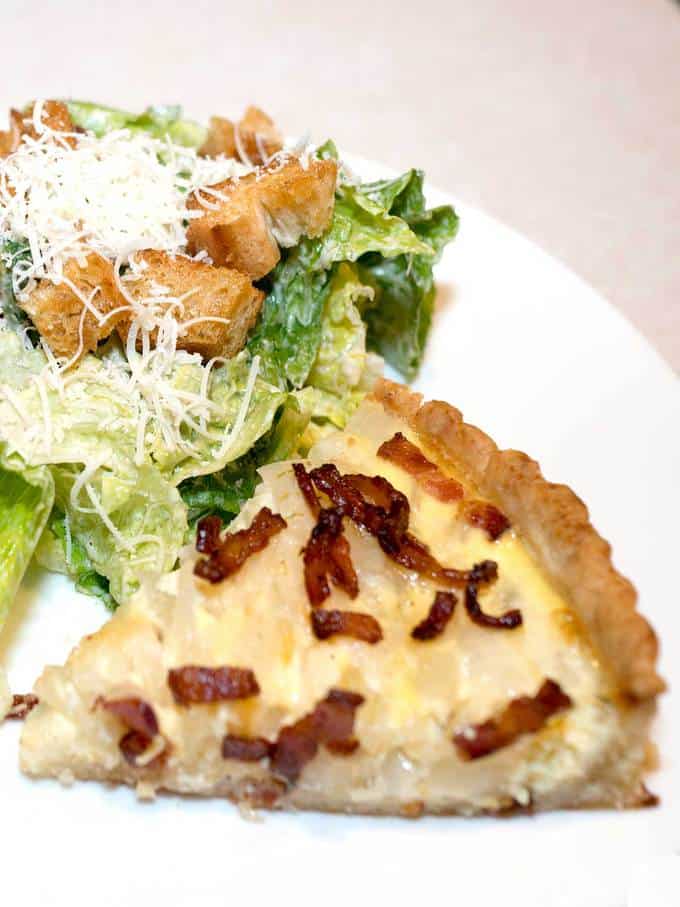
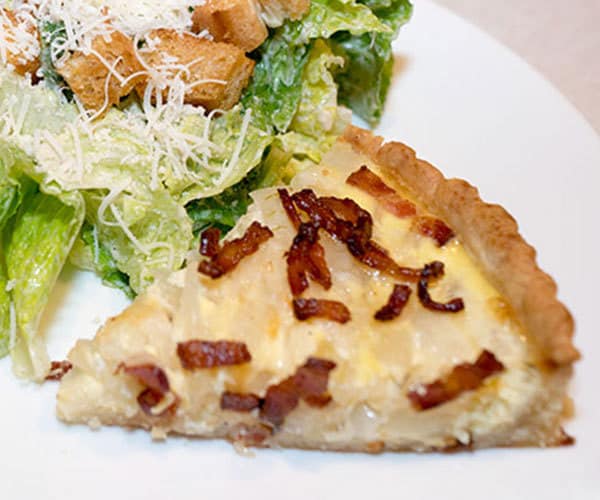
Then I removed the outer metal ring of the tart pan, slid a metal spatula between the tart and the pan bottom, and carefully slid the tart onto a cutting board. I cut the tart into wedges and served it with a Caesar Salad. The crust was buttery, and the filling absolutely delicious. Yum!
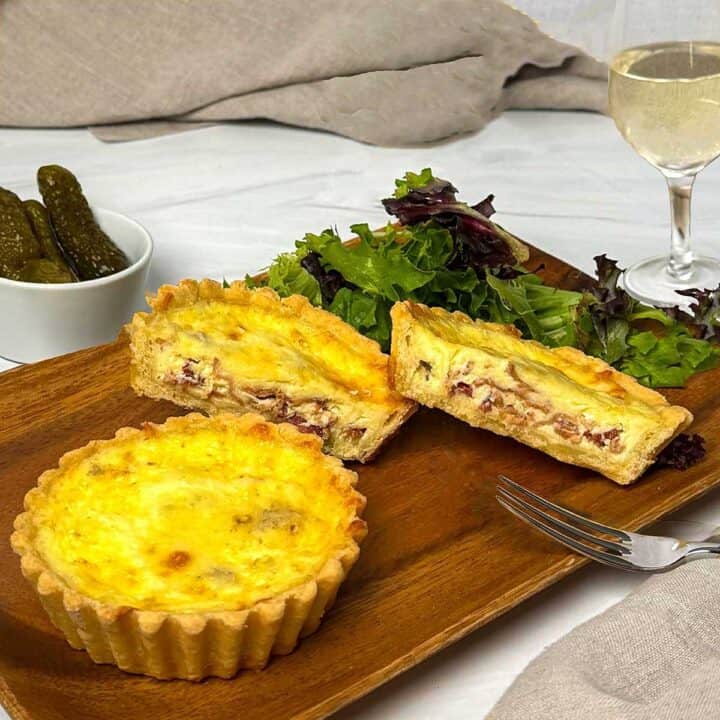
If you're interested in some more savory Tarts, check out my Three Cheese Zucchini Tart or Fresh Tomato Ricotta Tart in Puff Pastry.
I hope you liked this recipe for French Onion and Bacon Tart as much as I do. If so, please consider rating it and leaving a comment. Also, if you'd like to receive notifications of new posts by email, ever your email address in the Subscribe box.
Thank you so much for visiting Pudge Factor. I hope you'll come back!
Recipe
Want to Save This Recipe?
Enter your email & I’ll send it to your inbox. Plus, enjoy weekly doses of culinary inspiration as a bonus!
By submitting this form, you consent to receive emails from Pudge Factor.

French Onion and Bacon Tart
Ingredients
Crust
- 1 ¼ cups (6.25 ounces, 177 grams) unbleached all-purpose flour
- 1 Tablespoon granulated sugar
- ½ teaspoon table salt
- 1 stick 8 Tablespoons, 4 ounces unsalted butter, cut into ½-inch cubes and well chilled
- 2 to 3 Tablespoons ice water
Filling
- 4 slices bacon cut into ¼-inch pieces
- 1 ½ pounds onions halved through root end, peeled, and cut crosswise into ¼-inch slices (about 6 cups)
- 1 sprig fresh thyme
- ¾ teaspoon table salt
- 2 large eggs
- ½ cup half-and-half
- ¼ teaspoon freshly ground black pepper
Instructions
Crust
- Spray 9-inch tart pan with nonstick cooking spray; line bottom with parchment paper. Combine flour, sugar, and salt in food processor with four 1-second pulses. Scatter butter pieces over flour mixture; pulse to cut butter into flour until mixture resembles coarse sand, about fifteen 1-second pulses. Add 2 Tablespoons ice water and process until large clumps form and no powdery bits remain, about 5 seconds, adding up to 1 Tablespoon more water if dough will not form clumps.
- Tear dough into walnut-size pieces and sprinkle pieces evenly on tart pan. Working outward from center, press dough into even layer, sealing any cracks. Working around edge, press dough firmly into corners of pan with index finger. Go around edge once more, pressing dough up sides of tart pan and into fluted ridges. Use thumb to level off top edge of dough. Lay plastic wrap over dough and smooth out any bumps or shallow areas. Place tart shell on plate and transfer to freezer for 30 minutes.
- Adjust oven rack to middle position and heat oven to 375° F. Place frozen tart shell on baking sheet; lightly spray one side of 18-inch square extra-wide heavy-duty aluminum foil with nonstick cooking spray. Press foil greased side down inside tart shell, folding excess foil over edge of pan. Fill with dried beans or pie weights and bake until top edge just starts to color and surface of dough under foil no longer looks wet, about 30 minutes. Remove from oven and carefully remove foil and weights by gathering edges of foil and pulling up and out. Return baking sheet with tart shell to oven and bake until golden brown, 5 to 10 minutes. Set baking sheet with tart shell on wire rack. Cool completely. If cracks form in shell, brush with egg white to seal.
Filling
- While crust is baking, cook bacon in 12-inch nonstick skillet over medium heat until browned and crisp, 8 to 10 minutes. Drain bacon through mesh strainer set over small bowl; transfer bacon to paper towel-lined plate. Return 2 Tablespoons bacon fat to skillet, adding vegetable oil to make up difference if necessary.
- Add onions, salt, and thyme to skillet. Cover and cook until onions release liquid and start to wilt, about 10 minutes. Reduce heat to low and continue to cook, covered, until onions are very soft, about 20 minutes, stirring once or twice (if after 15 minutes onions look wet, remove lid and continue to cook another 5 minutes). Remove pan from heat and let onions cool 5 minutes.
- Whisk eggs, half-and-half, and pepper together in large bowl. Remove thyme sprig from onions; discard. Stir onions into egg mixture until just incorporated. Spread onion mixture over baked crust (still on baking sheet) and sprinkle bacon evenly on top.
- Bake at 375° F until center of tart feels firm to touch, 20 to 25 minutes. Cool on wire rack at least 10 minutes. When ready to serve, remove tart pan ring; gently slide thin-bladed spatula between tart pan bottom and crust to loosen, then slide tart to serving plate. Cut into wedges and serve.
- Yield: One 9-inch tart.

Leave a Reply