
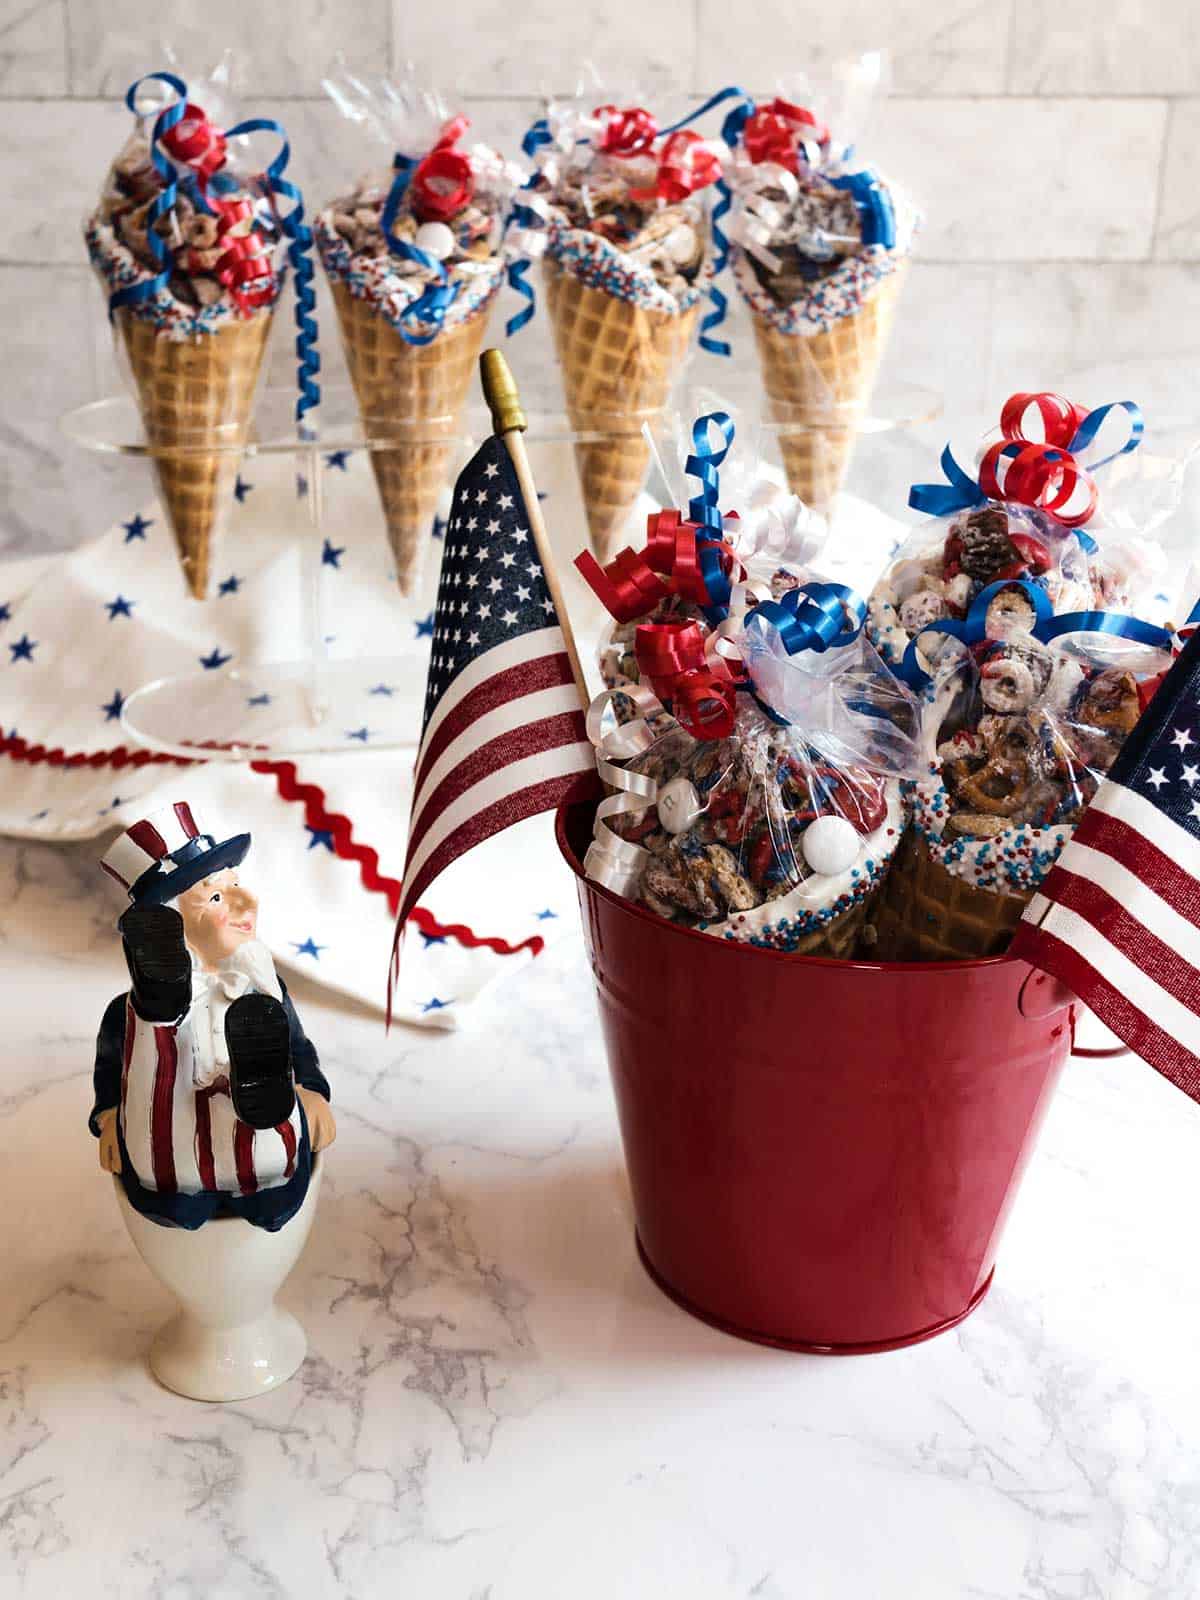
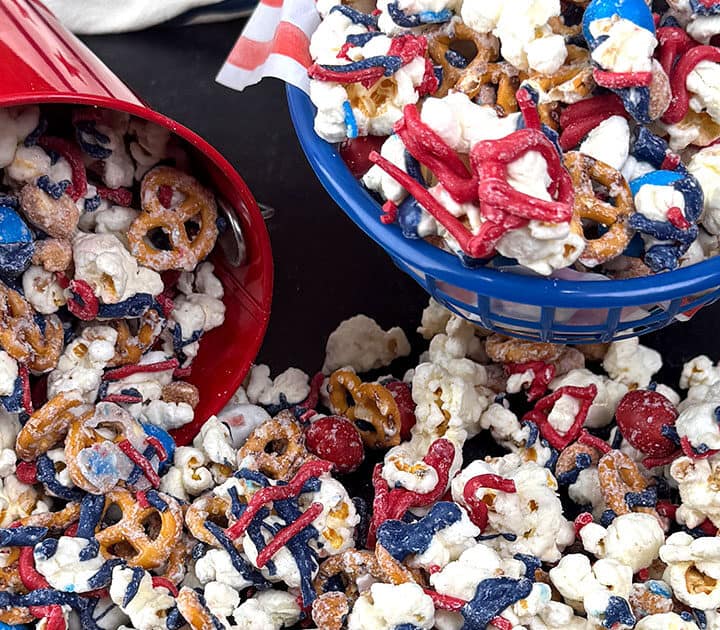
Patriotic Snack Mix Cones are a perfect treat for your summer patriotic festivities. They're super simple to make and impressive enough for your pickiest eater. Store-bought waffle cones are topped with white chocolate and red, white and blue sprinkles and filled with an awesome snack mix.
First Time Snack Mix - Disaster
This ultimate recipe is Susan's inspiration. However, the first time that we made the snack mix, it was basically a disaster.
First, we included popcorn in the snack mix. While it seemed to be a good idea, the popcorn lost its crispiness when it was coated.
Secondly, we used white chocolate chips, and a lot of them. The taste of the white chocolate chips was negative. Also, the resultant snack mix had way too much coating that dominated the flavor.
Third, we didn't include enough pretzels. As it turned out the coated pretzels were the tastiest in the snack mix.
Fourth, we waited until after the snack mix was coated to add the peanuts, Reese's minis or M&M's - we should have added them with the rest of the ingredients.
Bottom line, the first time making the snack mix was a disaster that ended up in the trash can.
However, we learned a lot from that disaster and ended up producing an amazing recipe the second time around!
Ingredients for Patriotic Snack Mix Cones
For the cones, I used store-bought waffle cones, bright white candy melts and red, white and blue sprinkles.
For the snack mix, I used Rice Chex, Ity Bitty Mini Pretzels, Cheerios, cocktail peanuts, Mini Reese's, red, white and blue M&M's, bright white candy melts, and red and blue candy melts.

Preparing the Cones
I used the white candy melts for both the cones and the snack mix.
- To make it easier to dip the cones, we started by melting the white candy melts in the microwave on 50% power in 30 second increments. After each 30 seconds, we stirred the candy melts.
- Once the candy melts were melted, we dipped the tops of the waffle cones in the mixture to about ½-inch. Then, we spooned the sprinkles onto tops of the cones. We allowed the cones dry.

Preparing the Snack Mix
While the cones were drying, we made the snack mix - this time after having learned from the previous attempt.
- We started by adding the Rice Chex, pretzels, Cheerios, peanuts, Reese's minis and M&M's to a large bowl.

- Then we poured the rest of the melted white candy melts onto the snack mix ingredients.

- We carefully stirred the mixture with a wooden spoon until all of the snack mix ingredients were coated. Then, we poured the coated snack mix onto a large piece of parchment paper.

- We spread the coated snack mix out and sprinkled on some reserved M&M's.
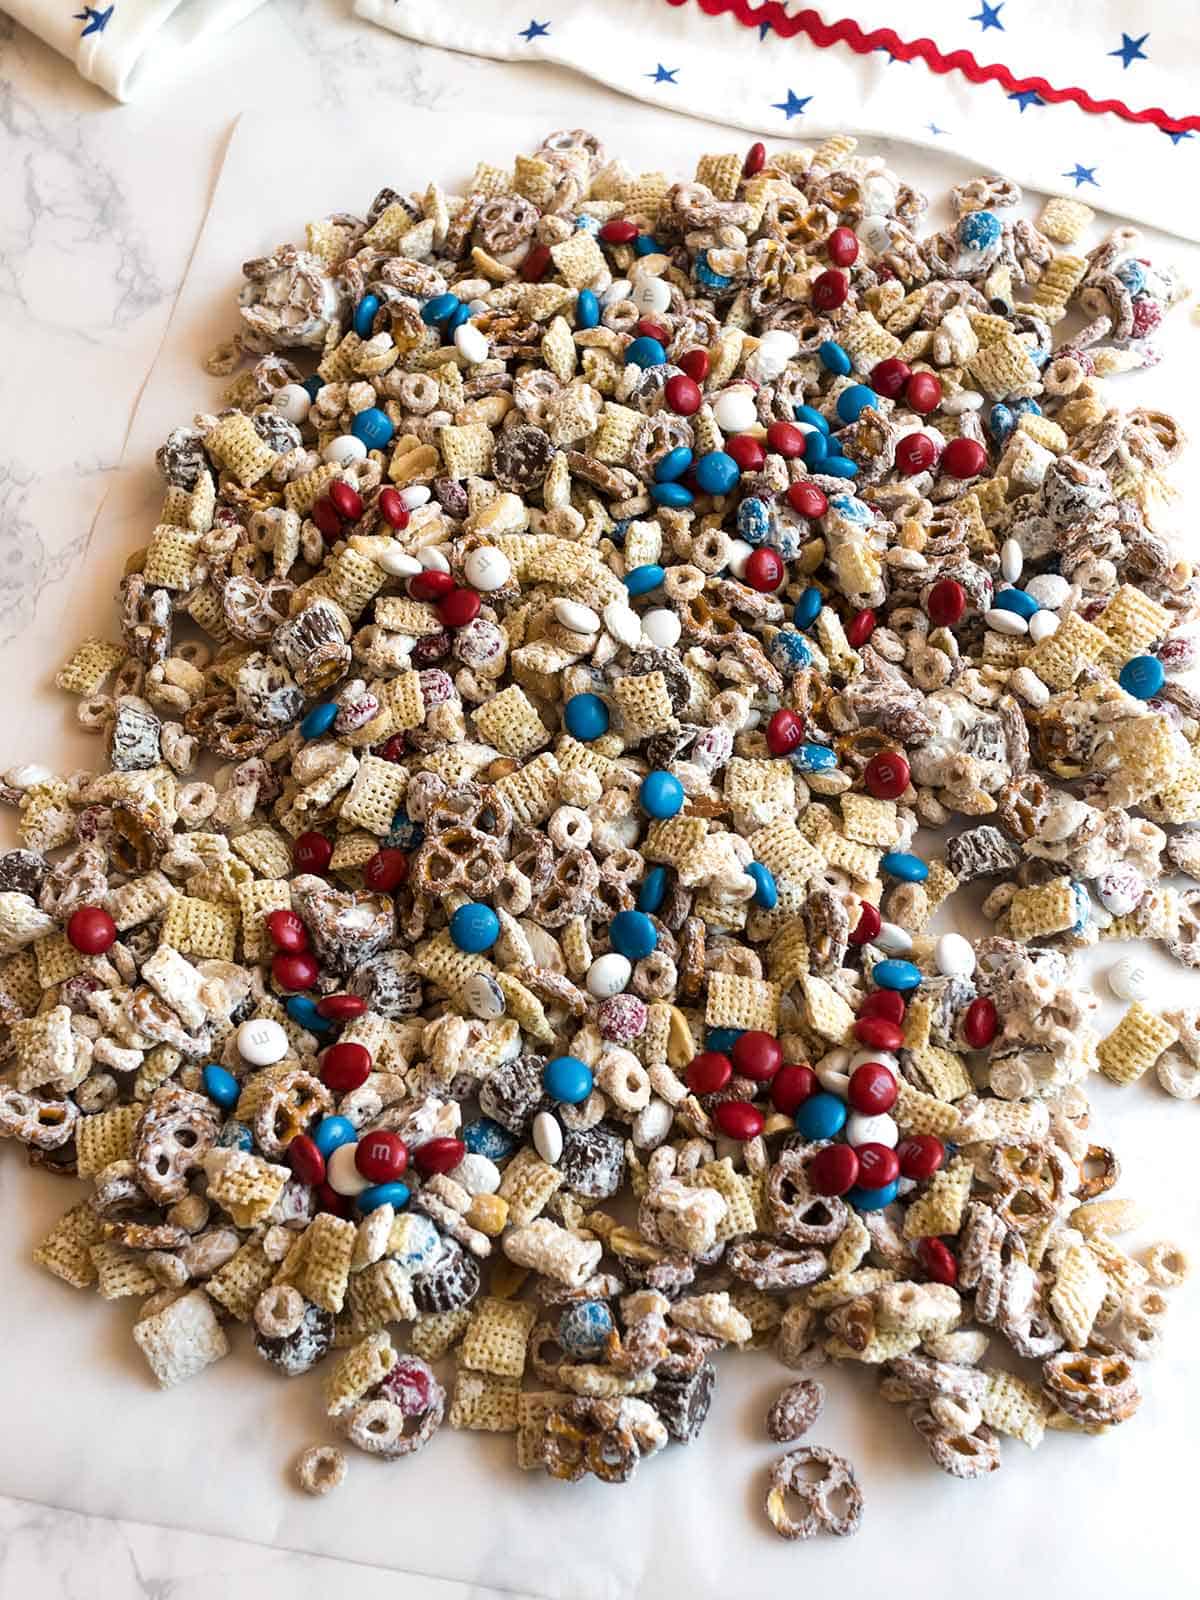
- For a finishing touch, Susan added her magic and drizzled the snack mix with red and blue melted candy melts. We let the snack mix thoroughly dry.

Finishing the Patriotic Snack Mix Cones
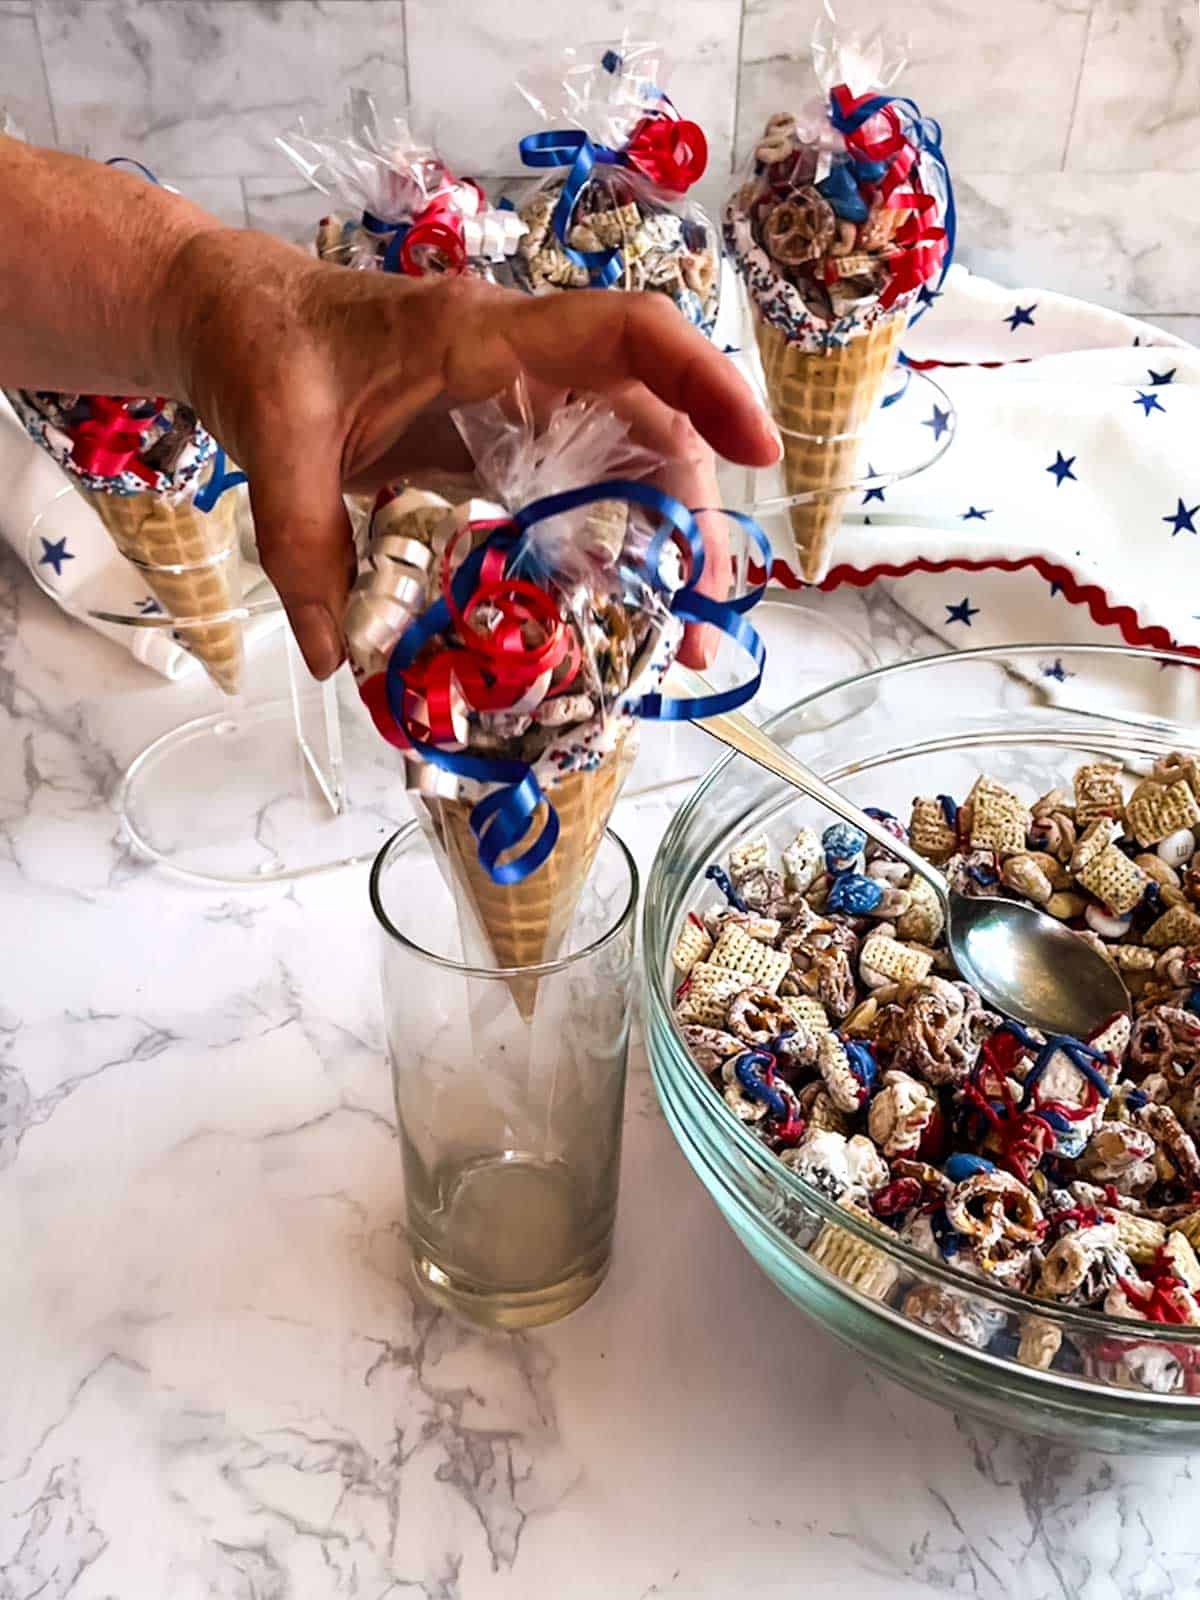
With the waffle cones and snack mix ready, it was time to fill the cones and decorate them.
First, we put the decorated cones into cone-shaped plastic bags. Then, we placed the cones in a glass and added the snack mix. We also added a few additional red, white and blue M&M's on the top.

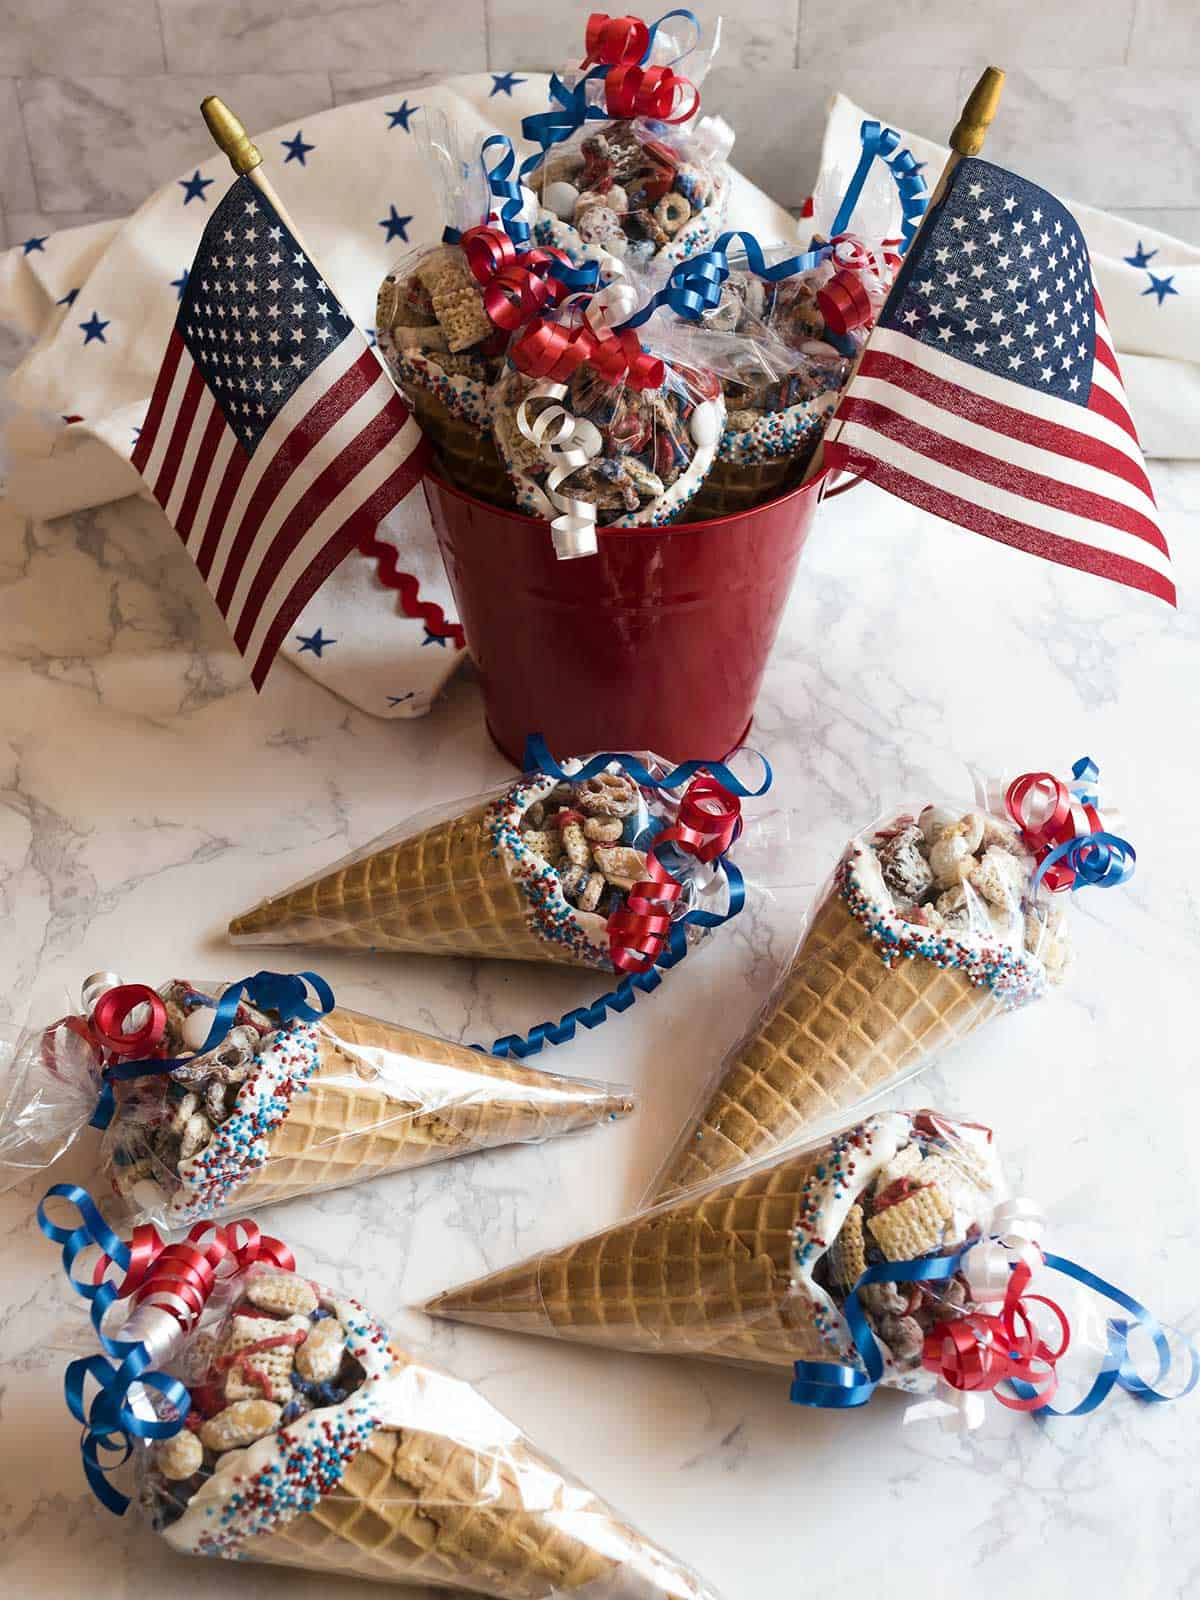
Once the cones were filled, we secured the bags with rubber bands and added red, white and blue ribbon.
The snack mix all by itself was amazing. It had just the right amount of sweet and salty, and the right amount of coating.
The actual Patriotic Snack Mix Cones were as awesome to look at as they were to enjoy. They are a perfect treat for all of your patriotic summer festivities. Yum!
Frequently Asked Questions
Either the regular sugar cones or the waffle cones will work in this recipe. The advantage of the waffle cones is that they will hold more of the snack mix. However, the sugar cones will work as well.
The recipe for the snack mix is quite versatile. You can use other Chex cereals, increase or decrease the quantities of the individual ingredients, use mini pretzels if you can't find the Ity Bitty Mini pretzels, use different colored M&M's for different holidays, etc. Feel free to use your imagination.
White chocolate chips can be used in this recipe inlace of the white melting wafers. However, the white chocolate chips have a stronger taste than the white melting wafers. It's really a matter of personal preference.
If the snack mix is stored in an air-tight container, it should stay fresh for about a week. If it's used to fill the cones and enclosed in a plastic bag, it should stay fresh for several days.
Other Fourth of July Treat Recipes
If you're looking for red, white and blue themed treats check out the following:
This isn't for the Fourth of July. However, you might also be interested in Easter Candy Cones.
If you liked the recipe for these Patriotic Snack Mix Cones, please consider rating it and leaving a comment. Also, if you'd like to receive notifications of new posts by email, enter your email address in the Subscribe box.
Thank you so much for visiting Pudge Factor. I hope you'll come back!
Recipe
Want to Save This Recipe?
Enter your email & I'll send it to your inbox. Plus, enjoy weekly doses of culinary inspiration as a bonus!
By submitting this form, you consent to receive emails from Pudge Factor.

Patriotic Snack Mix Cones
Ingredients
- 12 store-bought waffle cones (See Tip 1)
- 12 ounce package (2 cups) bright white candy melting wafers, divided
- red, white and blue sprinkles
- 3 cups Rice Chex (See Tip 2)
- 2 cups Ity Bitty Mini Pretzels (See Tip 3)
- 1 ½ cups Cheerios
- 1 ¼ cups Cocktail Peanuts (See Tip 4)
- 1 cup Reese's minis
- 1 ½ cups red, white and blue M&M's, divided
- ½ cup royal blue candy melting wafers
- ½ cup red candy melting wafers
- 12 cone-shaped plastic bags
- 12 rubber bands
- Red, white and blue curling ribbon
Instructions
- Melt the candy melting wafers in the microwave on 50% power in 30 second intervals. Stir after each 30 second interval. (See Tip 5)
- Dip the top of the waffle cones in melted mixture. Spoon sprinkles onto the melted candy wafers. Place cones in glasses or other vessels to allow to dry. Reserve remainder of melted candy wafers to coat snack mix.
- Add Rice Chex, pretzels, Cheerios, nuts, Reese's minis and 1 cup of M&M's to a large bowl. Pour on remainder of melted candy melts. Stir to thoroughly coat all ingredients. Pour onto parchment paper and spread out. Top with all but 2 tablespoons of remaining M&M's.
- Place blue and red candy melting wafers in piping bags or Ziploc bags. Microwave on 50% power in 30 second increments to melt. Snip a small piece from the bottom of the piping bags or from the corner of the Ziploc bag. Drizzle blue and red melted candy wafers over snack mix. Allow to dry.
- Place decorated cone in plastic cone-shaped bag. Spoon in snack mix; sprinkle remainder of M&M's on top. (See Tip 6)
- Secure top of bags with rubber bands and tie on ribbon.
- Yield: 12 Patriotic Snack Mix Cones. (See Tip 7)
Tips/Notes
- May also use store-bought sugar cones. However, they will not hold as much of the snack mix as waffle cones.
- May use different Chex cereals in place of the Rice Chex.
- If you are unable to find the Ity Bitty Mini pretzels, you can use mini pretzels.
- Can use mixed nuts or dry roasted peanuts in place of the cocktail peanuts.
- The reason that I melted all of the candy wafers was that I needed enough of the mixture to easily dip the tops of the cones. Dipping the cones used 4 ounces of the mixture; the remaining 8 ounces of the mixture was used to coat the snack mix.
- I used a somewhat narrow glass to put the cone into before adding the snack mix. This made it easy to add the snack mix to the cone.
- You will have some snack mix leftover. Place in an air-tight container to enjoy later.
Leave a Reply