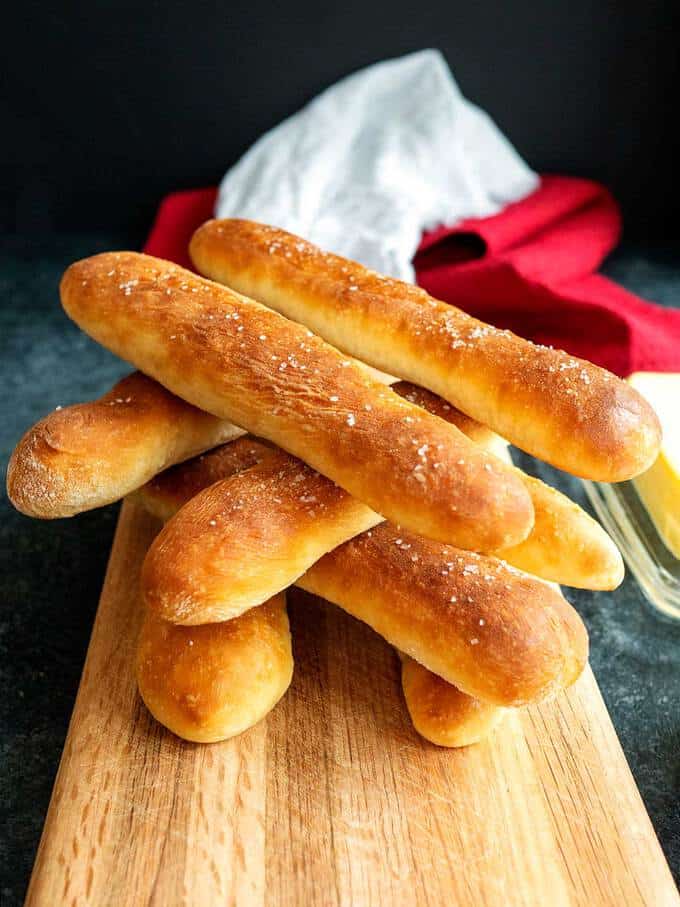
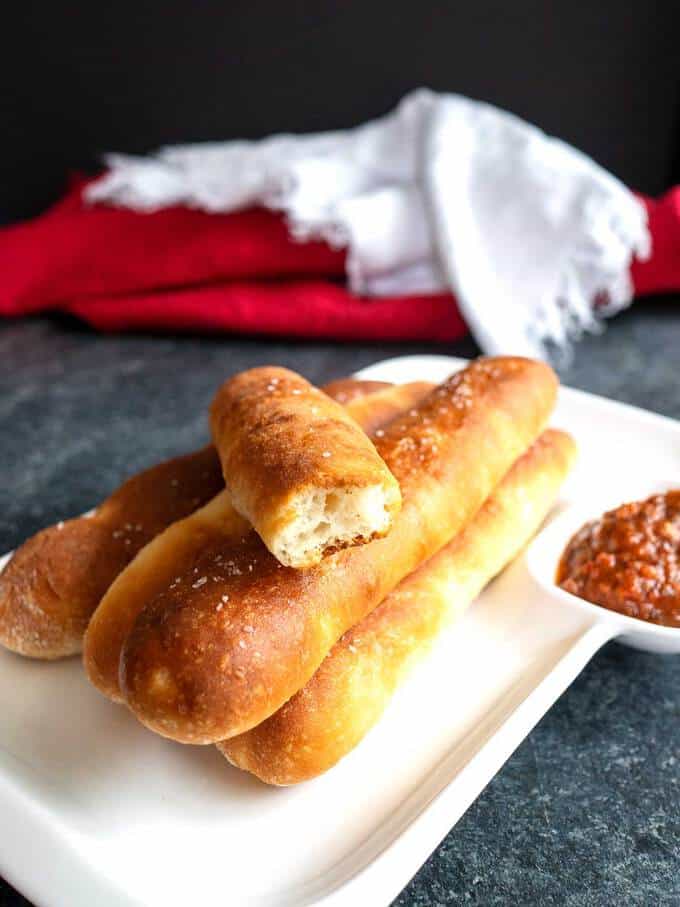
Making Breadsticks using a food processor is super easy. With a food processor, it takes less than 1 minute to prepare and knead the dough. After that, the dough sits for its first rise. Once the individual breadsticks have been formed, they sit for their second rise before being baked to perfection.
There’s nothing like the smell of fresh bread baking. However, most homemade bread recipes call for proofing the yeast and then using a stand mixer or bread machine to do the 8 to 10 minutes or so of kneading. Otherwise, the kneading is done by hand. No more!
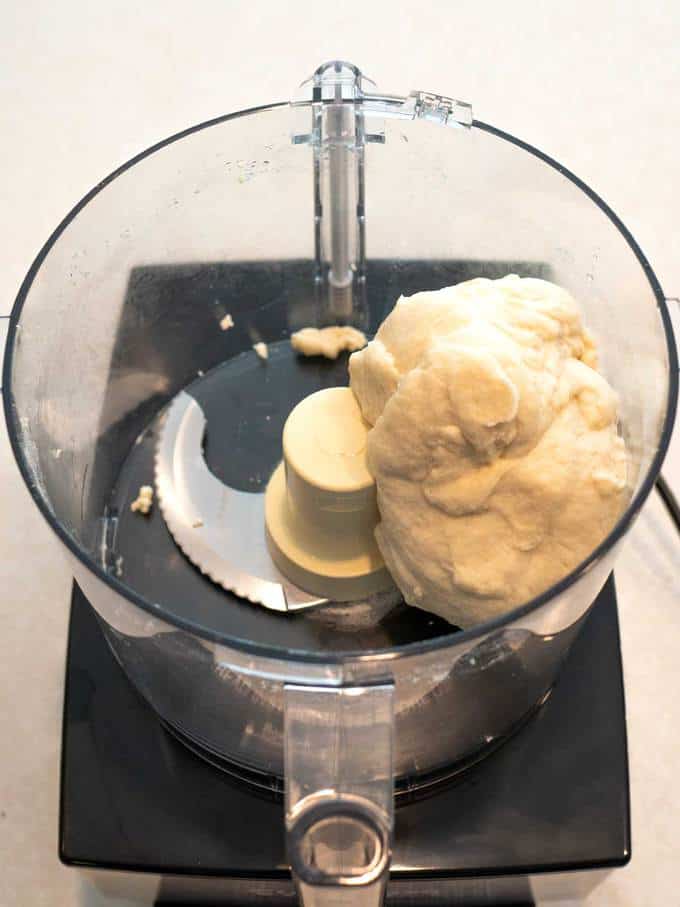
The food processor can knead most bread doughs in a fraction of the time. The metal blade turns at such a fast RPM that most bread dough is fully kneaded in 45 to 90 seconds. The only caveat is that the friction caused by the metal blade can quickly heat the bread dough. If the dough gets too hot, it can kill the yeast.
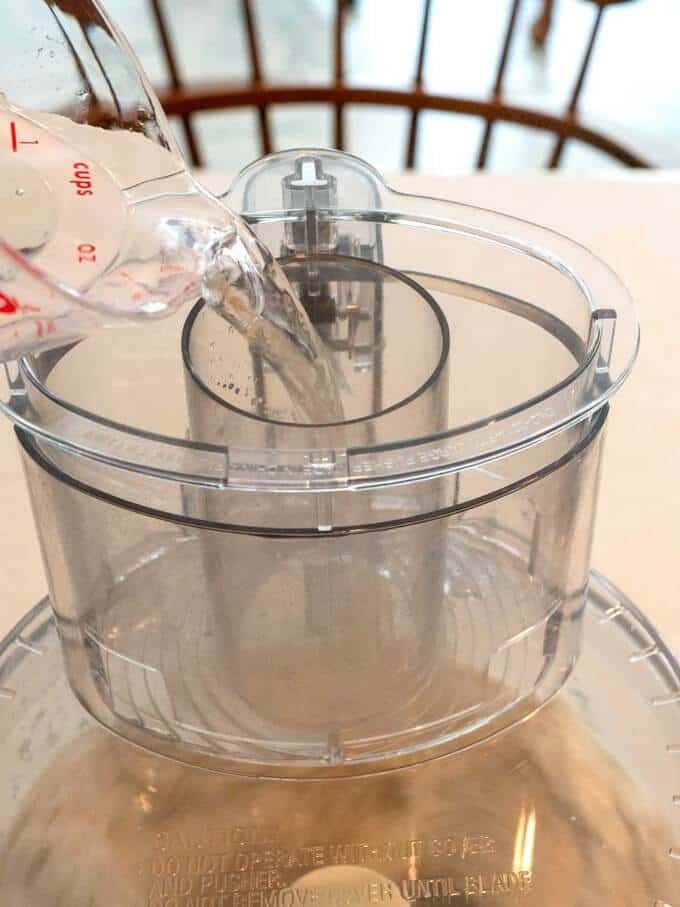
The solution? Use cold water once all of the dry ingredients, including the yeast, are mixed together. No more proofing the yeast!
If you’d like a more traditional bread recipe using a bread machine, you should check out my Crusty French Bread, Amish Potato Rolls, Buttery Dinner Rolls, or Oat Rolls. I love making bread and watching the magic of yeast transform ordinary ingredient into amazing breads!
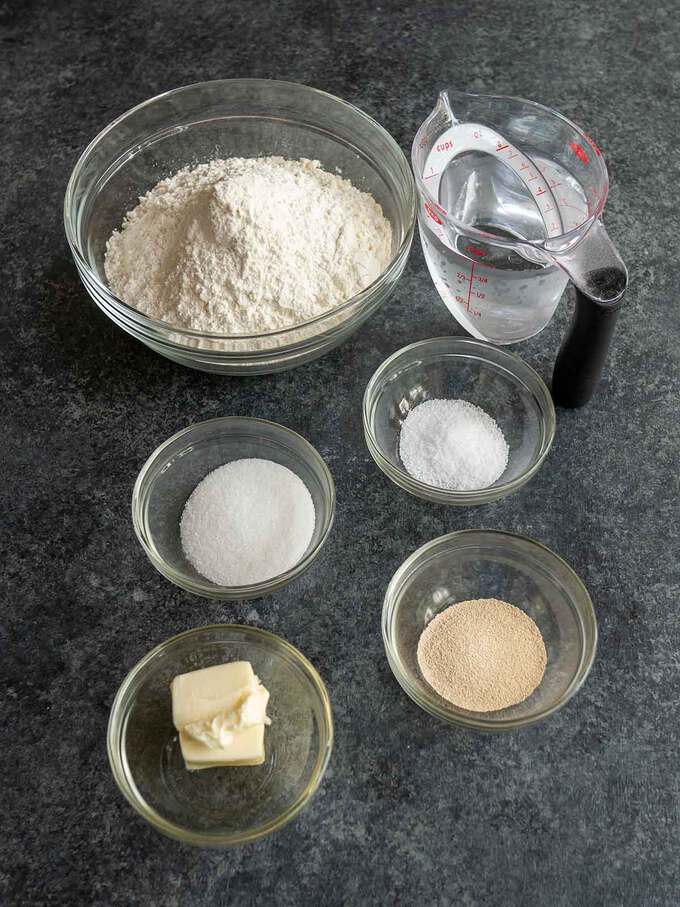
Ingredients for Breadsticks
I used the following ingredients for these delicious breadsticks: Bread flour, granulated sugar, Kosher salt, instant or bread machine yeast, unsalted butter and water.
I always use filtered water when making bread. The reason is that chlorine in regular tap water can retard the growth of the yeast or even kill it.
 Making the Breadstick Dough in Food Processor
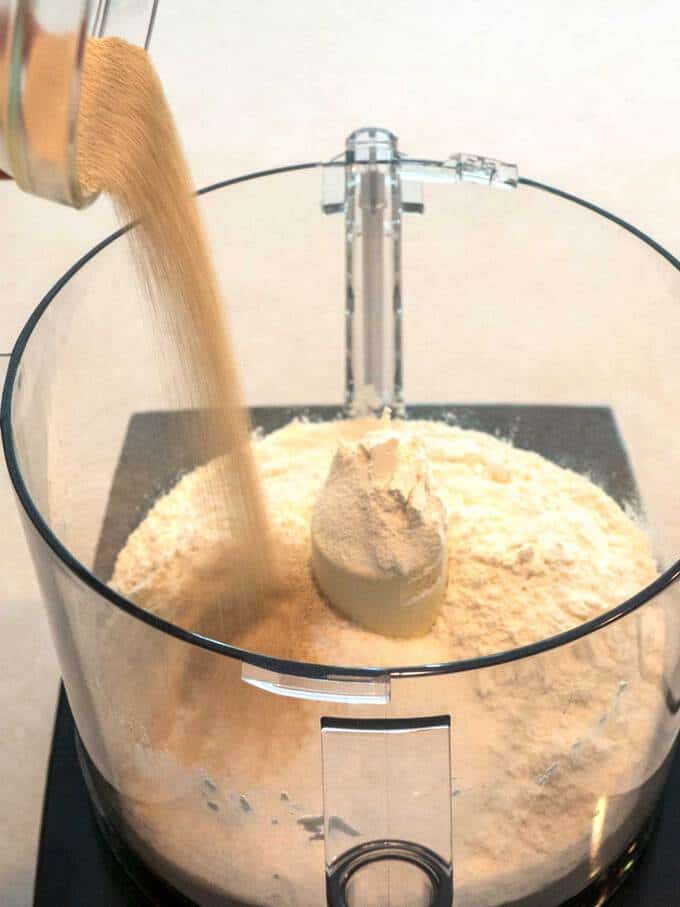
I started by adding the flour, sugar, salt and yeast to the bowl of my food processor fitted with a metal blade. Then, I pulse processed the dry ingredients 5 or 6 times to thoroughly combine them.
Finishing the Easy Breadsticks in Food Processor
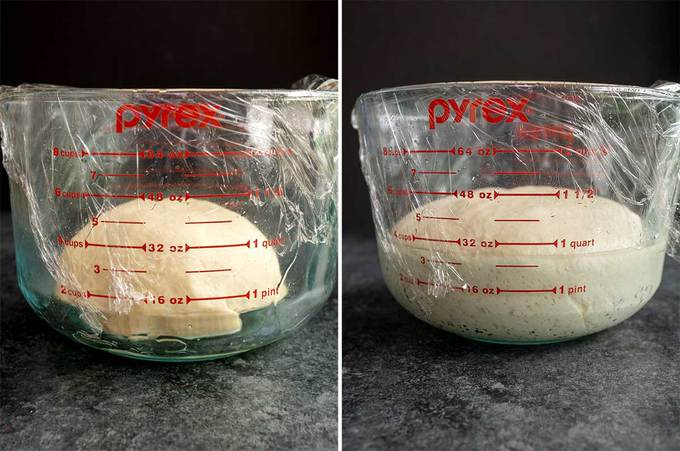
I covered the measuring cup with plastic wrap, and placed it into a warm location for its first rise. I always follow Julia Child’s approach and let the dough rise in a warm oven. To do this, I turn my electric oven on for 1 minute and 45 seconds. It doesn’t matter what temperature I set. All I’m looking for is the oven to very briefly warm up just until I see the temperature starting to rise.
On my oven, the starting temperature when I turn it on is 100°F. After 1 minute and 45 seconds of the oven being on, the temperature just starts to increase to 101°F. That’s when it’s time to turn the oven off.
 Chula’s Expert Tips
Making bread is one of my most favorite things to make. Over the years, I’ve learned several things that ensure that every bread recipe that I make turns out perfectly.
- I always weigh most of my ingredients – especially the flour and liquids. You would be amazed at how much variation there is in a cup of flour.
- As a rule of thumb, I consistently equate 1 cup of flour to 5 ounces.
- I always use filtered water when making bread. The reason is that tap water contains chlorine which can retard the growth of yeast. Too much chlorine in the water can actually kill the yeast.
- To produce the perfect environment for the dough to rise, I turn on my electric oven for 1 minute and 45 seconds. The actual temperature setting doesn’t matter. All I want is for the oven to slightly warm up. My oven starts at 100°F when turned on. After 1 minute and 45 seconds, the temperature just starts to rise to 101°F. That’s when I turn the oven off. I’d like to take credit for this, but it’s actually the technique that Julia Child recommended.
**If you make this recipe, please consider leaving me a comment to let me know how you liked it!**
Recipe
Want to Save This Recipe?
Enter your email & I’ll send it to your inbox. Plus, enjoy weekly doses of culinary inspiration as a bonus!
By submitting this form, you consent to receive emails from Pudge Factor.
Easy Breadsticks in Food Processor
Equipment
- Food Processor
Ingredients
Breadsticks
- 2 ½ cups (12.5 ounces) bread flour (See Tip 1)
- 2 Tablespoons granulated sugar
- 1 ½ teaspoons Kosher salt
- 1 ½ teaspoons instant or bread machine yeast
- 2 Tablespoons unsalted butter, room temperature
- 1 cup (8 ounce) filtered water, not heated (See Tips 2 and 3)
Finishing the Breadsticks
- 3 Tablespoons unsalted butter
- 1 clove garlic, minced
- Additional Kosher salt for sprinkling, optional
Instructions
Breadsticks
- Place flour, sugar, salt and yeast in bowl of food processor fitted with steel blade. Pulse process 5 or 6 times to mix ingredients.
- Add butter and water to food processor. Process 45 seconds.
- Transfer dough to floured surface. Knead several times to form a smooth ball. Place in oiled container; cover with plastic wrap. Let sit in a warm location until doubled in volume, 1 to 1 ½ hours. (See Tips 4 and 5)
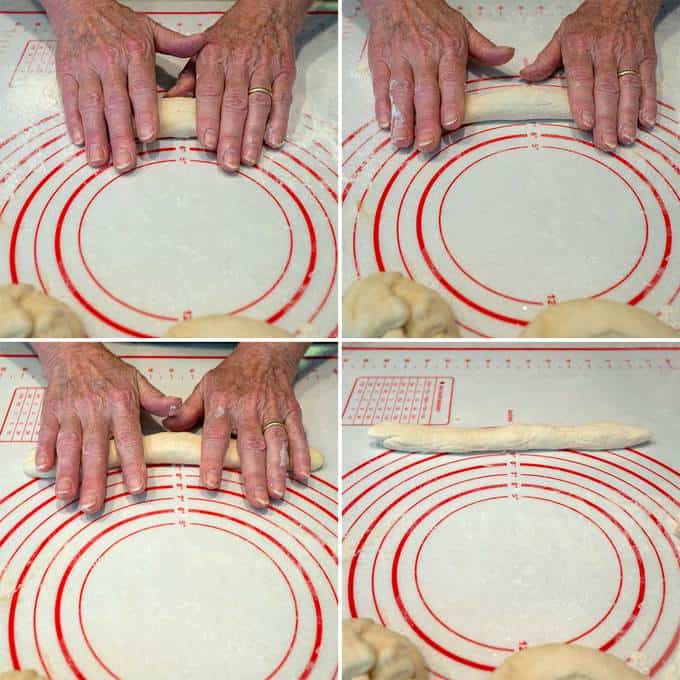
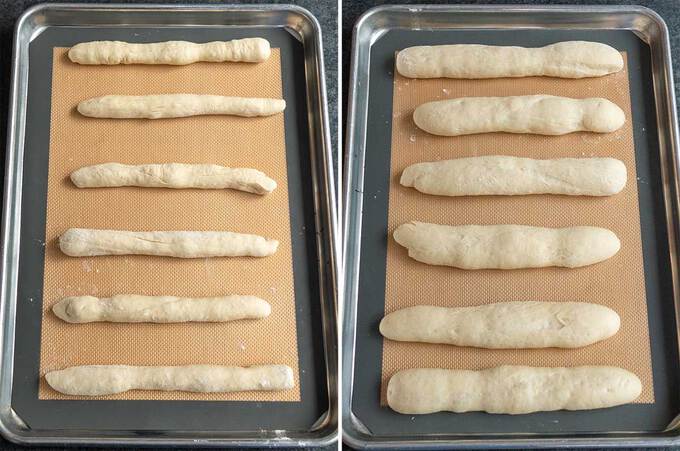
- Turn dough onto floured surface. Cut into 12 pieces, approximately 1.87 ounces each. Form each piece into an 8-inch rope. Place on parchment lined baking sheet, leaving at least 2-inches between breadsticks. Cover with dish towel or plastic wrap. Let sit until doubled in volume, 1 to 1 ½ hours.
- Preheat oven to 400°F. Bake breadsticks in preheated oven for 10 to 12 minutes, or until golden brown.
Finishing the Breadsticks
- Melt butter with garlic. Let stand 5 minutes. Pour through wire mesh strainer to remove garlic.
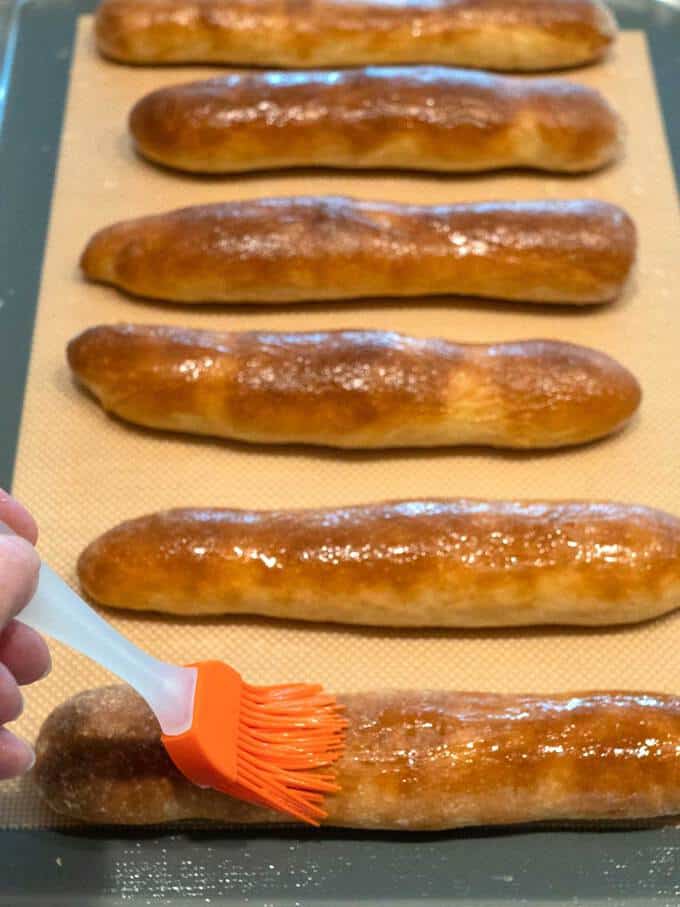
- Remove breadsticks from oven. Brush with garlic butter and sprinkle with Kosher salt.
- Yield: 12 breadsticks.
Tips/Notes
- I always weigh my ingredients when making bread. The reason is that there is so much variability in how much is actually in a cup.
- The reason for using filtered water is that tap water contains chlorine. Chlorine can retard the growth of the yeast. Too much chlorine can actually kill the yeast.
- Because of the heat generated by the food processor, start with cold water. If the dough becomes too hot, it can kill the yeast.
- I like to let my dough rise in an 8-cup measuring cup. That way, I can easily see when the dough has doubled in volume.
- To produced the perfect environment for the dough to rise, I turn on my electric oven for 1 minute and 45 seconds. The actual temperature setting doesn't matter. All I want is for the oven to slightly warm up. My oven starts at 100°F when turned on. After 1 minute and 45 seconds, the temperature just starts to rise to 101°F. That's when I turn the oven off.


 Making the Breadstick Dough in Food Processor
 Chula’s Expert Tips

The Book of Food says
I’m usually not great when it comes to bread but this recipe turned out just great ! I made two big pieces instead of sticks, they really taste good. Thank you for sharing.
PudgeFactor says
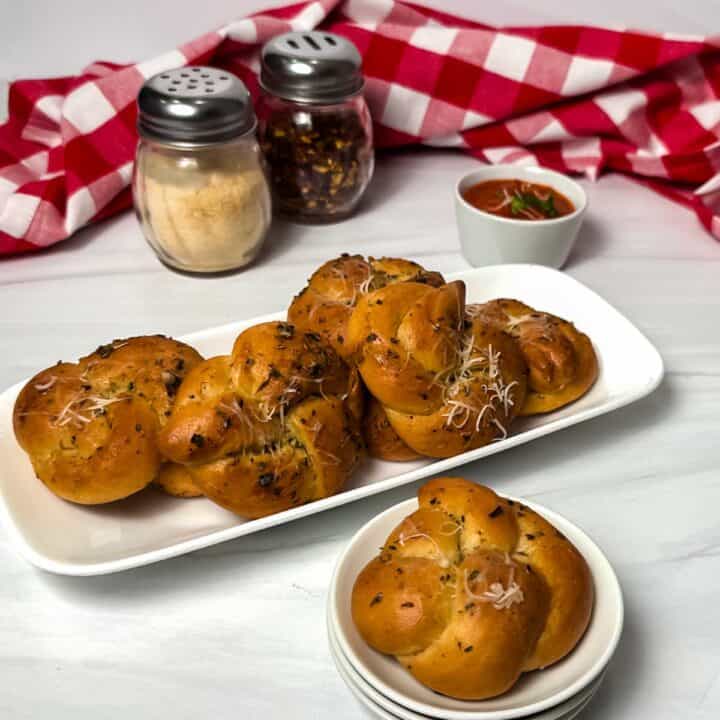
I’m so pleased that the recipe turned out well for you! It also works great if you make rolls with the dough as opposed to breadsticks.