
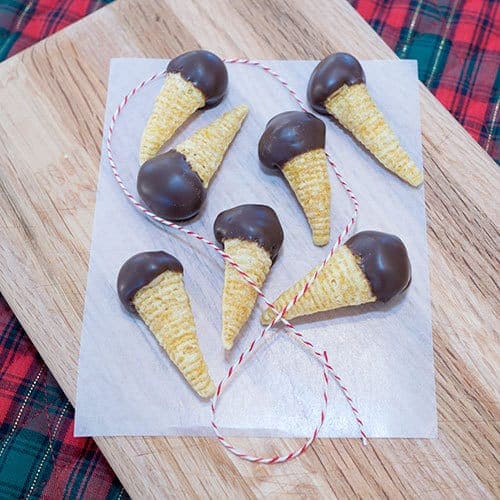
Mini chocolate-covered peanut butter cones are an irresistible bite-size treat that will have your family and friends clamoring for more. Imagine crisp sugar cones coated in chocolate, filled with a luscious peanut butter ball mixture, and then enrobed in a smooth, dreamy chocolate coating.

Each cone boasts a velvety peanut butter ball center packed with the rich, nutty goodness you crave. It's like a mini Reese's in a crunchy, edible cup!
Jump to:
- Why You'll Love This Mini Treat
- Ingredients - Here's What You'll Need
- Making the Peanut Butter Ball Mixture (Optional if You Already Have a Favorite Mixture)
- Preparing the Mini Sugar Cones
- Making the Chocolate-Covered Mini Peanut Butter Cones
- Frequently Asked Questions
- Recipe Tips and Tricks
- Other Delicious Chocolate Treats for the Holidays
- Recipe
Why You'll Love This Mini Treat
- Combination of textures: The crispy, light sugar cone, creamy chocolate coating, and crunchy peanut butter filling coated in chocolate create a delightful textural contrast in every bite.
- Classic pairings: Peanut butter and chocolate are a much-loved combination, with this recipe amplifying their perfect harmony in a bite-sized treat.
- Miniature delights: The small size makes them perfect for parties, events, or even just as a playful snack. In addition, they are kid-friendly, easily transportable, and make thoughtful gifts.
- No-bake option: No oven required! This recipe is perfect for those who want a quick and easy dessert or treat with minimal effort.
Ingredients - Here's What You'll Need
I'm using the same peanut butter mixture that I use in my ever-popular peanut butter balls. I debated whether or not to include the actual ingredients and process for making the peanut butter ball mixture and erred on the side of being complete.
You could also use your favorite peanut butter ball mixture!

- Peanut Butter Ball Mixture: This is the same peanut butter ball mixture that I've been using for years - unsalted butter, extra crunchy peanut butter, and confectioners' sugar.
- Mini Sugar Cones: I searched for mini sugar cones while thinking about making this recipe. The only ones that I could find were incredibly expensive. Therefore, I decided to use store-bought sugar cones and convert them to mini cones (more later!).
- Chocolate Coating: My chocolate coating of choice is consistently Ghiradelli Dark Chocolate Melting Wafers. It tastes great and is easy to use.
Making the Peanut Butter Ball Mixture (Optional if You Already Have a Favorite Mixture)
- For the peanut butter ball mixture, I started by beating together room temperature butter and extra crunchy peanut butter on high speed with my electric mixer until it was smooth. This took about a minute.
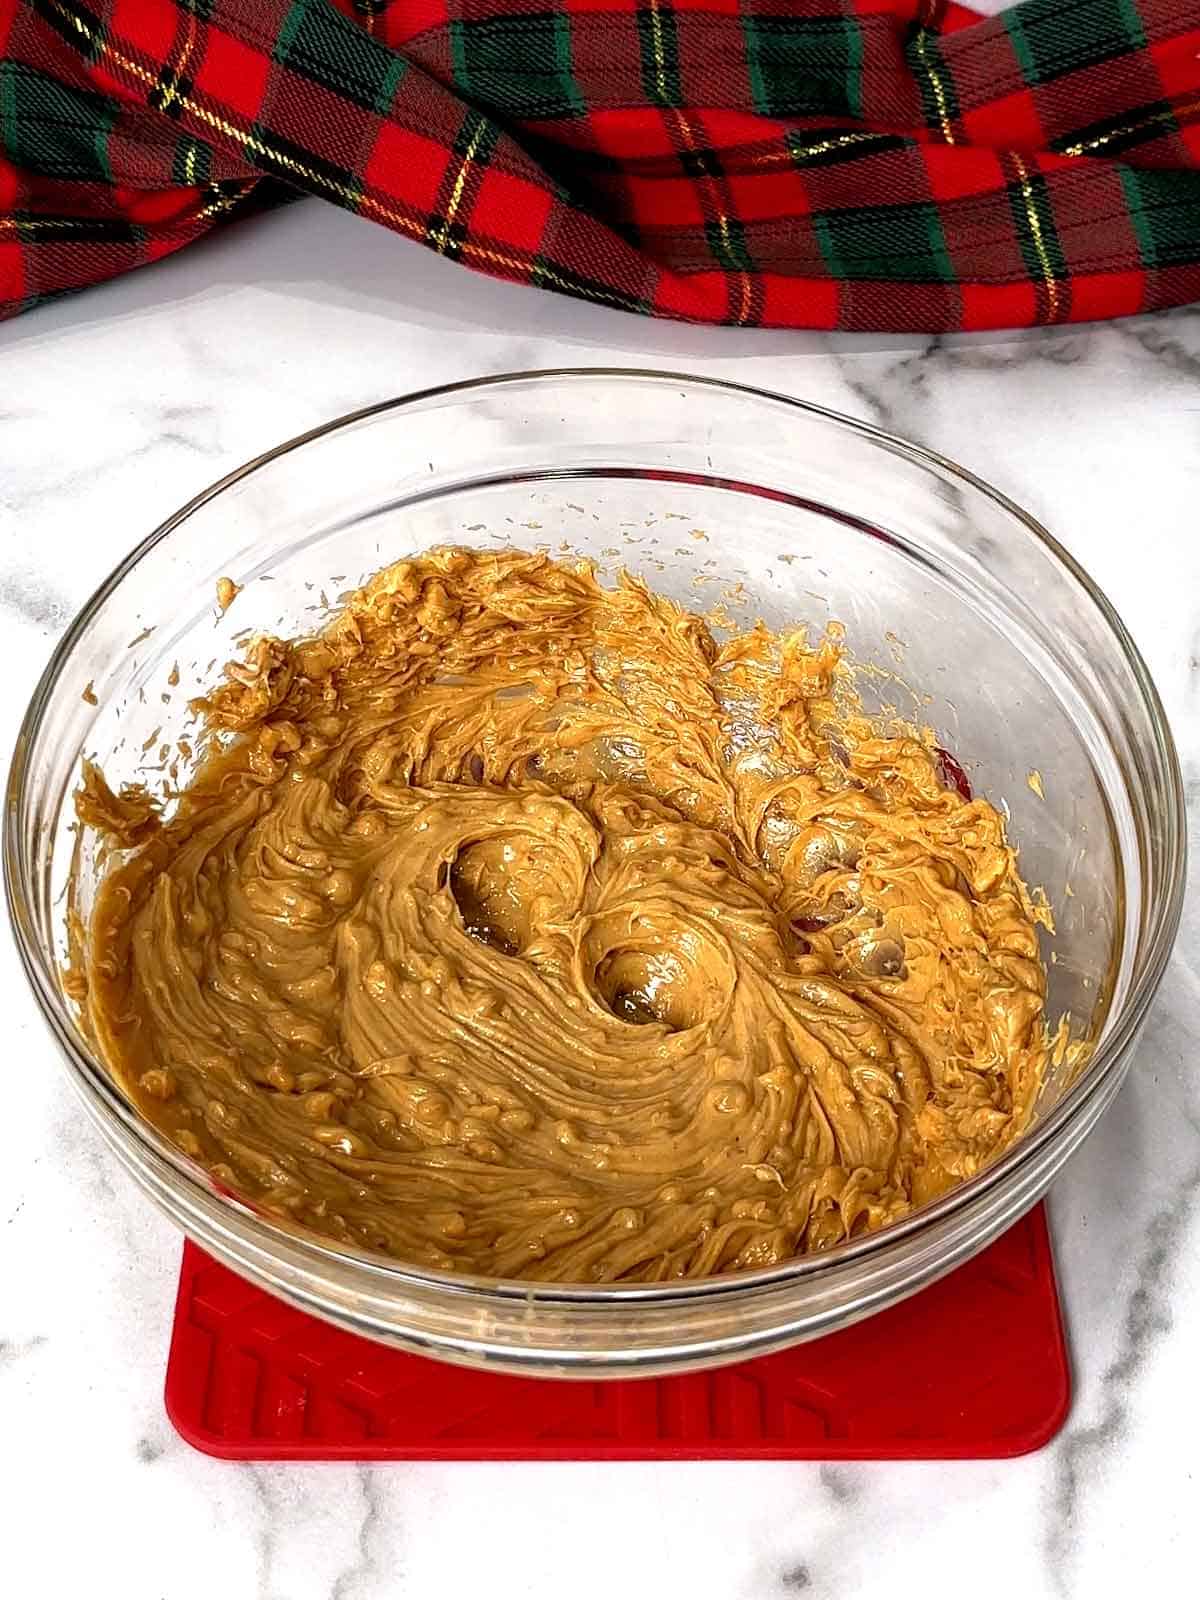
- Then, I added the confectioners' sugar and beat the mixture on low to begin to combine the ingredients.

- Because of the crumbly consistency of the peanut butter mixture up to this point, there was only so much that the electric mixer could do. Therefore, I used my hands to finish kneading the mixture. Even though it still looked crumbly, it was of the perfect consistency.

Preparing the Mini Sugar Cones
As I previously said, I ultimately used store-bought sugar cones and converted them into a mini form.
I've tried numerous techniques to cut down sugar cones without them breaking. From trial and error, I have found that the best way to do this is to use a serrated knife.
Specifically, I reached for my serrated bread knife. I used the knife to gently saw back and forth around the perimeter of the sugar cone where I wanted it to break. I've learned from experience that if I apply too much pressure, the cone will shatter.

Once the sugar cones were cut, I filed the rough edges with an upside-down wire mesh strainer. This is a trick that I learned in a cooking class in Paris some years ago.

Making the Chocolate-Covered Mini Peanut Butter Cones
With the peanut butter mixture and mini cones prepared, I moved to preparing the chocolate-covered mini peanut butter cones.
- I started by melting the chocolate melting wafers in the microwave at 50% power in 30-second increments. This took about about 2 ½ minutes.
- Once the chocolate was melted, I used a small spoon to coat the inside of the mini cones.

- After letting the chocolate coating harden for about 15 minutes, I took about 13 grams (yes, I'm a foodie nerd) and rolled it into a cone-shaped cylinder. I pressed the peanut butter mixture into the cone and rounded the top.

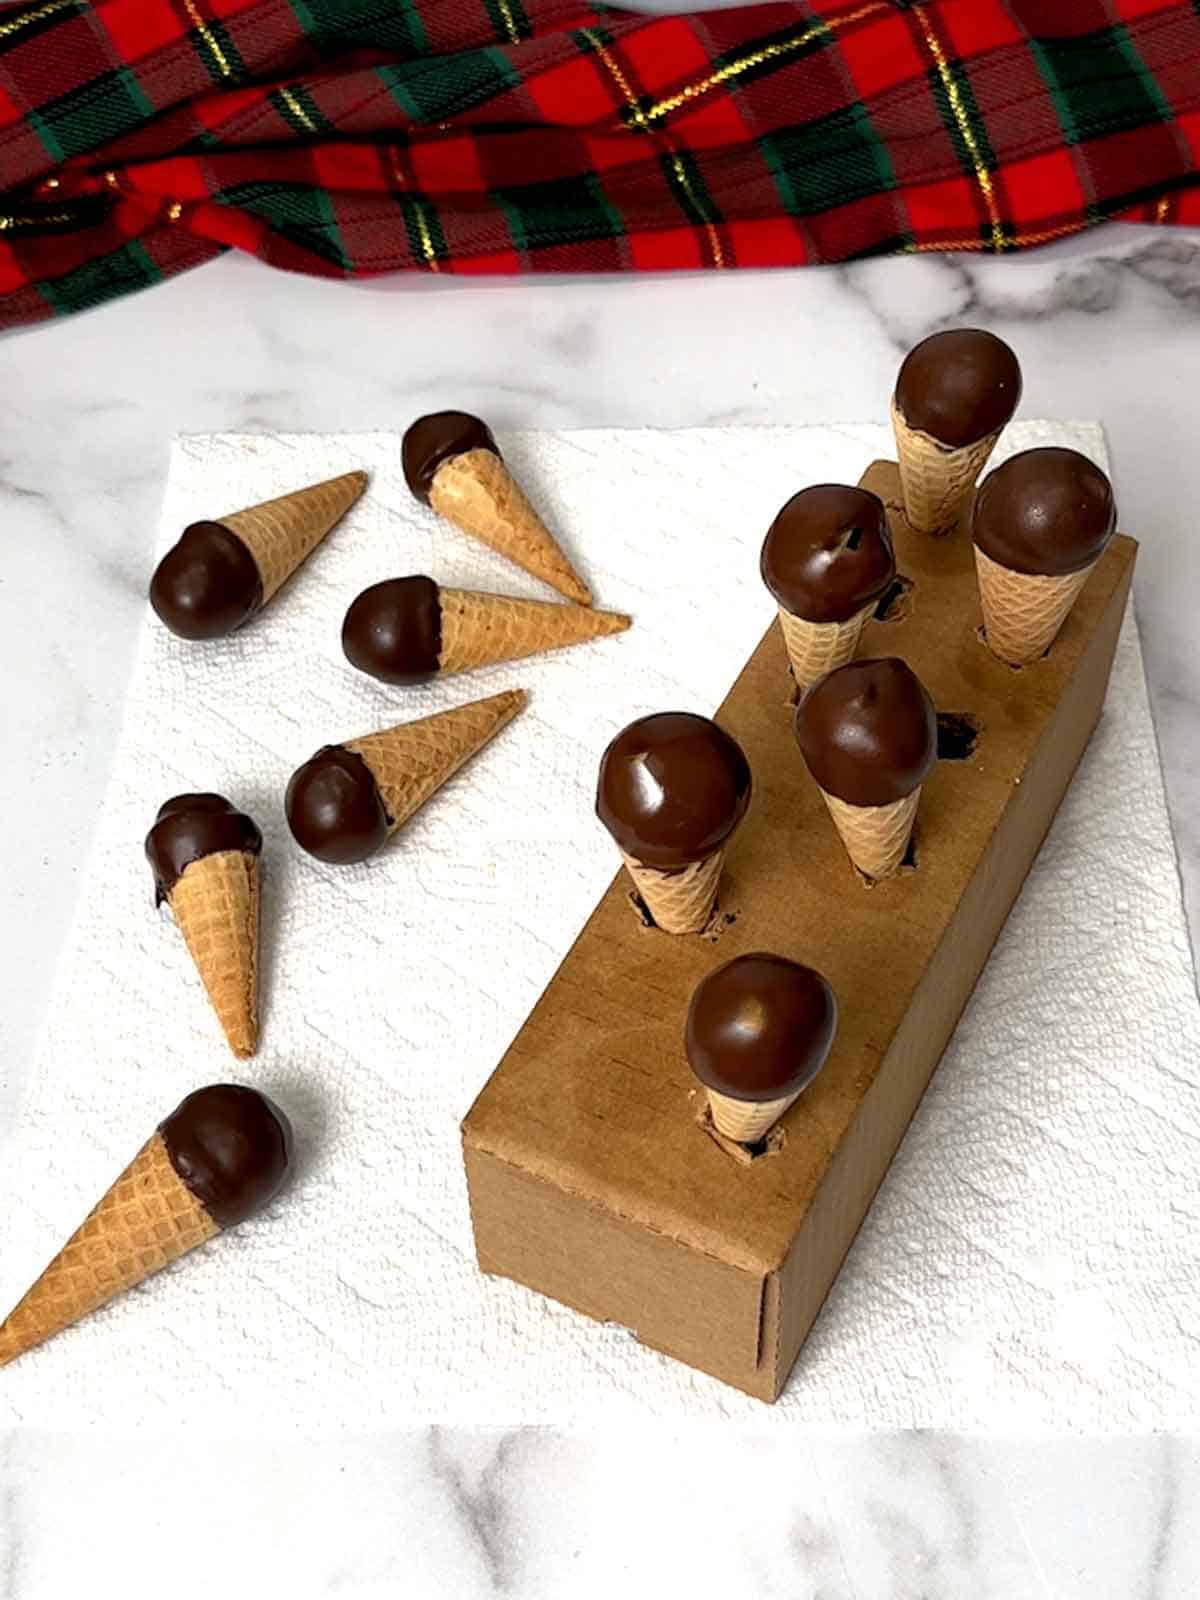
- Finally, I dipped the top of the filled cone in the melted chocolate, completely covering the peanut butter mixture. I let the excess chocolate drip off and allowed the chocolate to harden.

I ended up with 24 amazingly delicious Mini Chocolate Covered Peanut Butter Cones.
These irresistible mini chocolate-covered peanut butter cones are a surefire way to satisfy your sweet tooth and impress your guests. They're the perfect bite-sized treat for parties, holidays, or simply a fun afternoon snack.
With their crispy sugar cone shells, crunchy peanut butter filling, and rich chocolate coating, these little morsels are guaranteed to disappear in a flash. Yum!

Frequently Asked Questions
Yes, it's really worth the trouble. The online price for purchasing the mini sugar cones is close to $20 for 21 mini cones. The cost of a 12-pack of store-bought sugar cones was less than $2. You do the math! Also, once you get the hang of cutting the sugar cones down, it moves quickly.
Feel free to use almond butter or cashew butter in this recipe. Nutella also works well.
If stored in an airtight container at room temperature, these mini cones should last about a week.
You can substitute semi-sweet chocolate chips for the chocolate melting wafers. However, the semi-sweet chocolate chips will not harden as well as the chocolate melting wafers. Therefore, I would recommend using the chocolate melting wafers.
If you use the chocolate candy melts, you don't need to refrigerate these mini cones. If you use semi-sweet chocolate, you may need to refrigerate the cones, depending on how hard the coating gets at room temperature.
Recipe Tips and Tricks
- In the past, I've used different techniques to cut down sugar cones to make mini treats. Examples include my Copycat Hold the Cone recipe and my Chocolate Dipped No-Churn Ice Cream Cones. With this recipe, I think that I've discovered the perfect technique - using a gentle sawing motion with a serrated knife. I tried different serrated knives and found that my bread knife worked the best.
- One of the tricks that I used to hold the dipped cones upright to harden was an upside-down bottom box from a 2-pound package of Velveeta cheese. I used a small paring knife to cut holes in the bottom of the box that were large enough to hold the cones securely. This worked like a charm.
- Initially, when I started experimenting with making these cones, I topped the chocolate-coated mini cones with a ball of the peanut butter mixture - like I would use if making peanut butter balls. Susan suggested that the entire cone should be stuffed with the peanut butter mixture, which is what I ended up doing. She was definitely right.
- For the holidays, you can get creative with these mini cones. For example, you can roll the dipped cones in chopped peanuts or brightly colored sprinkles. You can also drizzle different colors of melted candy wafers on the tops of the cones. Use your imagination to create memorable treats.
- These mini treats make thoughtful, edible gifts for your family, friends, and coworkers. My favorite way to package them is in clear cello bags tied with decorative ribbons.
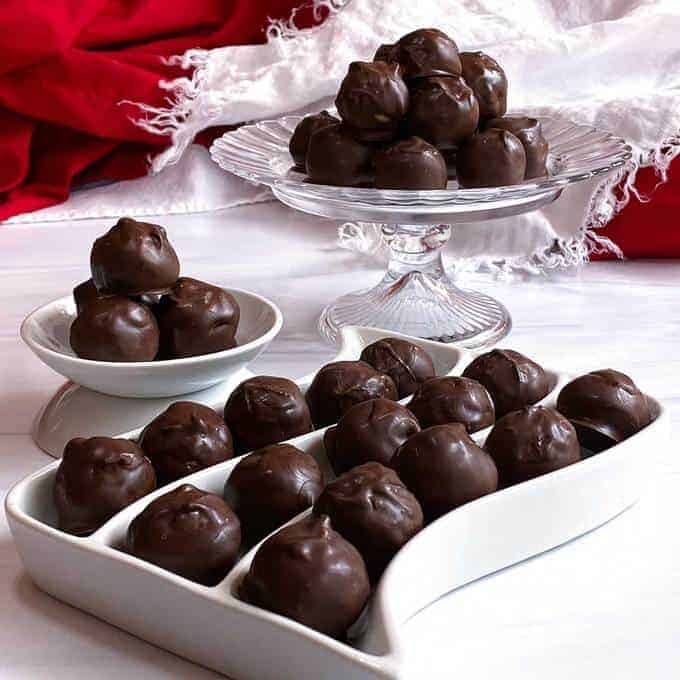
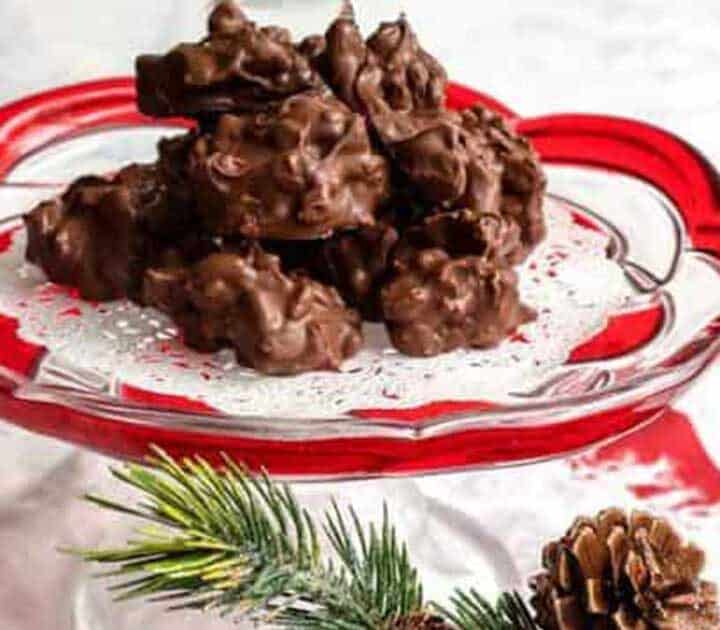
Other Delicious Chocolate Treats for the Holidays
If you're looking for easy and delicious chocolate treats for the holidays, look no further.


I hope you liked this recipe for Mini Chocolate Covered Peanut Butter Cones as much as I do. If so, please consider rating it and leaving a comment. Also, if you'd like to receive notifications of new posts by email, enter your email address in the Subscribe box.
Thank you so much for visiting Pudge Factor. I hope you'll come back!
Recipe
Want to Save This Recipe?
Enter your email & I'll send it to your inbox. Plus, enjoy weekly doses of culinary inspiration as a bonus!
By submitting this form, you consent to receive emails from Pudge Factor.

Mini Chocolate Covered Peanut Butter Cones
Equipment
- Serrated knife
- Bottom Velveeta cheese box wtih holes to hold the mini cones
Ingredients
Peanut Butter Ball Mixture (optional if you have a favorite mixture)
- ½ cup (1 stick, 8 ounces) unsalted butter, room temperature
- 16 ounce jar Extra Crunchy Peanut Butter (See Tip 1)
- 3 ½ cups (14 ounces) confectioners' sugar (See Tip 2)
Mini Chocolate Covered Peanut Butter Cones
- Peanut Butter Ball mixture from above (See Tip 3)
- 24 store-bought sugar cones
- 2 cups (10-ounce package) Ghiradelli dark chocolate melting wafers
Instructions
Peanut Butter Ball Mixture
- Beat room-temperature butter and peanut butter in a medium bowl with an electric mixture until smooth. Add confectioners' sugar. Beat on low to begin to combine the ingredients. Finish by kneading by hand until thoroughly mixed. The mixture will be crumbly.
Mini Chocolate Covered Peanut Butter Cones
- Using a serrated knife, carefully cut store-bought sugar cones into mini sizes, around 2 ¼ inches. Using the back of a wire mesh strainer, file the rough edges of the mini cones.
- Melt the chocolate melting wafers in a microwave-safe bowl on 50% power in 30-second increments, stirring after each 30 seconds, until melted and smooth. (See Tip 4)
- Using a small spoon, coat the inside of the mini cones with the melted chocolate. Allow to sit for about 15 minutes.
- Roll a small amount (around 13 grams) of the peanut butter mixture into a cone-shaped cylinder. Press into the prepared cones, mounding the top into a ball shape.
- Dip in melted chocolate to cover the peanut butter. Allow the excess chocolate to drip off. Allow to the chocolate to harden.
- Yield: 24 Mini Chocolate Covered Peanut Butter Cones (See Tip 5)
Video
Tips/Notes
- You can use the peanut butter of your choice in this recipe. You can also use other nut kinds of nut butter, like almond butter or cashew butter. You can even use Nutella.
- It is not necessary to sift the confectioners' sugar in this recipe.
- The peanut butter ball mixture recipe will make much more than is needed in this recipe. Use the excess to make chocolate-covered peanut butter balls, chocolate-covered stuffed pretzels, or other treats.
- In my microwave, the candy melts took 2 ½ minutes to fully melt.
- Store the mini cones in an airtight container for up to a week. Also, these make excellent gifts when packaged in clear cello bags tied with decorative ribbons.

Leave a Reply