Hold the Cone is a copycat of Trader Joe’s wildly popular mini ice cream cone. Lucious chocolate coats the inside of a mini sugar cone that is filled with an ice cream of your choice. Then, the cone is dipped in a chocolate magic shell that hardens to a firm, glossy shell.
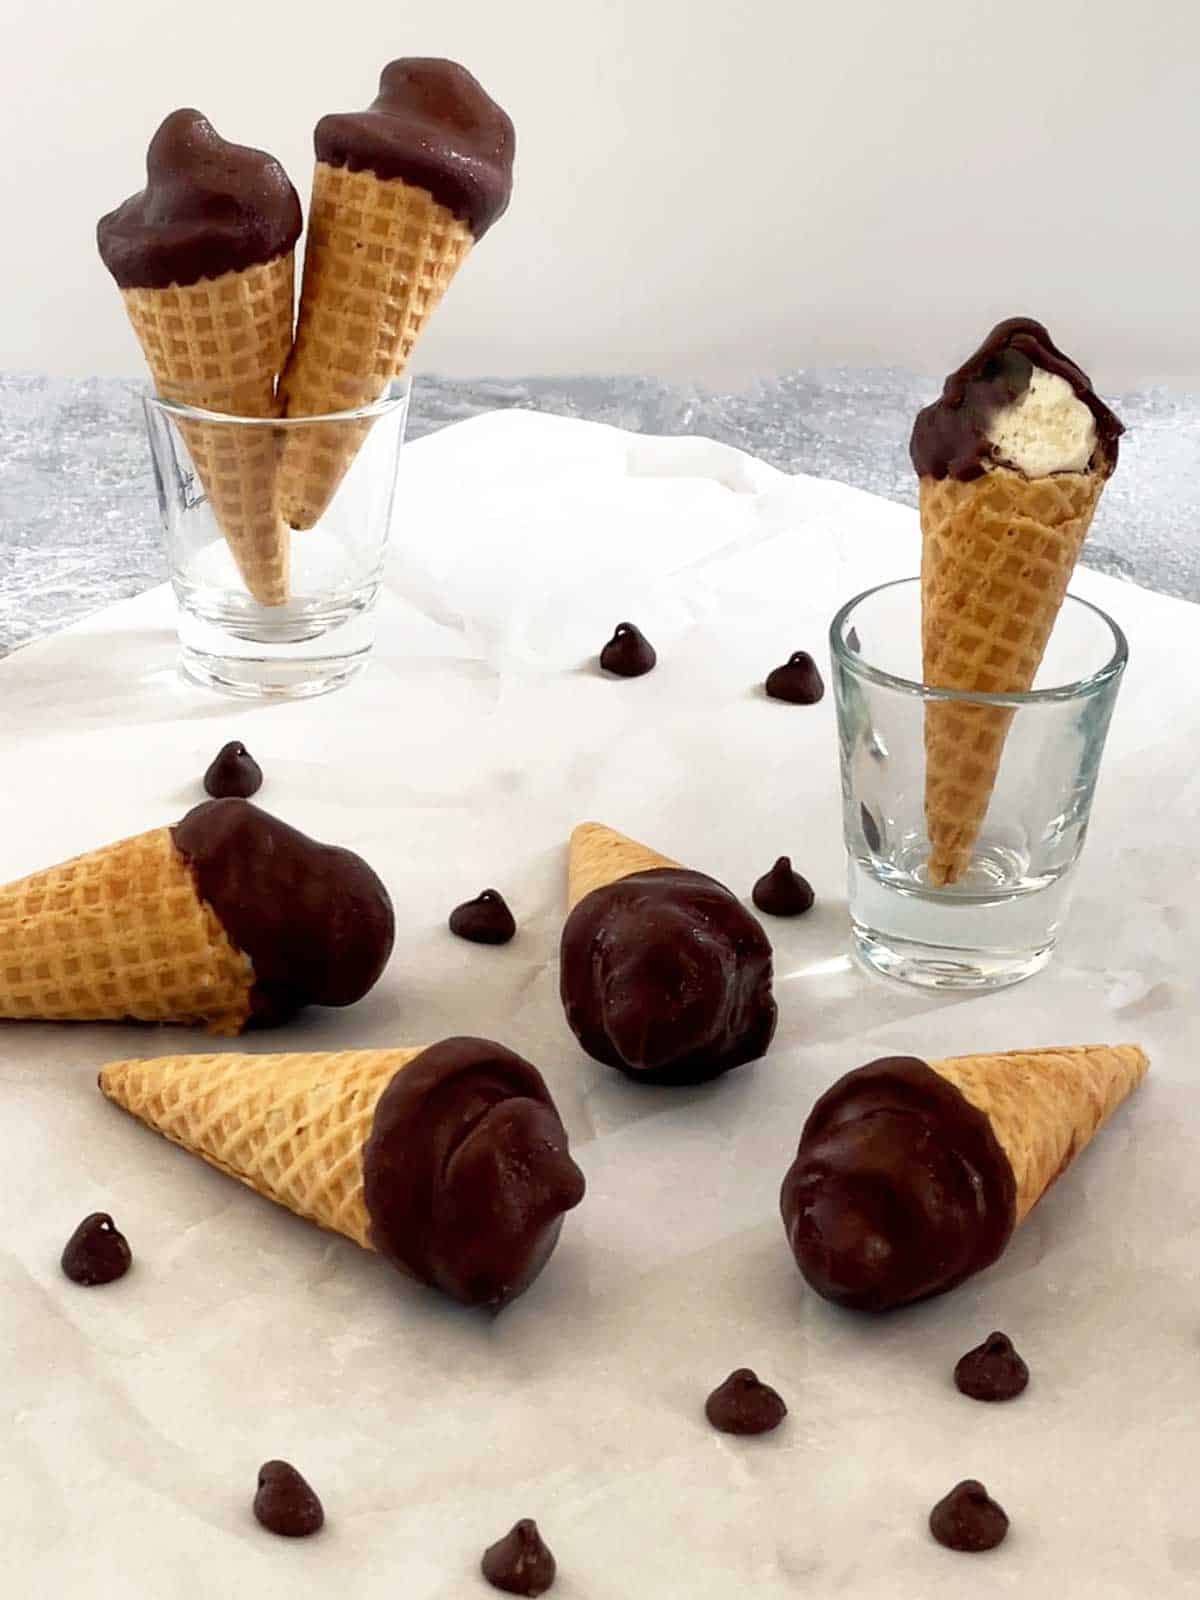
No warm weather day is complete without a delicious ice cream treat. The Hold the Cone is a perfect mini treat for young and old. It is super easy to make and is sure to satisfy your ice cream cravings.
When you don’t want to drive 200 miles to the nearest Trader Joe’s for a box of Hold the Cones, you can stay home and make your own!
Estimated reading time: 10 minutes
Table of Contents
About Trader Joe’s and Hold the Cone
Trader Joe’s a specialty grocery chain that carries a wide variety of unique and delicious products. Stores are located throughout the United States.
Unfortunately for me, the nearest Trader Joe’s is 200 miles away to the east and to the west. Therefore, periodically, Susan and I make the 200 mile trek and load up on amazing products.
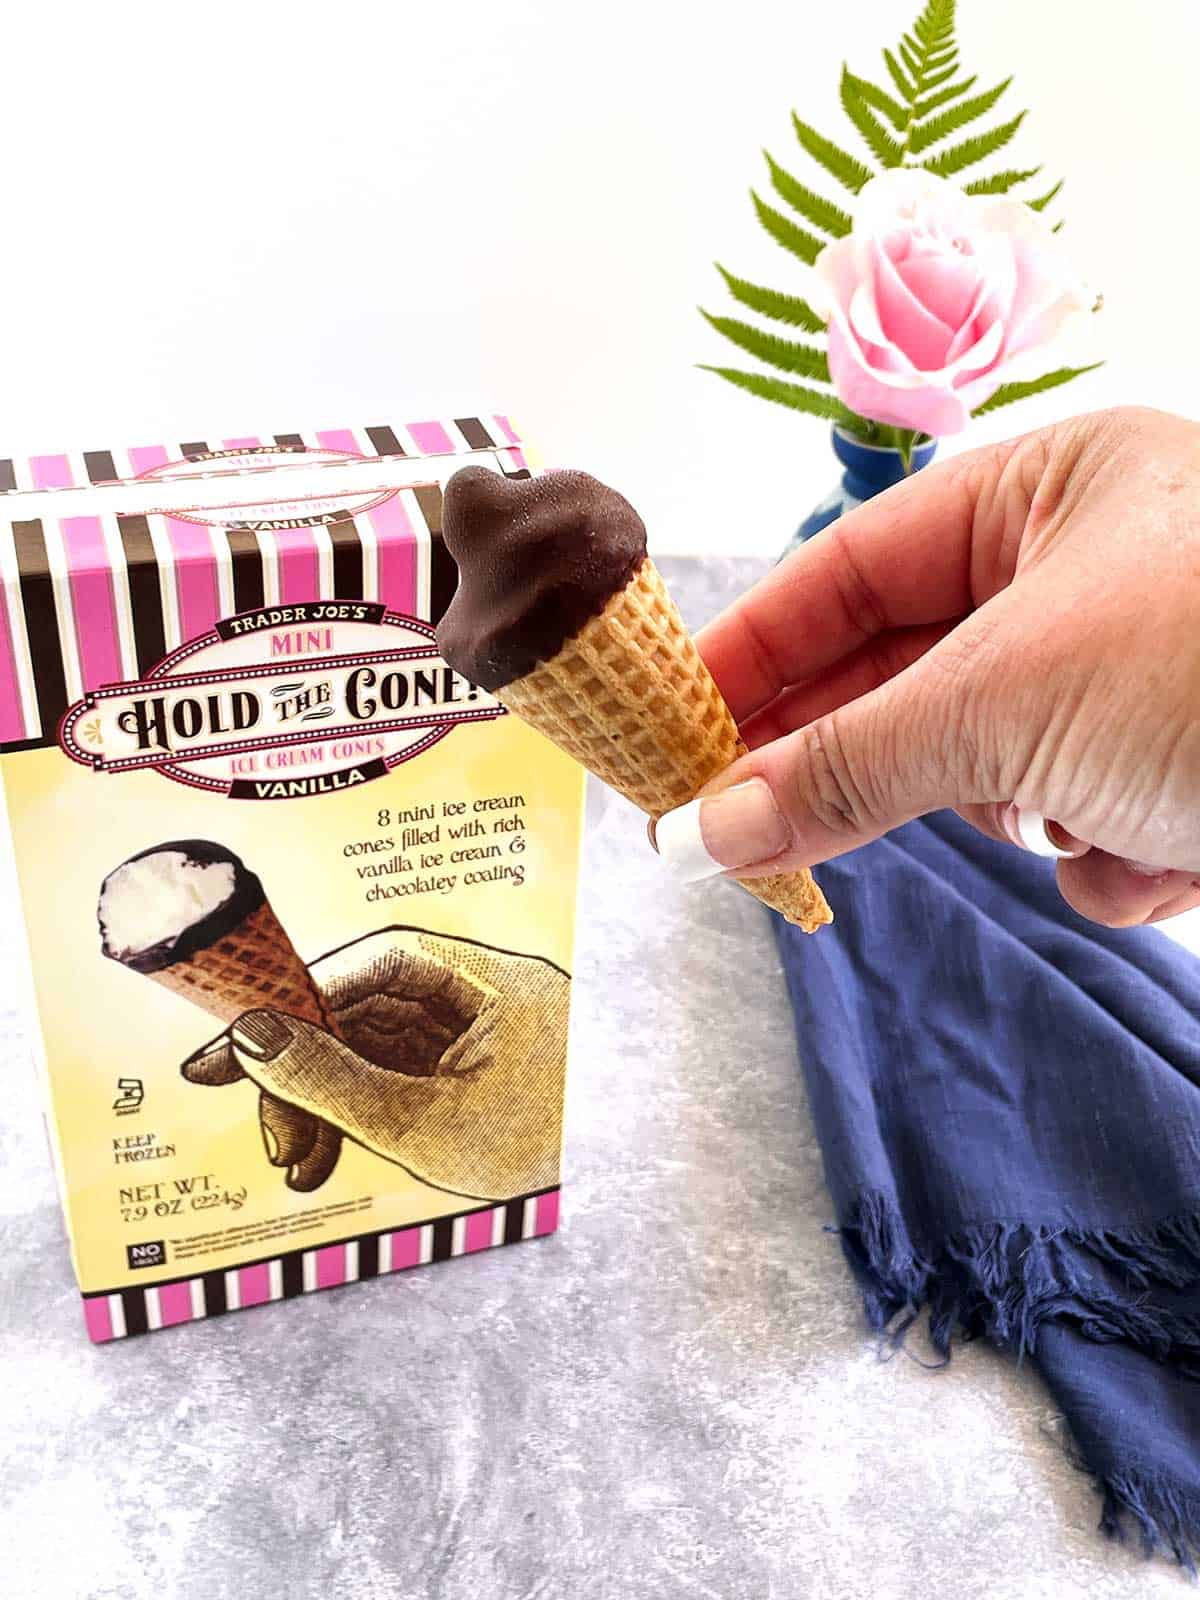
On our last visit to Trader Joe’s Susan purchased three different flavors of Hold the Cone – Vanilla, Chocolate and Chocolate Chip.
One taste and I knew that I had to figure out how to make these amazing morsels. As luck would have it, my copycat version looks and tastes just like the real thing!
Ingredients for Hold the Cone
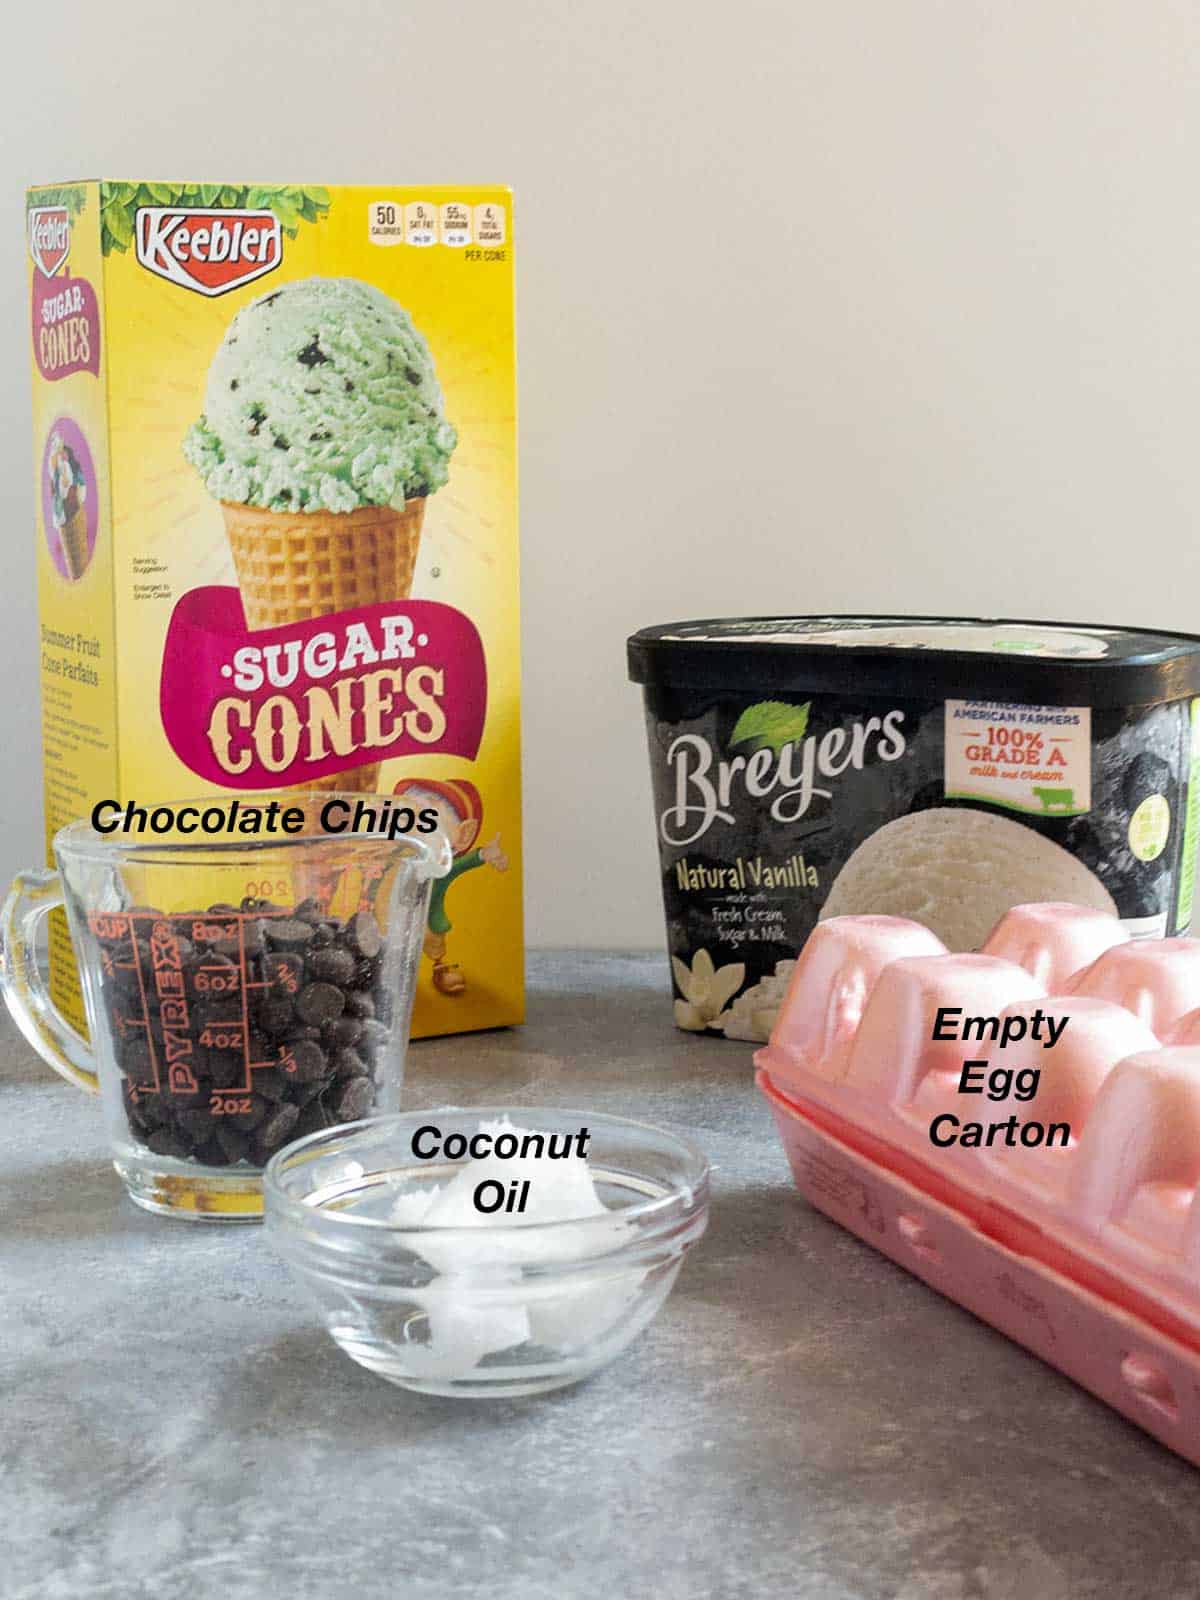
The three components for the Hold the Cone are (1) a mini sugar cone; (2) magic shell; and (3) ice cream.
Initially, I was going to make my own sugar cones, but figured out how to use store-bought sugar cones. Read on and I’ll show you how I did that!
I chose vanilla ice cream since that is the Master Taste Tester’s favorite ice cream.
The magic shell is made from chocolate chips and and coconut oil.
As a final item, I needed something to hold the cones while I was making them. It turned out that an empty egg carton was perfect for this.
Steps in Making the Copycat Hold the Cone
Step 1: Preparing the Empty Egg Carton
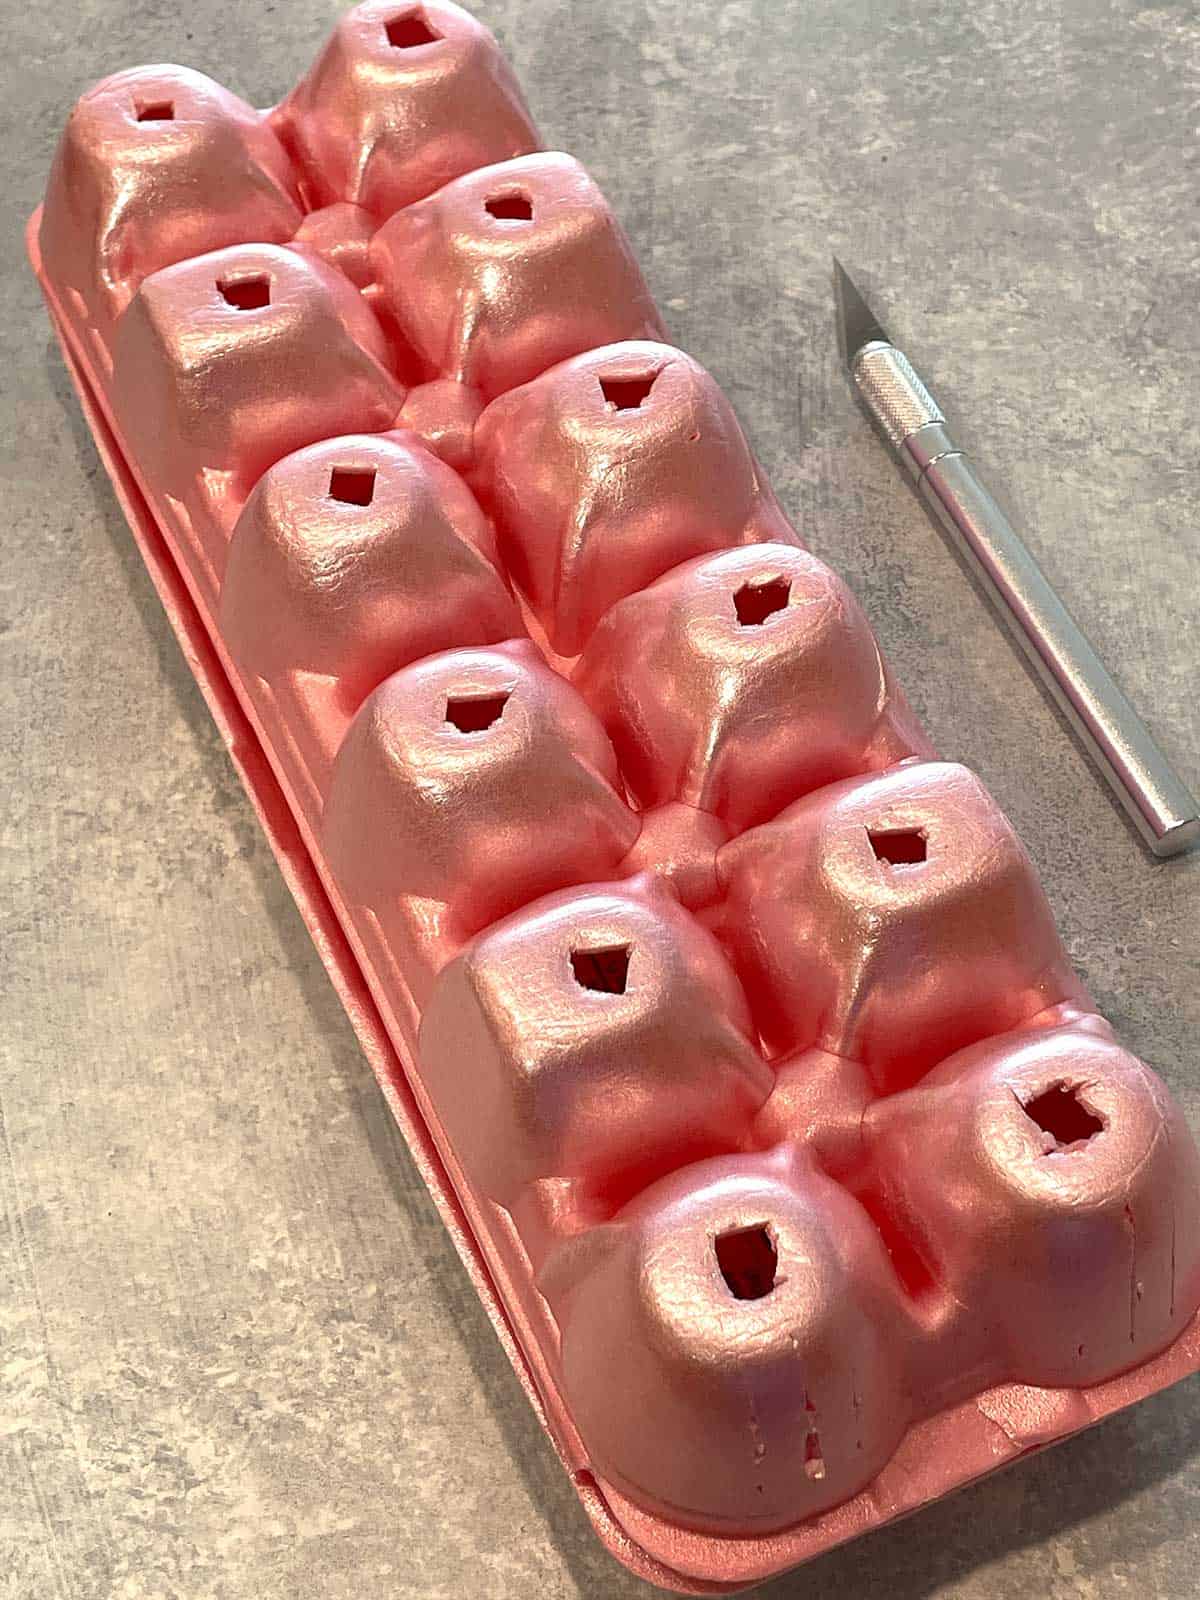
The first thing that I did was to cut small holes in the bottom of an empty styrofoam egg carton. I used an x-acto knife to cut the holes. However, I could have also used scissors or a small paring knife.
Step 2: Cutting the Sugar Cones into Mini Cones
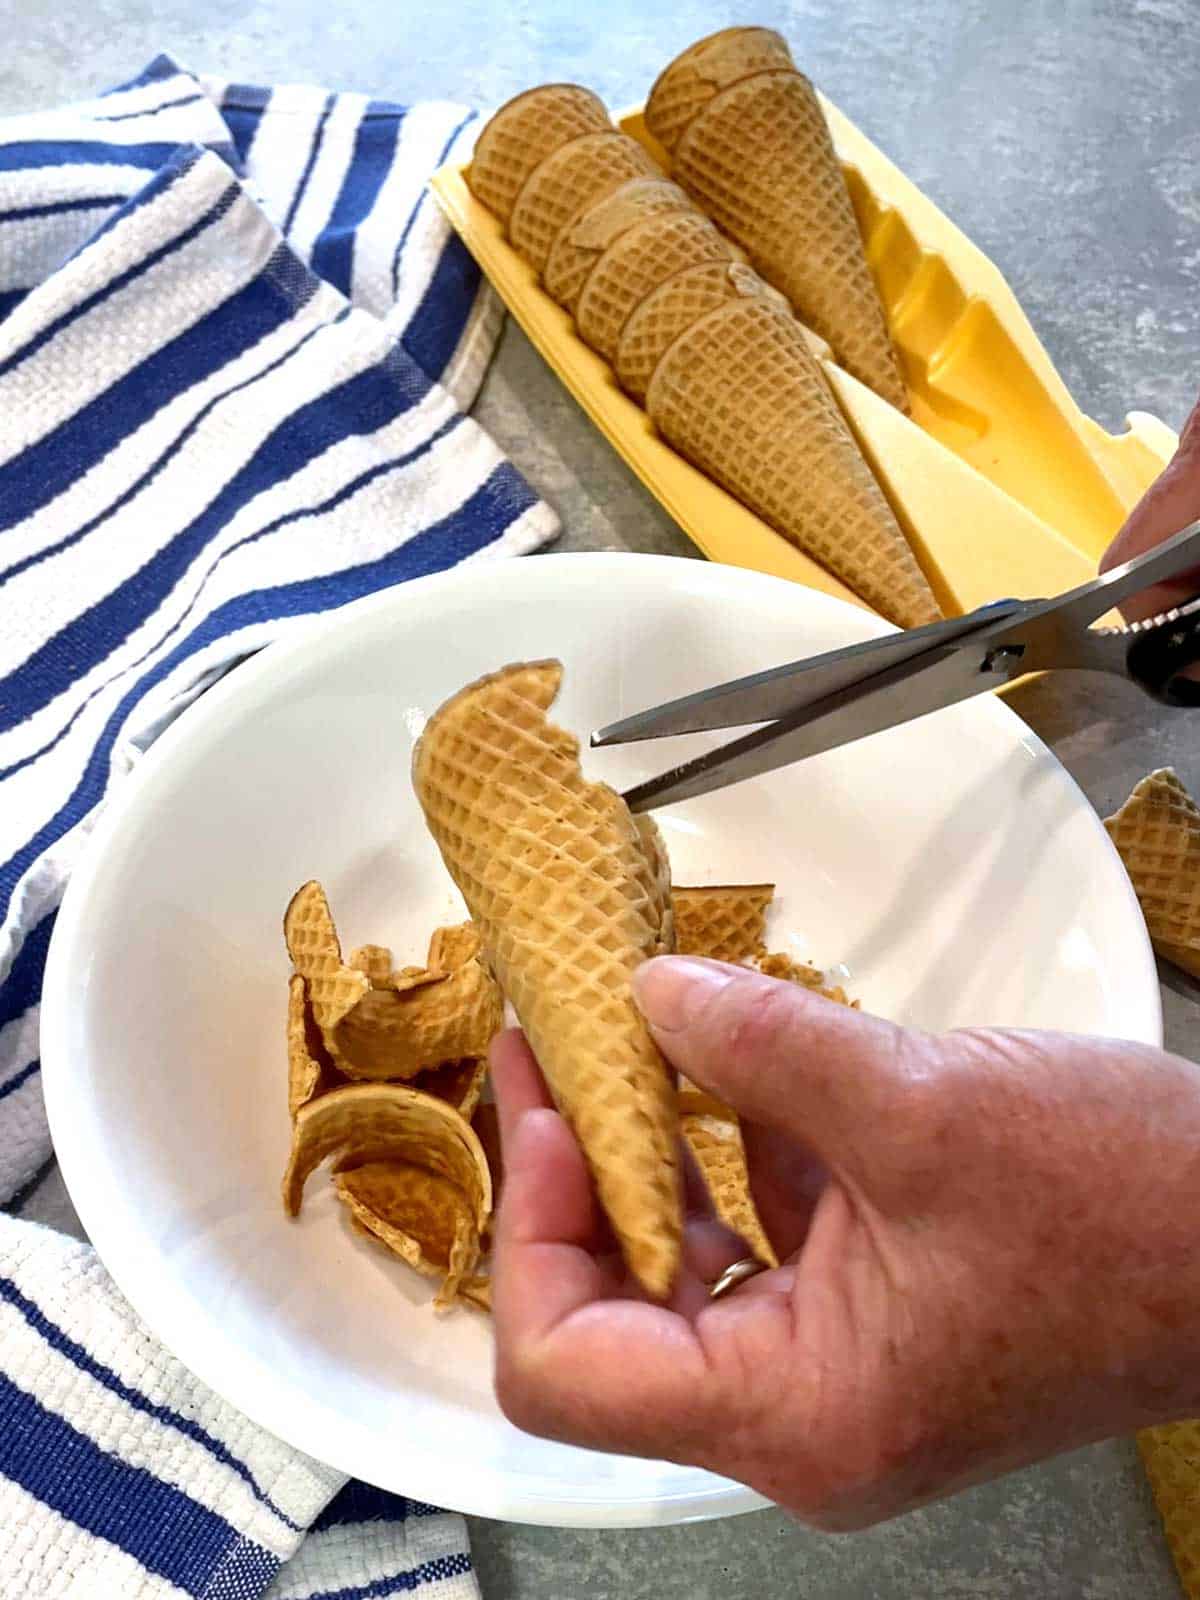
I experimented with cutting down store-bought sugar cones. At first, I tried using a serrated bread knife to do this. It sorta worked. However, because the sugar cones are so brittle, I ended up destroying a fair number of them.
Then, I tried using kitchen shears to actually cut the cone down to about 3-inches. Guess what, this worked like a charm.
First, I carefully cut about 1-inch from the top towards the bottom. When I did this, some of the top part of the cone broke away. Then, I carefully cut around the cone to produce a somewhat rough top.
Step 3: “Sanding” the Rough Edges of the Mini Cone
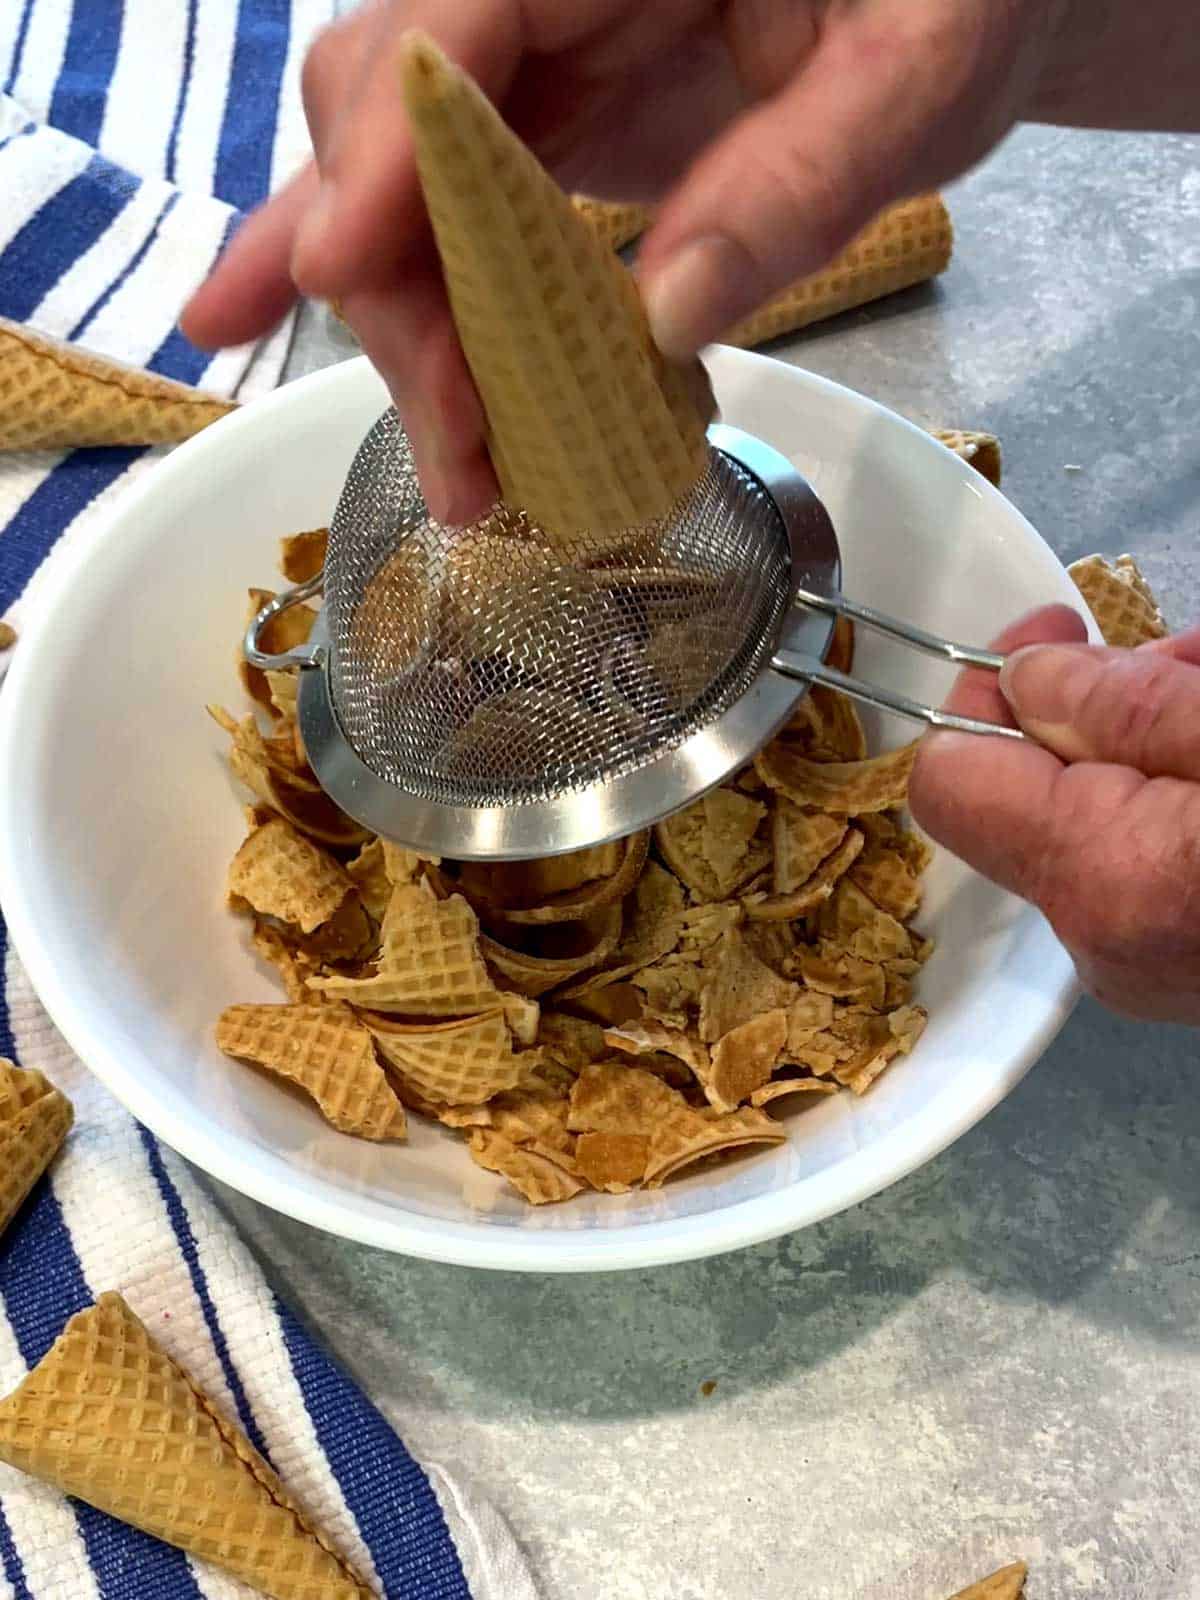
I wasn’t too concerned about the rough edges of the cut-down sugar cone since the magic shell would cover the edges. However, using a technique I learned in a Paris cooking class, I “sanded” the rough edges with the underside of a small wire mesh strainer.
Step 4: Making the Magic Shell
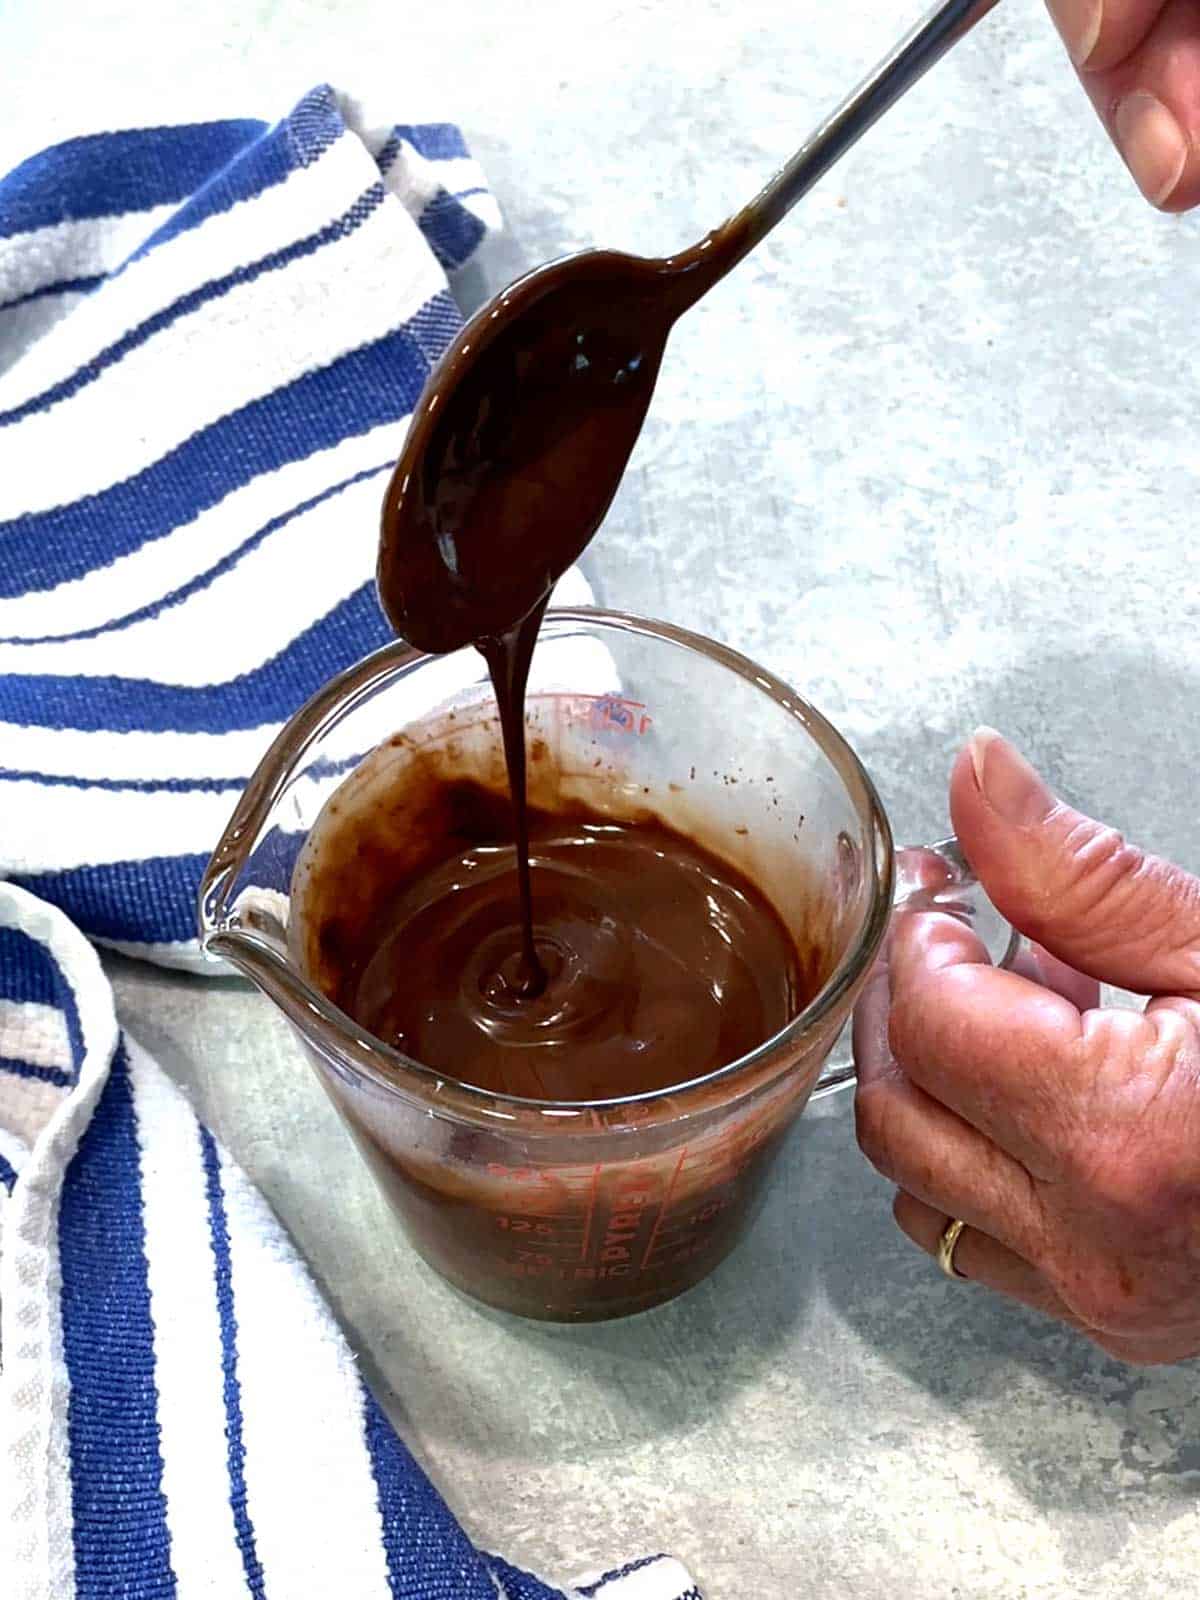
With the cones prepared, my next step was making the magic shell. I used two simple ingredients – semisweet chocolate chips and coconut oil.
I placed both the chocolate chips and the coconut oil in a microwave safe measuring cup. Then, I headed the chocolate and coconut oil in the microwave at 50% power in 30-second increments. I stirred the mixture after each 30-second interval.
After 3 30-second intervals, the chocolate was almost melted. I stirred the magic shell until all of the chocolate was melted and the mixture was smooth and liquidity.
Step 5: Coating the Inside of the Mini Cone with Magic Shell
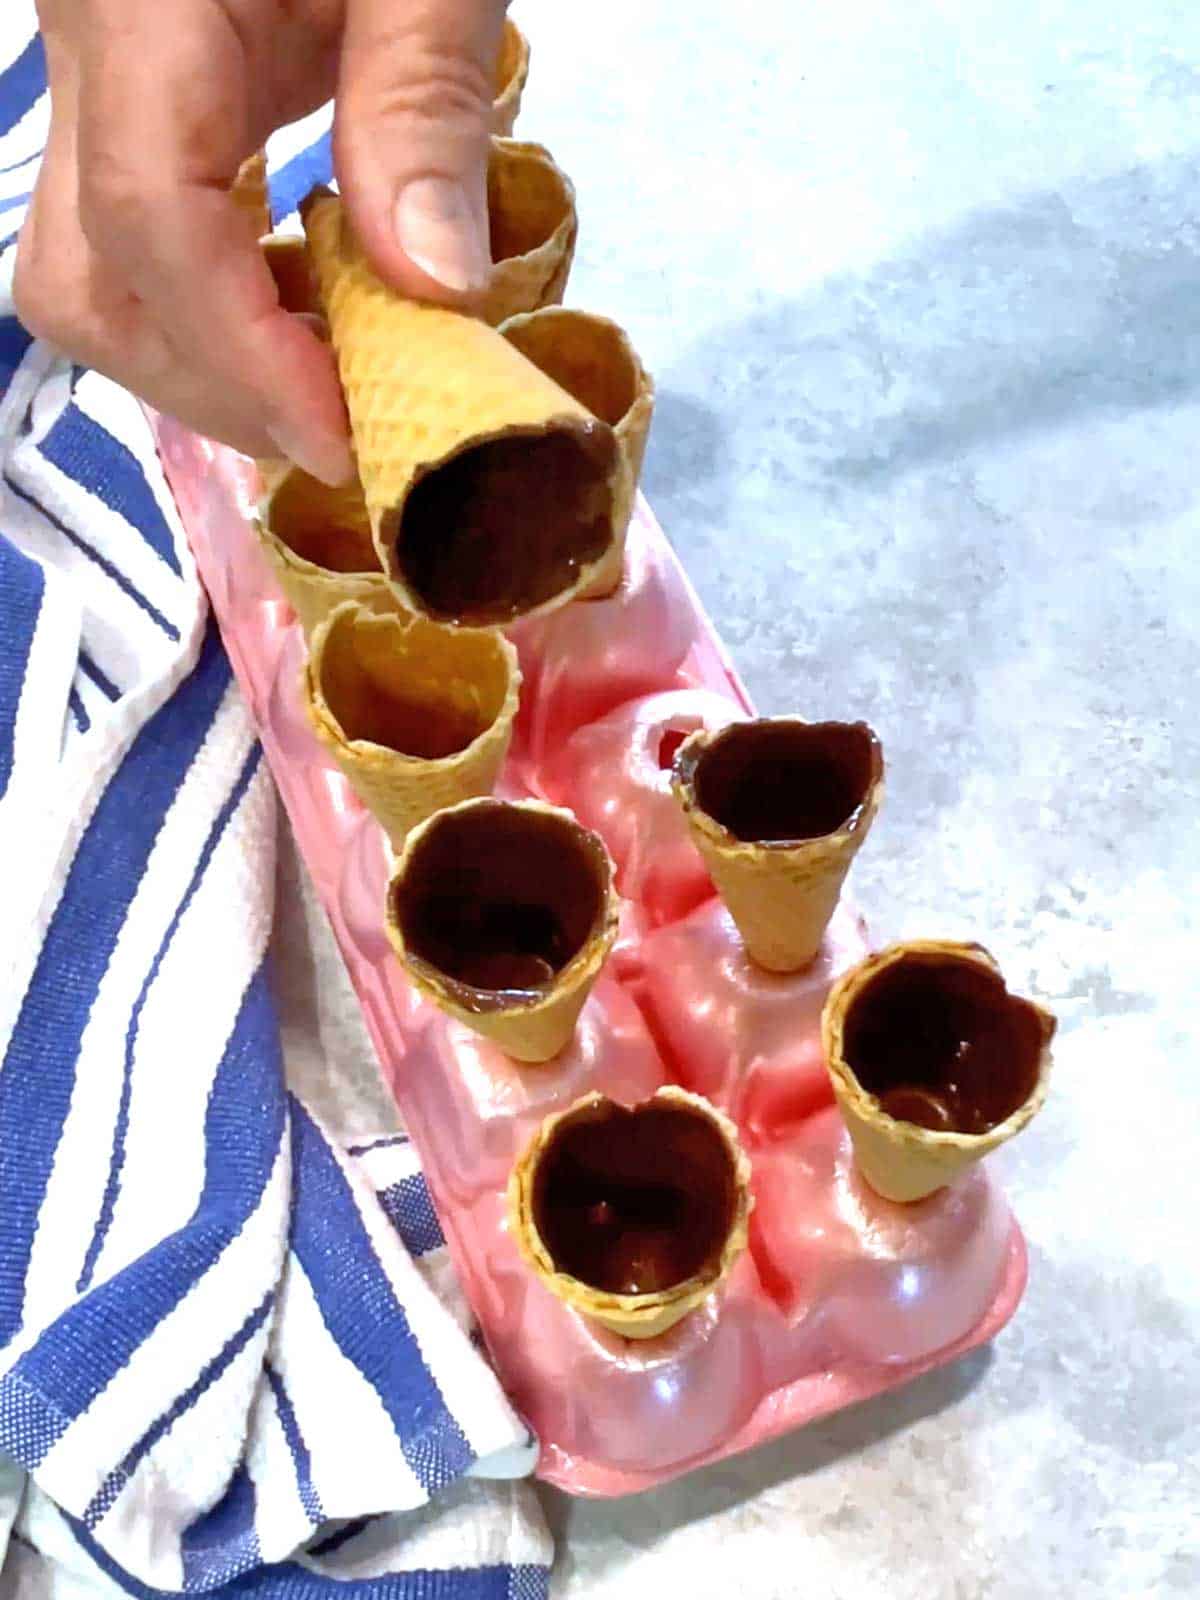
I placed the mini cones upright in the prepared empty egg carton. Then, I added about a teaspoon of the magic shell mixture to the mini cone. I rolled the mini cone horizontally to evenly coat the inside.
I placed the cones in the freezer for about 15 minutes to allow the chocolate to harden.
Step 6: Piping the Ice Cream into the Cones
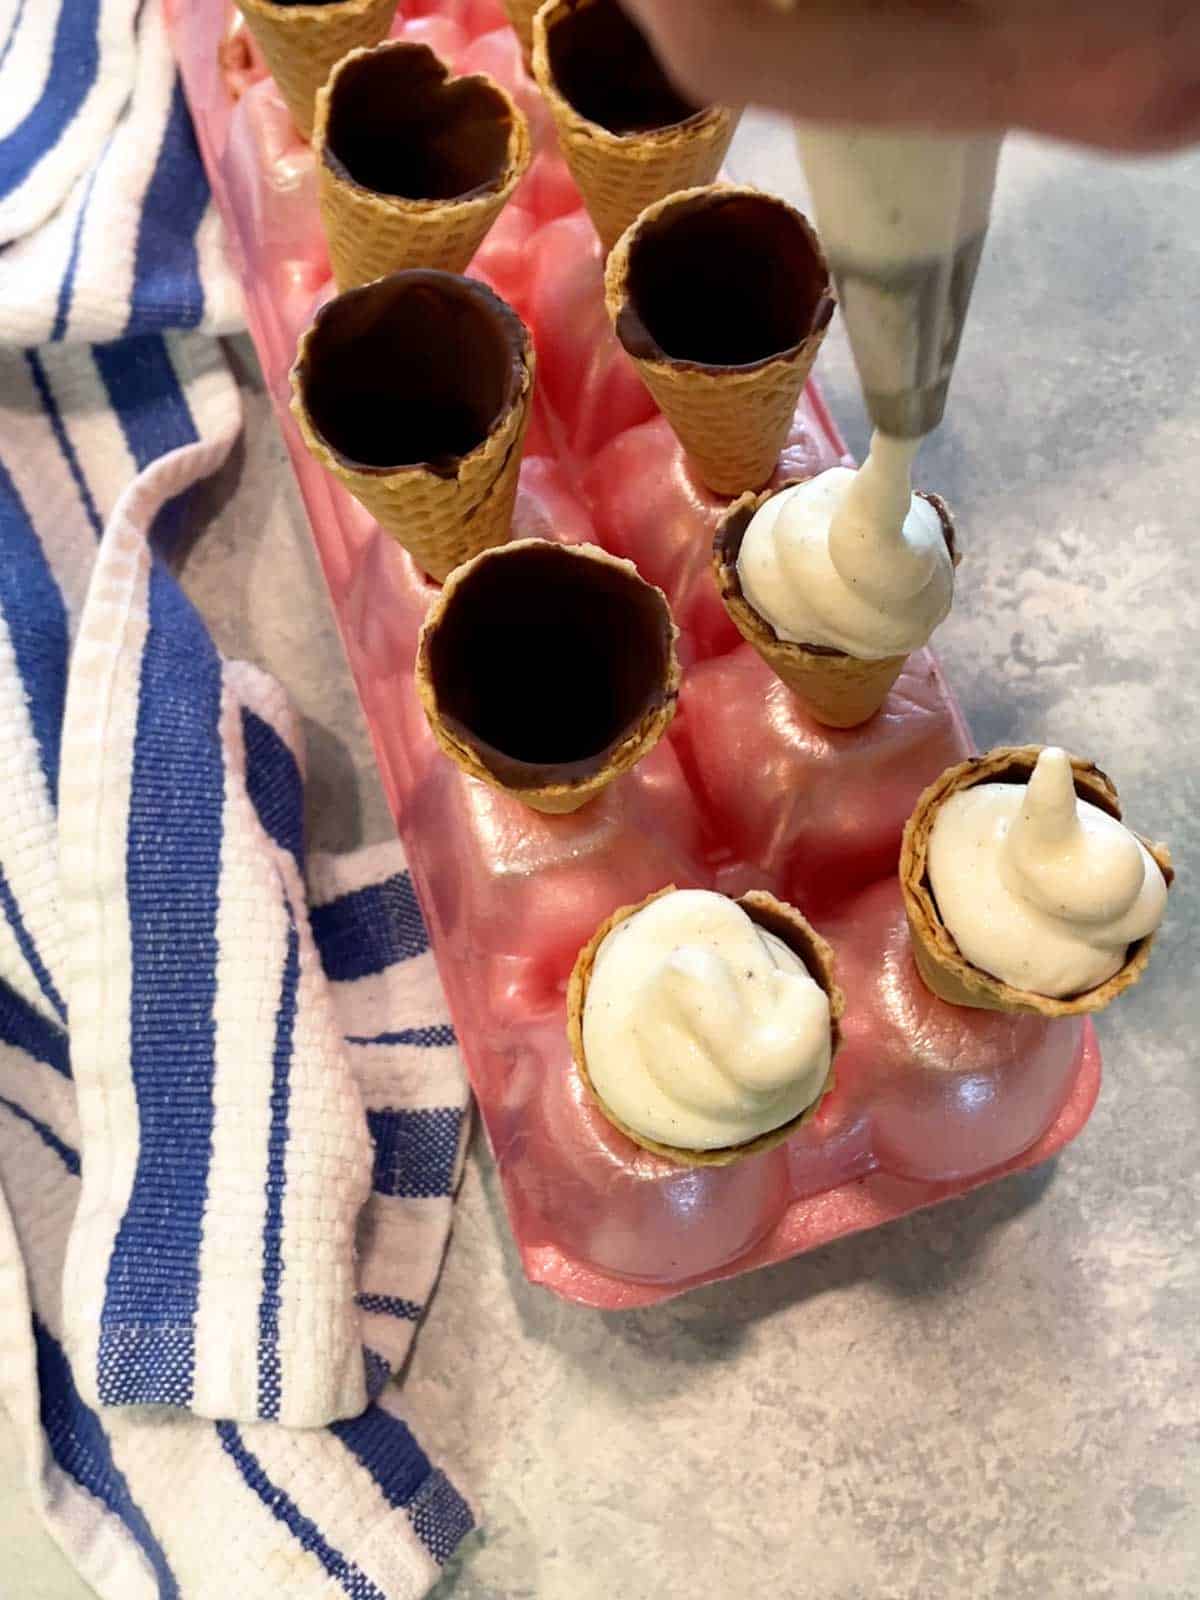
I allowed the ice cream to soften for about 5 minutes. Then, I added the ice cream to piping bag fitted with a #12 round tip. I could have also used a ziploc bag with a small piece of the corner snipped off.
I placed the cones filled with the ice cream into the freezer for about an hour to allow the softened ice cream to harden.
Step 7: Dipping the Cones into the Magic Shell
The final step was dipping the cones into the magic shell. Before doing this, I microwaved the magic shell mixture at 50% power for 15 seconds. I wanted to ensure that the magic shell was liquidity, but not hot.
I dipped the cone vertically into the magic shell mixture and let the excess drip off.
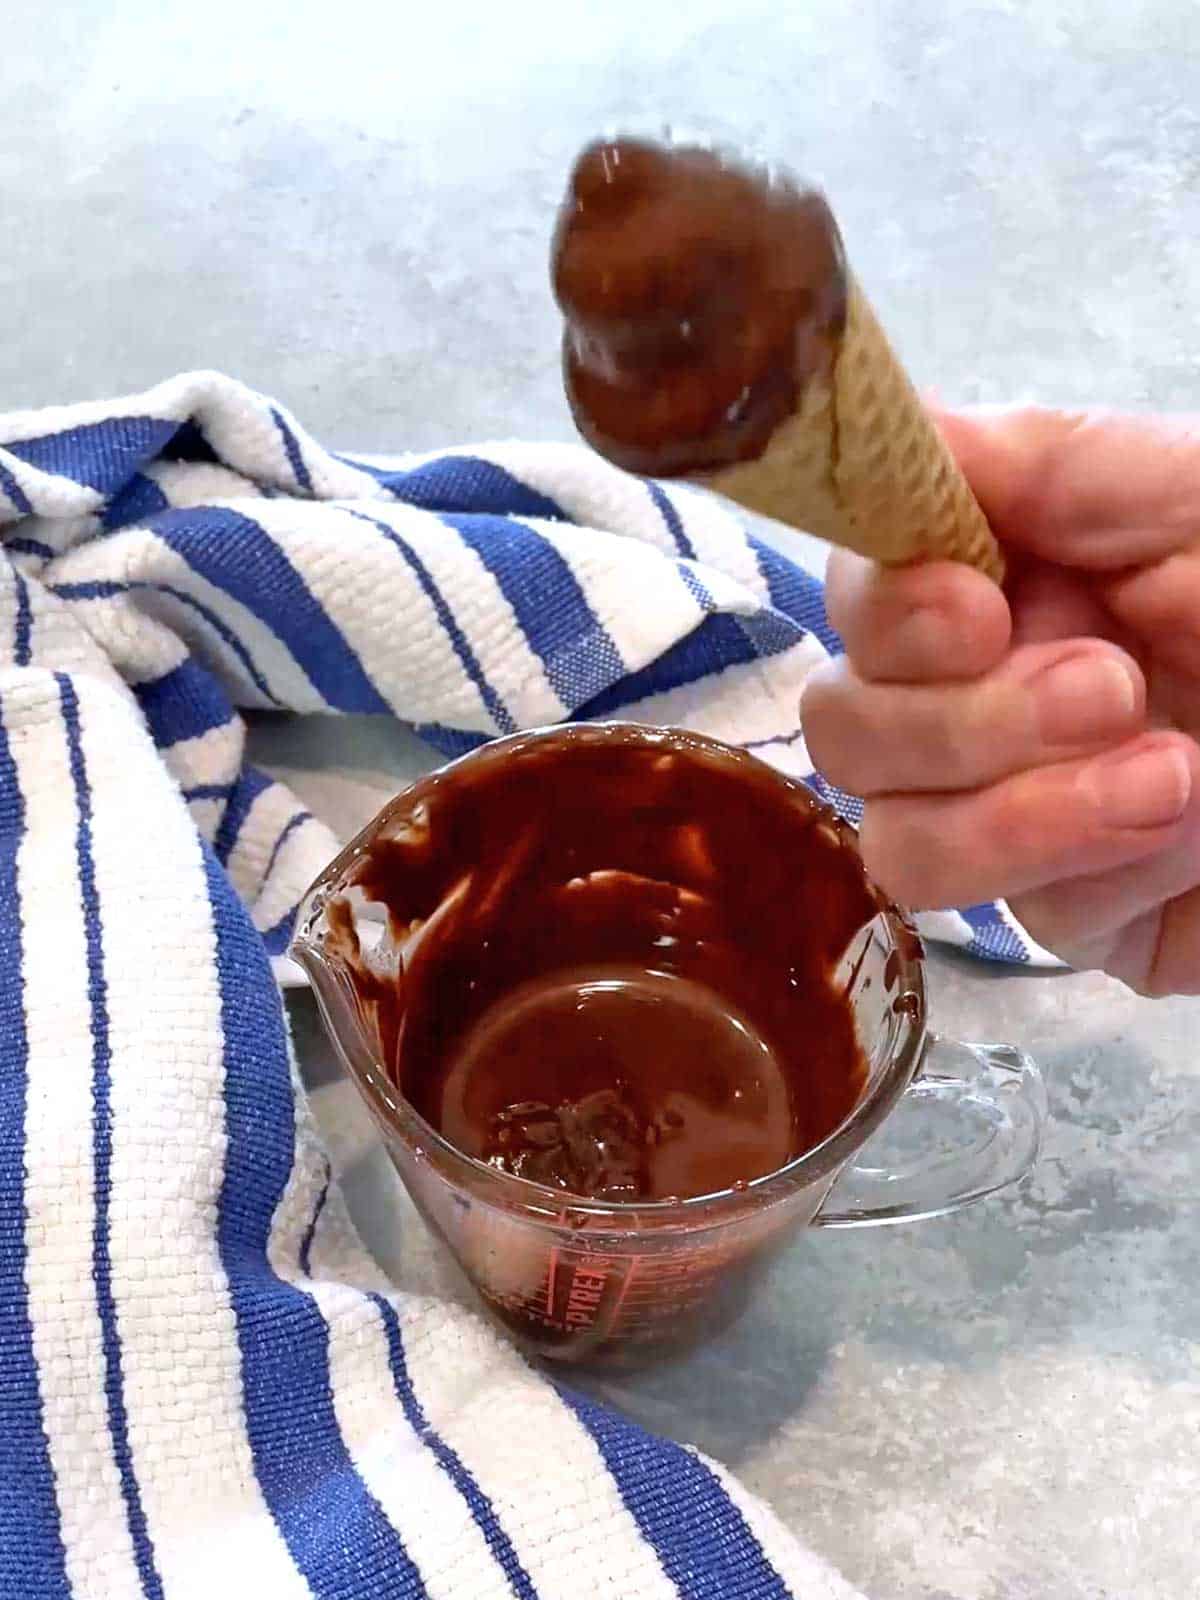
Then, I replaced the dipped cone in the egg carton and repeated this for the remaining cones.
I placed the dipped cones in the freezer to allow the magic shell to continue to harden.
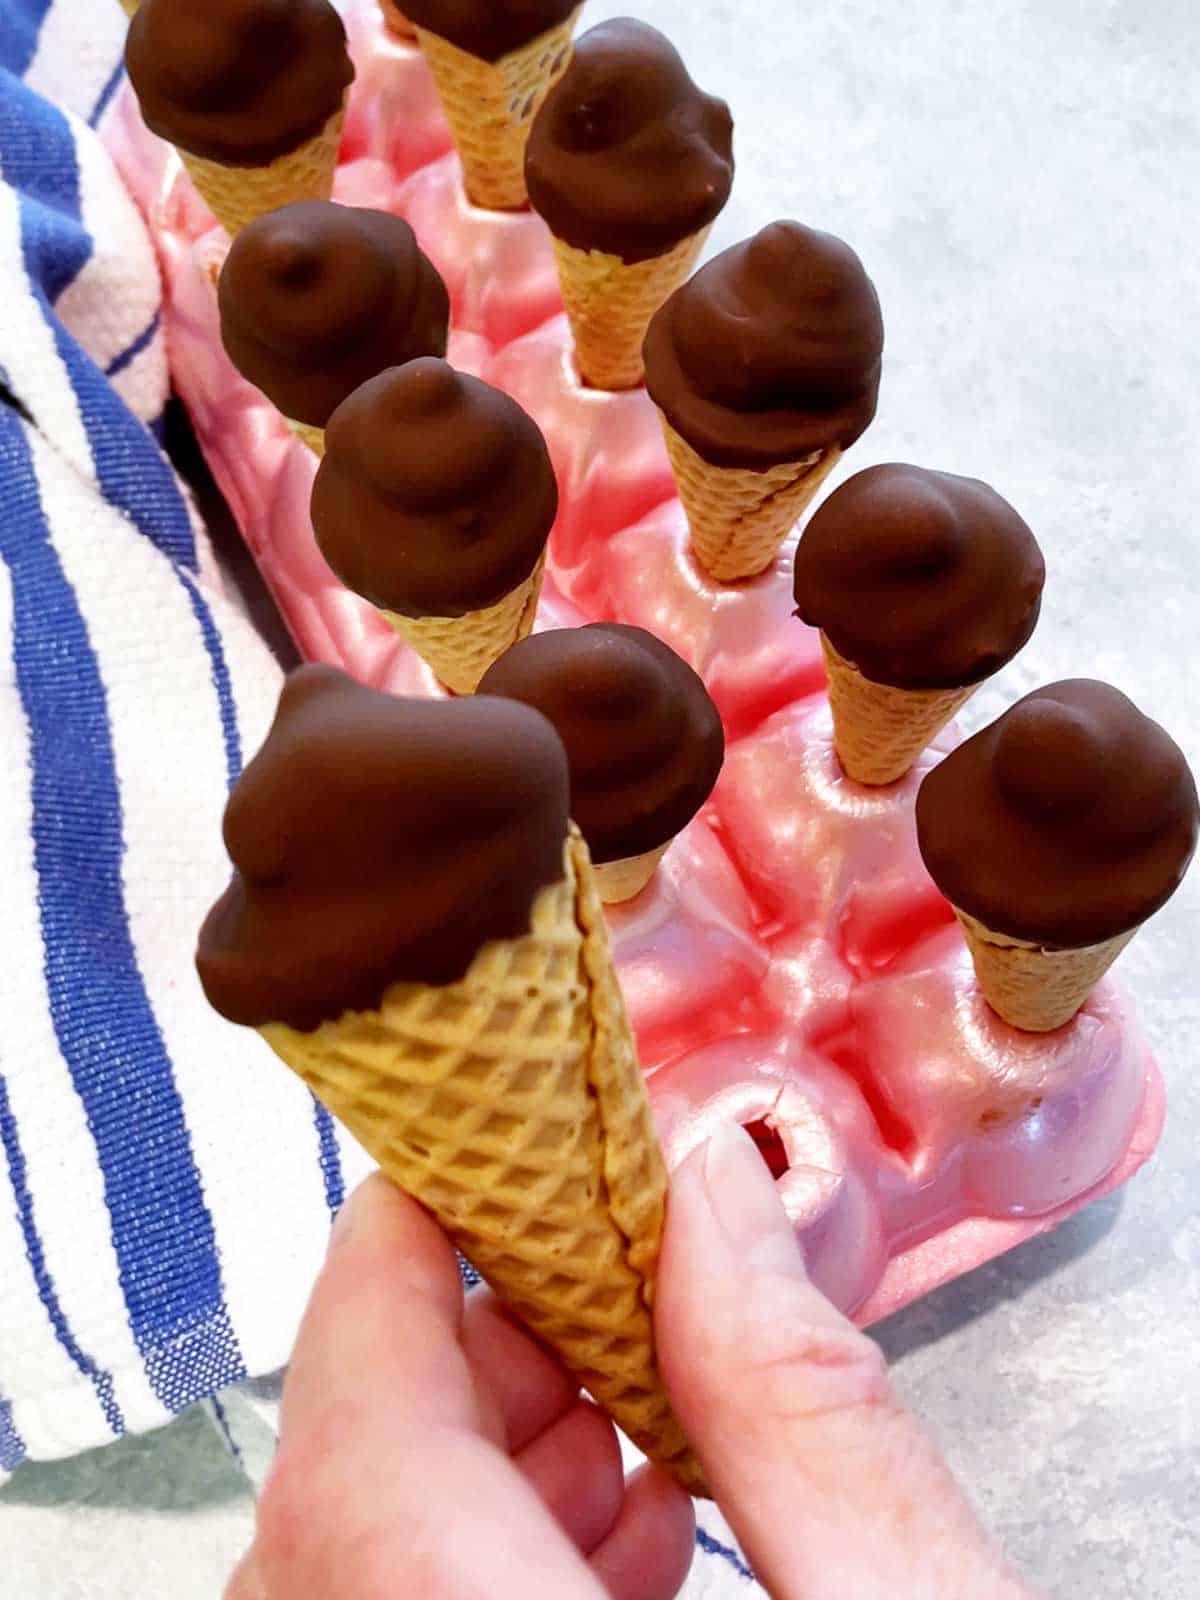
To say that the Hold the Cones were amazing is a total understatement. They were the perfect size for when you want just a taste of ice cream.
Susan and I compared the copycat Hold the Cone to the real thing and couldn’t tell a difference!
Now you can make your own without driving to the nearest Trader Joe’s. Yum!
Frequently Asked Questions
The secret ingredient in magic shell is coconut oil. When the two are melted together, they become liquidity. However, within seconds of contact with the cold ice cream, the magic shell rapidly cools down and becomes hard – like magic.
You could, however, use butter in place of the coconut oil with the same result.
If left at room temperature, the magic shell remains liquidity. It can be kept covered at room temperature for up to 6 months.
It’s best to keep magic shell at room temperature. If refrigerated, the magic shell will harden.
Feel free to use milk chocolate chips in place of semisweet chocolate chips.
The store-bought sugar cones are pretty brittle. However, if you are very careful when cutting them down, it should work fine. Just go slowly.
I like to continue piping the ice cream until it’s about an inch above the cone. I also like to add a swirl to enhance the appearance of the final Hold the Cone.
Other Ice Cream Treats
If you’re a fan of ice cream, you should check out these other delicious recipes.
- Chocolate Dipped No-Churn Ice Cream Cones: Easy to make Chocolate Dipped No-Churn Ice Cream Cones are a definite winner with both children and adults. The no-churn ice cream initially has the consistency of soft-serve making it perfect for piping into chocolate coated cones. The winning touch is the crispy magic shell coating the ice cream.
- No-Churn Chocolate Butter Pecan Ice Cream: No-Churn Chocolate Butter Pecan Ice Cream is velvety smooth, amazingly delicious and easy to make. The chocolate ice cream itself uses only three ingredients – heavy cream, sweetened condensed milk and unsweetened cocoa. Added to that are two additional ingredients of butter and pecans that take the ice cream over the top.
- Strawberry Ice Cream: If you like strawberries and ice cream, you will absolutely love this delicious strawberry ice cream. It’s easy to make, and awesome to eat.
- Limoncello Ice Cream: Limoncello Ice Cream is incredible! It’s silky smooth because of the impact of the alcohol from the Limoncello. As it turns out, the addition of alcohol to the ice cream mixture lowers the freezing point. This retards the formation of ice crystals that sometimes plague homemade ice cream.
- No-Egg Creamy Georgia Peach Ice Cream: If you like fresh Georgia peaches, you’ll absolutely love this No-Egg Creamy Georgia Peach Ice Cream. Filled with chunks of delicious Georgia peaches, this ice cream is easy to make, doesn’t require any cooking, and is awesome to taste. In addition, it’s velvety smooth without the telltale icy texture that plagues a lot of homemade ice creams.
- Philadelphia Style Vanilla Ice Cream: Homemade ice cream is made in two different styles. The first is Custard-style which contains egg yolks. Then there is the Philadelphia-style, which omits egg yolks. Ask the Master Taste Tester what kind of ice cream he wants and the answer is always the same – simple vanilla ice cream.
- Triple Chocolate Ice Cream with Waffle Cones: Triple Chocolate Ice Cream is a true chocolate lover’s dream. It’s velvety smooth, intensely chocolate, and absolutely delicious. When I paired it with homemade waffle cones, it was extraordinary!
I hope you liked this recipe for Hold the Cone Copycat as much as I do. If so, please consider rating it and leaving a comment. Also, if you’d like to receive notifications of new posts by email, enter your email address in the Subscribe box.
Thank you so much for visiting Pudge Factor. I hope you’ll come back!
Recipe
Want to Save This Recipe?
Enter your email & I’ll send it to your inbox. Plus, enjoy weekly doses of culinary inspiration as a bonus!
By submitting this form, you consent to receive emails from Pudge Factor.

Hold the Cone Copycat
Equipment
- Empty styrofoam egg carton
- Piping bag with #12 round tip
Ingredients
- 12 store-bought sugar cones (See Tip 1)
- 1 cup (6 ounces) semisweet chocolate chips (See Tip 2)
- 2 Tablespoons Coconut oil
- 1 pint (2 cups) vanilla ice cream (See Tip 3)
Instructions
- Cut small holes in bottom of egg cups of styrofoam egg carton with x-acto knife or a small paring knife. (See Tip 4)
- Carefully cut sugar cones to about 3-inches. Discard scraps. "Sand" rough edges of cones using the underside of a small wire mesh strainer. Place cones upright in prepared styrofoam egg carton.
- Place chocolate chips and coconut oil in a microwave-safe dish. Microwave at 50% power in 30 second increments, stirring after each 30 seconds, until chocolate is melted (about 1 minute and 30 seconds total). Stir magic shell mixture until smooth and liquidity.
- Add about a teaspoon of the magic shell to a mini-cone. Swirl to completely coat the inside. Repeat with remaining cones. Freeze until firm, about 15 minutes.
- Place softened ice cream in piping bag fitted with #12 round tip. Pipe ice cream into prepared mini-cones, filling the cone to about a 1-inch mound. Freeze for about an hour or until ice cream is firm. (See Tip 5)
- Microwave magic shell at 50% power for 15 seconds to very slightly reheat You want the magic shell to be liquidity, but not hot. Dip cones into magic shell, allowing excess to drip off. Place upright in egg carton. Freeze until magic shell is completely hardened, about 15 minutes.
- Yield: 12 Copycat Hold the Cones
Tips/Notes
- Do not use store-bought waffle cones. Rather, use the regular sugar cones.
- May also use milk chocolate chips.
- Use an ice cream flavor of your choice. However, avoid ice cream with large chunks in it because the chunks may clog the piping tip.
- Do not cut the holes in the egg carton too big. You want them large enough that they will hold the cones upright. The holes will enlarge somewhat when you put the cones in them.
- May also use a Ziploc bag with the corner cut off to pipe the ice cream.





Leave a Reply