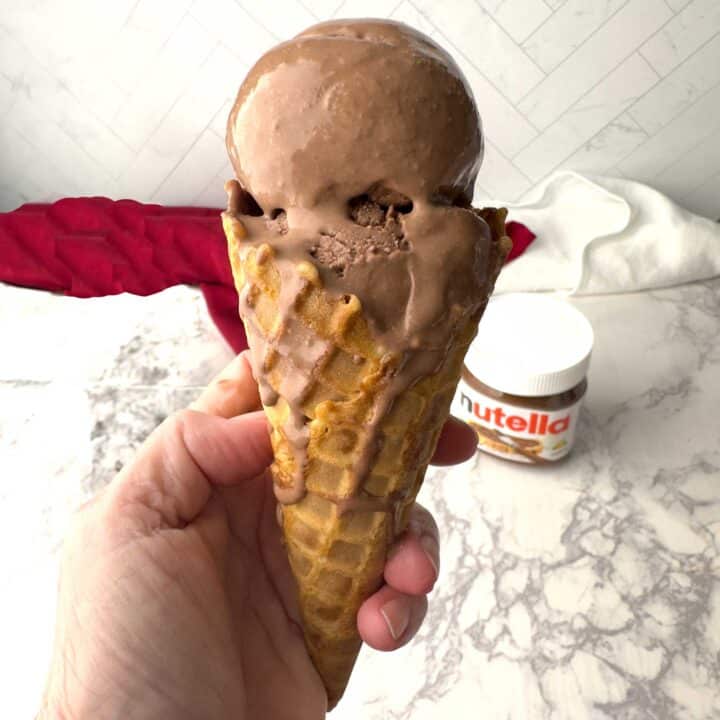
Triple Chocolate Ice Cream is a true chocolate lover’s dream. It’s velvety smooth, intensely chocolate, and absolutely delicious. When I paired it with homemade waffle cones, it was extraordinary!

Susan says that it’s the best chocolate ice cream that she’s ever had. In fact, I almost didn’t have enough of the ice cream left to get a picture because she ate so much of it!
Estimated reading time: 9 minutes
Table of contents
Ingredients
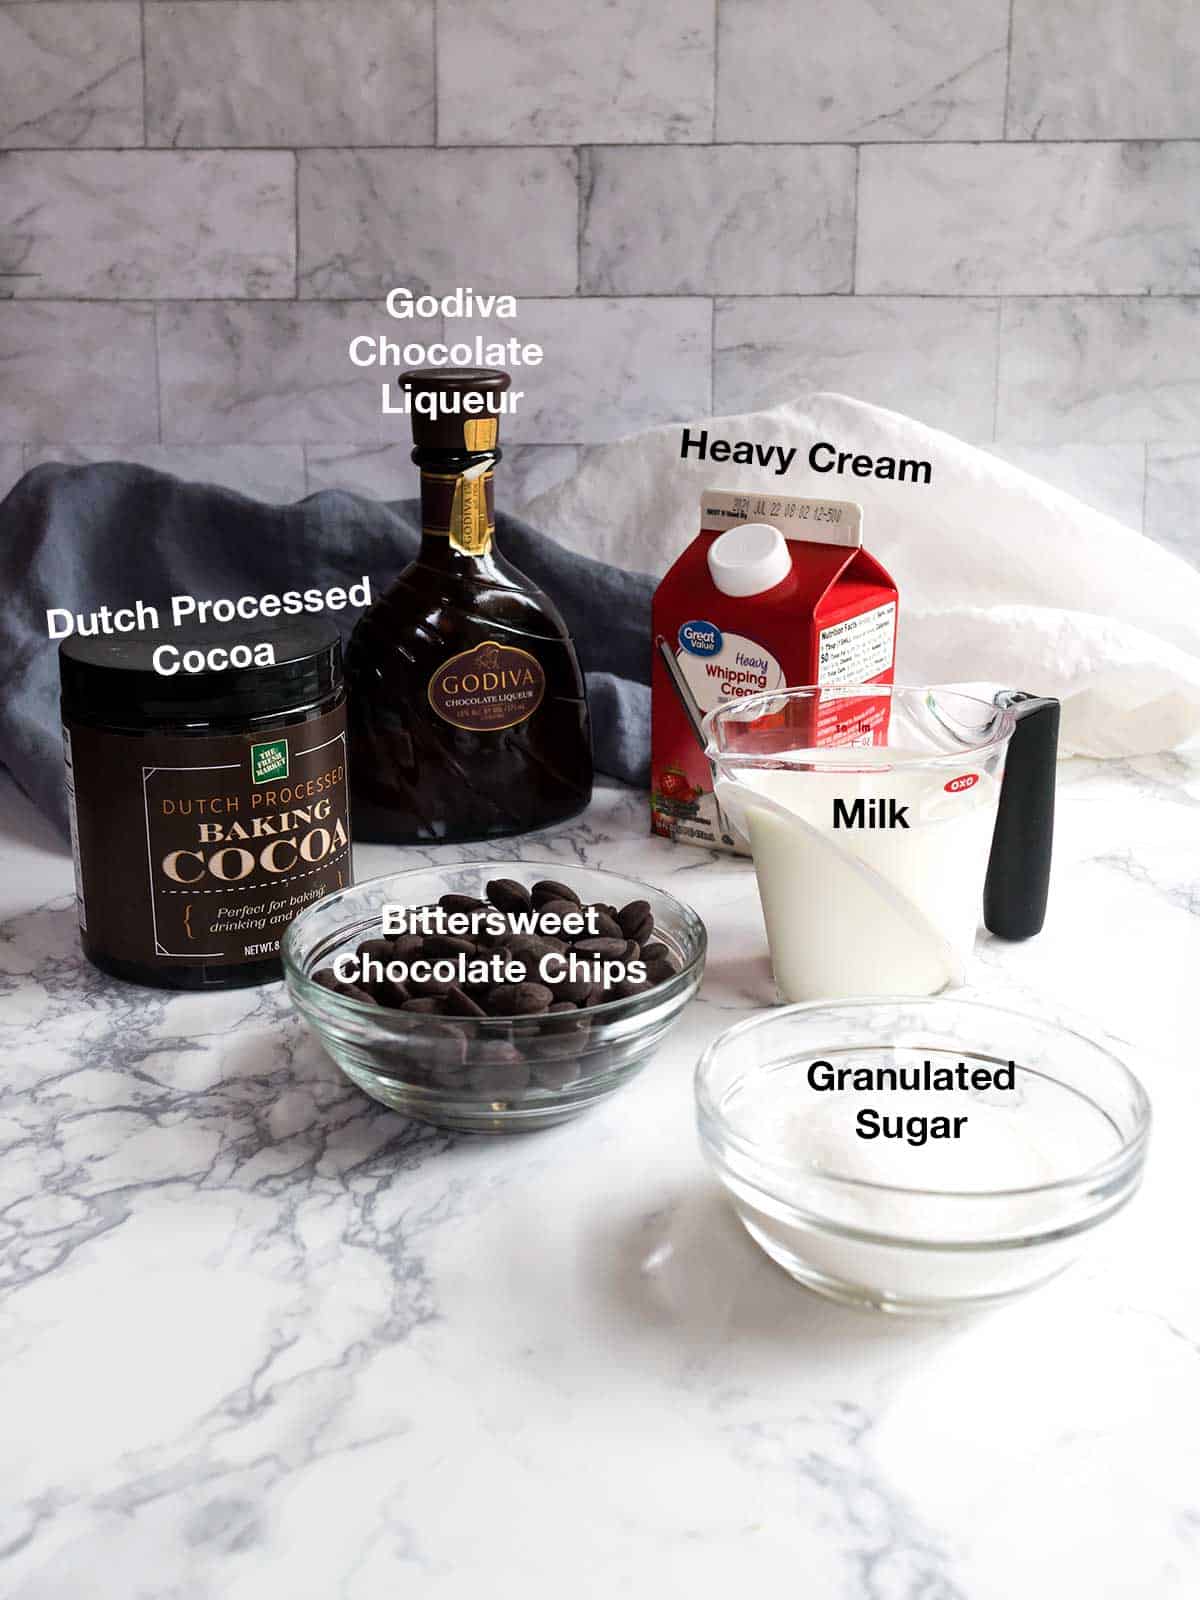
I used the following ingredients for the Triple Chocolate Ice Cream: Heavy cream, sugar, dutch processed cocoa, Ghirardelli bittersweet chocolate chips, milk, and the secret ingredient – Godiva Chocolate Liqueur.
Making the Triple Chocolate Ice Cream
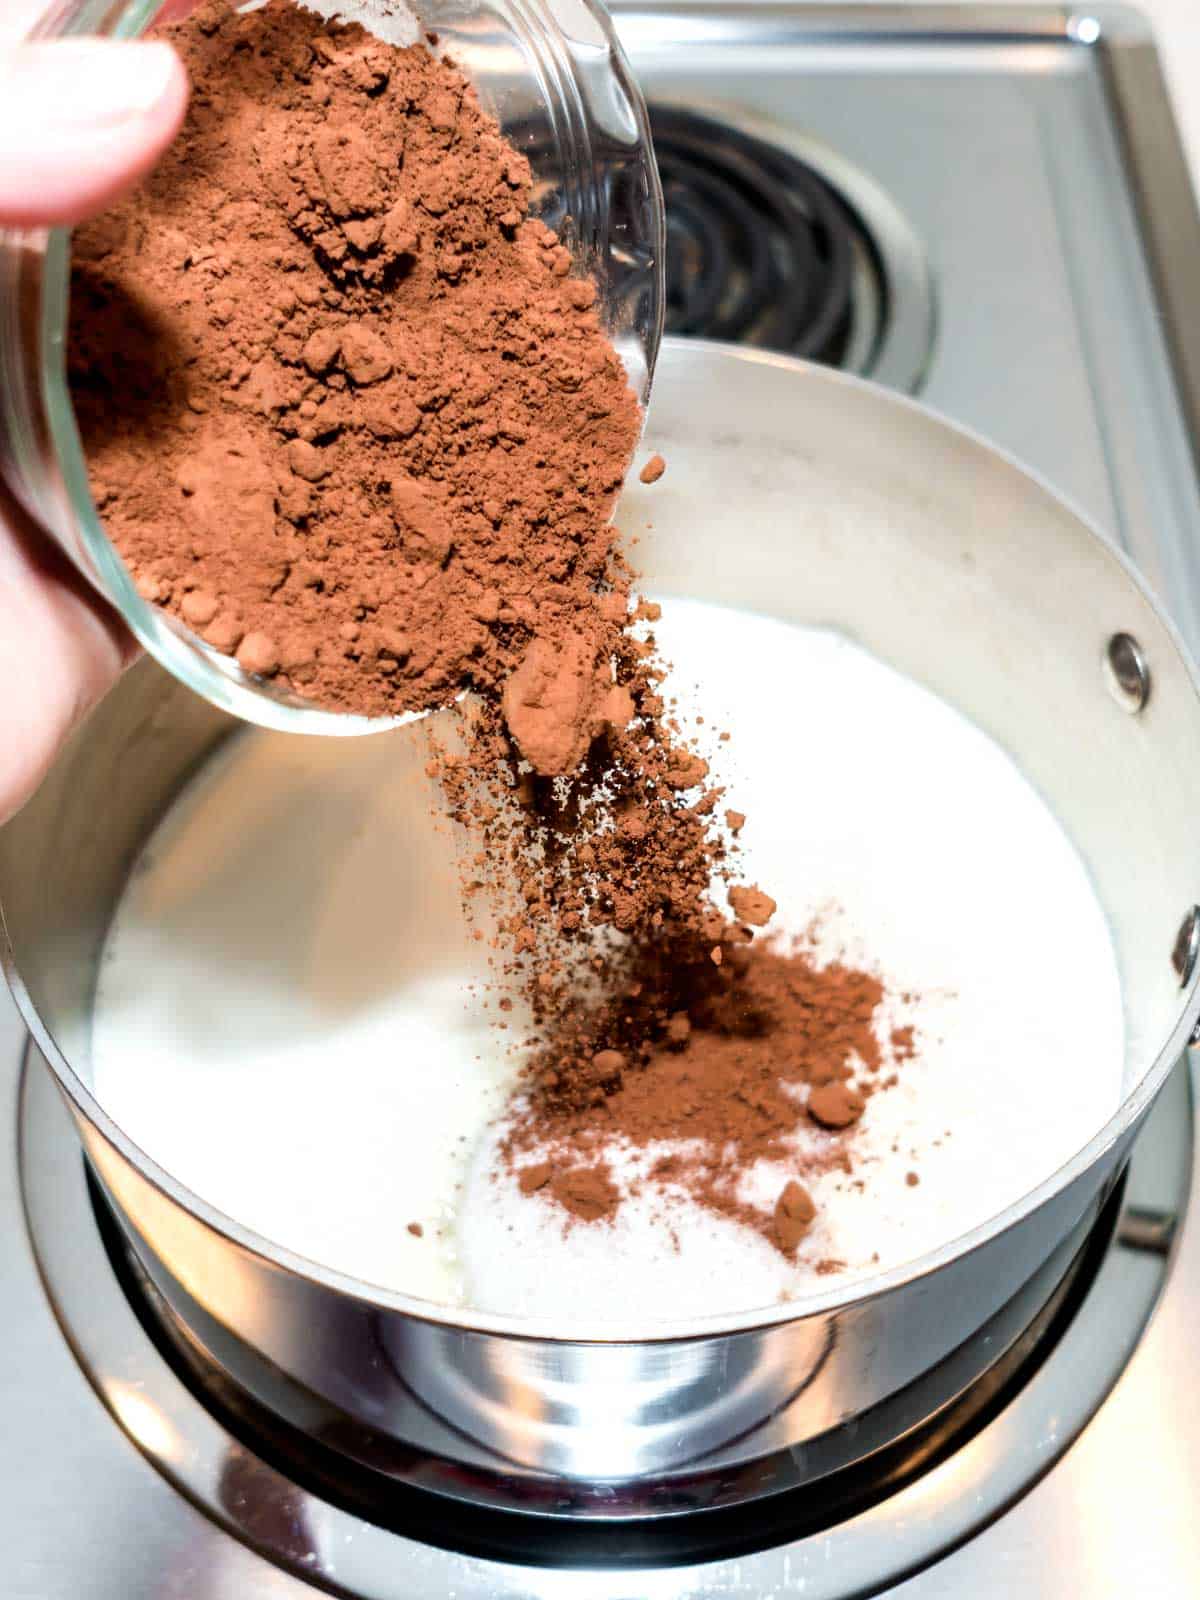
I started by whisking together the cream, sugar and cocoa in a large saucepan set over medium-high heat.
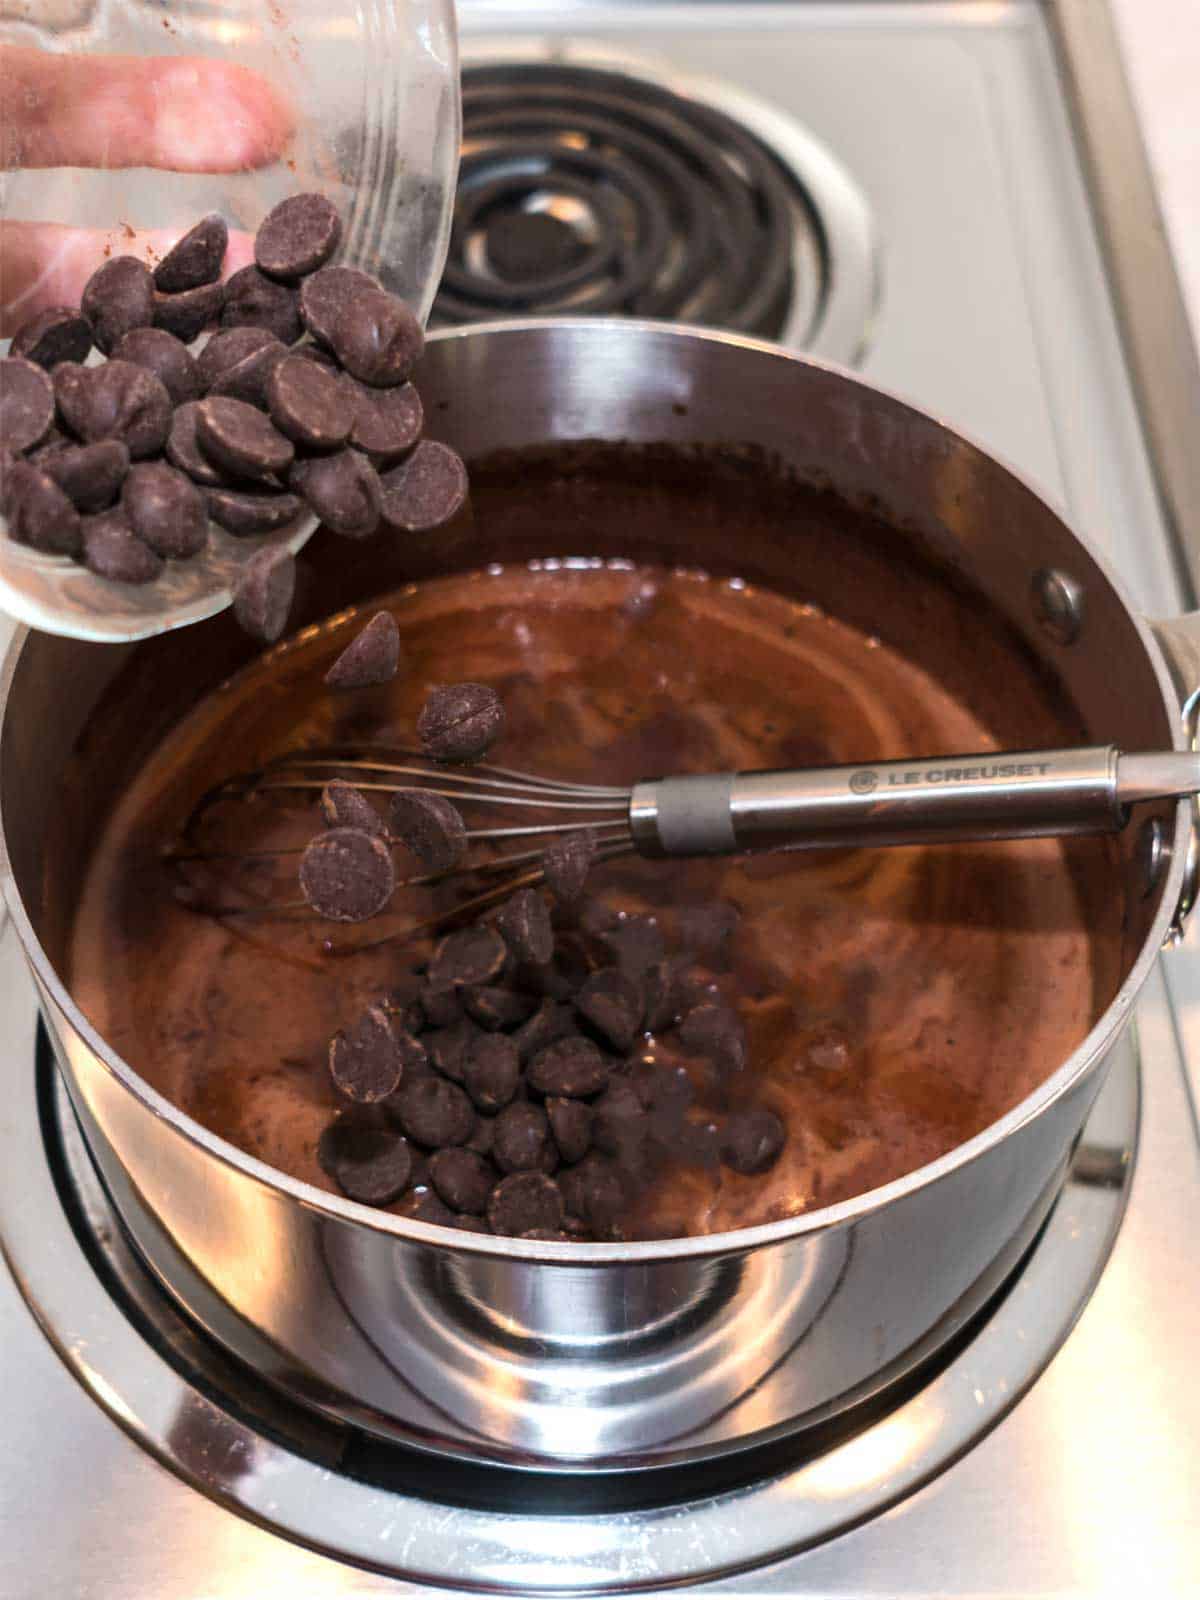
Once the mixture came to a full, rolling boil, I turned off the heat and added the chocolate chips.
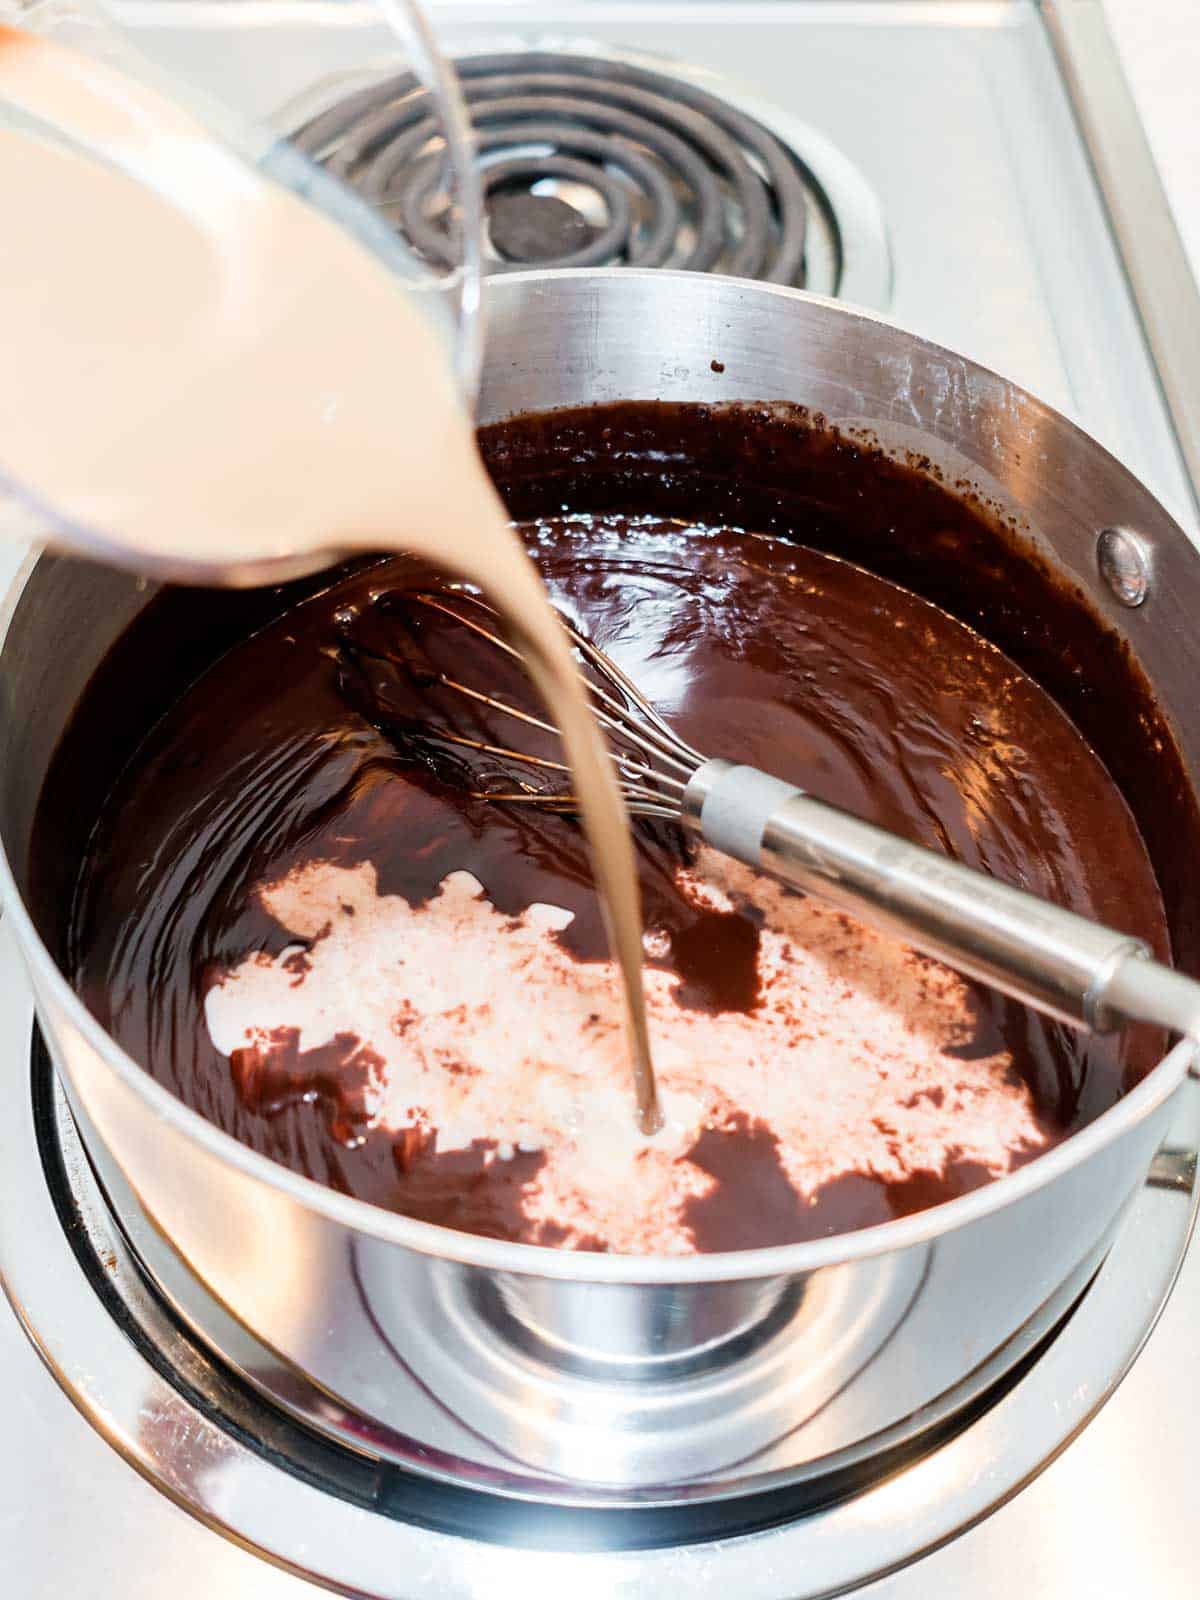
I whisked the mixture until the chocolate chips were melted. Then I whisked in the milk and Godiva Liqueur.
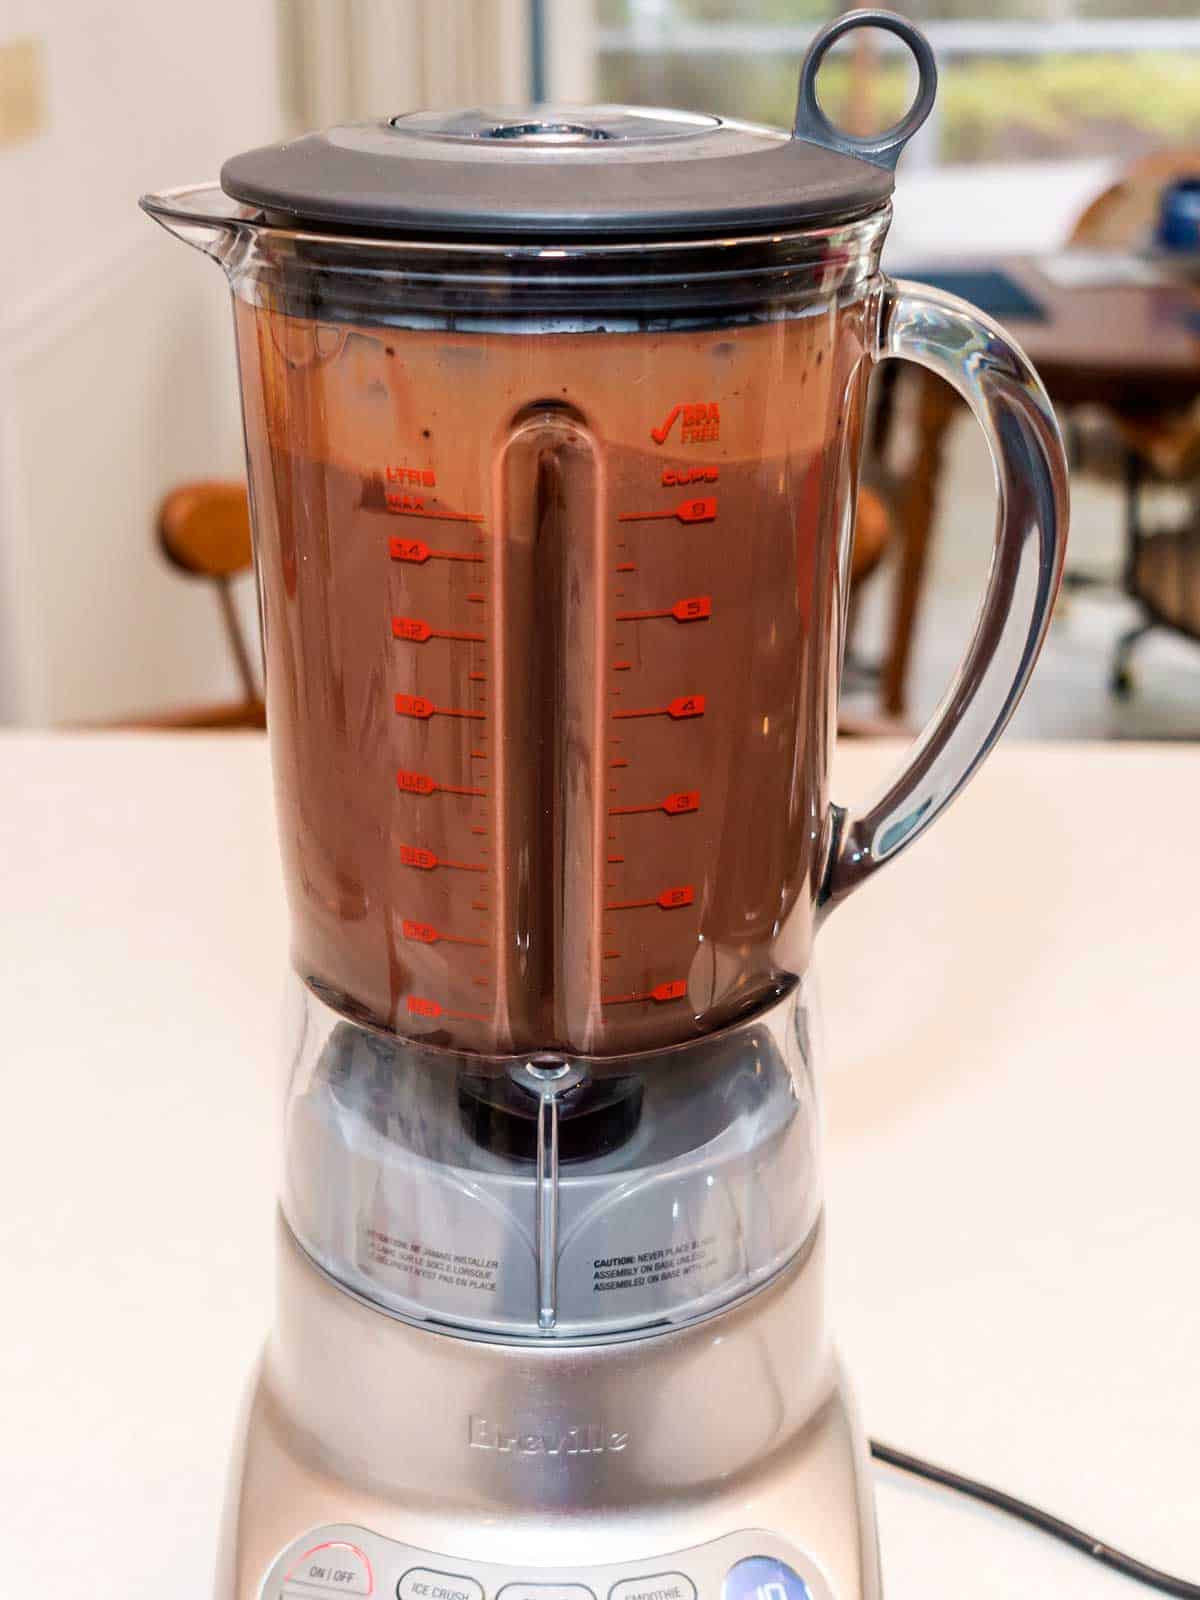
After everything was well incorporated, I poured the mixture into my blender. I blended it for about 30 seconds, until it was very smooth.
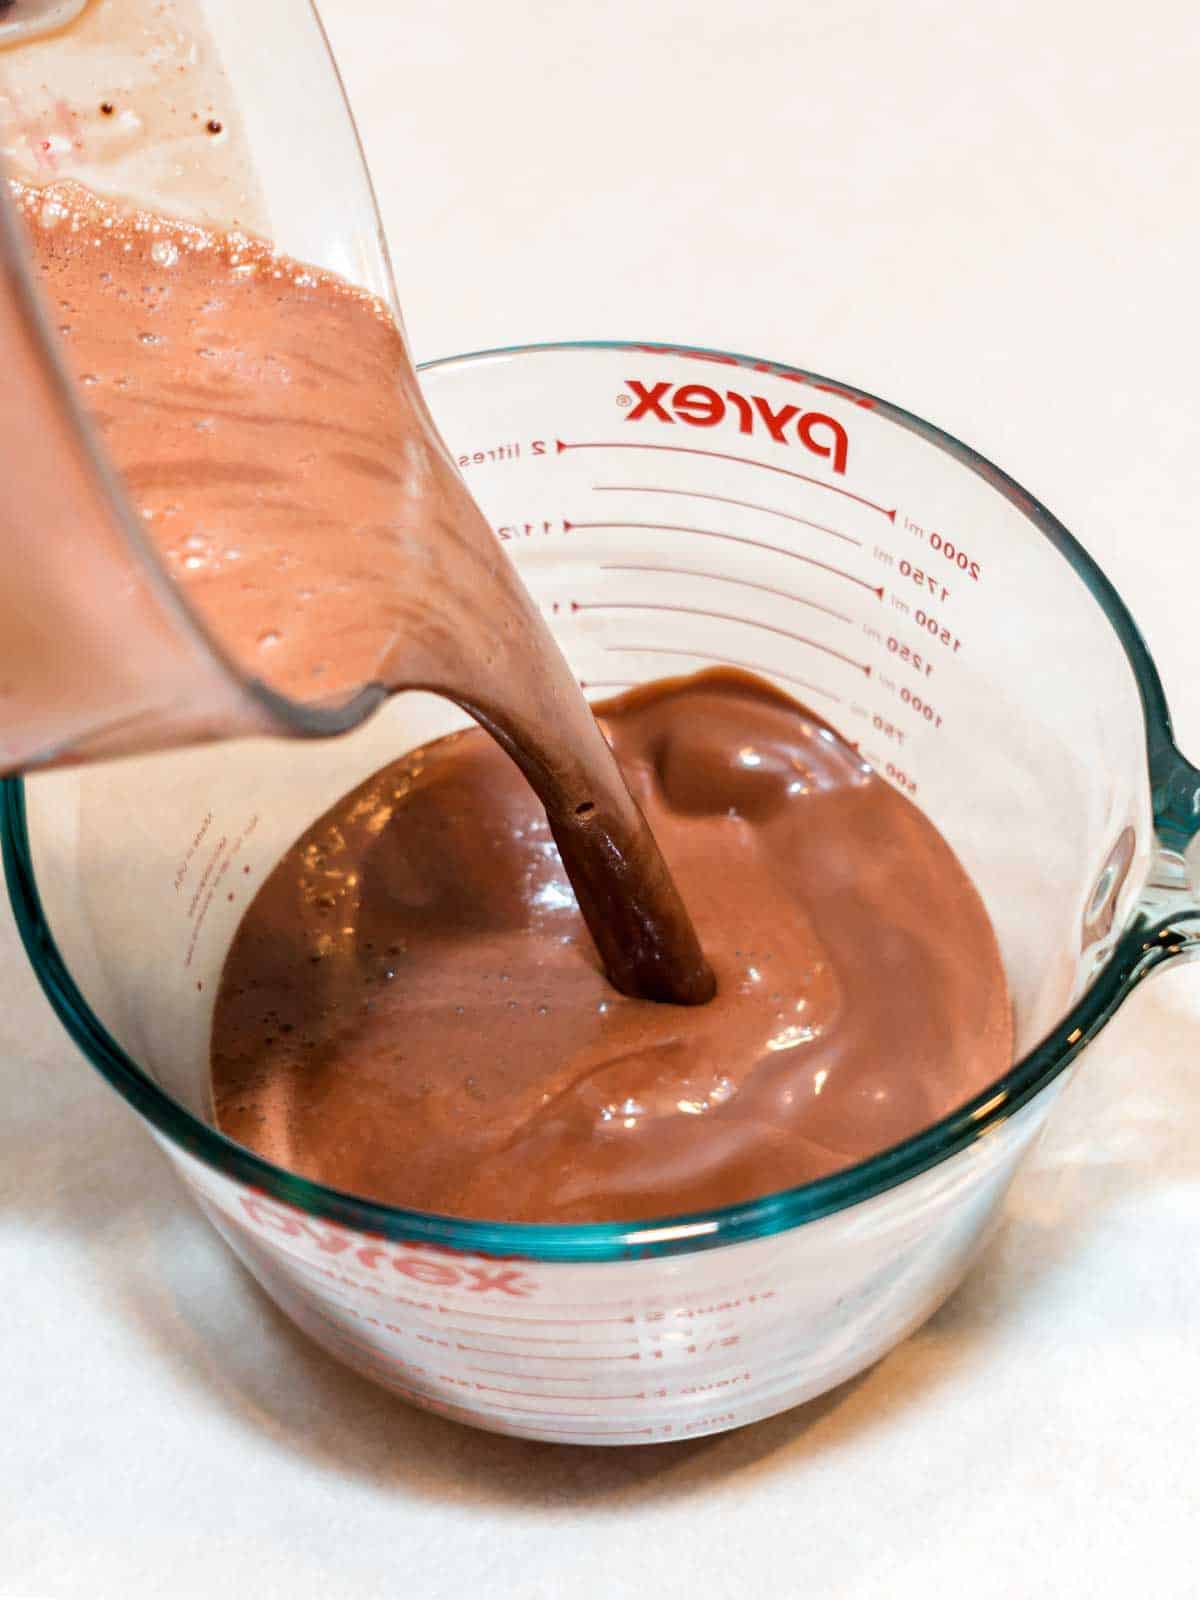
Then I poured the mixture into a large measuring cup, covered it with plastic wrap, and refrigerated it overnight.
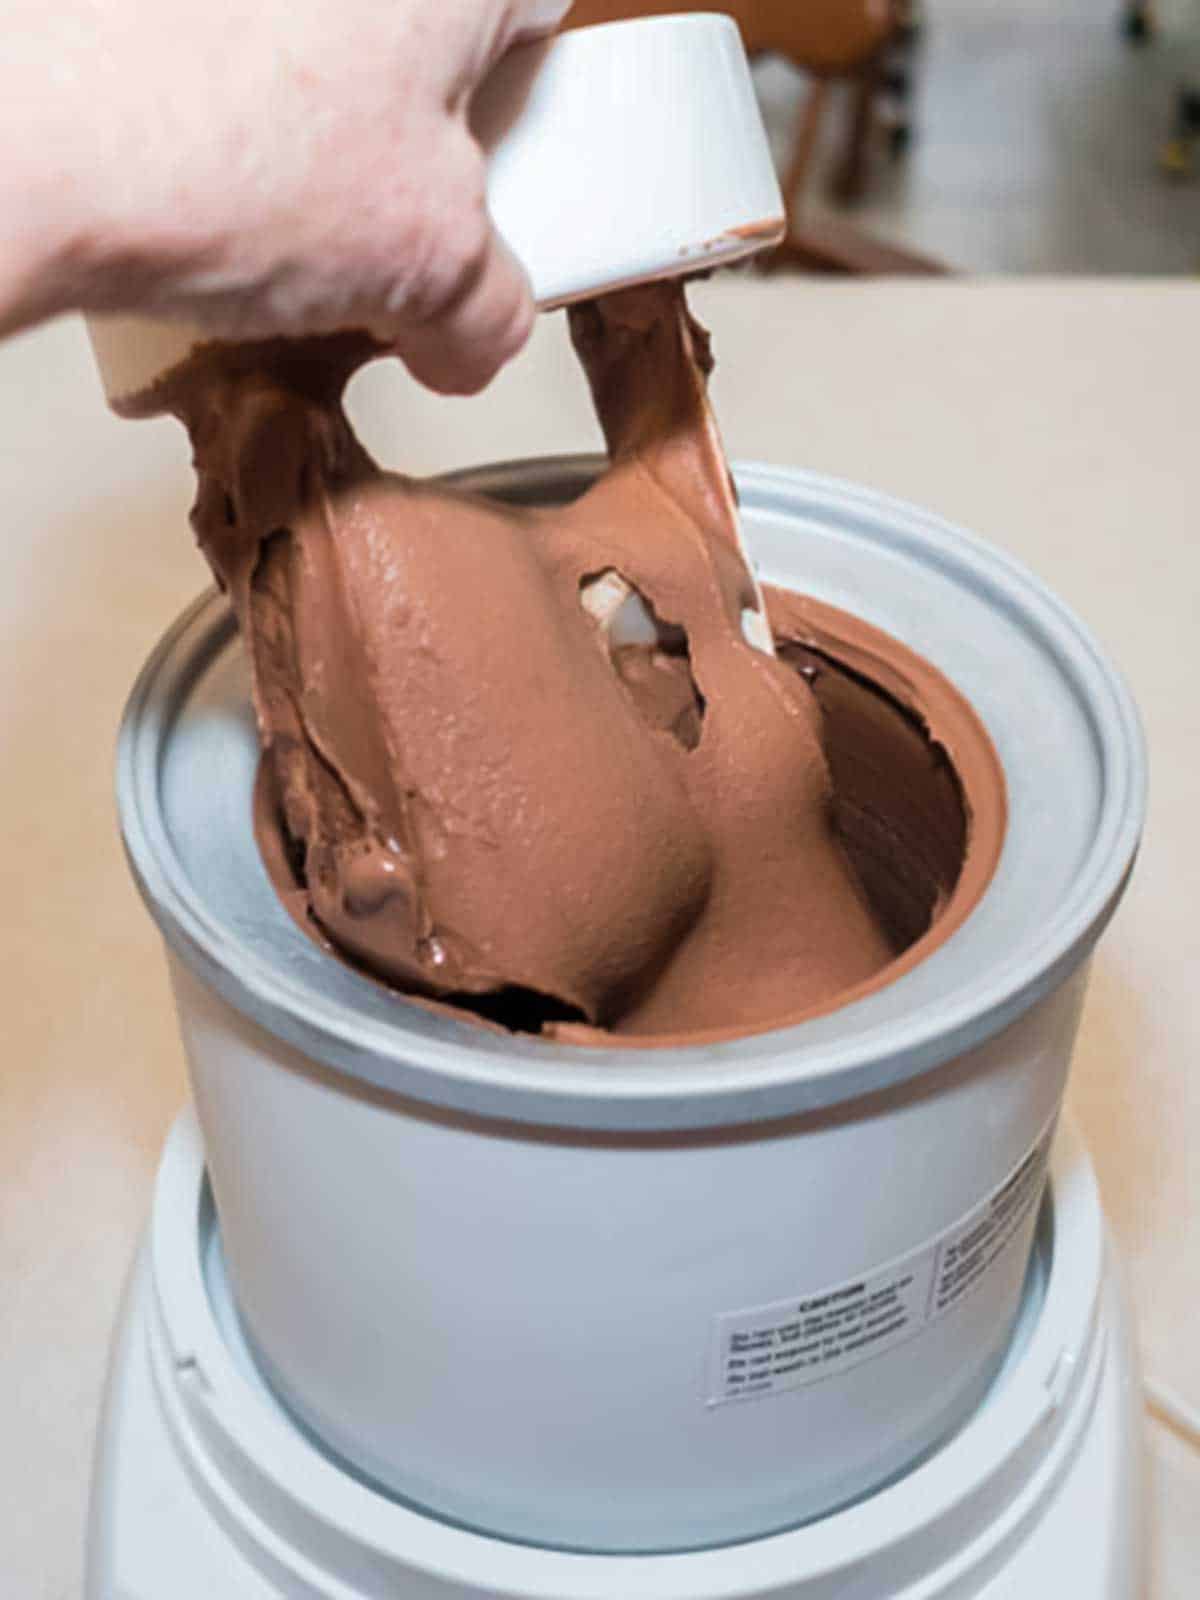
The next day, I poured the chilled mixture into my ice cream maker and processed it for around 25 minutes.
When it was done, I transferred the ice cream to an airtight container and placed it in the freezer to harden. This was not without sneaking a taste. Oh my, was it good!
Making the Waffle Cones
Homemade Waffle Cones are super easy to make with a WaffleCone Express. They take this amazing ice cream to the next level.
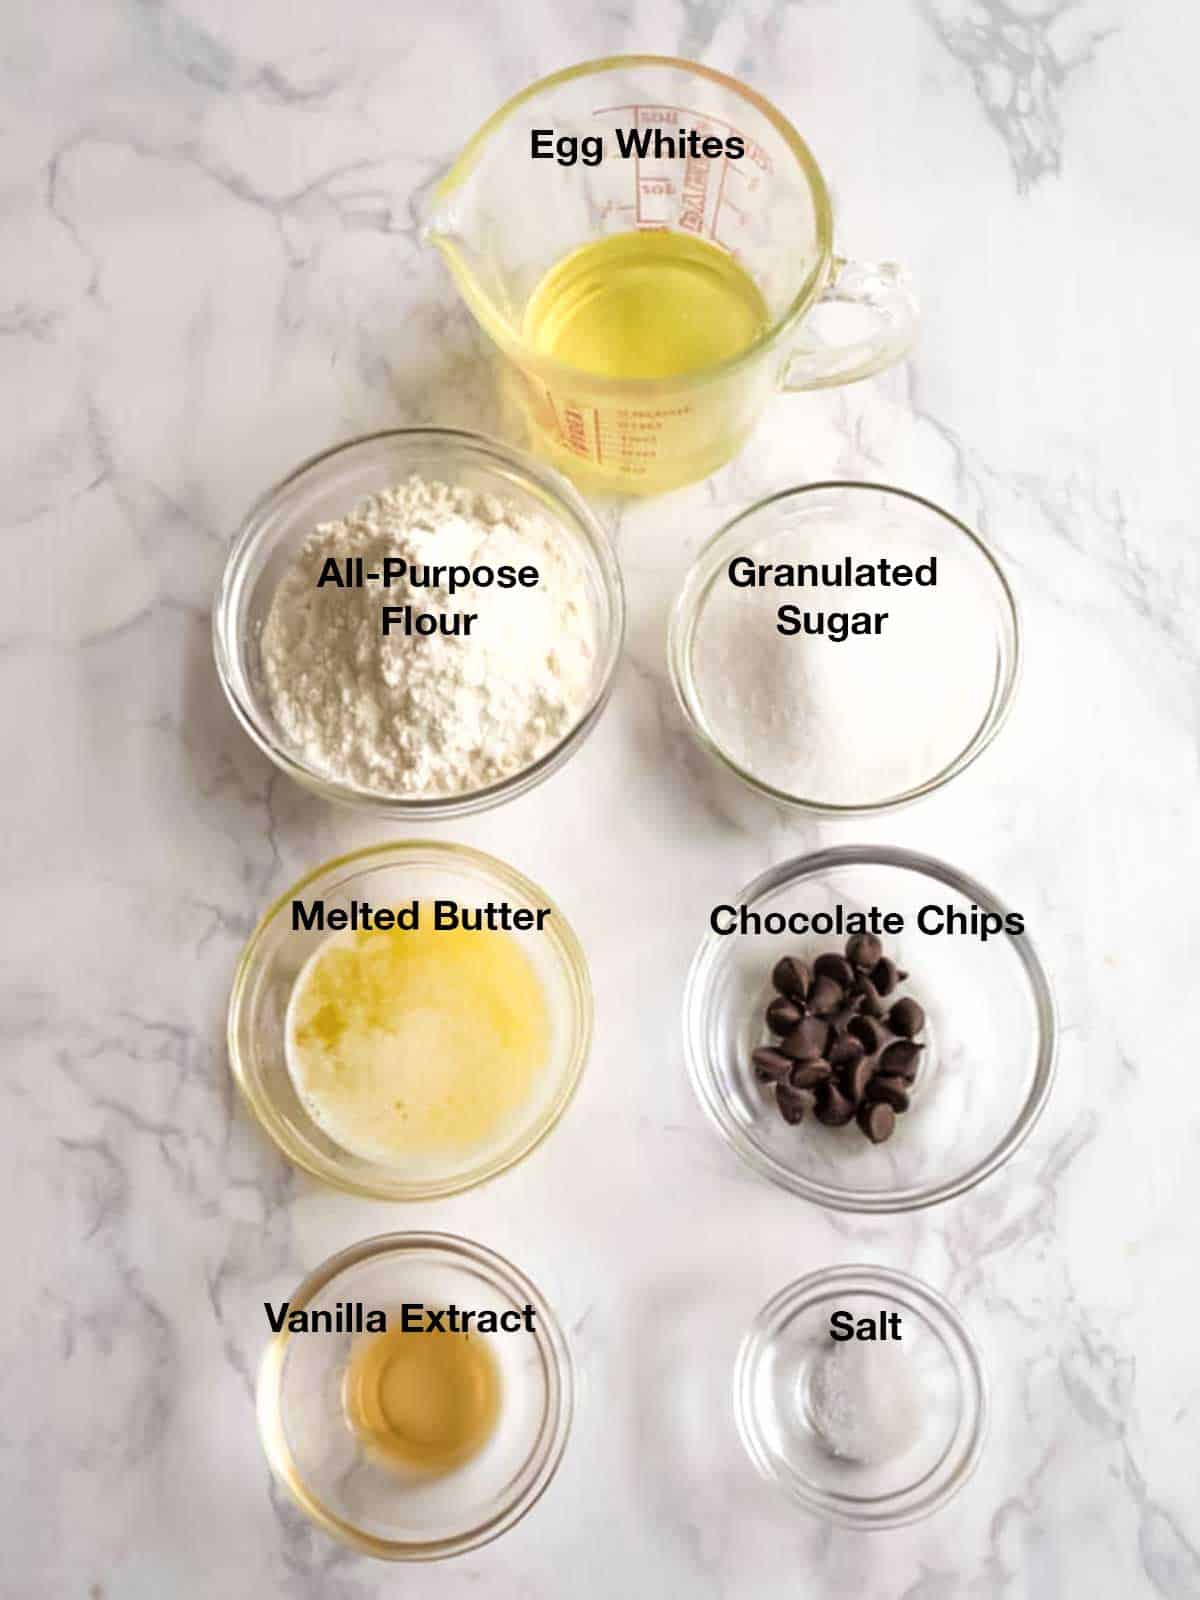
I used the following ingredients for the waffle cones: Egg whites, sugar, vanilla extract, salt, flour, melted butter, and chocolate chips.
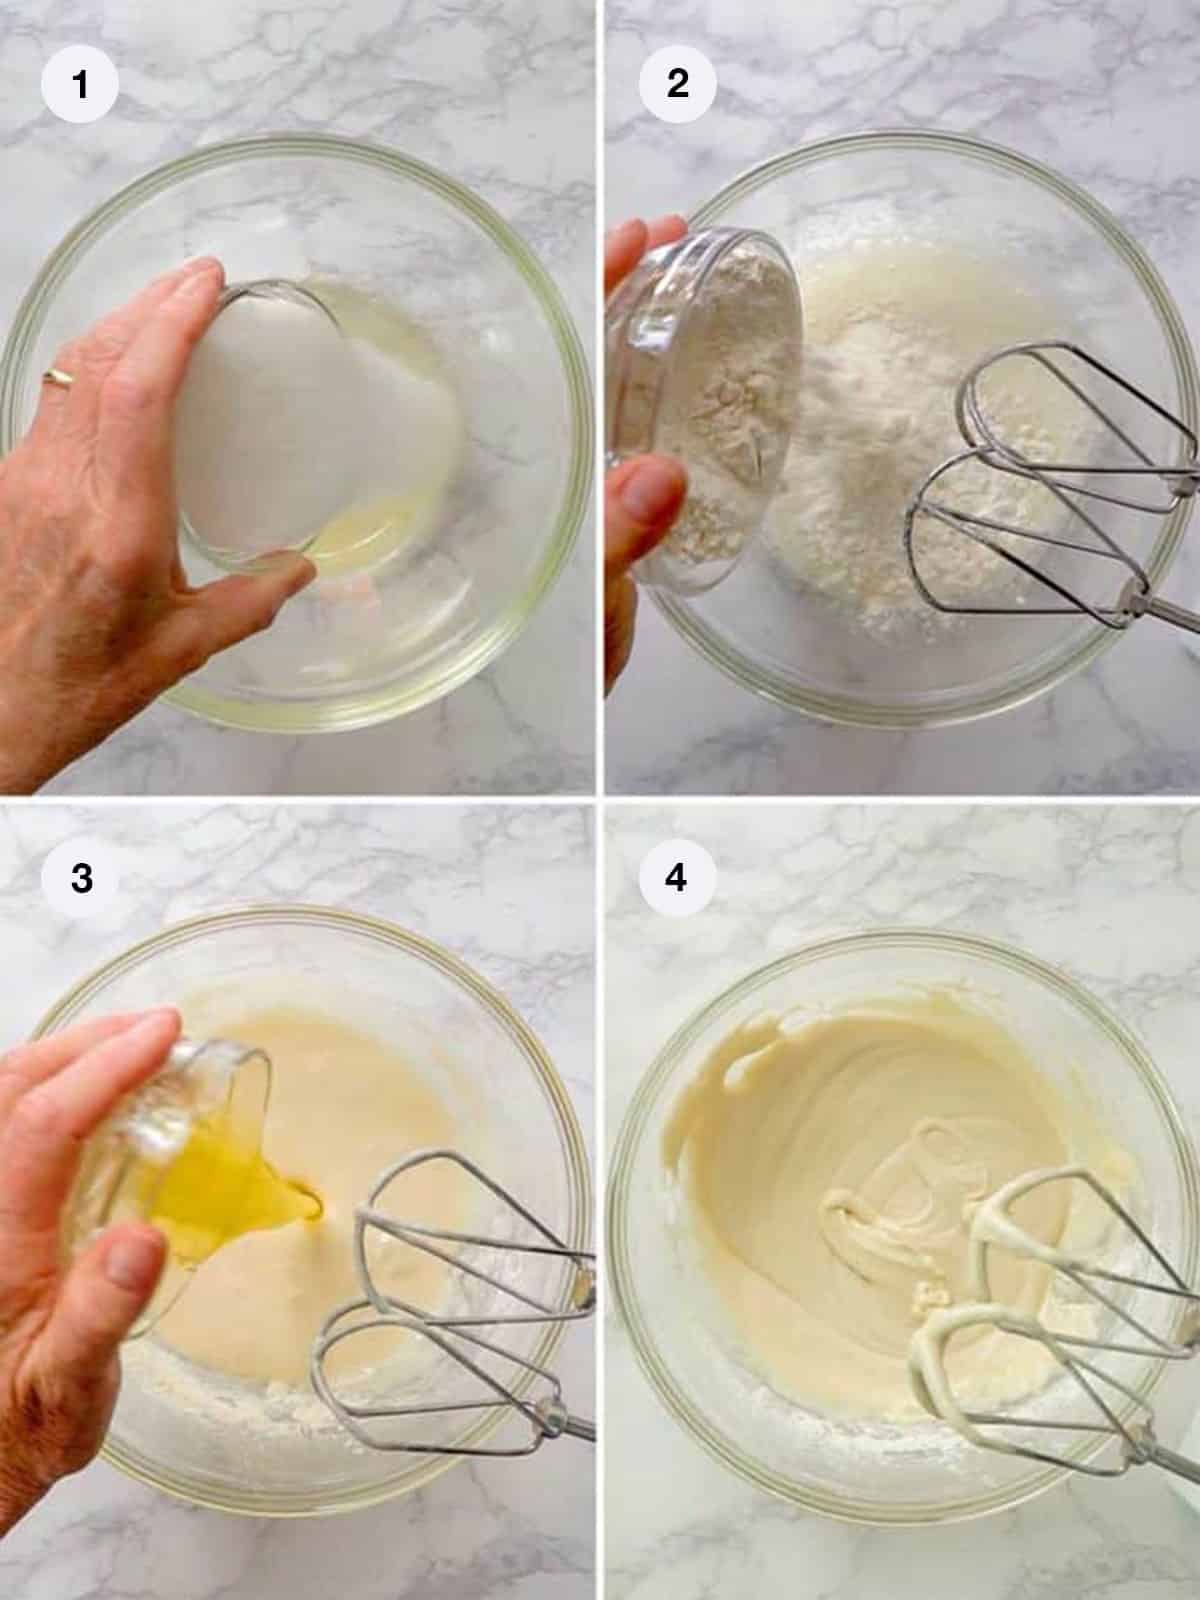
I started by beating the egg whites, sugar and vanilla extract on high until the mixture was smooth (Photo 1). Then I added the salt and half the flour and beat it on low until the flour was incorporated (Photo 2).
Next, I added the melted butter and remaining flour (Photo 3). I beat the mixture on low until everything was incorporated and the batter was smooth (Photo 4).
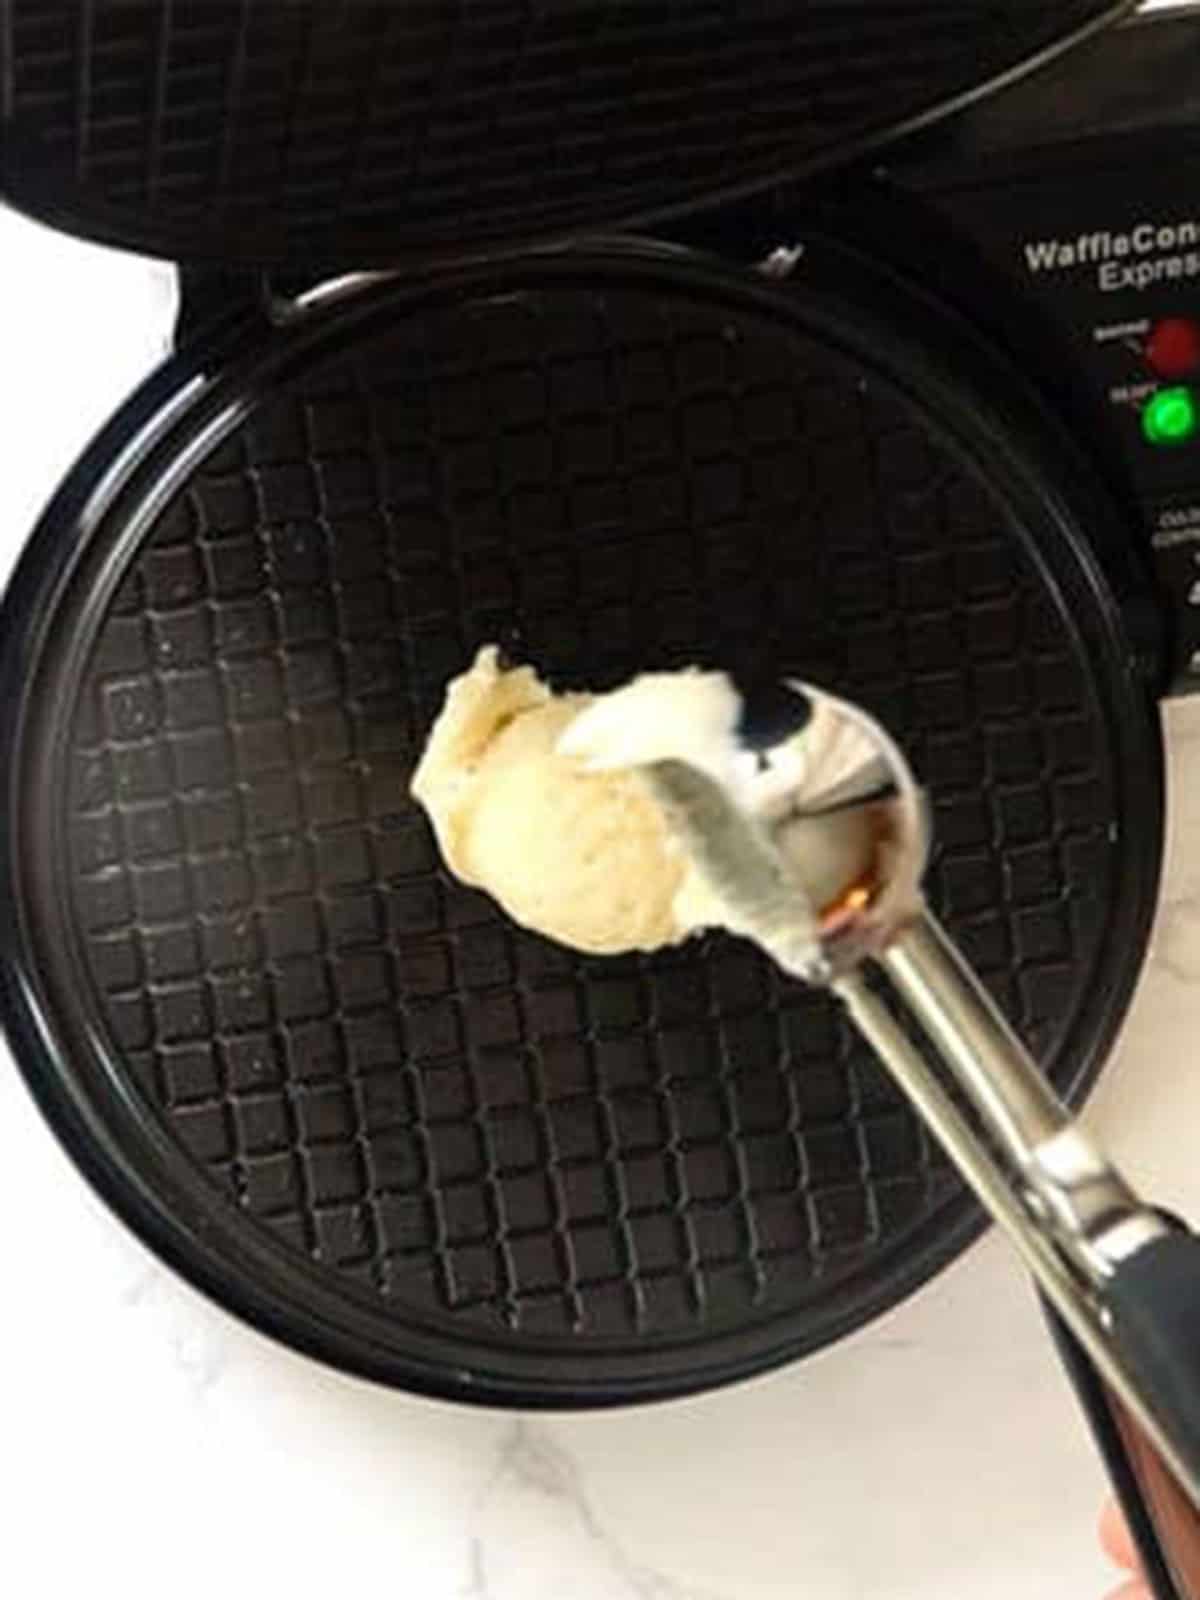
With the batter ready, I heated my WaffleCone Express for about 5 minutes. When it was hot, I brushed both sides with vegetable oil, and dropped about 4 teaspoons of the batter in the middle. I used my ice cream scoop that measured 13/4 inches in diameter.
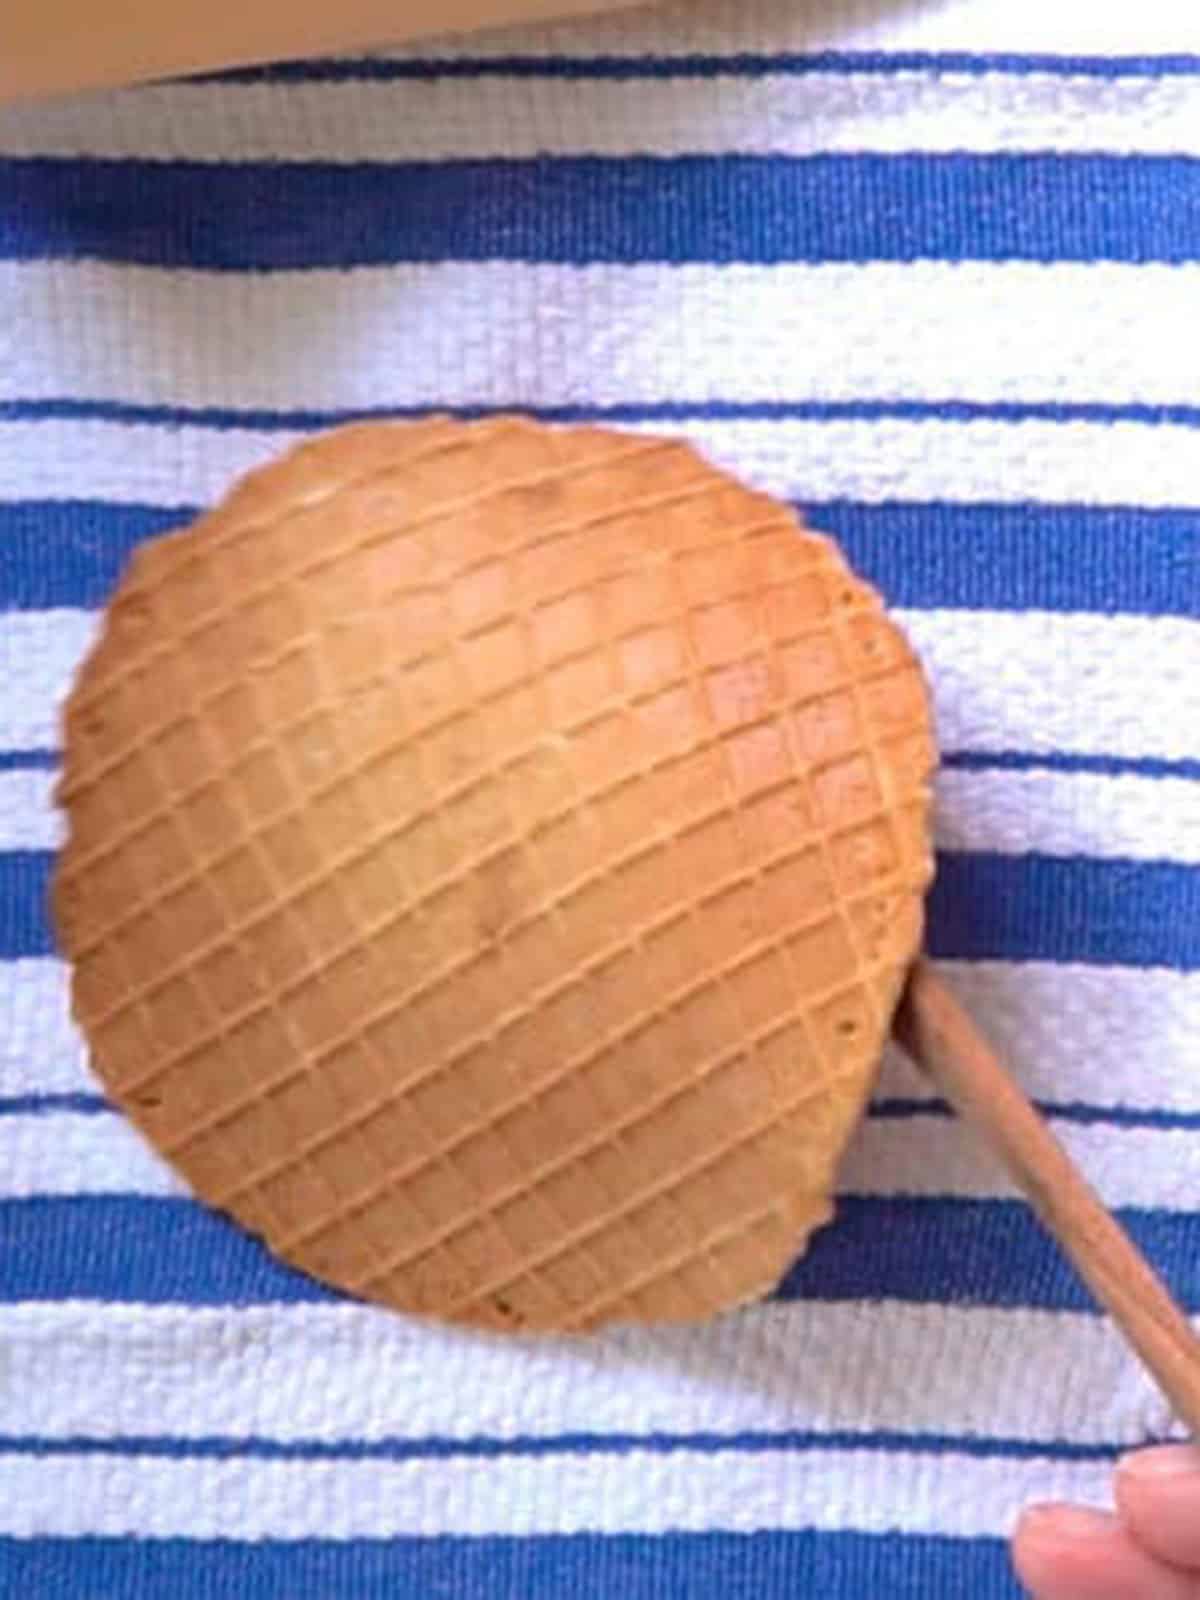
I closed the lid and cooked the waffle for a little over a minute until it was nicely browned. Then I carefully lifted the waffle with a wooden fork and placed it on a clean dish cloth.
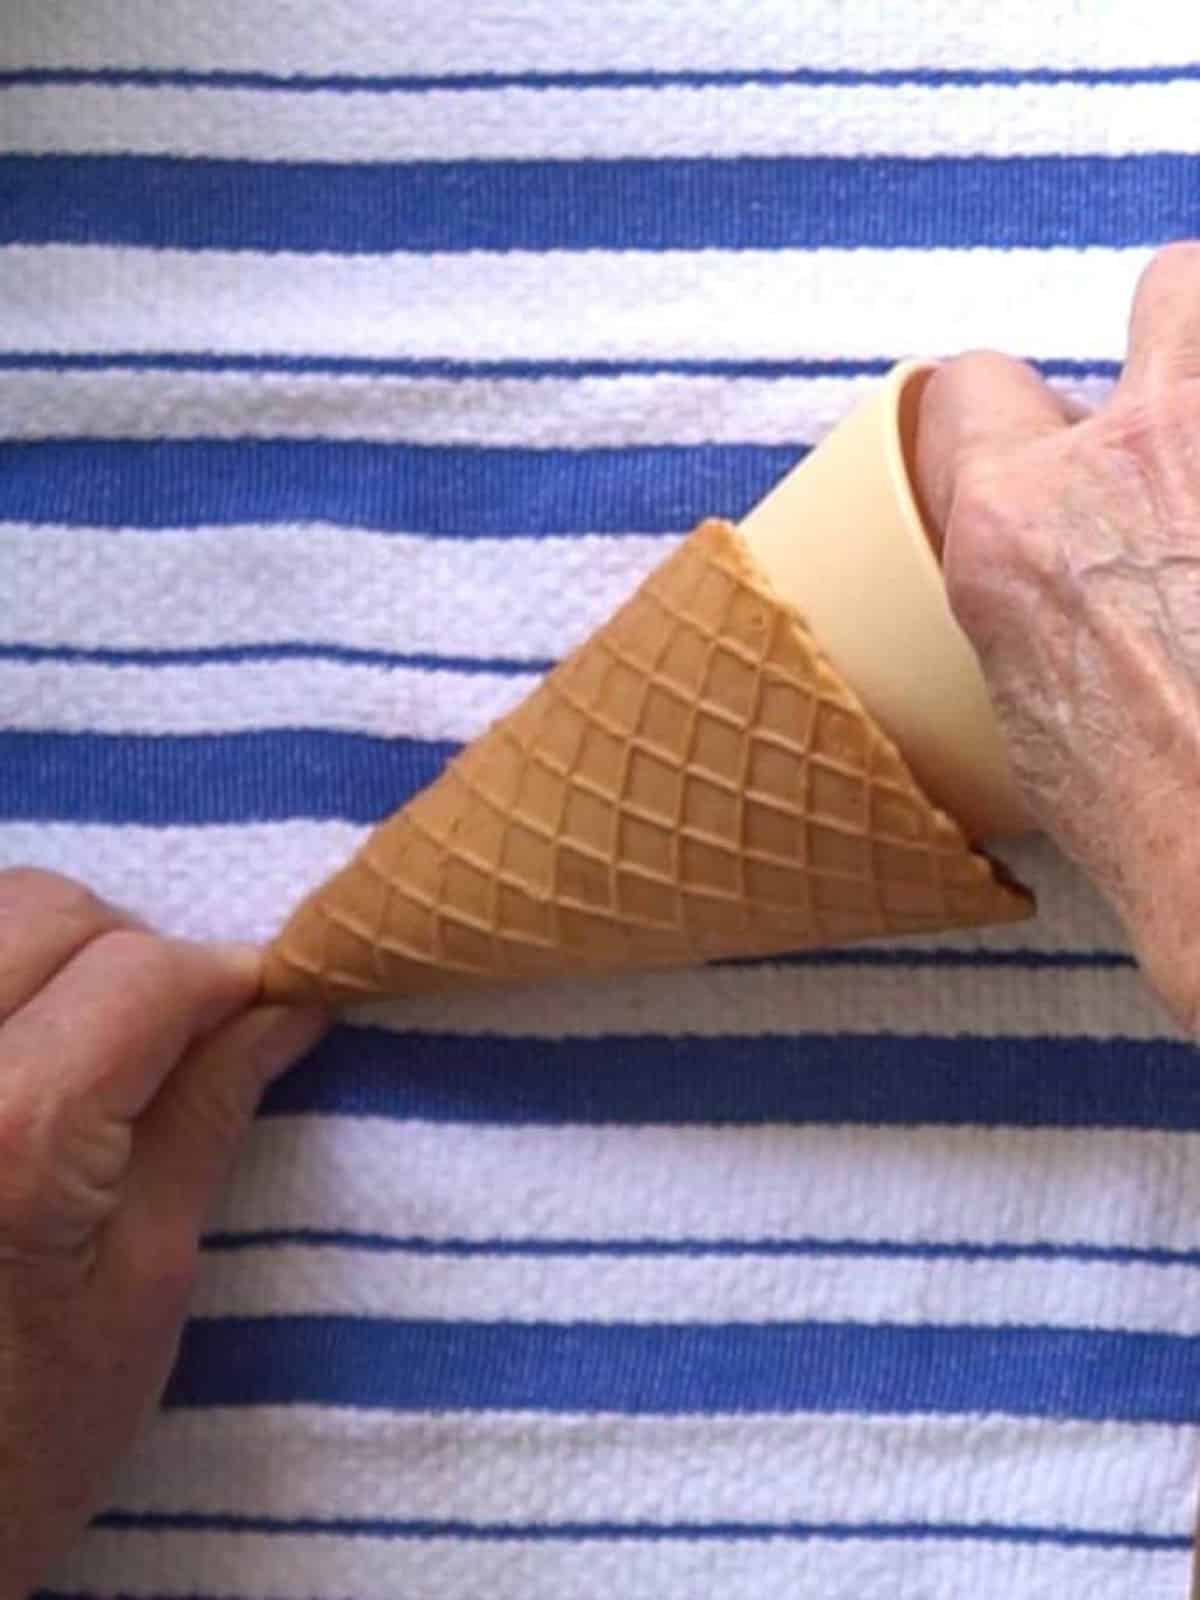
Next, I carefully rolled it around the cone mold that came with the WaffleCone Express. I pinched the bottom to seal the cone and held it in place for around 30 seconds until the cone was able to hold its shape.
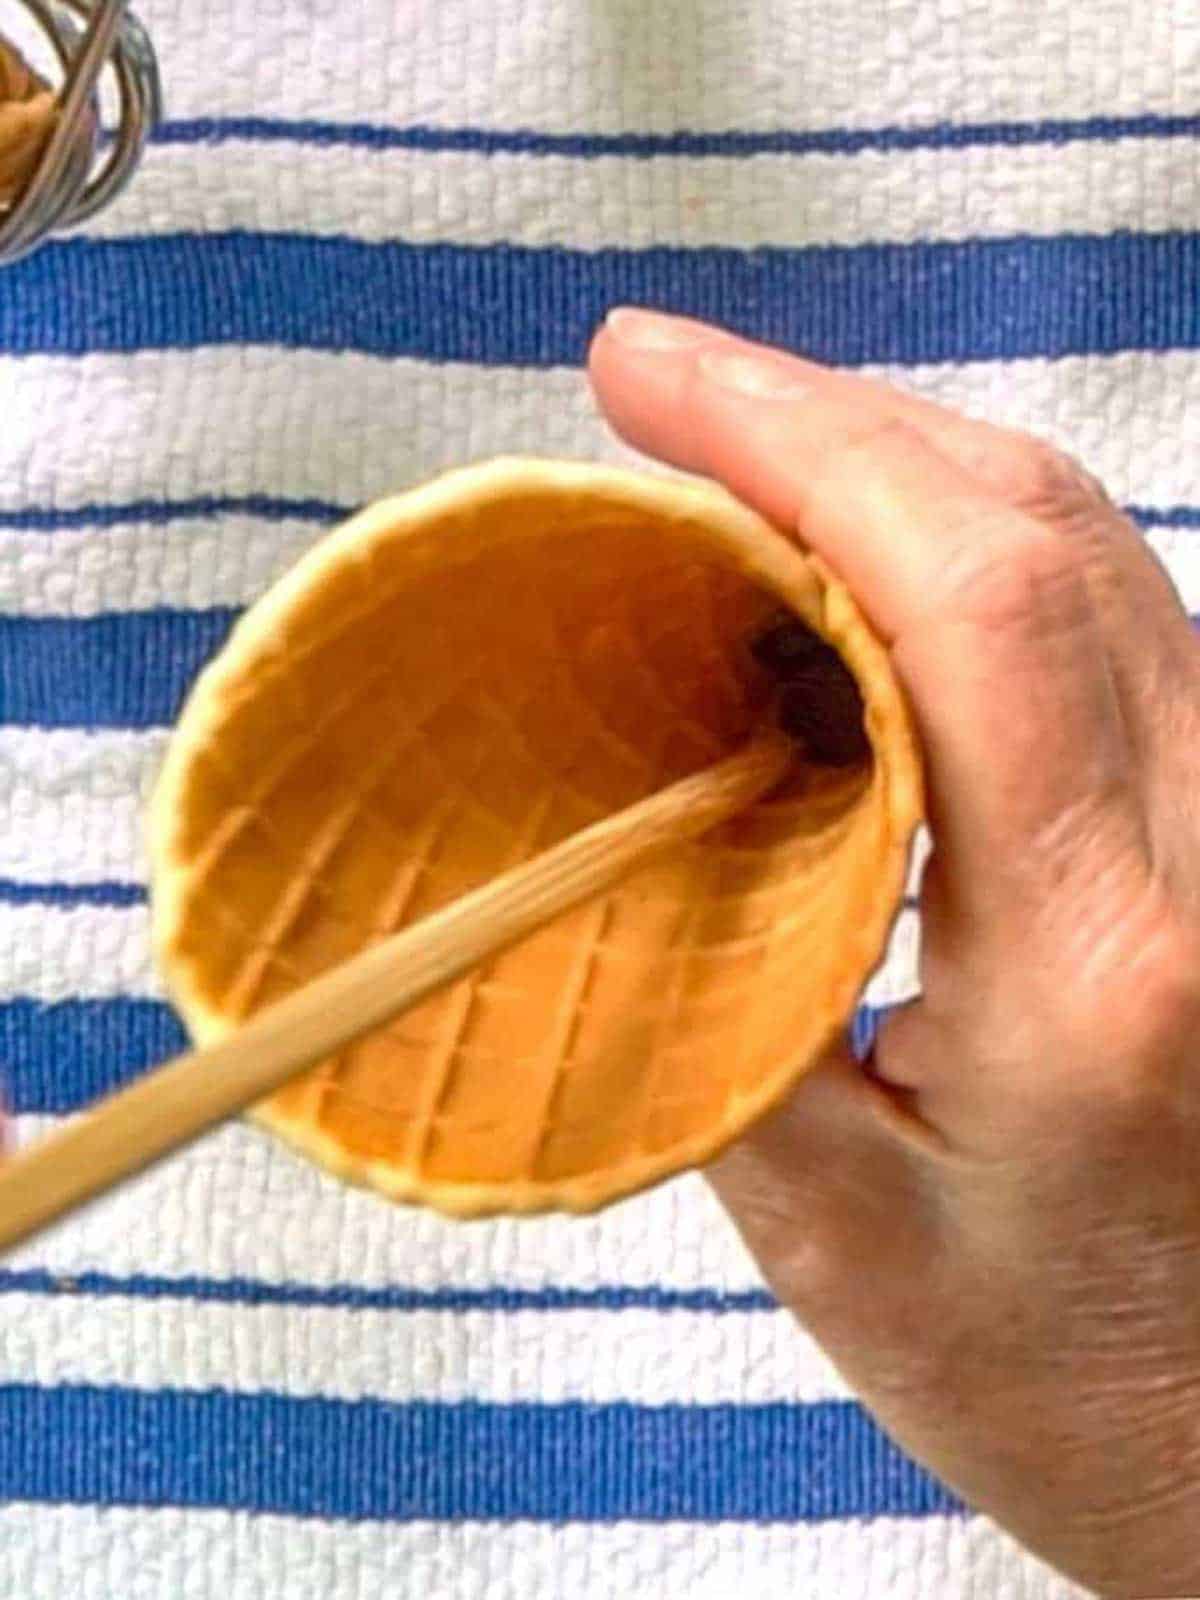
Because I wasn’t sure that the bottom of the cone was sufficiently sealed, I dropped several chocolate chips into the warm cone. When they had melted a bit, I pushed them down with a small dowel as the chocolate continued to melt. This actually worked like a charm and produced a nice surprise with the last bites!
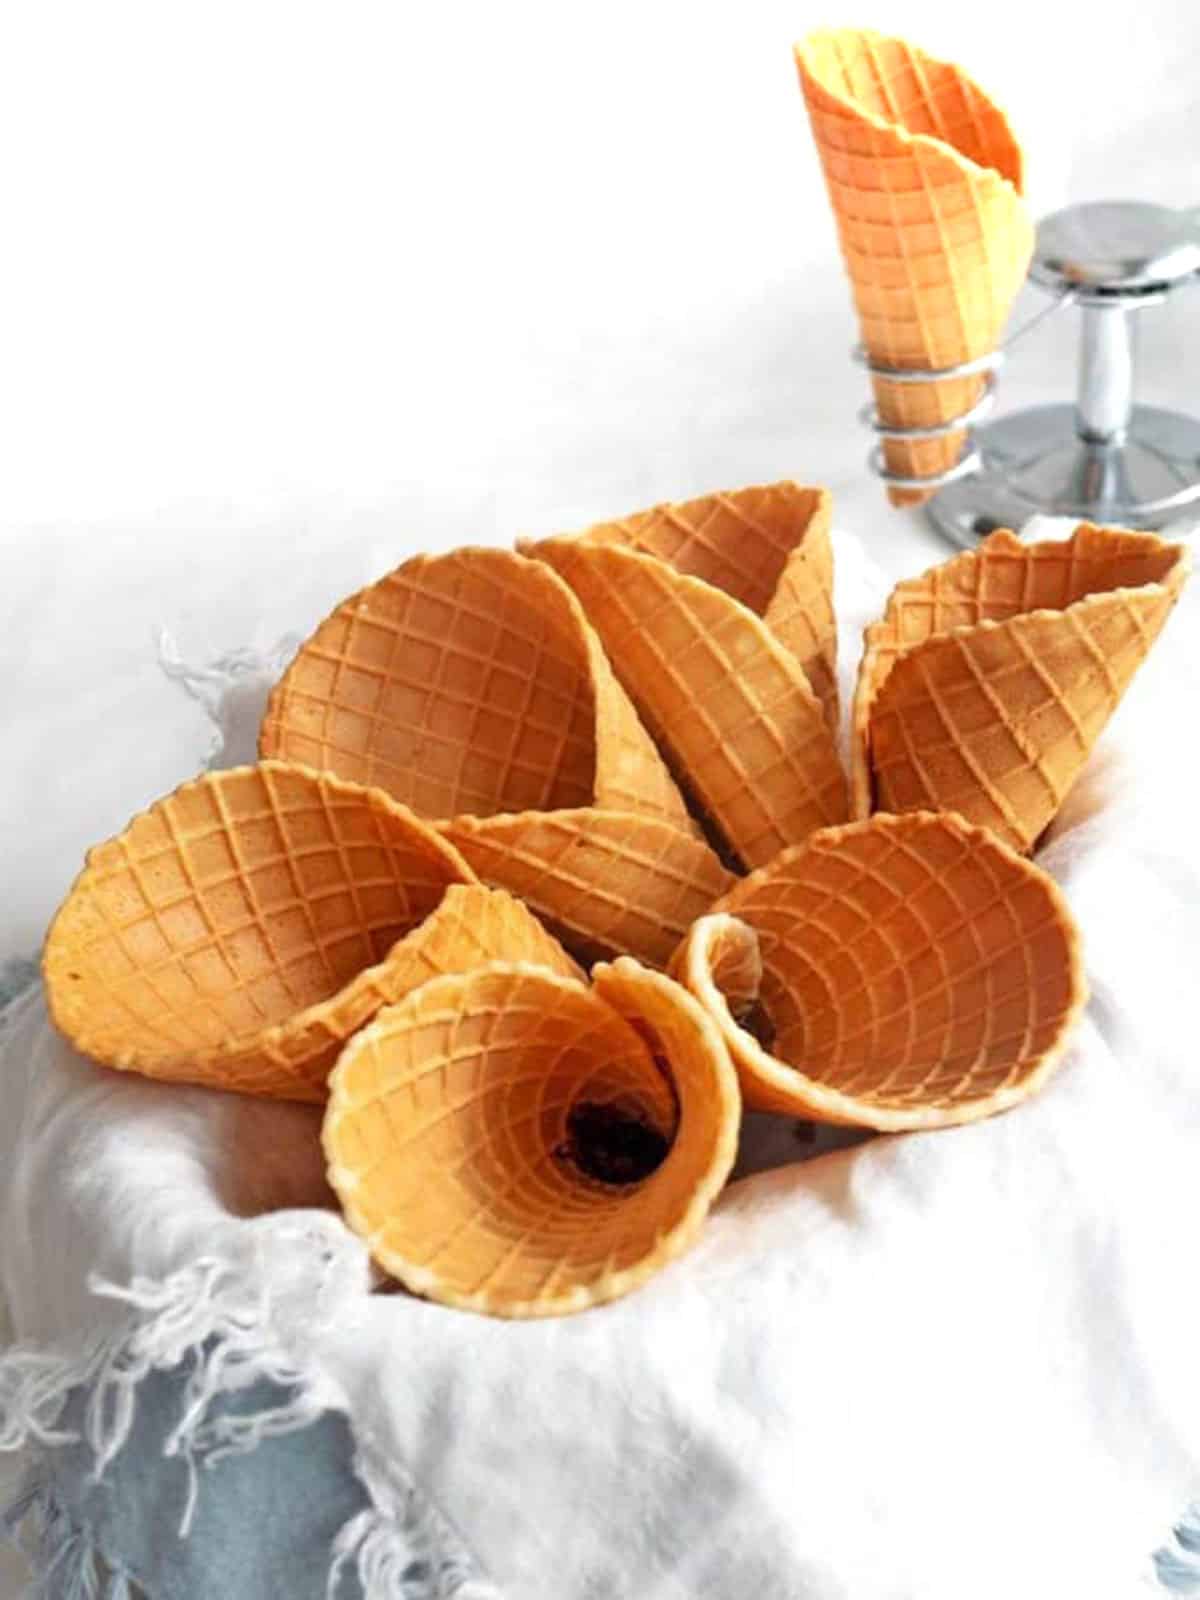
I ended up with 9 incredible waffle cones that were a perfect size to hold the Triple Chocolate Ice Cream.
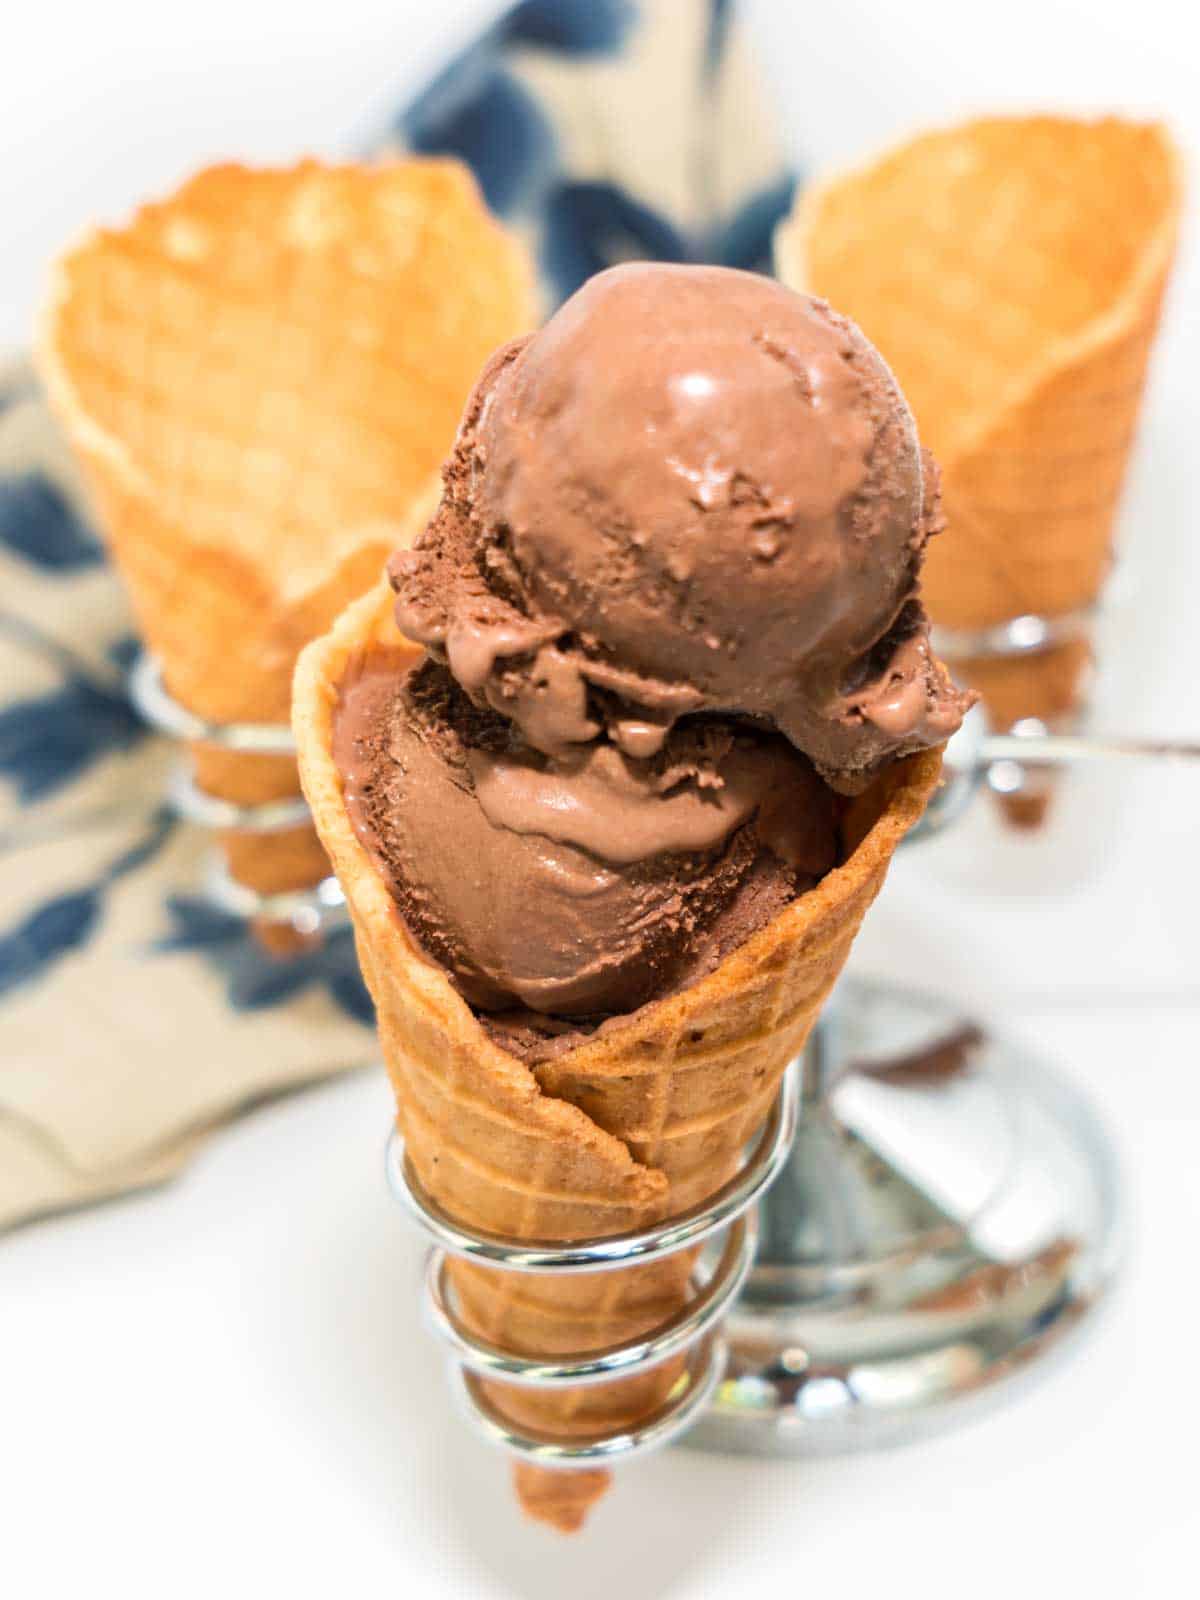
The velvety smooth and intensely chocolate Triple Chocolate Ice Cream was absolutely delicious in the crispy Waffle Cone. Yum!
Frequently Asked Questions
I like to make my own waffle cones. However, store-bought cones work perfectly in this recipe
Dutch processed cocoa powder starts with cocoa beans that have been washed in an alkaline solution which neutralizes its acidity. This results in a more mellow flavor. Regular cocoa powder is made from roasted cocoa beans. As such it is bitter and acidic.
I like to use dutch processed cocoa because of its more mellow flavor. However, regular unsweetened cocoa powder will work fine in this recipe.
Godiva Chocolate Liqueur is one of the three chocolates that contributes to the “Triple” Chocolate. It not only adds flavor, but also helps to retard the formation of ice crystals because of the alcohol. If you omit the Godiva, I would recommend adding 2 tablespoons of vanilla extract.
Other Delicious Homemade Ice Cream Recipes
If you like homemade ice cream you should also try these awesome ice cream recipes:
- No-Churn Chocolate Butter Pecan Ice Cream: No-Churn Chocolate Butter Pecan Ice Cream is velvety smooth, amazingly delicious and easy to make. The chocolate ice cream itself uses only three ingredients – heavy cream, sweetened condensed milk and unsweetened cocoa. Added to that are two additional ingredients of butter and pecans that take the ice cream over the top.
- No-Egg Creamy Georgia Peach Ice Cream: If you like fresh Georgia peaches, you’ll absolutely love this No-Egg Creamy Georgia Peach Ice Cream. Filled with chunks of delicious Georgia peaches, this ice cream is easy to make, doesn’t require any cooking, and is awesome to taste. In addition, it’s velvety smooth without the telltale icy texture that plagues a lot of homemade ice creams.
- No-Churn Roasted Strawberry Ice Cream: No-Churn Roasted Strawberry Ice Cream is a dream come true for strawberry lovers. Intense strawberry flavor is folded into a in a creamy ice cream base for the ultimate in simplicity and decadence.
- Philadelphia Style Vanilla Ice Cream: Homemade ice cream is made in two different styles. The first is Custard-style which contains egg yolks. Then there is the Philadelphia-style, which omits egg yolks. Ask the Master Taste Tester what kind of ice cream he wants and the answer is always the same – simple vanilla ice cream.
- Limoncello Ice Cream: Limoncello Ice Cream is incredible! It’s silky smooth because of the impact of the alcohol from the Limoncello. As it turns out, the addition of alcohol to the ice cream mixture lowers the freezing point. This retards the formation of ice crystals that sometimes plague homemade ice cream.
- Strawberry Ice Cream: If you like strawberries and ice cream, you will absolutely love this delicious strawberry ice cream. It’s easy to make, and awesome to eat.
- Chocolate Ice Cream: Homemade Chocolate Ice Cream is a perfect treat for the hot summer days, and is easy to make. It’s cool, refreshing, and creamy. Who could ask for more?
I first made this amazing ice cream in May of 2016. Since then, it’s been one of my favorites.
For this update, I updated the photographs and the text. The recipe however is the same awesome recipe from 2016.
I hope you liked this recipe for Triple Chocolate Ice Cream with Homemade Waffle Cones as much as I do. If so, please consider rating it and leaving a comment. Also, if you’d like to receive notifications of new posts by email, enter your email address in the Subscribe box. your email address in the Subscribe box.
Thank you so much for visiting Pudge Factor. I hope you’ll come back!
Recipe
Want to Save This Recipe?
Enter your email & I’ll send it to your inbox. Plus, enjoy weekly doses of culinary inspiration as a bonus!
By submitting this form, you consent to receive emails from Pudge Factor.

Triple Chocolate Ice Cream with Waffle Cones
Equipment
- Ice Cream Maker
- WaffleExpress Cone Maker
Ingredients
Triple Chocolate Ice Cream
- 2 cups (16 ounces, 473 ml) heavy cream
- ½ cup (3.5 ounces, 100 grams) granulated sugar
- 6 Tablespoons (1.75 ounces, 50 grams) unsweetened Dutch-processed cocoa powder (See Tip 1)
- 1 cup (6 ounces, 170 grams) Ghirardelli bittersweet (60% cacao) chocolate chips (See Tip 2)
- 1 cup (8 ounces, 237 ml) whole milk
- ¼ cup (2 ounces) Godiva Chocolate Liqueur
Waffle Cones
- ¼ cup (2 ounces, 56 grams) egg whites (about 2 large egg whites)
- 7 Tablespoons (3 ounces, 85 grams) granulated sugar
- ½ teaspoon vanilla extract
- ⅛ teaspoon salt
- ⅔ cup (3.15 ounces, 90 grams) all-purpose flour
- 2 Tablespoons (1 ounce, 30 grams) unsalted butter, melted
- 24 to 27 chocolate chips
Instructions
Triple Chocolate Ice Cream
- Whisk together the cream, cocoa powder and sugar in a large saucepan. Heat mixture over medium high heat, whisking frequently, until it comes to a full, rolling boil (it will start to foam up). Remove from heat and whisk in the bittersweet chocolate chips until they are completely melted. Then whisk in the milk and Godiva Liqueur. Pour the mixture into a blender and blend for 30 seconds, until very smooth. Transfer to a container, cover with plastic wrap, and chill thoroughly in the refrigerator.
- Pour chilled mixture into ice cream maker and freeze according to the manufacturer’s instructions. Store in airtight container in freezer. Yield: 1 quart (1 litre)
Waffle Cones
- Preheat the waffle cone machine to a color setting of around 4. Lightly brush both sides with oil.
- In a small mixing bowl, beat together egg whites, sugar and vanilla. Add the salt and half of the flour. Beat on low until incorporated. Add the melted butter and remaining flour and beat on low until smooth.
- Spoon 4 teaspoons batter onto the center of a hot cone waffle machine. Close the lid, lock the latch. Bake for 1 minute. Check for proper color; close and cook an additional 20 to 30 seconds to desired color.
- Carefully remove the waffle from cone waffle machine with a wooden fork onto a clean dish towel. Use the cloth to help lift and roll the waffle around the cone form, pinching the bottom and holding the cone a few seconds to set its shape. Drop 3 chocolate chips into the cone and push down with small dowel to the bottom to seal the bottom of the cone.
- Cool completely. Store in airtight container. Yield: 8 or 9 cones.
Tips/Notes
- You can substitute regular unsweetened cocoa powder for the dutch processed cocoa powder.
- You can use semi-sweet chocolate chips in place of the bittersweet chocolate chips. The resulting ice cream will be a bit sweeter.


Janet says
Help! In the instructions you say to whisk together cream, cocoa powder, sugar & salt, but there is no salt listed in the ice cream ingredients – are we supposed to use salt, & how much? Thank you! Looking forward to making this recipe.
Chula King says
Yikes! There is no salt in the recipe – I’ve made the correction. I’m so sorry for the confusion Janet.
Chula
Elaine @ Dishes Delish says
Wow! Just WOW. This looks delicious!