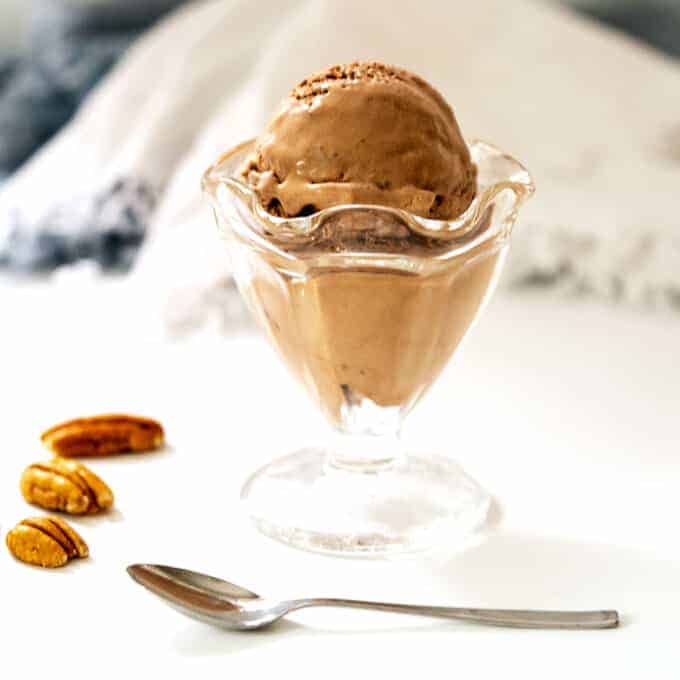
Homemade Chocolate Ice Cream is a creamy, dreamy treat that is perfect for all chocolate aficionados looking for an easy-to-follow recipe. This mouthwatering dessert will satisfy your sweet tooth with its velvety chocolate taste in every spoonful. Chocolate Ice Cream is perfect for hot summer days, family gatherings, or any time you’re craving a delectable chocolate indulgence.
Jump to:
Styles of Homemade Ice Cream
There are two basic styles of homemade ice cream.
The first is custard-based and referred to as French-style ice cream. It involves cooking a mixture of egg yolks, cream, and sugar to a temperature of around 180° F, adding more milk or cream, and chilling the mixture before it’s used.
The second is referred to as Philadelphia-style Ice cream. Philadelphia-style ice cream contains no egg and therefore doesn’t generally require cooking.
I chose to adapt David Lebovitz’s Philadelphia-Style Chocolate Ice Cream from The Perfect Scoop for this recipe. Talk about incredible!
Ingredients: Here’s What You’ll Need

I used the following ingredients in this delicious ice cream.
- Liquids: I used a combination of heavy cream and whole milk in this recipe.
- Chocolates: I used two different chocolates: Dutch-process cocoa powder and Ghiradelli bittersweet chocolate chips.
- Sweetener: To sweeten the ice cream, I used some granulated sugar.
- Flavorings: Vanilla extract and salt added some subtle flavor to the ice cream.
Steps: How to Make Chocolate Ice Cream
- First, I whisked the cream, cocoa powder, sugar, and salt together in a large saucepan. I had to work a bit to incorporate the cocoa powder.

- Even though Philadelphia-style ice cream generally does not involve cooking, the recipe I used required some heating. Therefore, I heated the mixture over medium-high heat, whisking frequently, until it came to a full, rolling boil.

- Once the mixture reached a rolling boil, I removed the pan from the heat. I added the chocolate chips and whisked the mixture until the chocolate chips were thoroughly melted.

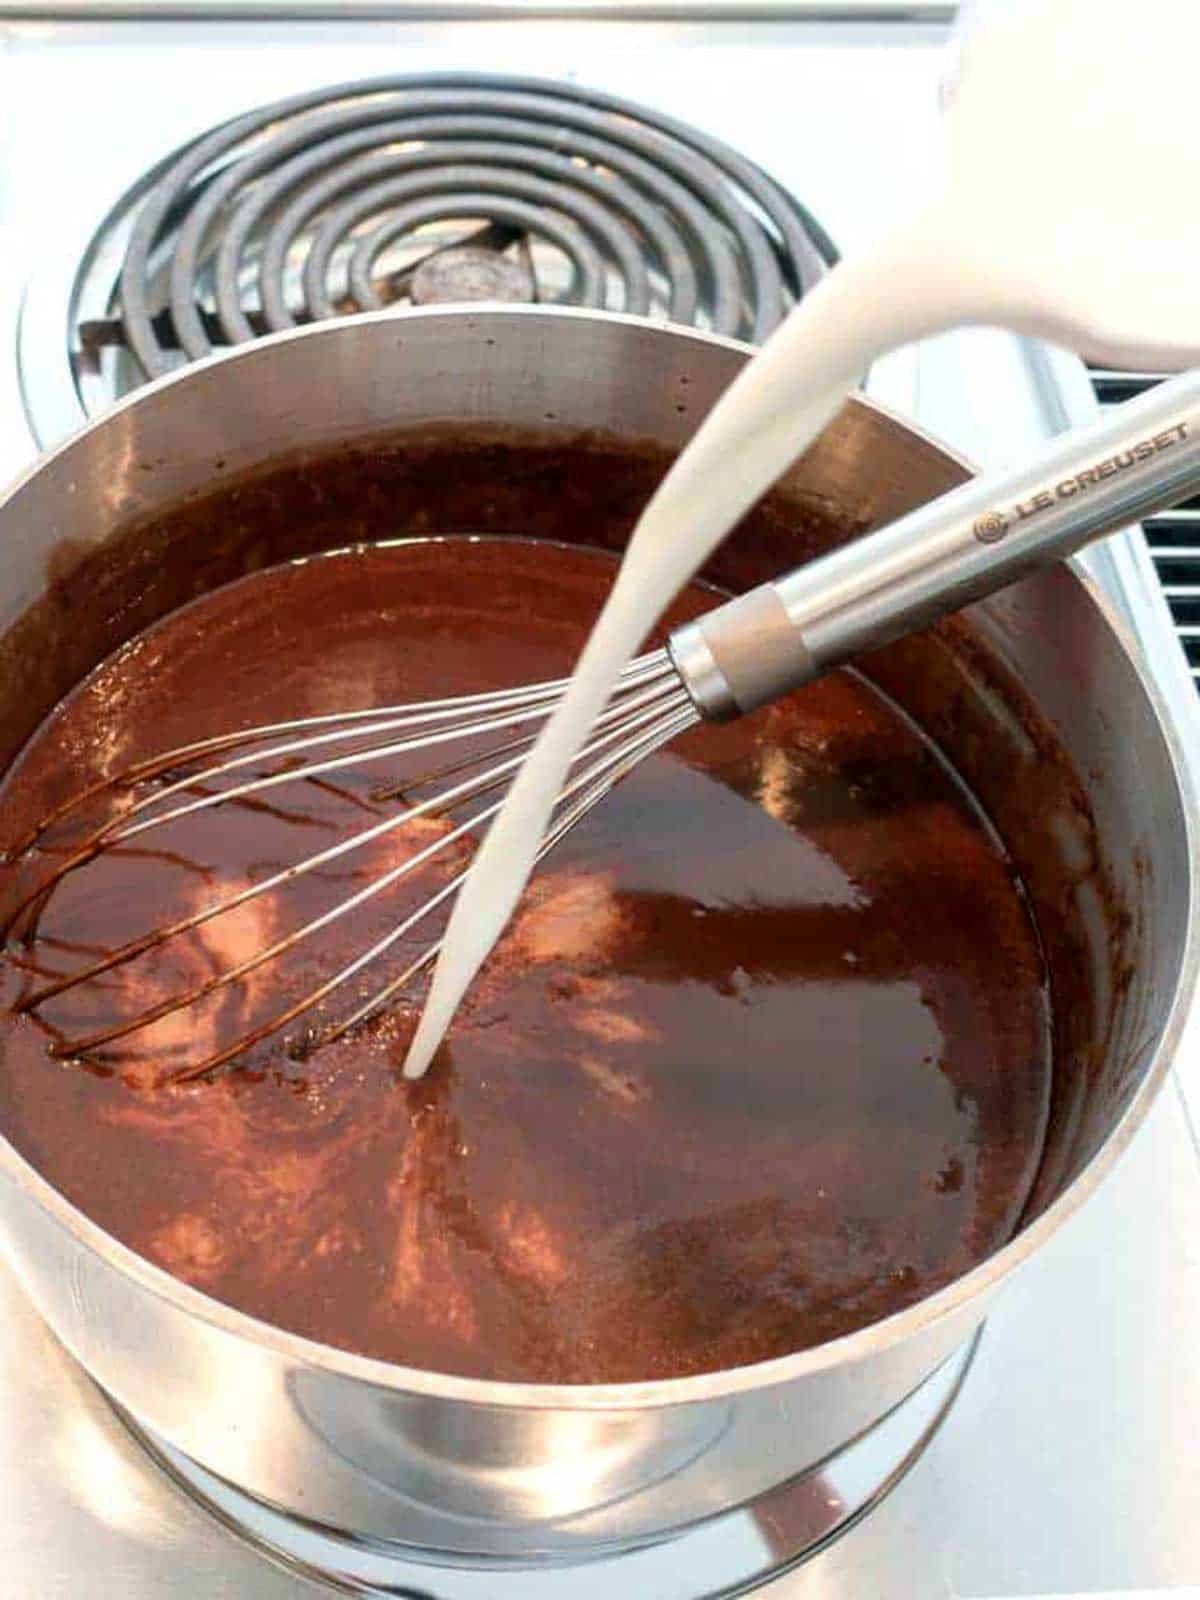
- Then, I whisked in the milk and vanilla extract.
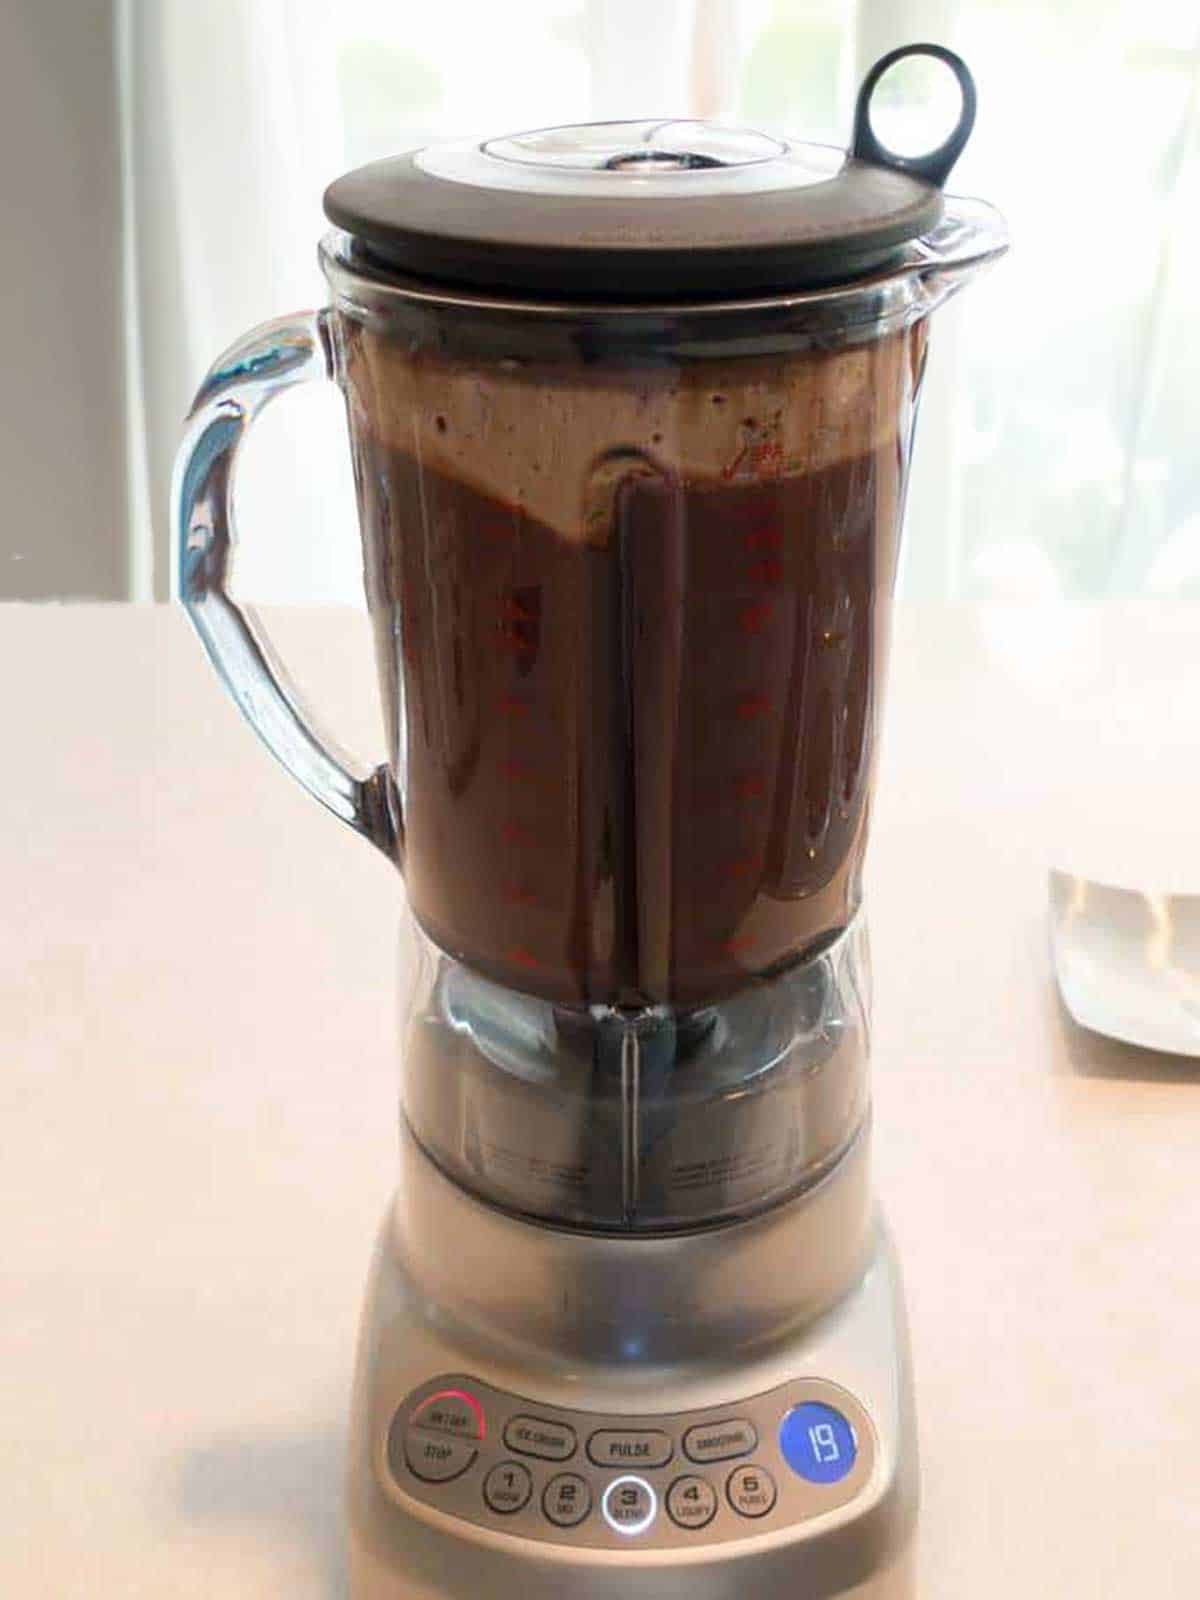
- Once thoroughly mixed, I poured the mixture into a blender. I blended it for around 30 seconds until it was very smooth.
- Then, I poured the mixture into a bowl, covered it with plastic wrap, and refrigerated it overnight.
- To actually freeze the ice cream, I poured the chilled mixture into my ice cream maker and processed it for around 30 minutes. Oh my gosh, it was so creamy!

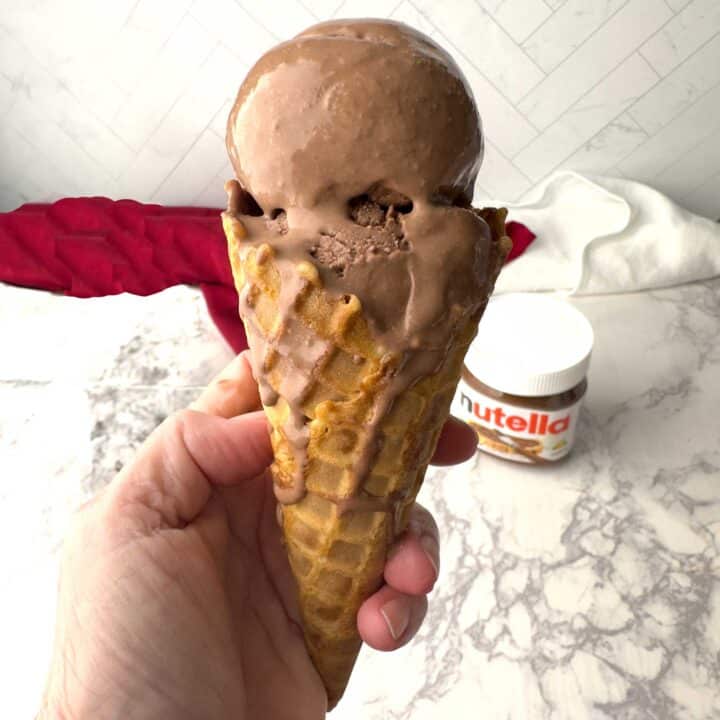
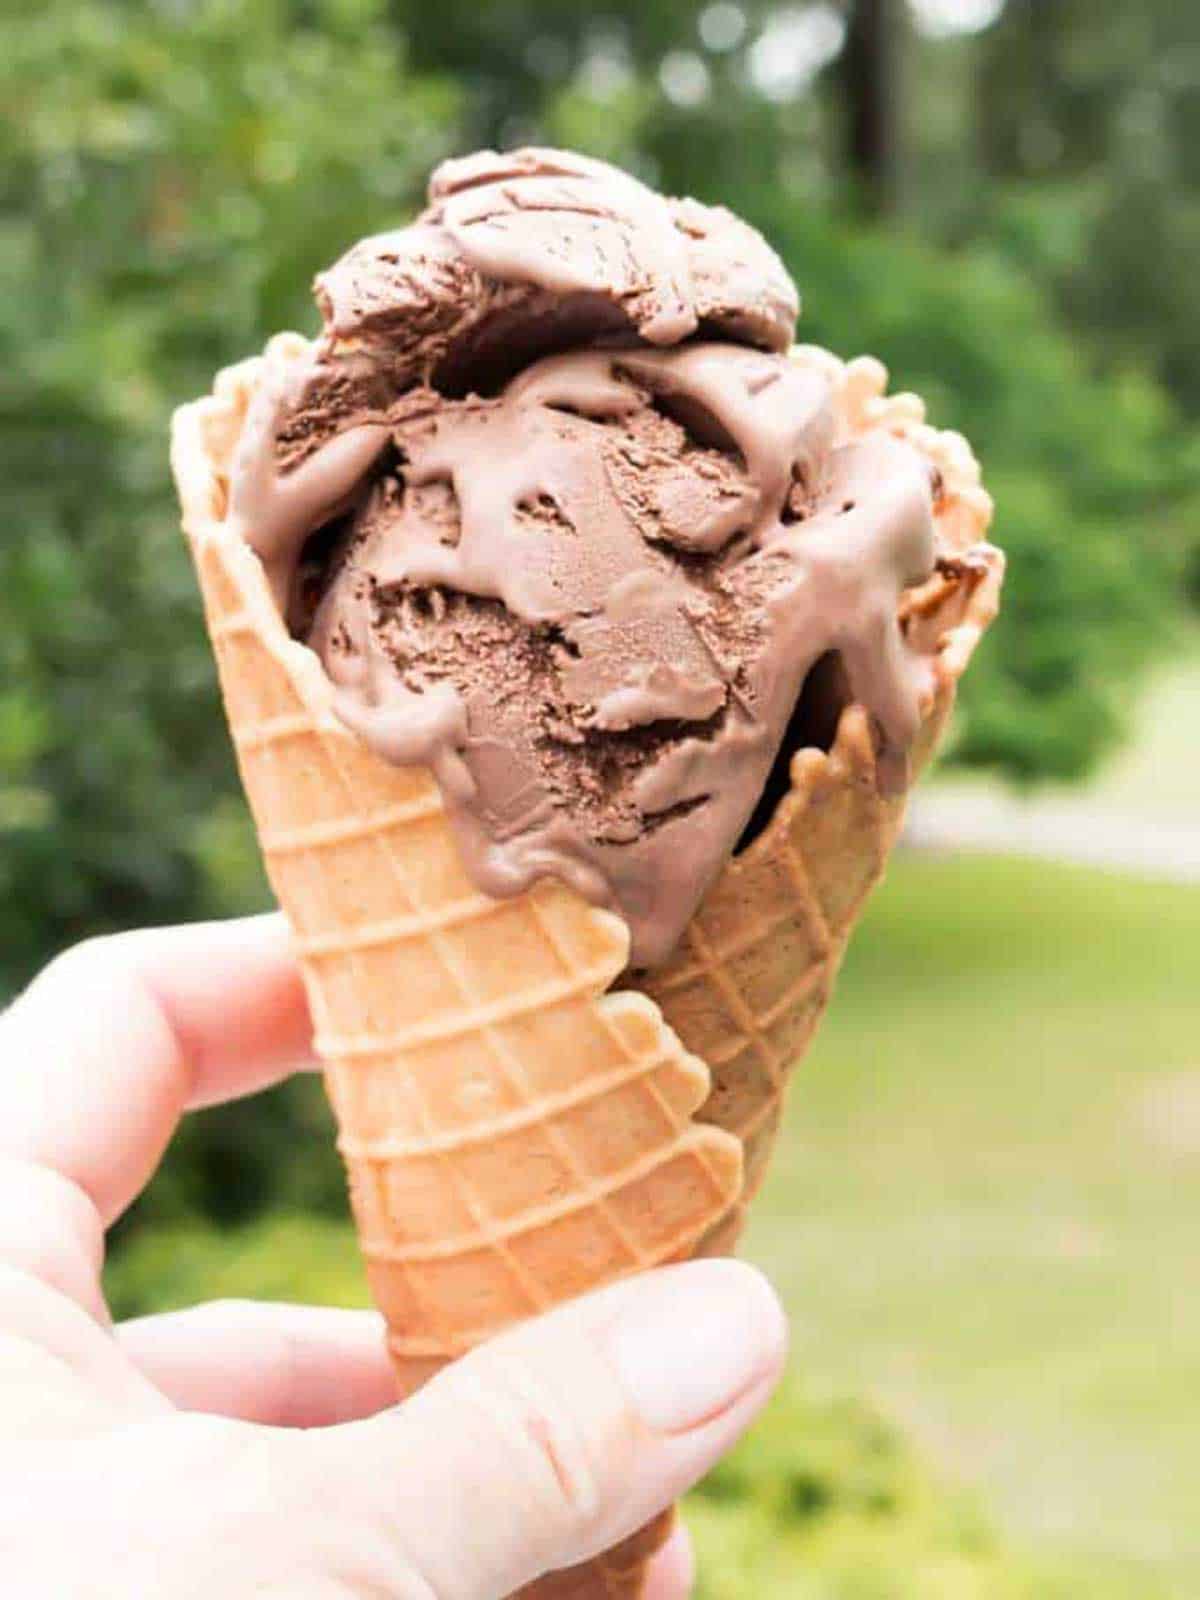
I transferred the ice cream to a container and placed it in the freezer for it to harden. I served the ice cream in a freshly made waffle cone. Yum!

Frequently Asked Questions
If you don’t have an ice cream maker, you can still make delicious no-churn chocolate ice cream. I’ve provided some no-churn ice cream links below.
Homemade chocolate ice cream will last for about 2-3 weeks in the freezer if stored in an airtight container.
You can add other ingredients to your chocolate ice cream, such as nuts, candy, or fruit. If you plan to add extras like chocolate chips or nuts, do so when the ice cream is nearly done churning, usually about 5 minutes before you stop the machine.
Recipe Tips and Tricks
- After preparing the ice cream base, chill it in the refrigerator for at least 4 hours, or ideally overnight. This step is crucial because a cold base freezes faster in the ice cream maker, which yields a smoother texture.
- Make sure that the ice cream maker bowl is completely frozen before starting. It usually needs to be in the freezer for at least 24 hours before use.
- Do not overfill the ice cream maker. Overfilling can prevent the machine from freezing the ice cream properly. Aim to fill it no more than two-thirds full.
- Homemade ice cream tends to freeze hard. To serve, remove the ice cream from the freezer and let it sit at room temperature for 5-10 minutes before scooping.
Other Delicious Ice Cream Recipes – No-Churn and with Ice Cream Maker
Homemade ice cream is a perfect way to beat the intense summer heat. Here are some of my favorite no-churn ice cream recipes and ice cream recipes made with the ice cream maker.
I hope you liked this recipe for Homemade Chocolate Ice Cream as much as I do. If so, please consider rating it and leaving a comment. Also, if you’d like to receive notifications of new posts by email, enter your email address in the Subscribe box.
Thank you so much for visiting Pudge Factor. I hope you’ll come back!
Recipe
Want to Save This Recipe?
Enter your email & I’ll send it to your inbox. Plus, enjoy weekly doses of culinary inspiration as a bonus!
By submitting this form, you consent to receive emails from Pudge Factor.

Homemade Chocolate Ice Cream
Equipment
- Ice cream maker (See Tip 1)
Ingredients
- 2 ¼ cups (18 ounces 560 ml) heavy cream
- 6 Tablespoons (1.76 ounces, 50 grams) unsweetened Dutch-process cocoa powder (See Tip 2)
- ½ cup plus 1 Tablespoon (4.23 ounces, 120 grams) granulated sugar
- Pinch of salt
- 6 ounces (170 grams) Ghiradelli bittersweet (60% cacao) chocolate chips
- 1 cup (8 ounces, 250 ml) whole milk
- 1 Tablespoon vanilla extract
Instructions
- Whisk together the cream, cocoa powder, sugar, and salt in a large saucepan. Heat mixture over medium-high heat, whisking frequently, until it reaches a full, rolling boil, about 5 minutes. Remove from heat and whisk in the bittersweet chocolate chips until they are completely melted. Then whisk in the milk and vanilla. Pour the mixture into a blender and blend for 30 seconds until very smooth. Transfer to a container and chill thoroughly in the refrigerator. (See Tip 3)
- Pour the chilled mixture into the ice cream maker and freeze according to the manufacturer's instructions.
- Yield: 1 quart.
Tips/Notes
- My ice cream maker is the Cuisinart 1.5-quart ice cream maker.
- May substitute regular unsweetened cocoa for Dutch-process cocoa.
- The ice cream mixture should be refrigerated for at least four hours, but preferably overnight. The temperature of the mixture should be 40°F or lower.


