Easy Mini Popovers are a quick and delicious side dish to serve at your holiday feast. They are also the perfect party appetizer. Mini Popovers are light and airy puffs that are busting with flavor and can be easily customized. You can have this crowd-pleasing delicacy on your table with little effort in about 30 minutes.

Jump to:
Why You’ll Love These Mini Popovers
- Quick and easy to make: The popovers are made with a simple batter requiring only a few ingredients. The batter can be whipped up in minutes using a blender.
- Light and airy: Mini popovers are light and airy, with a crispy exterior and a soft, pillowy interior. They are the perfect bite-sized treat that is both satisfying and delicious. I like my warm popover with a pat of butter
- Customizable: Mini popovers can be customized to your liking. You can add your favorite savory or sweet fillings to the batter or top them with your favorite toppings. Some popular fillings include cheese, fresh herbs, ham, and vegetables. Some popular toppings include butter, honey, honey butter, and maple syrup. I like my warm popover with a pat of butter.
- Crowd-pleasing: Mini popovers are a guaranteed crowd-pleaser. They are the perfect appetizer for parties, potlucks, and special occasions. In addition, mini popovers are a great quick and easy breakfast, brunch, or snack option.
Ingredients – Here’s What You’ll Need
All you need are five simple ingredients for this popover recipe that you probably already have on hand.

- The Liquid Ingredients: The liquid ingredients are a simple mixture of large eggs and whole milk.
- The Dry Ingredients: For the dry ingredients, you need all-purpose flour and Kosher salt.
- Unsalted Butter: Unsalted butter complements the other ingredients in the batter. It aids in browning and helps to create a light and airy texture in the popovers.
- Special Pan: The best popovers are made in a special pan. For these mini popovers, I used a mini traditional popover pan. You could also use mini muffin tin or regular muffin tins. However, the muffin cup is not as deep as in a traditional popover pan, so the popovers will not have the same tall form.
Simple Step-by-Step Process for Making the Batter
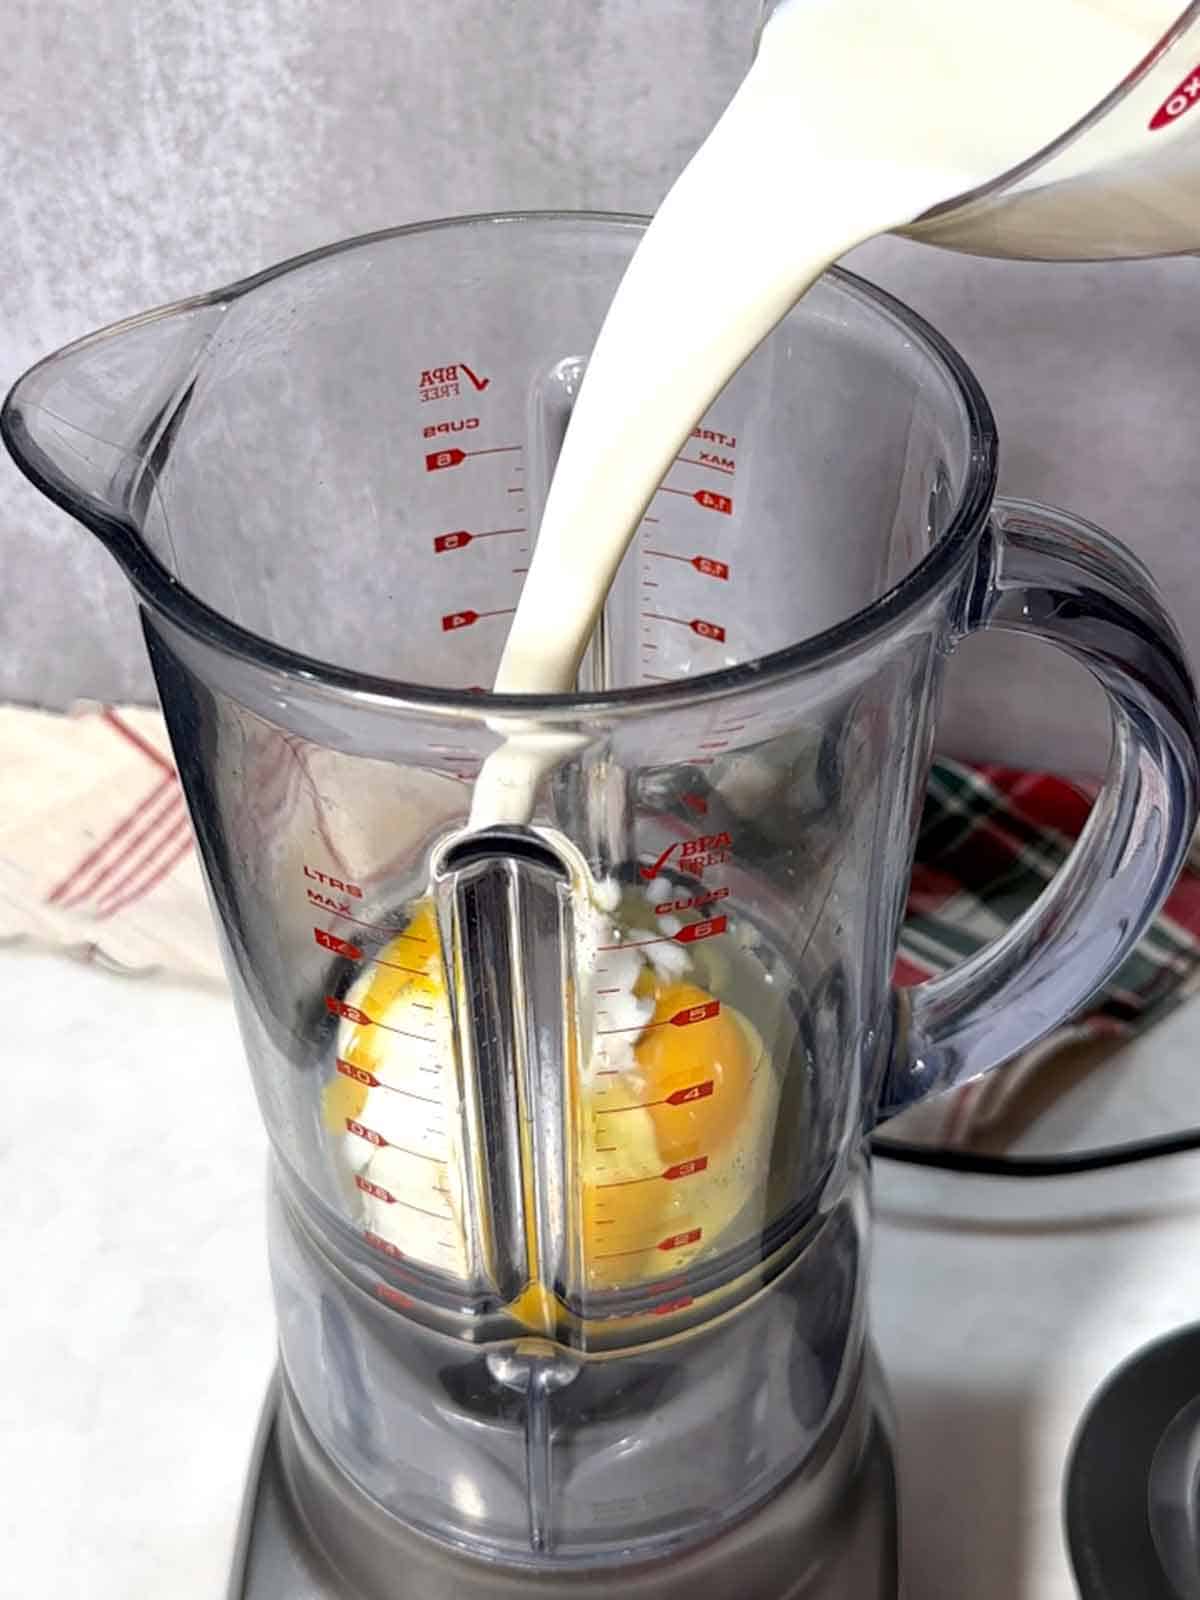
- I added the room temperature eggs, milk, and salt to my blender. After securing the top, I blended the ingredients on high in my for about 10 seconds.
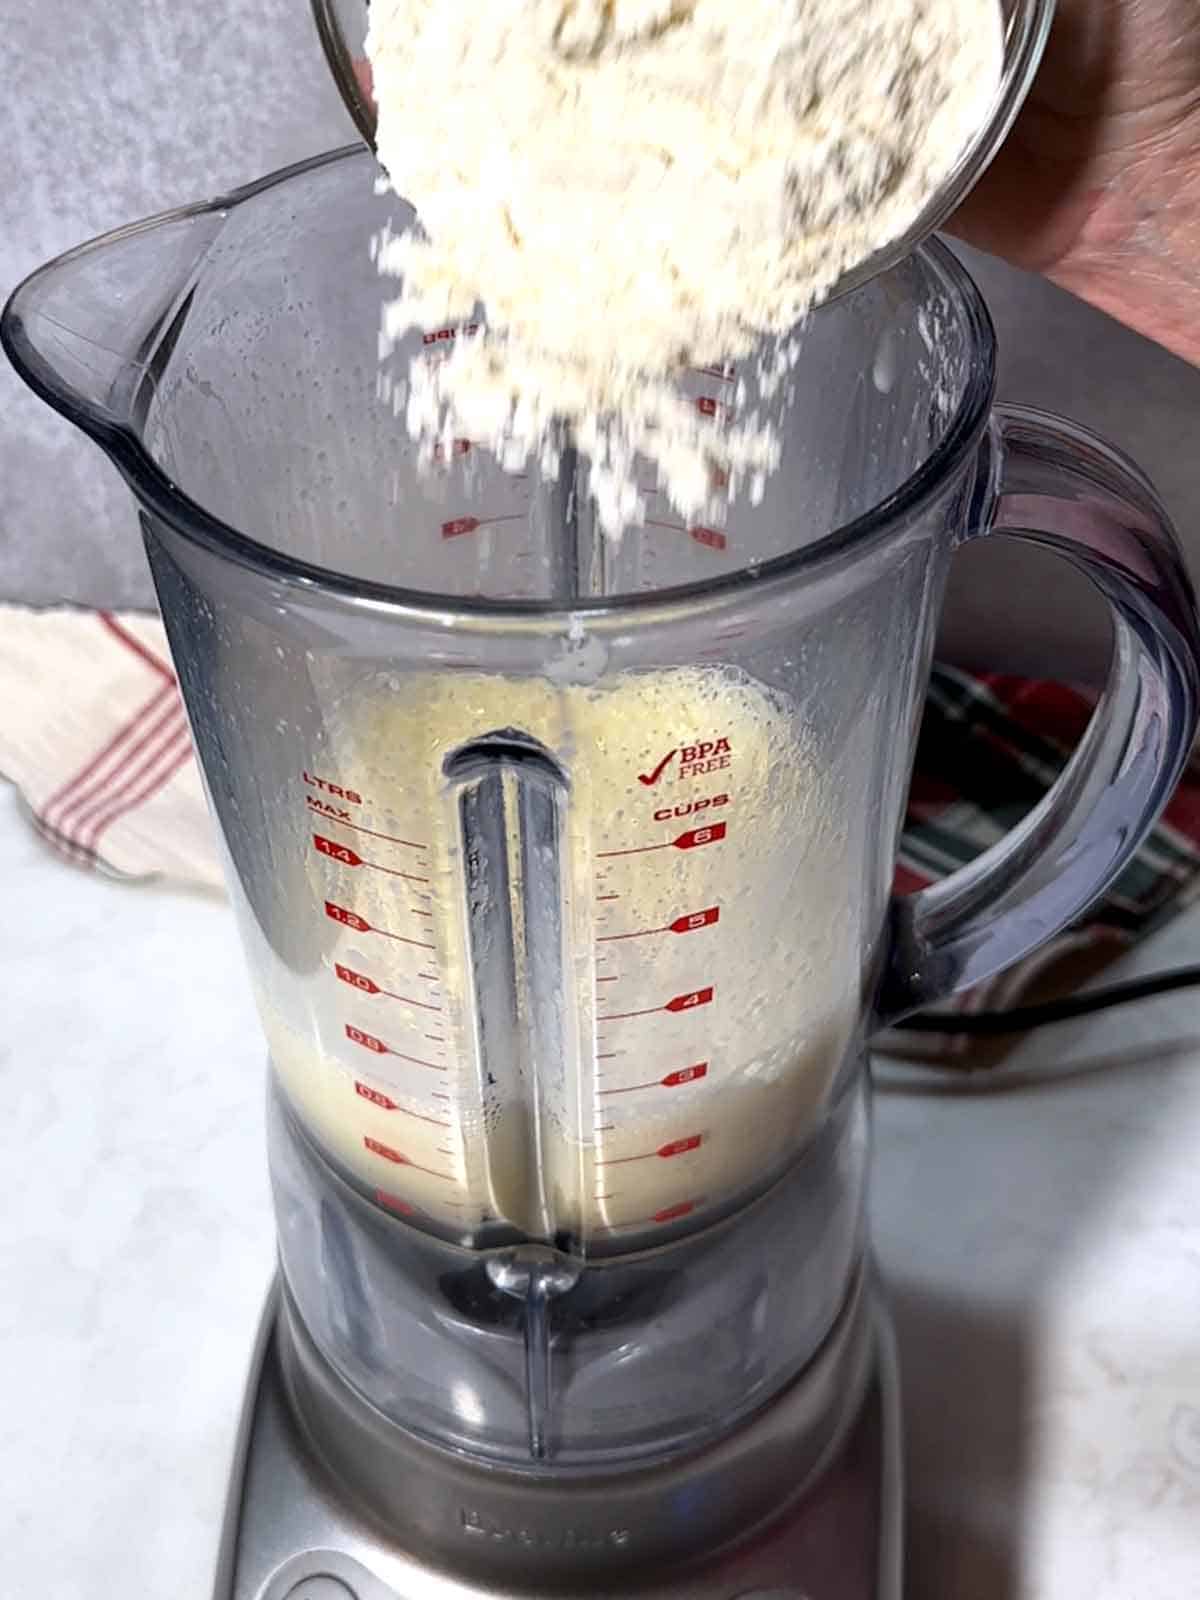
- After removing the top, I added the flour to the blender. I secured the top and blended the ingredients on high for another 10 seconds.
- Next, I removed the feed shoot cap on the top of the blender and added the melted butter. I replaced the feed shoot cap and blended the ingredients on high for another ten seconds or so.

That’s it for making the Mini Popover batter. How easy is that?
Finishing the Mini Popovers
While making the popover batter, I heated the oven to 450°F and moved the oven rack to the middle rack position.
I heated the mini popover pan in a 450°F oven for about five minutes. The high oven temperature is important.
In fact, heating the popover pan in a hot oven is a crucial step in making perfect popovers. A hot pan instantly starts to heat the batter, creating steam. This steam helps to leaven the popovers, causing them to rise higher and become more airy.
I removed the hot mini popover pan from the oven and brushed each of the cups with some reserved melted butter. I could have also used nonstick cooking spray here.

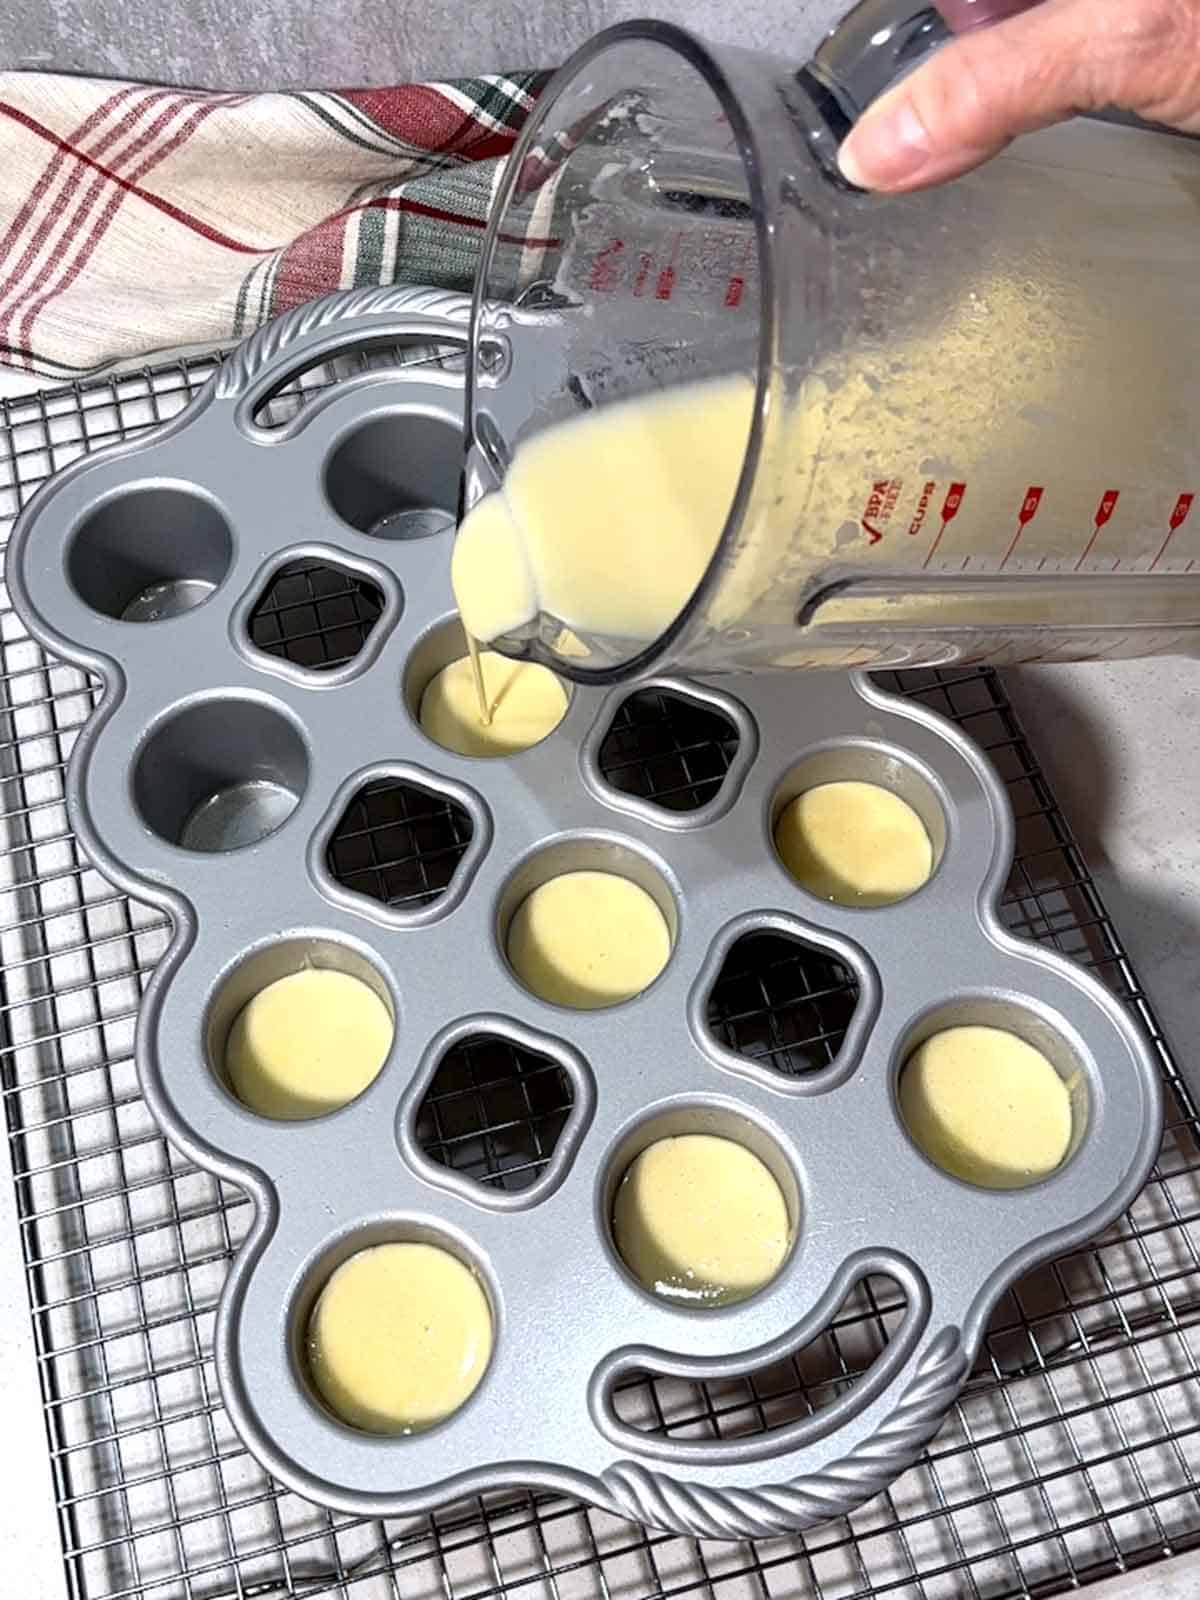
Then, I carefully filled each of the cups about ⅔ full with the batter. Having a spout on the blender was very helpful to evenly divide the batter.
As I was pouring the batter, I noticed several small lumps were still in the batter. This however, did not impact the final popovers.
I baked the mini popovers in a preheated 450°F oven for 15 minutes. Without opening the oven door, I reduced the heat to 350°F and baked the mini popovers for another 10 minutes.
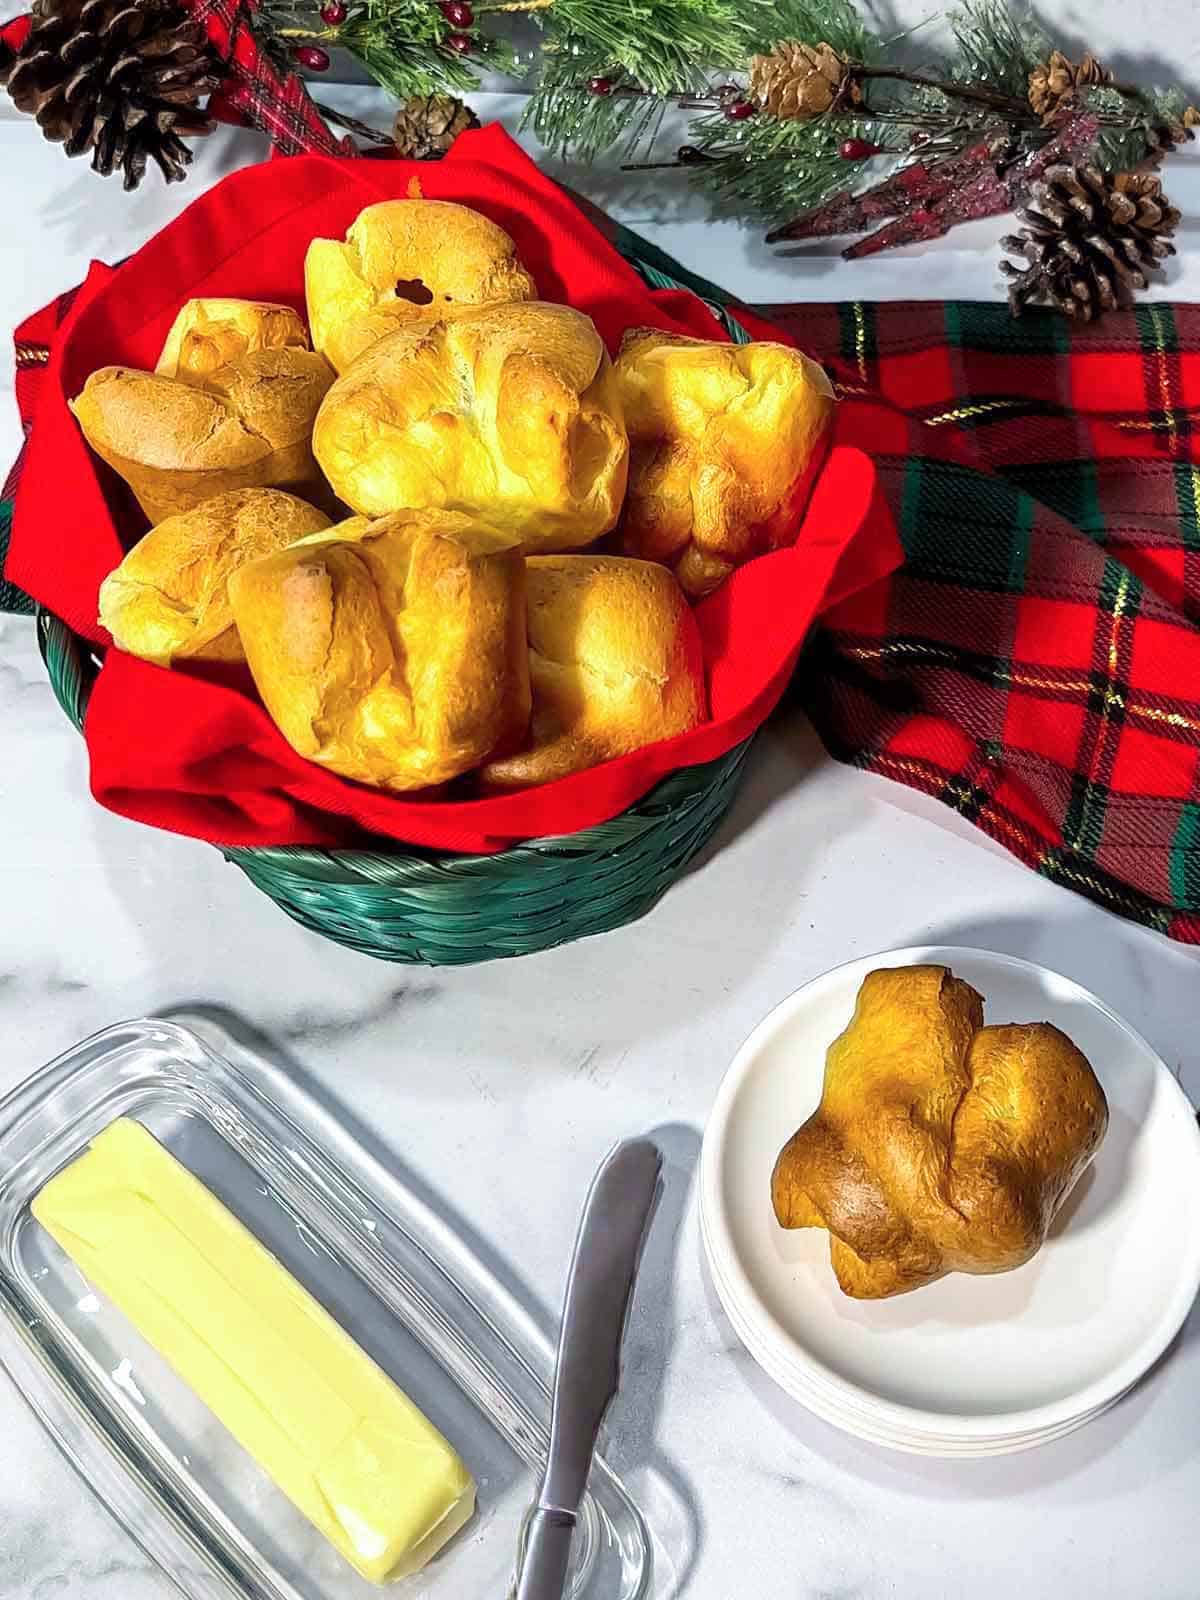
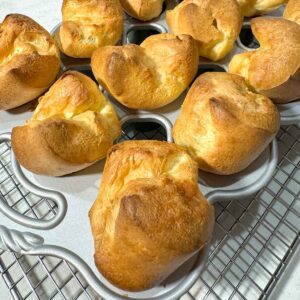
When I removed the mini popovers from the oven, I placed them on a wire rack. I was delighted to see their golden brown, pillowy, unique, and irregularly puffed shape tapering towards the top. Even Susan and the Master Taste Tester were impressed!

I served the Easy Mini Popovers with a standing rib roast (stay tuned), crispy smashed Parmesan-crusted potatoes (stay tuned), steamed green beans, and onion gravy. Yum!
Frequently Asked Questions
Yes. You don’t need a special popover pan to make popovers. A mini muffin pan should also produce good results. However, with a mini muffin pan, the popovers will not rise as high and take on the characteristic popover shape.
The consistency of popover batter should be thin and runny, similar to heavy cream. If the batter is too thick, the popovers will not rise properly.
Popovers are best served warm and fresh from the oven. They can be enjoyed plain, with butter, with honey or jam, or with your favorite dipping sauce. My personal preference is with butter or honey butter.
Popovers are American, whereas Yorkshire pudding is English. However, The batter used for popovers is basically the same as what is used for Yorkshire pudding, and both use a high-heat baking process. Traditionally, the fat used in Yorkshire pudding is from roast beef drippings, but butter tends to be used in popovers. The pans are also different.
Leftover popovers can be stored in the refrigerator in an airtight container for several days. I like to reheat them in the toaster oven at 350°F or 3-5 minutes, or until heated through and crispy.
Making the batter in a blender is both quick and convenient. However, you can use a wire whisk to blend the ingredients in a large bowl or a medium bowl. I actually like to use a large measuring cup because the spout makes it easy to divide the batter.
Recipe Tips and Tricks
- There are different sizes of popover pans. My preference is the mini popover pan that I used. The popover pans are easily available online. I would strongly recommend getting one with a nonstick coating.
- The oven must be preheated before baking the popovers. It also helps to heat the popover pan before adding the batter. Both help the popovers to rise properly.
- It’s tempting to open the oven door to peek at the popovers as they are baking. However, it’s important not to open the oven door. This can cause the popovers to collapse.
- I always weigh my ingredients, especially the flour. The reason is that there is a lot of variability in the quantity of flour depending on how it is measured.
- The cooking time for these popovers could vary depending on your oven.
Other Non-Yeast Breads
Even though popovers display an impressive rise, they do not contain any yeast. Other non-yeast breads include the following:
I hope you liked this recipe for Easy Mini Popovers as much as I do. If so, please consider rating it and leaving a comment. Also, if you’d like to receive notifications of new posts by email, enter your email address in the Subscribe box.
Thank you so much for visiting Pudge Factor. I hope you’ll come back!
Recipe
Want to Save This Recipe?
Enter your email & I’ll send it to your inbox. Plus, enjoy weekly doses of culinary inspiration as a bonus!
By submitting this form, you consent to receive emails from Pudge Factor.
Easy Mini Popovers
Equipment
- Blender
- Mini Popover Pan
Ingredients
- 3 large eggs, room temperature (See Tip 1)
- 1 ¼ cups (10 ounces) milk, room temperature
- ½ teaspoon Kosher salt
- 1 cup (5 ounces) all-purpose flour (See Tip 2)
- 2 Tablespoons plus 1 teaspoon unsalted butter, melted and divided
Instructions
- Preheat the oven to 450°F.
- Add eggs, milk, and salt to a blender. Secure the top; blend on high until well combined, about 10 seconds.
- Remove the top of the blender; add the flour. Secure the top; blend on high until frothy and well combined, about 10 seconds.
- Remove the feed shoot cap from the top of the blender; add 2 tablespoons of the melted butter. Secure the feed shoot cap; blend on high until frothy and well combined, about 10 seconds.
- While making the popover batter, heat the mini popover pan in the 450°F oven for about 5 minutes. Remove the hot pan from the oven; brush the cups with the reserved melted butter. Fill the cups of the mini popover pan ⅔ full. (See Tip 3)
- Bake in a preheated 450°F oven for 15 minutes. Without opening the oven, reduce the heat to 350°F and cook for 10 more minutes. (See Tip 4)
- Remove from the oven. Allow the popovers to cool for several minutes before removing them from the pan and serving. (See Tip 5)
- Yield: 12 mini popovers. (See Tip 6)
Video
Tips/Notes
- If you need to warm eggs to room temperature quickly, place them untracked in a glass of warm water for about 10 minutes.
- I always weigh my ingredients, especially the flour. The reason is that there is a lot of variability in the quantity of flour depending on how it is measured.
- Heating the popover pan before filling it helps to enhance the rise of the popovers. Also, don’t overfill the cups of the popover pan. You’ll be amazed at how much the popovers rise!
- Avoid the temptation to open the oven door while the popovers are cooking. The reason is that the popovers could collapse if the oven door is opened during cooming.
- My popovers came right out of the pan with no sticking at all.
- Leftover popovers can be stored in the refrigerator in an airtight container for several days. I like to reheat them in the toaster oven at 350°F or 3-5 minutes, or until heated through and crispy.



Leave a Reply