
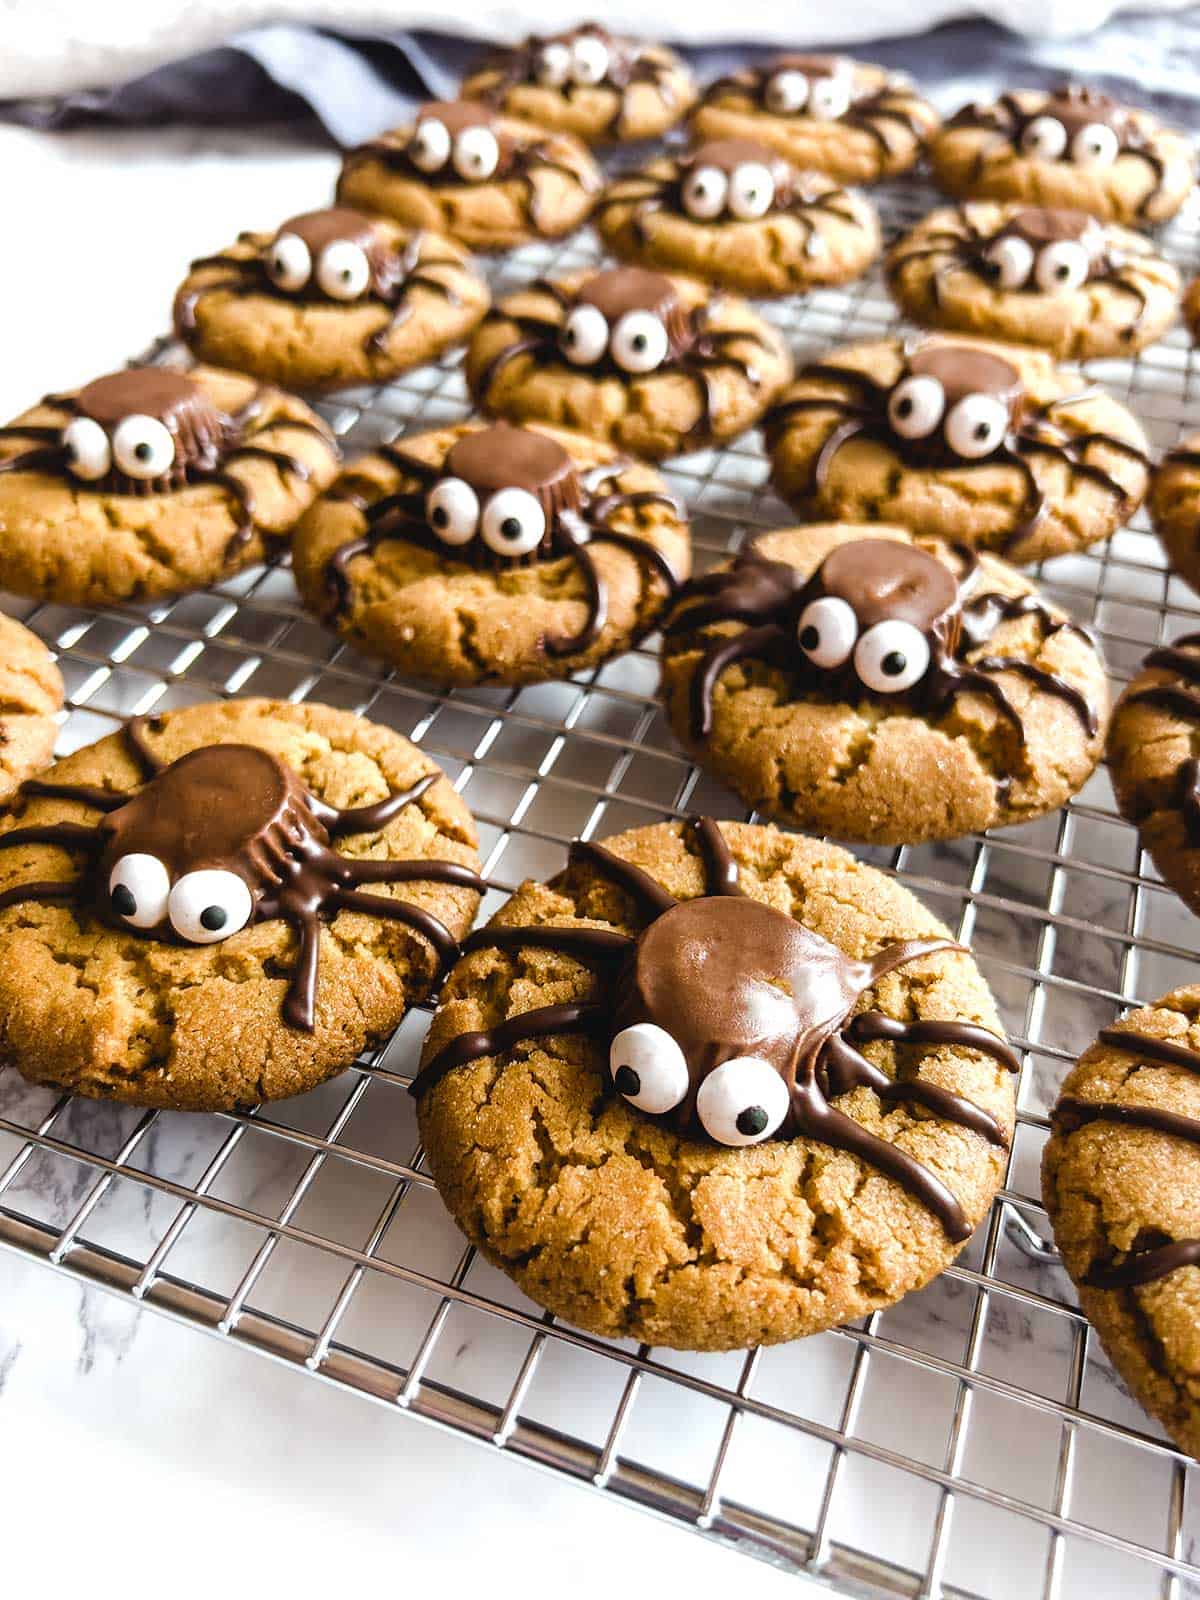
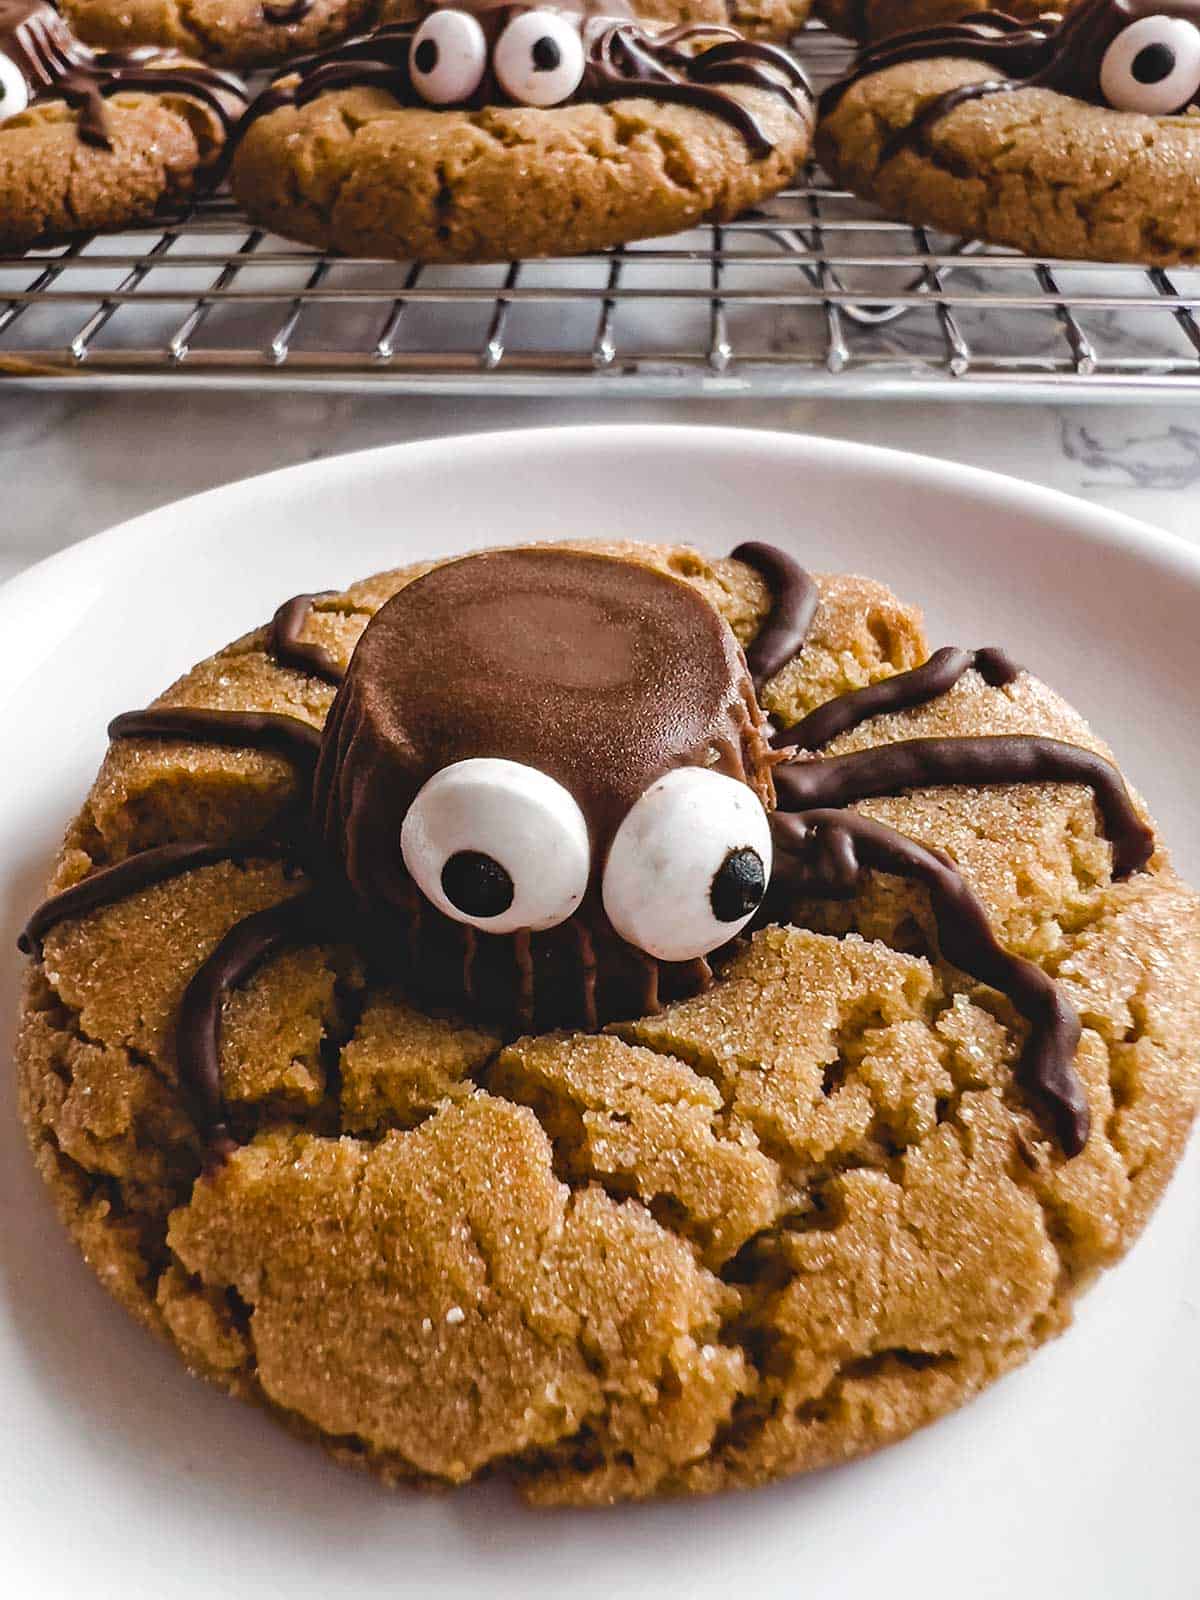
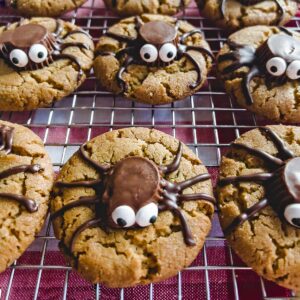
Peanut Butter Spider Cookies are easy to make for Halloween and cute beyond imagination! By themselves, these yummy peanut butter cookies are amazing. But top them with Reese's Miniatures for the spider bodies, candy eyes, and spider legs, and you have an easy Halloween treat that is sure to WOW family and friends.
Jump to:
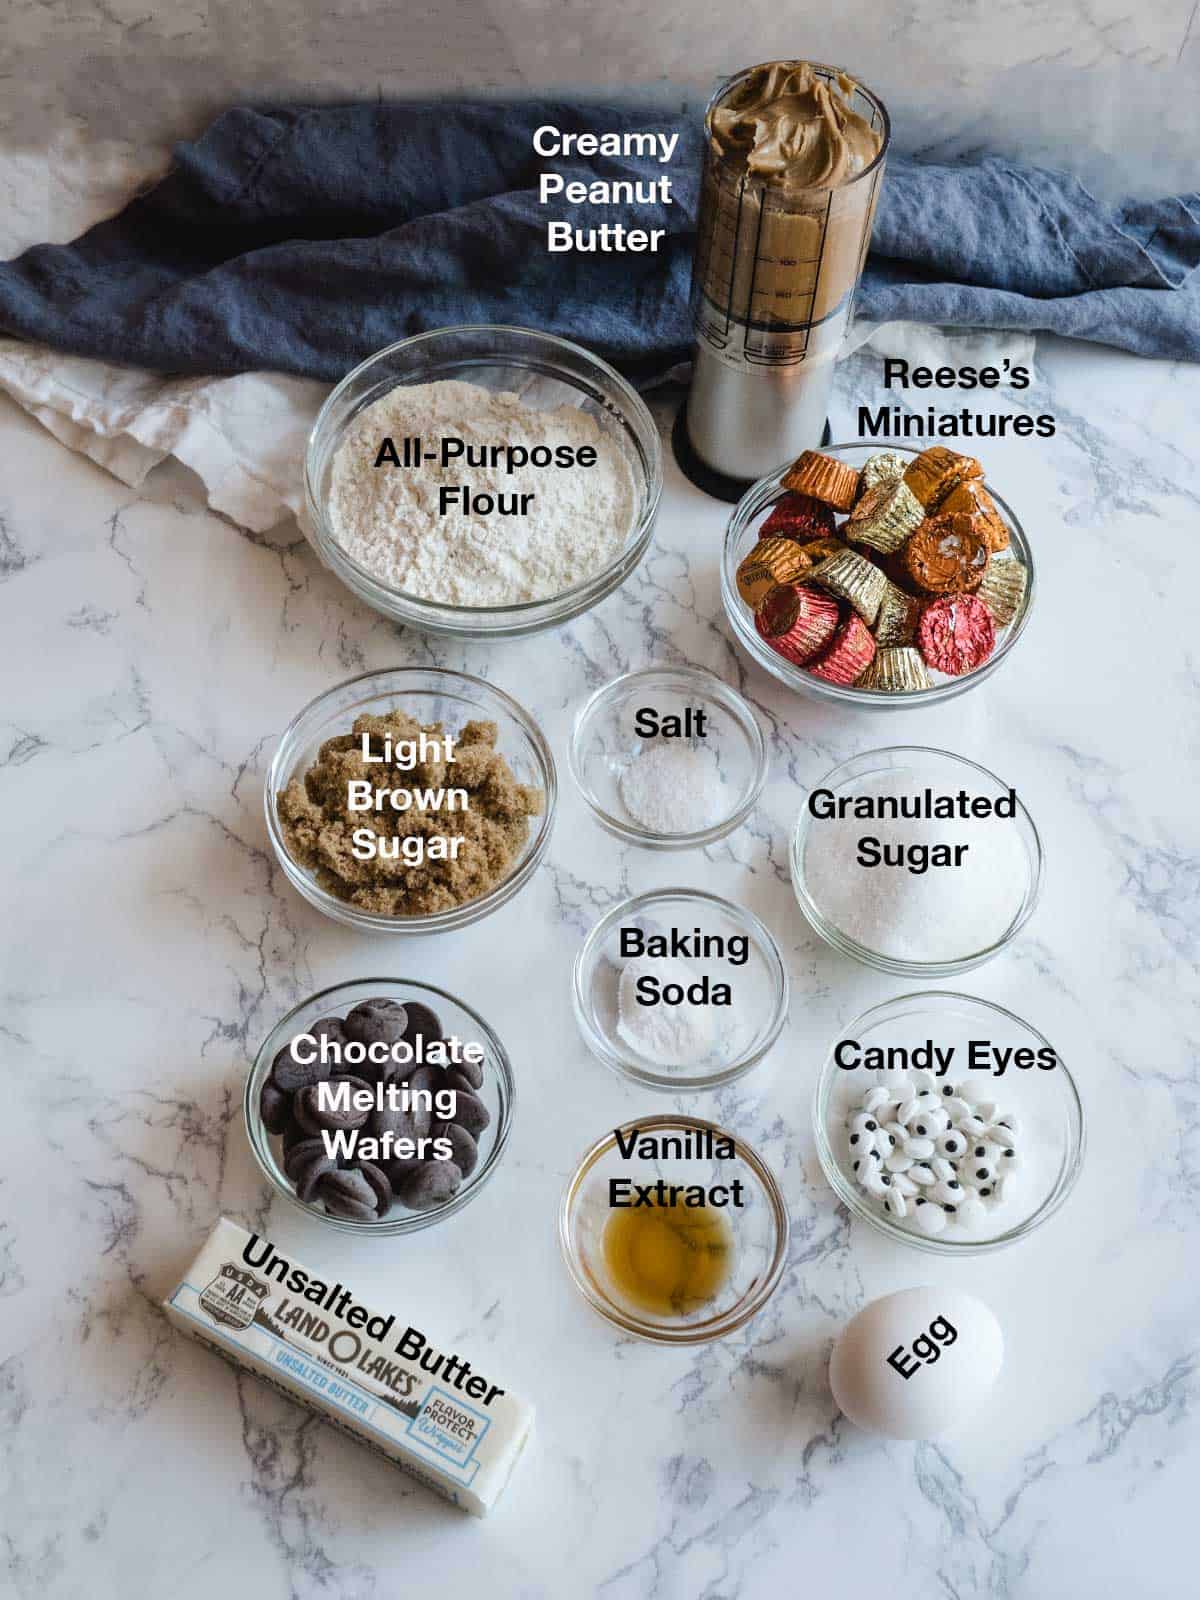
Ingredients: Here's What You'll Need
I used typical peanut butter cookie dough ingredients - butter, egg, granulated and light brown sugar, creamy peanut butter, vanilla extract, baking soda, Kosher salt, and all-purpose flour.
For the spooky peanut butter spider cookies, I used baked peanut butter cookies, miniature Reese's peanut butter cups for the spider bodies, candy eyes, and chocolate melting wafers for the spider legs. I could have also used chocolate chips for the chocolate legs.
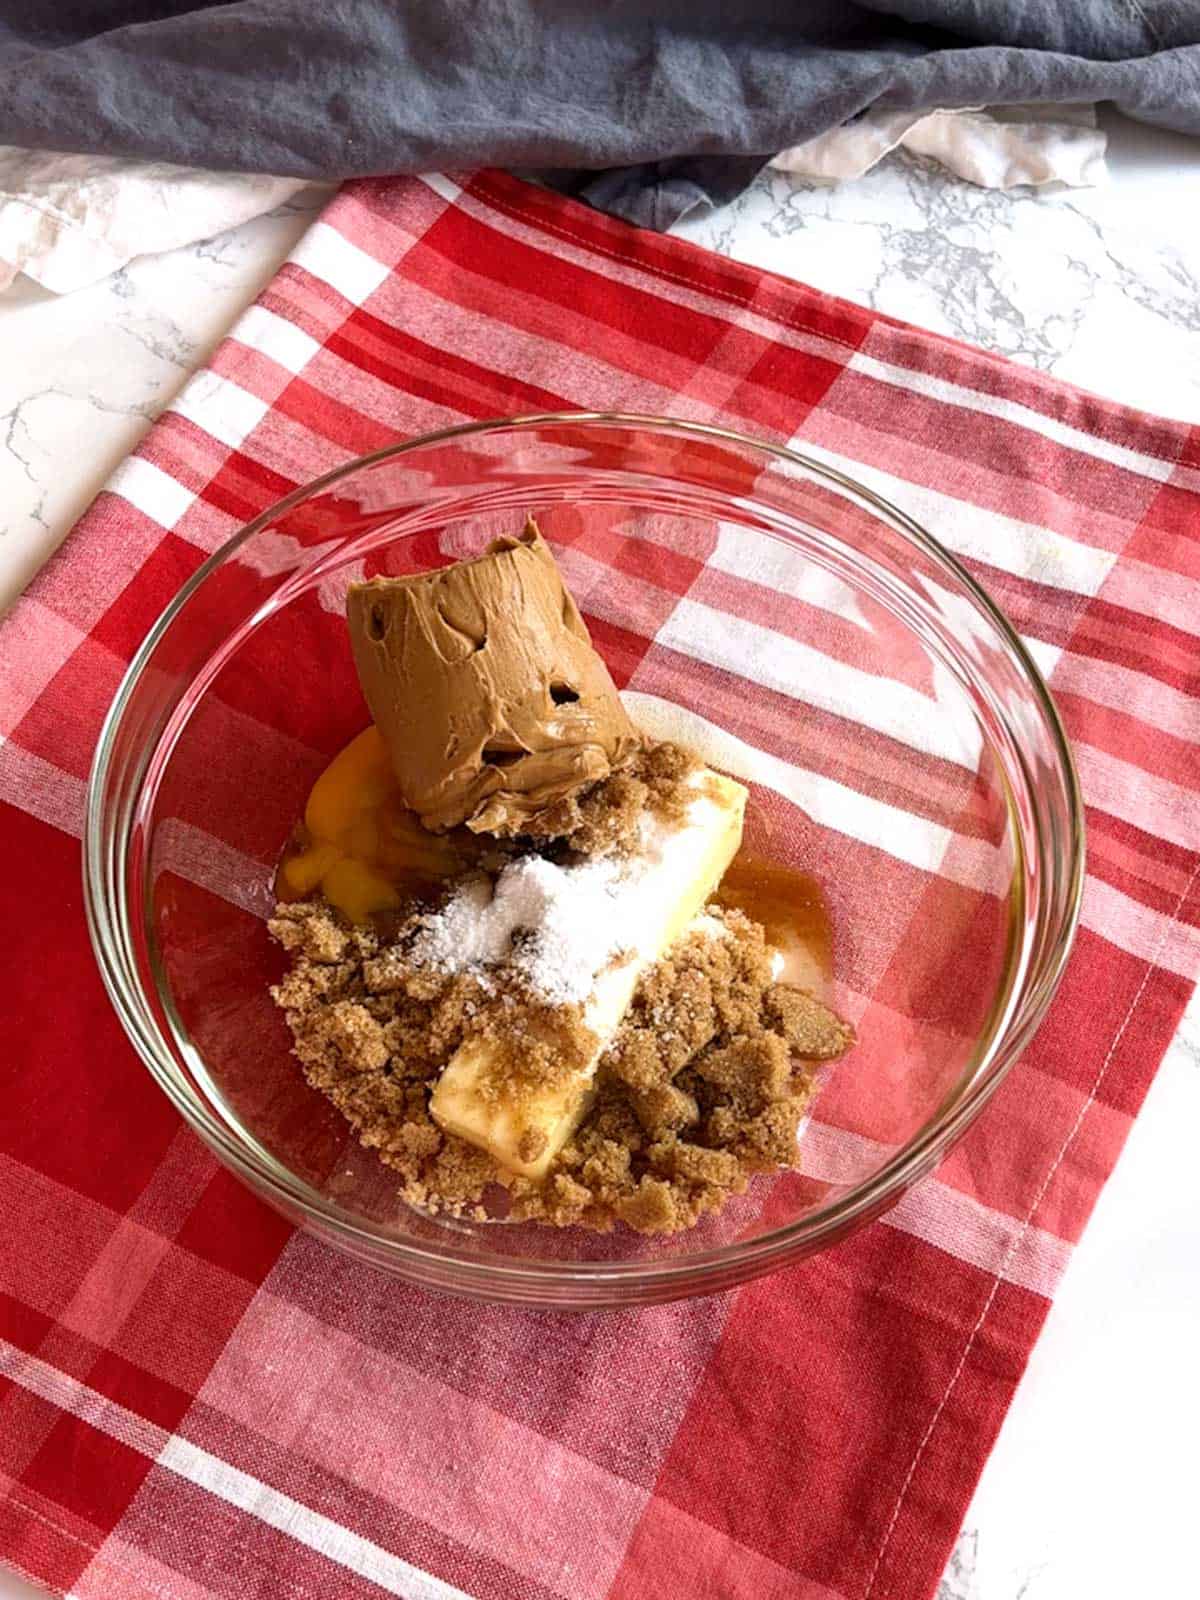
Here's How I Made the Peanut Butter Cookies
The peanut butter cookie recipe was super simple to make.
- First, I added the butter, sugars, egg, vanilla extract, salt, and baking soda to a large bowl. Then, I beat the ingredients with my electric mixer until the mixture was creamy. Beating the mixture took a minute or two.
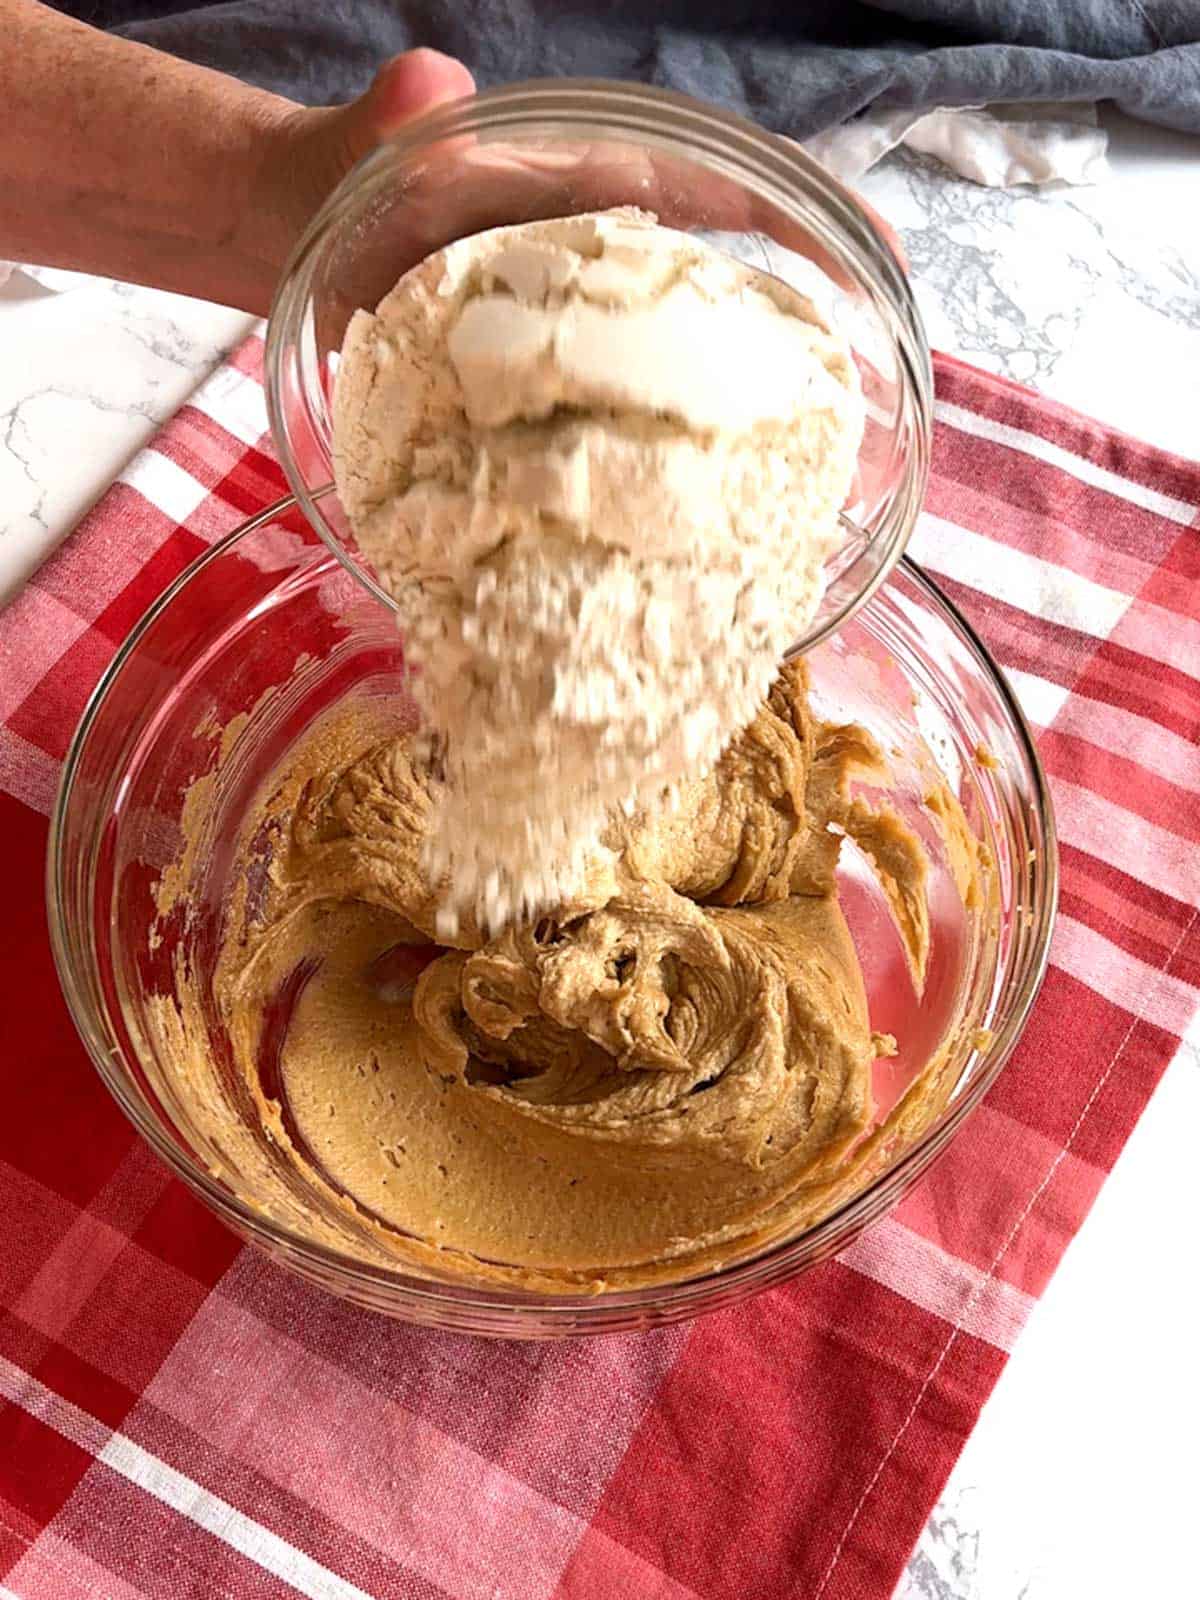
- After that, I used a silicone spatula to scrape down the sides of the bowl. Then, I added the flour and beat the mixture on low until the flour was incorporated. This took another minute or so.
- I used a 4-teaspoon cookie scoop to scoop dough and rolled it into a ball. Then, I rolled the balls in some granulated sugar. Finally, I placed the dough balls onto a parchment-lined baking sheet and used my fingers to flatten each ball slightly.
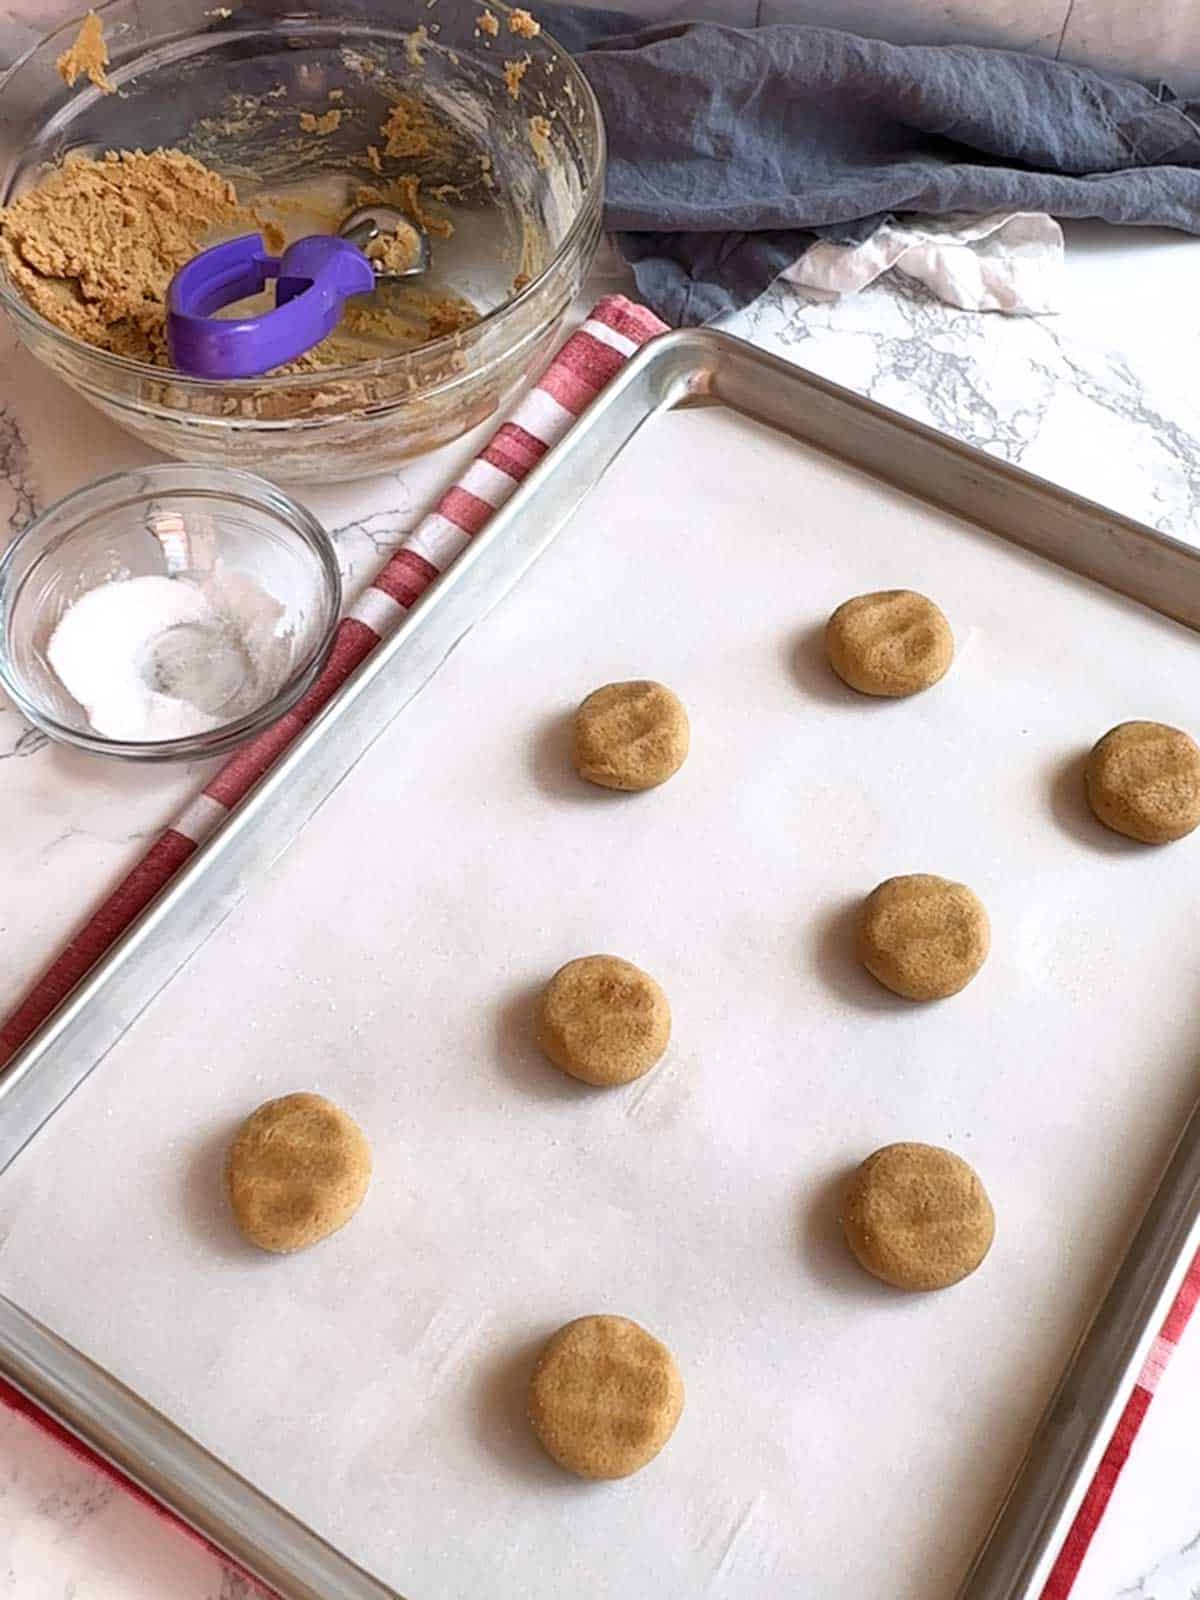
- I baked the cookies in a preheated 350°F oven for 13 to 14 minutes until they barely started browning around the edges. I repeated this with the remainder of the cookie dough.
The result - delicious chewy peanut butter cookies!
Here's How I Made the Spiders
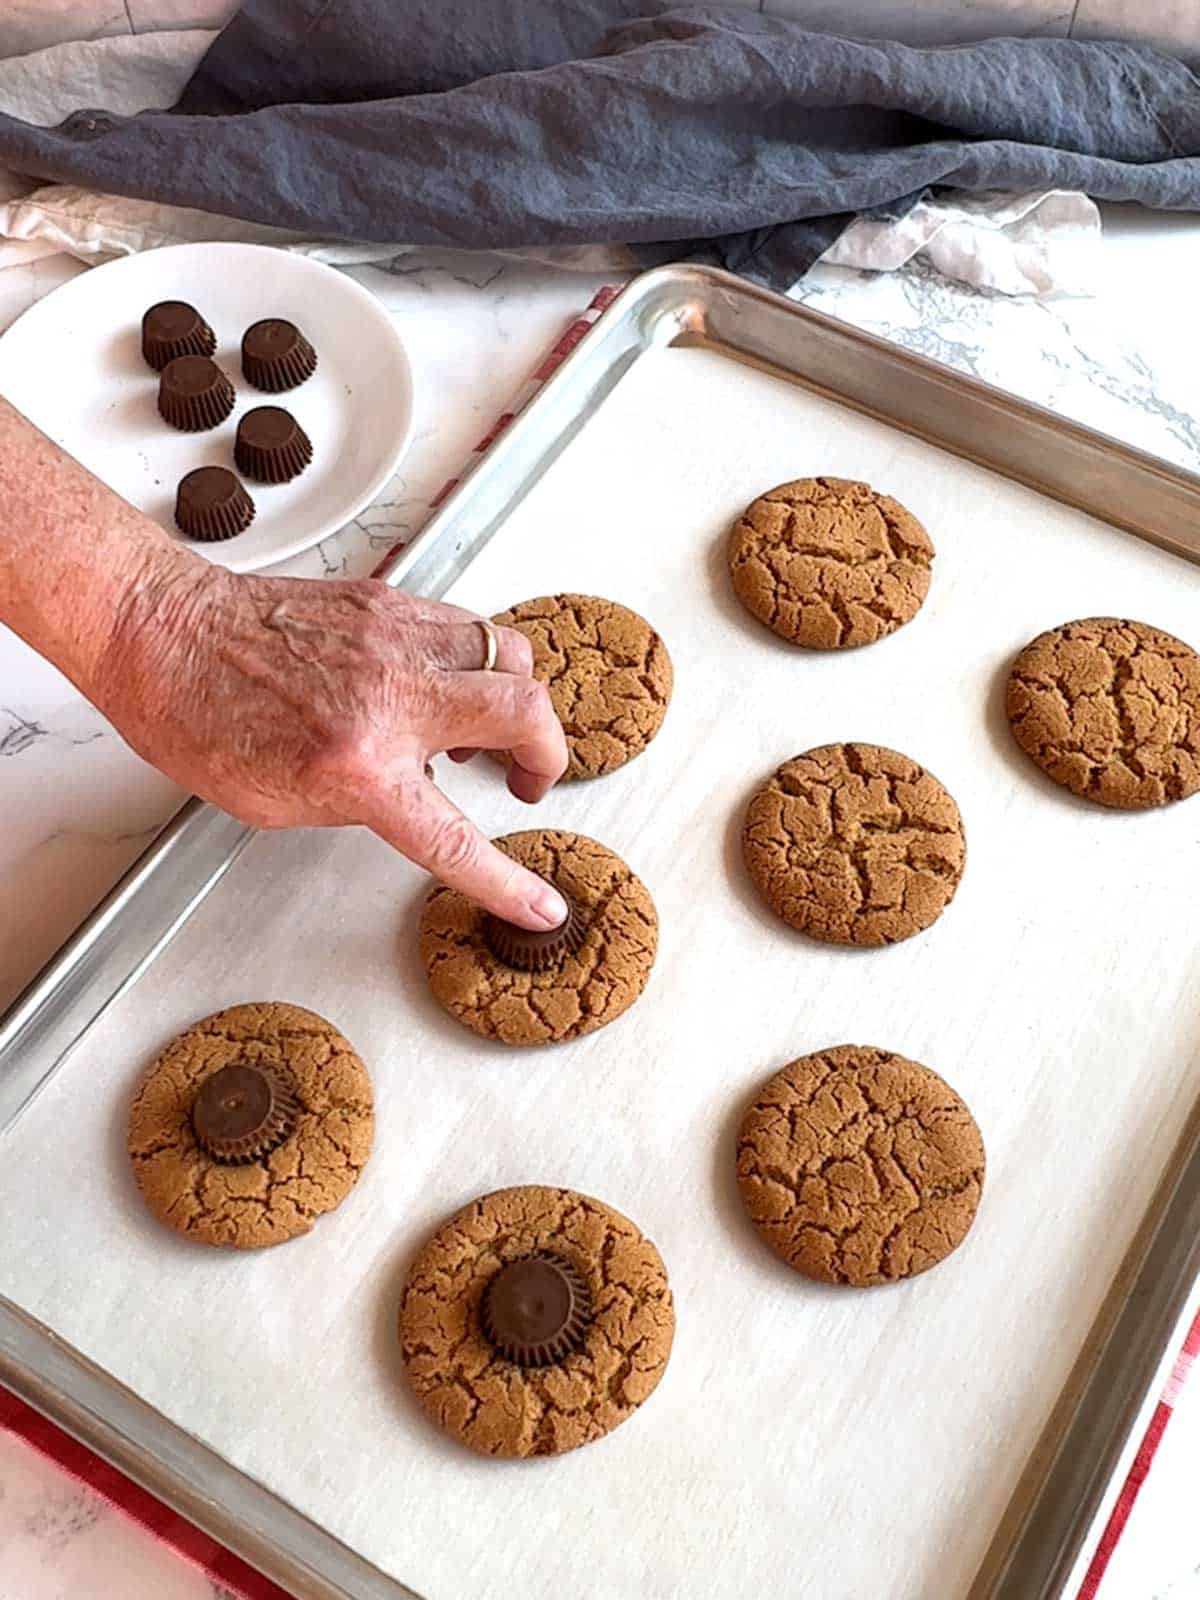
As soon as I removed the cookies from the oven, I placed an unwrapped miniature Reese's peanut butter cup upside down in the middle of each cookie while they were still on the parchment paper.
I lightly pressed down on the Reese's miniature. The heat from the cookie started melting the chocolate.
Pressing the Reese's miniature into the warm cookie served two purposes. First, once the Reese's miniature cooled, it would stick to the cookie.
Second, the melted chocolate made sticking the candy eyeballs on the Reese's miniature easy.
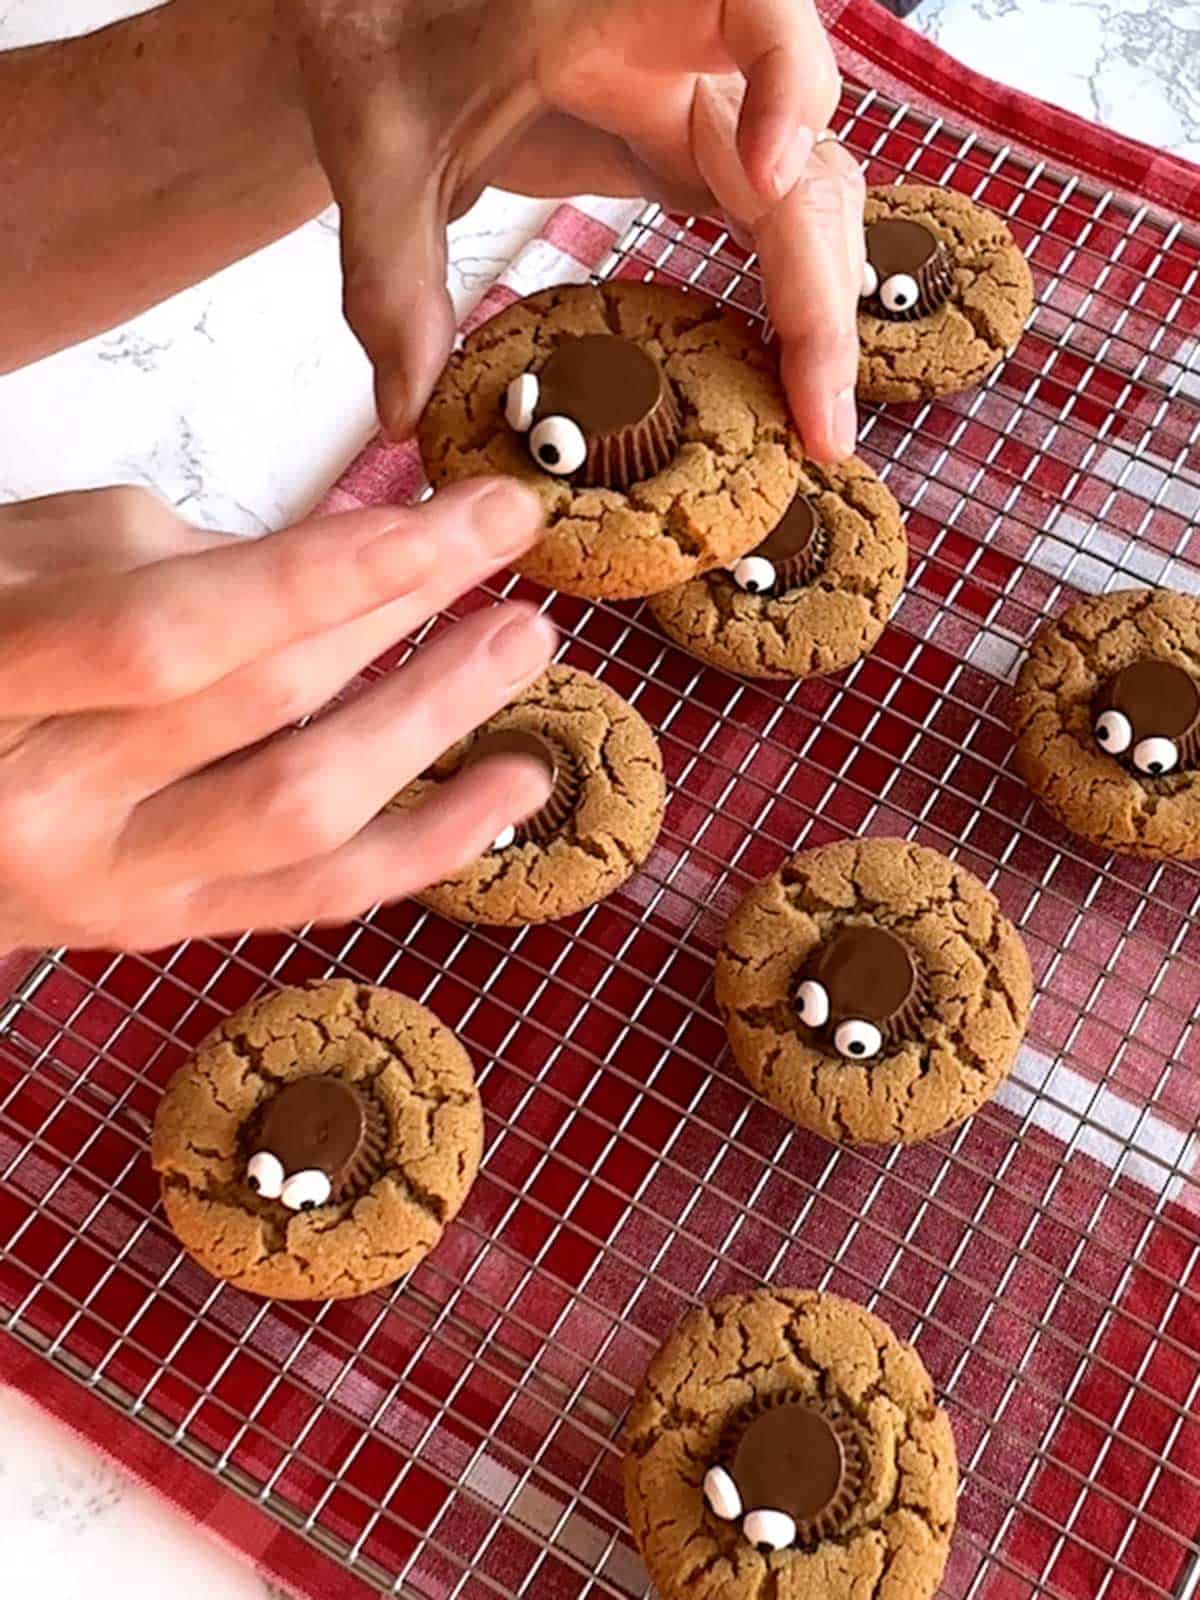
Once I had finished sticking the googly eyes on the Reese's miniatures, I transferred the cookies to a wire rack and placed them in the freezer for about 10 minutes to start hardening the chocolate.
During this time, I melted the chocolate melting wafers. Then, I placed them in a piping bag with a #3 piping tip. You could also use a piping bag without a tip or a Ziploc bag with the tip or edge snipped off with scissors.
I piped four chocolate spider legs on each side of Reese's miniature.
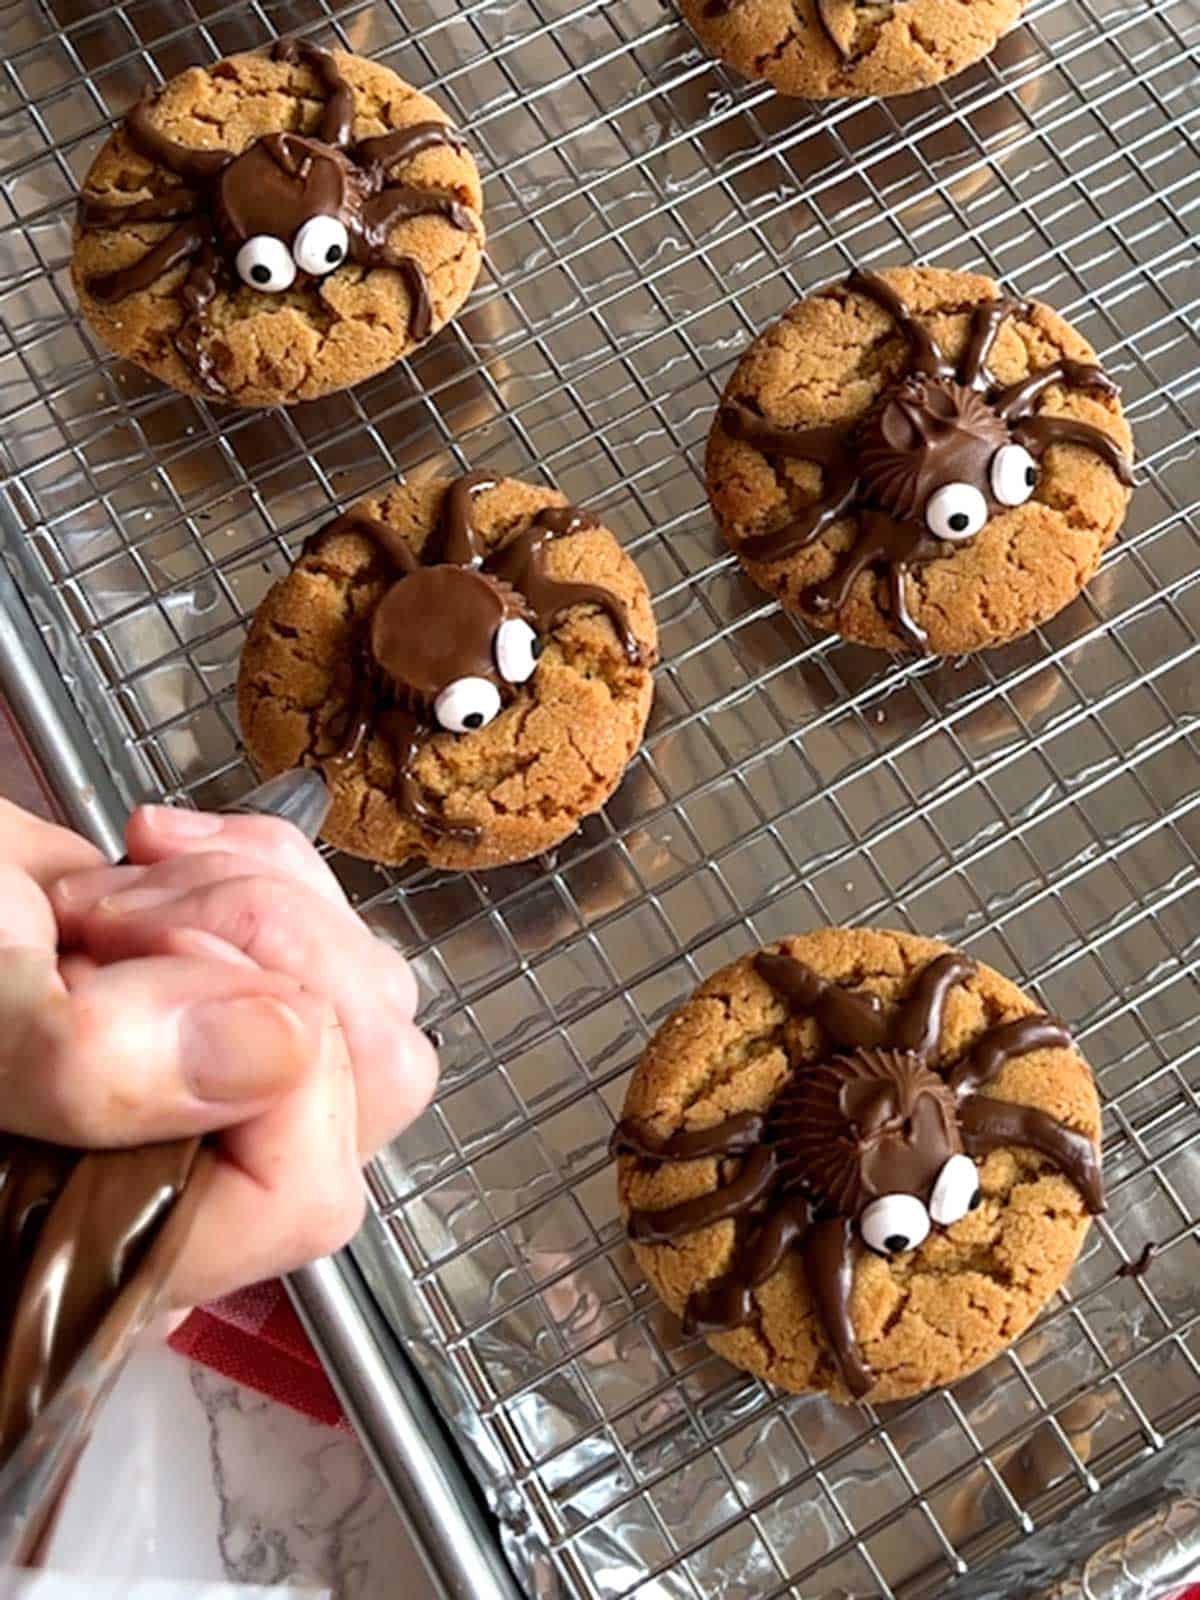
I ended up with two dozen adorable Peanut Butter Spider Cookies.
As it turned out, I had enough peanut butter cookie dough left over to make three more cookies that I didn't decorate. By themselves, however, they were a perfect cookie.
The Master Taste Tester commented several times on how professional these little guys looked. Once he ate several of the cookies, the Master Taste Tester declared that the spooky spider cookies were perfect in both appearance and taste - the ultimate compliment.
This easy Halloween treat will surely please your young and old goblins at your next Halloween party. Yum!
Frequently Asked Questions
Cracking tends to be one characteristic of peanut butter cookies. The cracking results from the expansion of the cookies during cooking caused by baking soda. Having the right amount of flour in the cookie dough is also important. Too much flour will prevent cracks from forming.
You can certainly use crunchy peanut butter instead of the creamy peanut butter in this recipe.
It's best not to use natural peanut butter. Cookies made with natural peanut butter tend to be dry and crumbly.
The cookie dough can be made in advance and refrigerated, covered for 3 to 4 days. It should come to room temperature before baking. You can also freeze the cookie balls without the sugar coating for up to 3 months. The frozen cookie balls should be thawed before rolling in sugar and baking.
Rolling the cookie balls in sugar is optional. However, I like to roll the cookies in sugar because it produces a crunchy exterior.
I wouldn't recommend using writing gel for the spider's legs. The reason is that the gel doesn't harden like the chocolate melting wafers. You could use black icing, but it wouldn't be the same color as the chocolate.
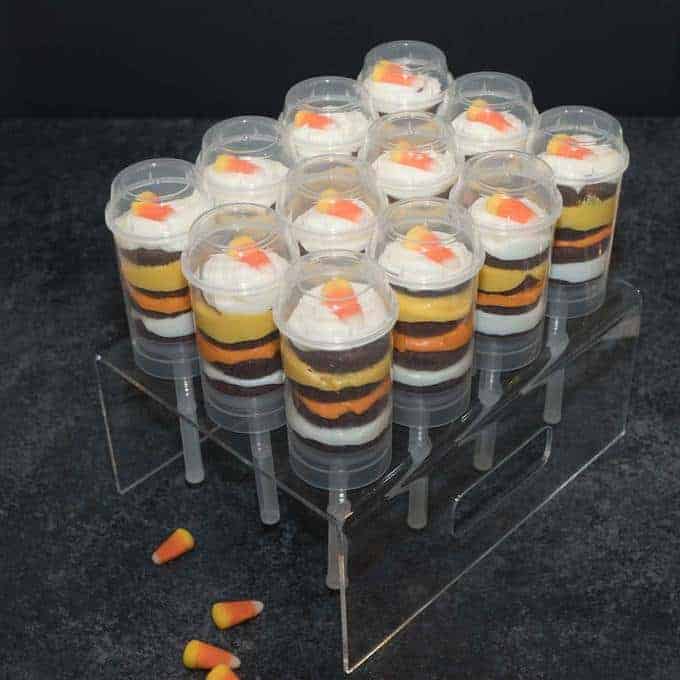
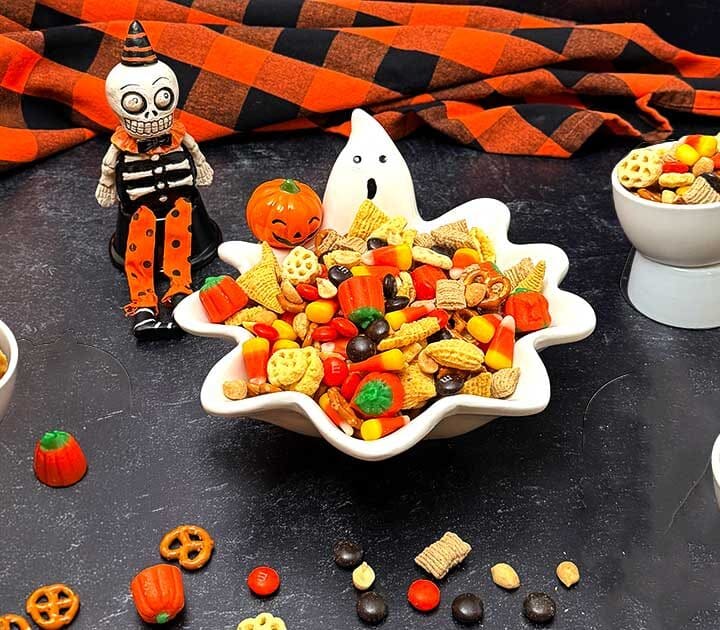
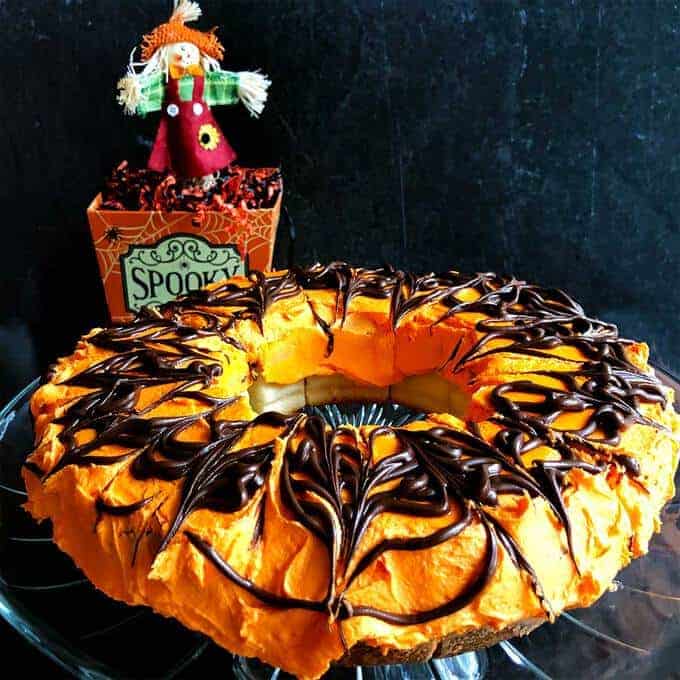
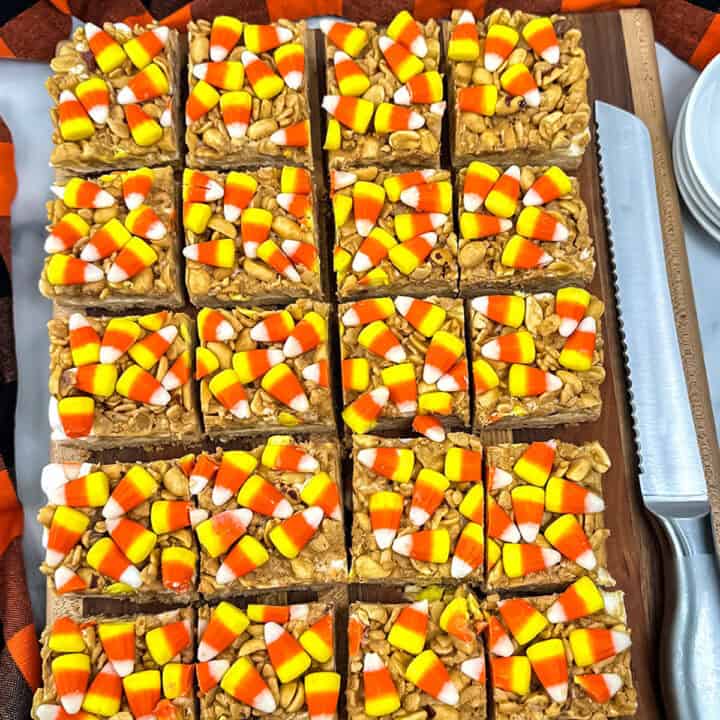
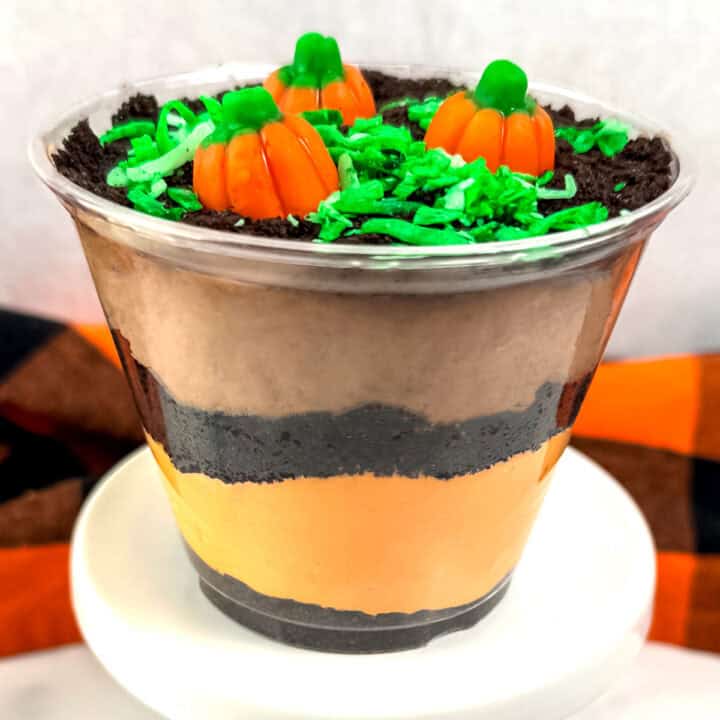
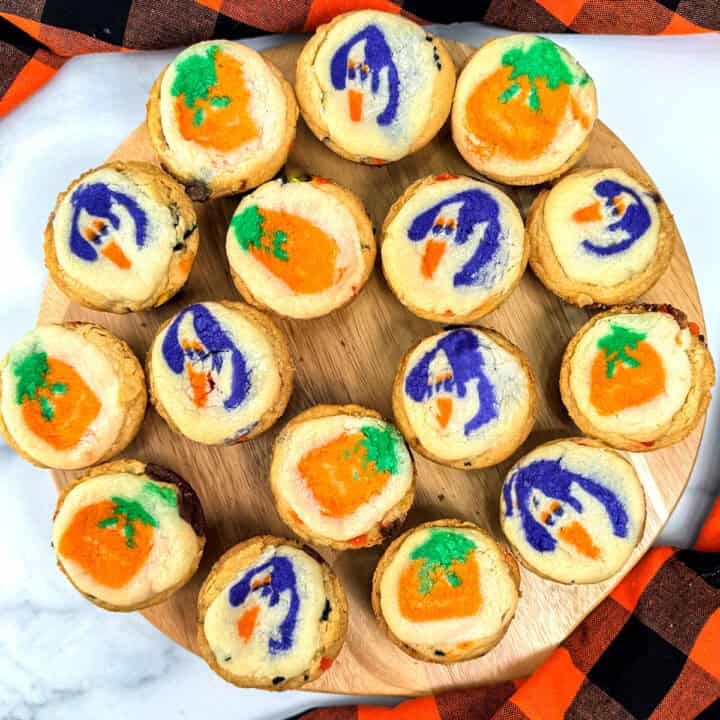
Other Halloween Treats
Halloween is that time of year when one can use one's imagination to produce spooktacular treats. Here are some of my favorites:


I hope you liked this recipe for Easy Peanut Butter Spider Cookies as much as I do. If so, please consider rating it and leaving a comment. Also, if you'd like to receive notifications of new posts by email, enter your email address in the Subscribe box.
Thank you so much for visiting Pudge Factor. I hope you'll come back!
Recipe
Want to Save This Recipe?
Enter your email & I'll send it to your inbox. Plus, enjoy weekly doses of culinary inspiration as a bonus!
By submitting this form, you consent to receive emails from Pudge Factor.
Easy Peanut Butter Spider Cookies
Ingredients
Peanut Butter Cookies
- ½ cup (4-ounces) unsalted butter, room temperature
- ½ cup (3.5-ounces) granulated sugar
- ½ cup (3.75-ounces) light brown sugar, packed
- 1 large egg, room temperature
- 1 teaspoon vanilla extract
- ¾ cup (7-ounces) creamy peanut butter (See Tip 1)
- 1 teaspoon baking soda
- ½ teaspoon Kosher salt
- 1 ¼ cups (6.25-ounces) all-purpose flour
- 2 Tablespoons granulated sugar to roll cookie balls in (optional)
Spider Cookies
- 24 Peanut Butter Cookies
- 24 Reese's Miniatures, unwrapped and liner removed
- 48 candy eyes
- ¾ cup Ghirardelli Dark Chocolate Melting Wafers
Instructions
Peanut Butter Cookies
- Preheat the oven to 350°F. Line three large baking sheets with parchment paper. Set aside.
- Beat together butter, sugars, egg, vanilla, peanut butter, baking soda, and salt until creamy, 1 to 2 minutes. Scrape down the bowl with a silicone spatula. Add flour. Beat on low just until combined, 1 to 2 minutes.
- Scoop out cookie dough using a heaping tablespoon cookie scoop. Roll cookie dough into a ball and roll the ball in granulated sugar. Place on prepared cookie sheet; flatten slightly with fingertips. (See Tips 2 and 3)
- Bake in a preheated 350°F oven for 12 to 14 minutes or until the edges just start to brown. Remove from oven and make spider cookies as described below.
Spider Cookies
- As soon as the cookies are removed from the oven, place a Reese's Miniature upside down in the center of each cookie; press down slightly. Remove from cookie sheet to a wire rack to begin cooling. After about seven or eight minutes, the chocolate on the Reese's Miniature will have started melting from the heat of the cookie. Carefully place two candy eyes on the vertical part of the Reese's Miniature. (See Tips 4 and 5)
- Place chocolate melting wafers in a pastry bag or Ziploc bag. Melt the wafers in the microwave according to package directions. Snip off a very small part of the end of the pastry bag or Ziploc Bag. Pipe 4 legs on each side of the Reese's Miniature for the spider's legs. (See Tip 6)
- Allow the chocolate to harden and store in an airtight container. Yield: 24 Peanut Butter Spider Cookies (See Tip 7)
Tips/Notes
- May use crunchy peanut butter or creamy low-fat, low-salt peanut butter if desired. I would however recommend against using natural peanut butter.
- I used a 4-teaspoon or #40 cookie scoop (1 ½-inch diameter) to produce the perfect-sized cookies.
- I flattened the cookie dough to about ¾-inch.
- When the chocolate on the Reese's Miniature cools, it will harden and will hold the candy eyes in place.
- At this point, you can place the spider cookies in the freezer for about 10 minutes to speed up the hardening of the chocolate. Otherwise, let the cookies sit at room temperature to allow the chocolate to harden.
- May also use a #3 piping tip fitted to the pastry bag. In this case, melt the chocolate melting wafers in a microwave-safe container and transfer to the piping bag. You don't want to put the piping bag with a metal tip into the microwave.
- I was actually able to get 27 peanut butter cookies out of the recipe. Enjoy the extra peanut butter cookies plain!

Leave a Reply