
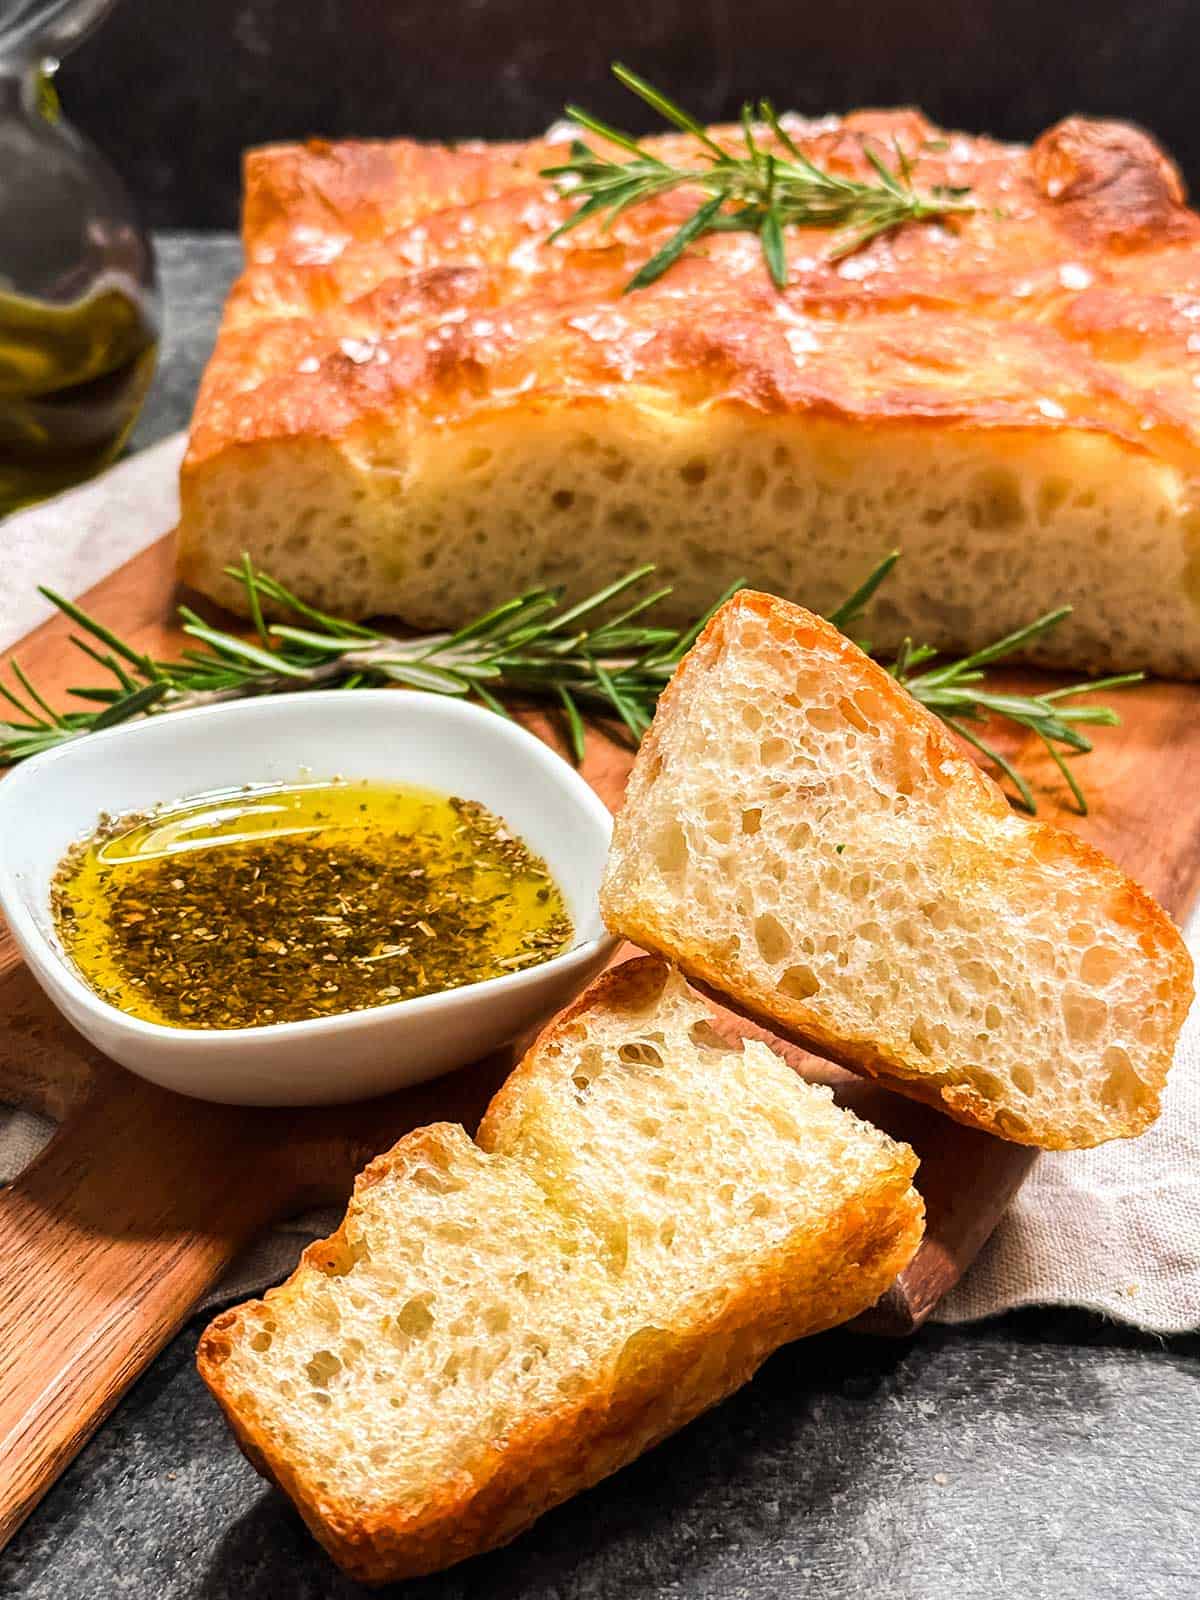
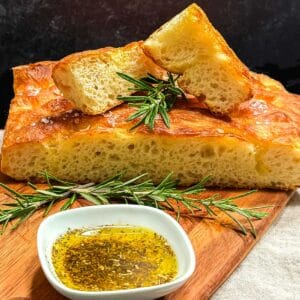
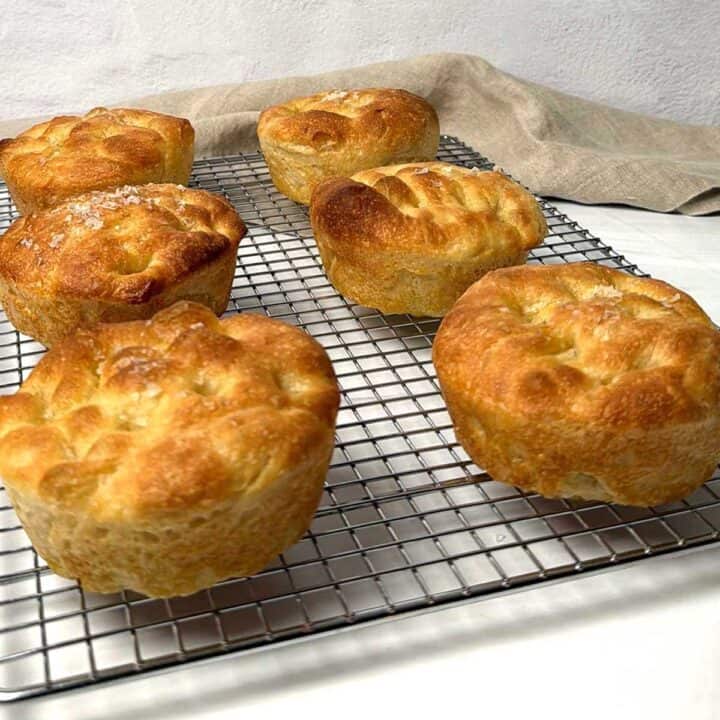
There's nothing quite like the aroma of freshly baked no-knead focaccia filling your kitchen! With its crispy golden crust, pillowy soft center, and signature dimples, this easy focaccia bread recipe delivers bakery-quality results-without the need for kneading.
Inspired by King Arthur Baking's 2025 Recipe of the Year, this focaccia is made using a simple stretch-and-fold technique, allowing the dough to develop structure and flavor with minimal effort. Whether you're a beginner baker or a seasoned pro, this homemade focaccia recipe is sure to become a favorite.
The step-by-step process creates bubbly, no-knead focaccia that's perfect for any occasion!
Jump to:
Why You'll Love This Recipe
- No kneading required: With this easy recipe, just stretch and fold for a light, airy texture.
- Crispy, golden crust: The crispy and golden crust is achieved with high hydration typical of focaccia and olive oil, both typical of focaccia.
- Versatile: Add herbs, cheese, or toppings of your choice to take this recipe to a higher level.
- Beginner-friendly: If you think making focaccia is difficult, think again. This recipe is perfect for first-time bakers as well as experienced bakers.
- No special equipment: Forget the bread machine or stand mixer - no special equipment is needed for this recipe.
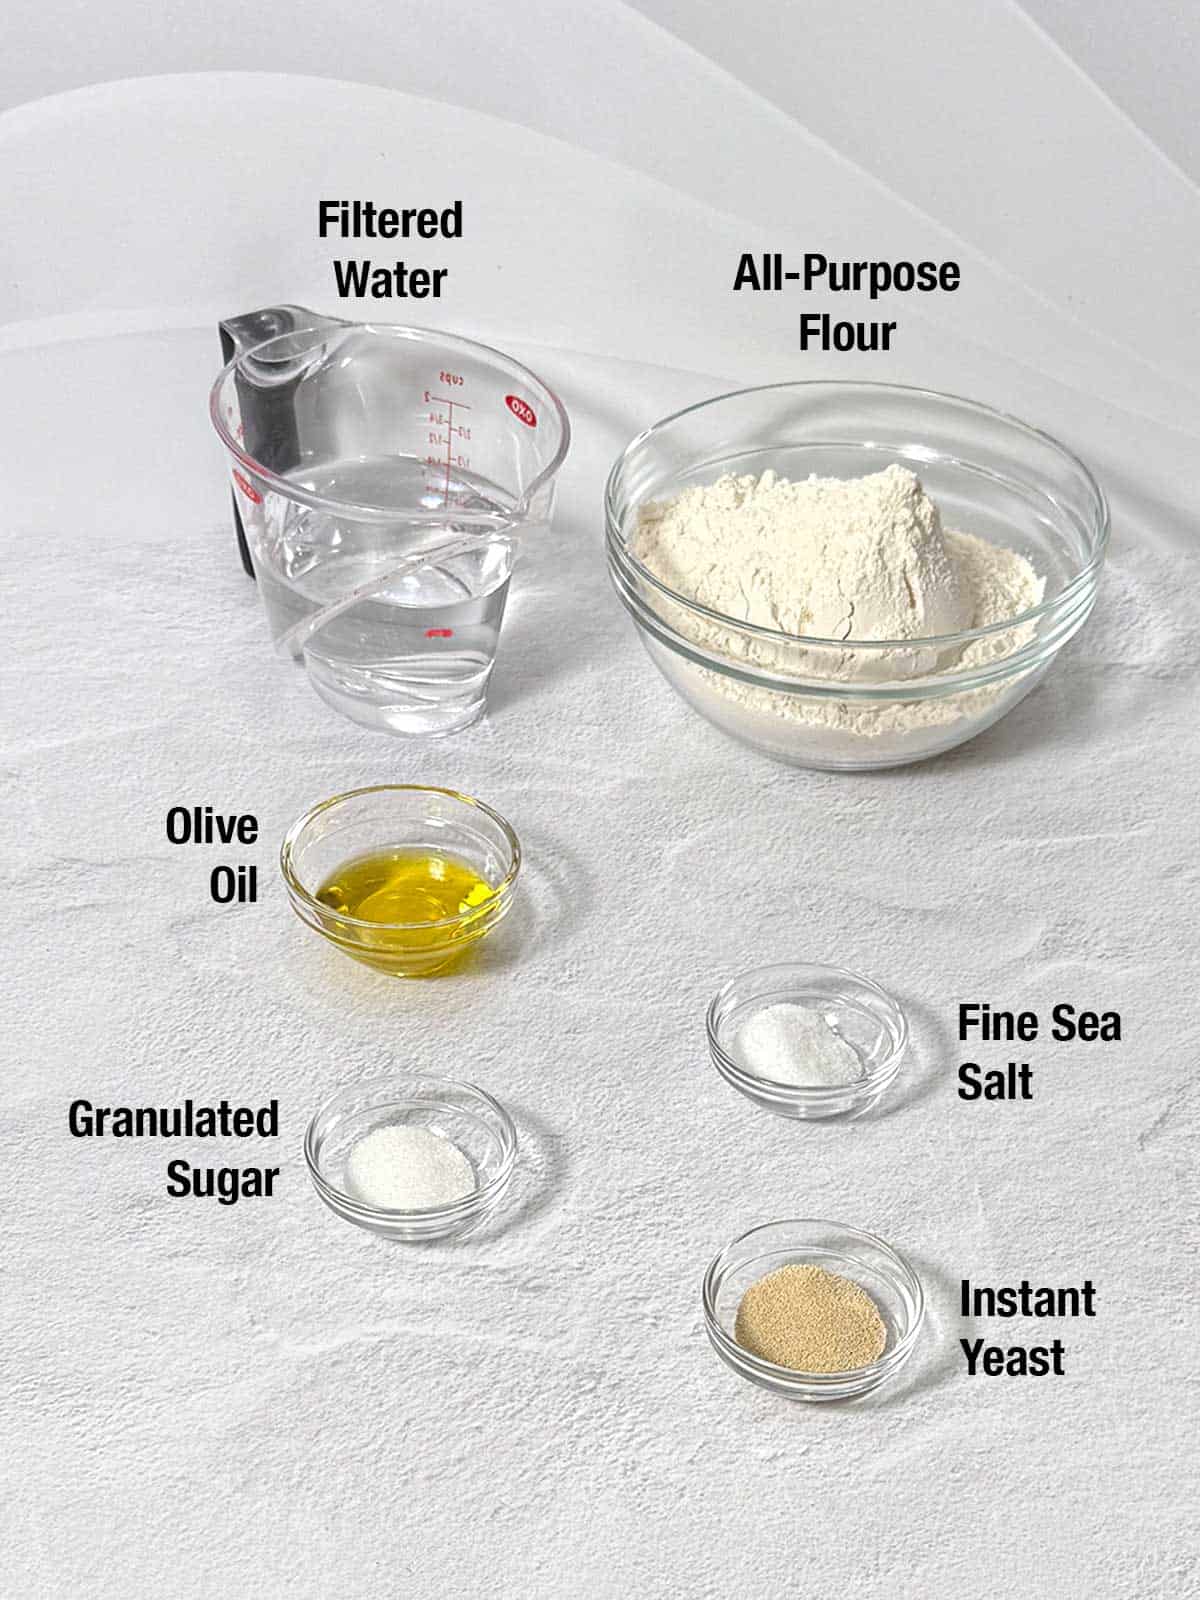
Ingredients - Here's What You'll Need
Simple ingredients for an amzaing focaccia!
Preparing the Focaccia Dough: Step-by-Step
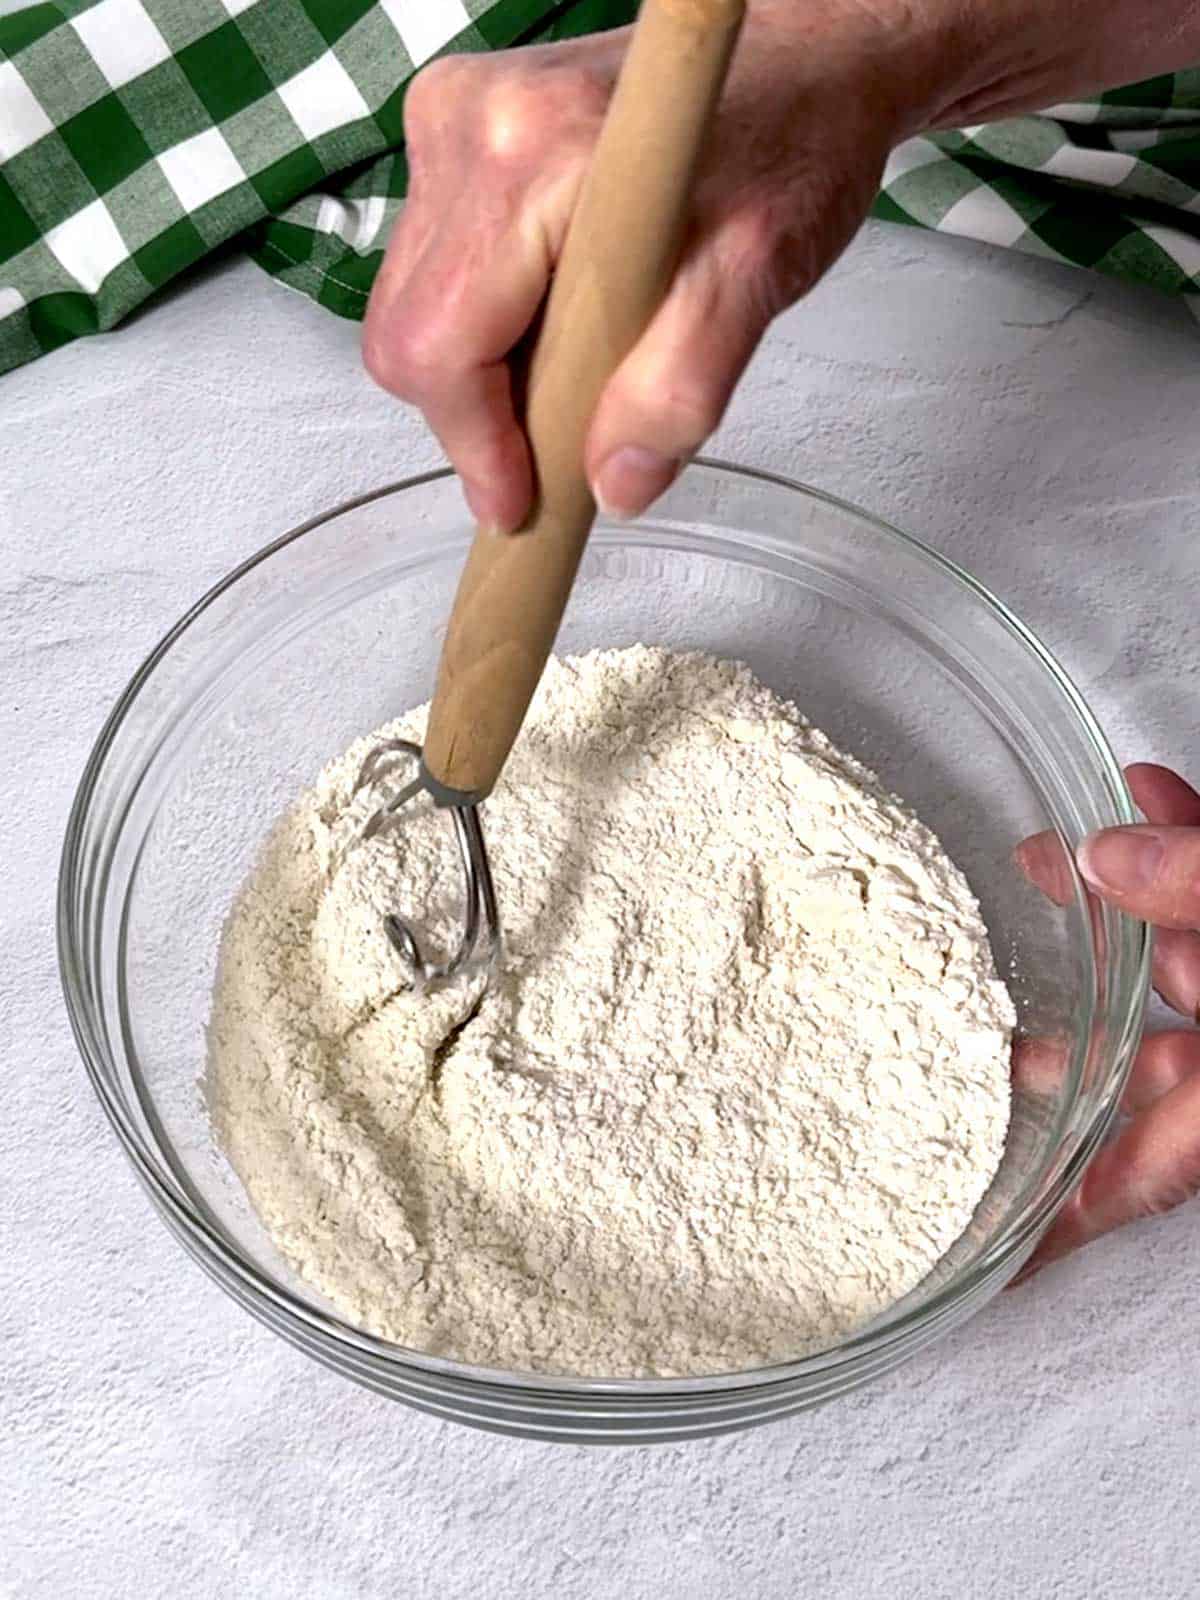
- I started by whisking together the flour, sugar, salt, and yeast in a large bowl. I used a dough whisk for this but you could also use a regular whisk or fork.
- Then, I added the olive oil and water to the dry ingredinets. I stirred the mixture with the dough whisk until it was thoroughly combined with no dry patches or lumps. I covered the bowl and let the dough rest for 15 minutes.

- After 15 minutes, I performed the first stretch and fold. With a wet hand, I grabbed a portion of the dough from one side of the bowl, lifted it up and pressed or folded it into the center of the dough. I repeated the stretch and fold 8 to 10 times, until I had made a complete circle around the bowl. Once I had made a complete circle around the bowl, I flipped the dough over so that the smooth side was up and covered the bowl and let the dough rest for 15 minutes.

- I repeated the stretching and folding, and flipping the dough three more times over the next 45 minutes to further develop the dough's strength. I covered the dough and placed it in a warm location for an hour.

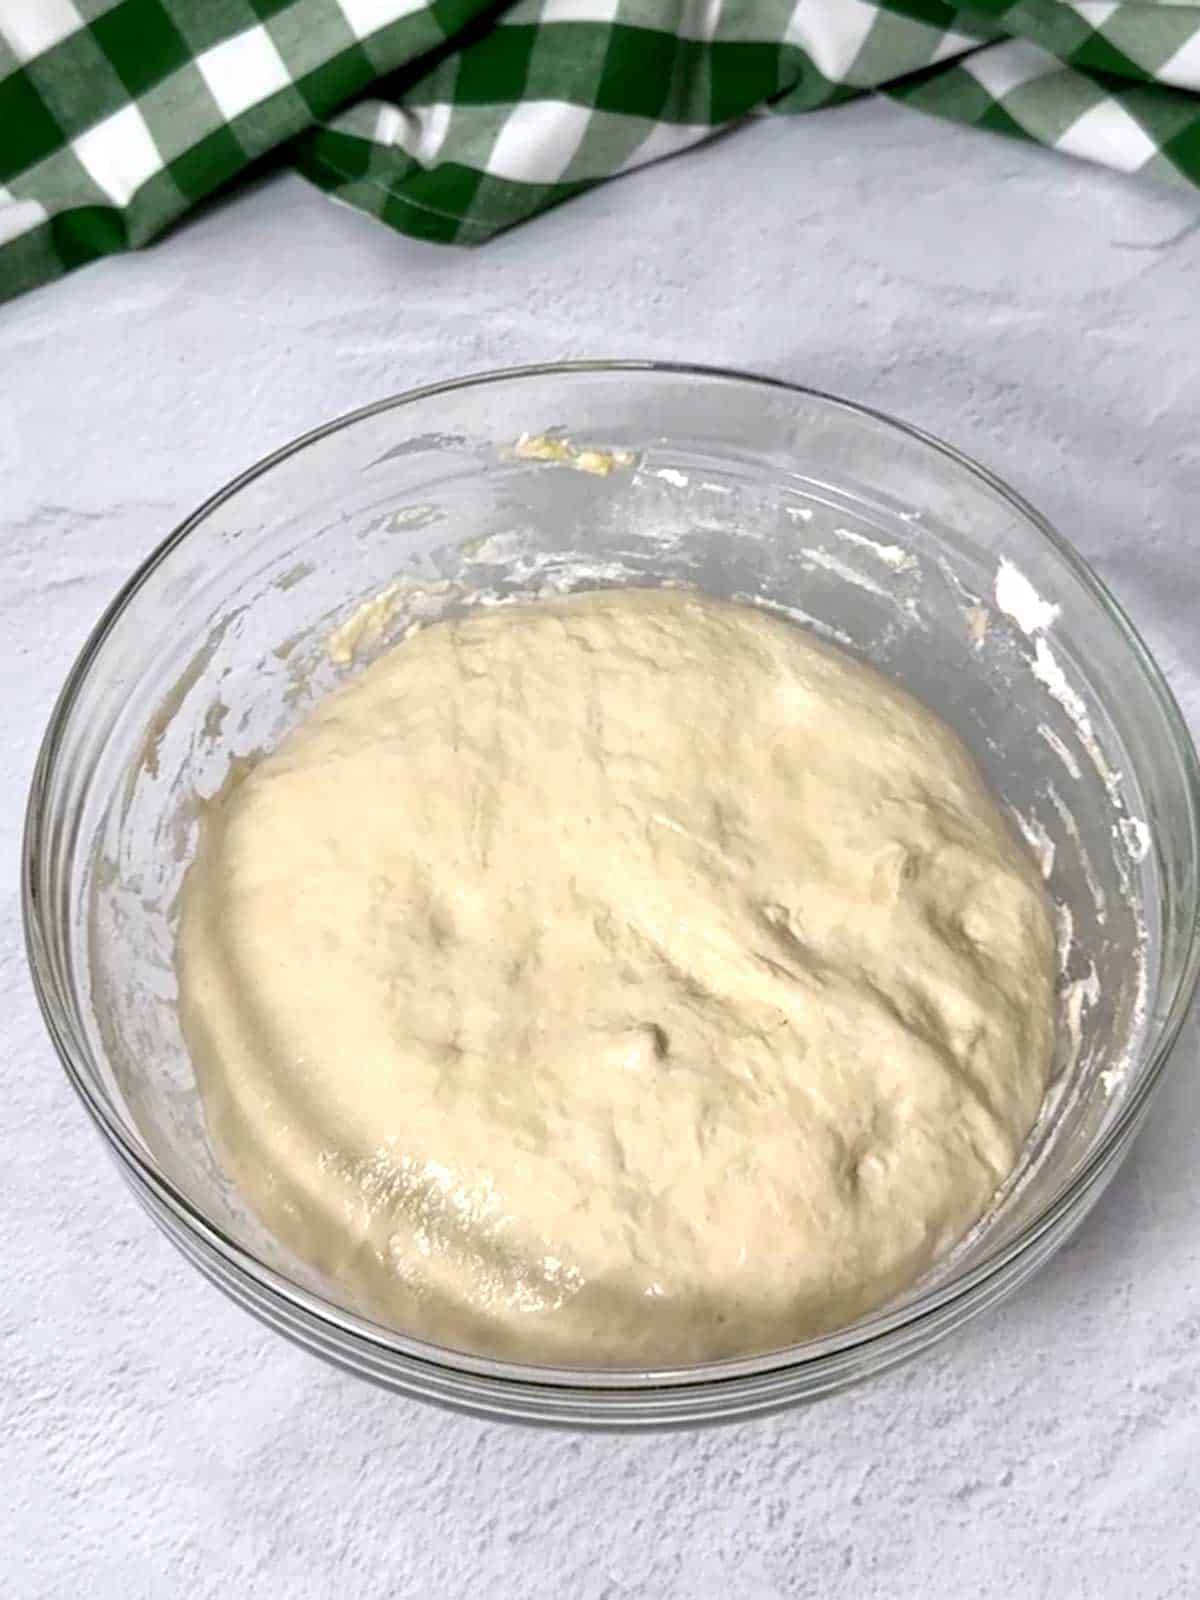
After an hour, the dough was puffy and had doubled in size.
Finishing the No-KneadFocaccia
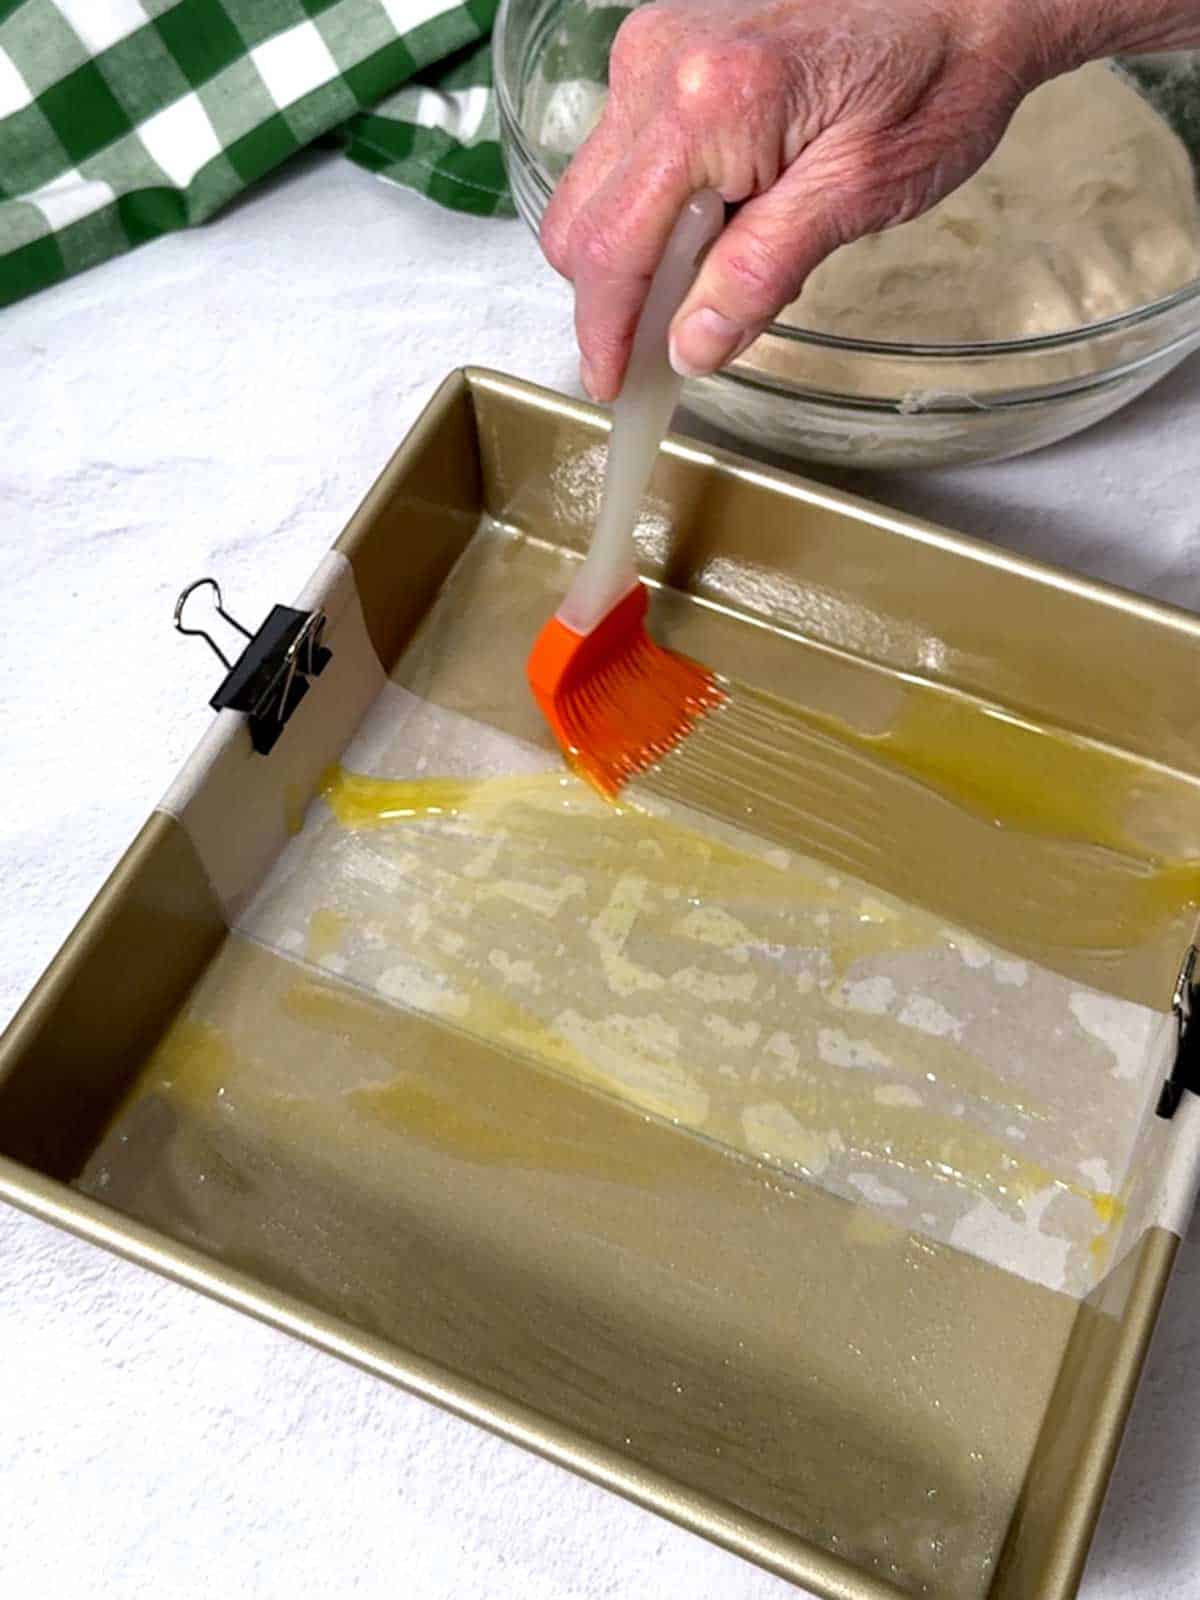
- After the dough had risen for the final time, I sprayed a 9 x 9-inch baking pan with nonstick spray. Then, I placed a 3 x 16-inch piece of parchment paper down the center, leaving a few inches of overhang on 2 sides. I used two binder clips to hold the strip in place. I sprayed the parchment paper with nonstick spray and spread a tablespoon of olive oil in the bottom of the pan.
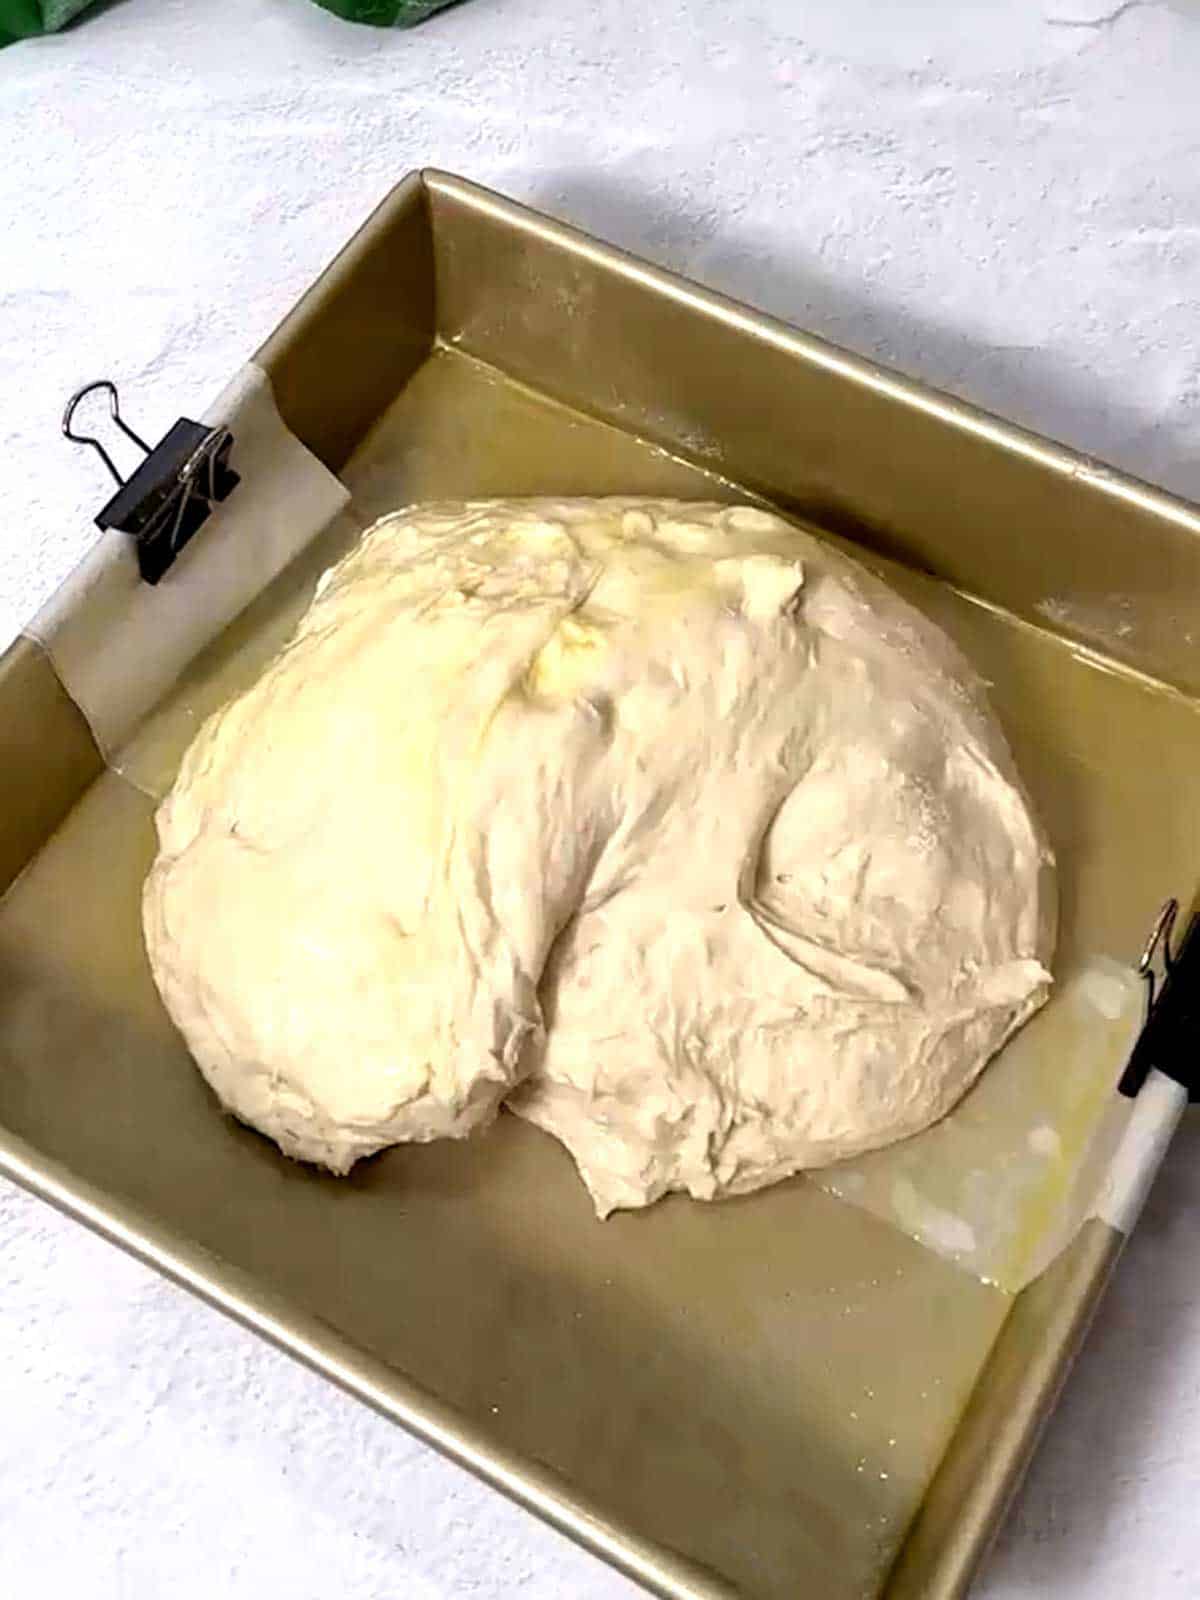
- Then, I transferred the dough to the prepared baking pan.

- I quickly flipped the dough over so that it was covered in oil. Then, I covered the pan and let the dough rise in a warm location for about 1 ½ hours.
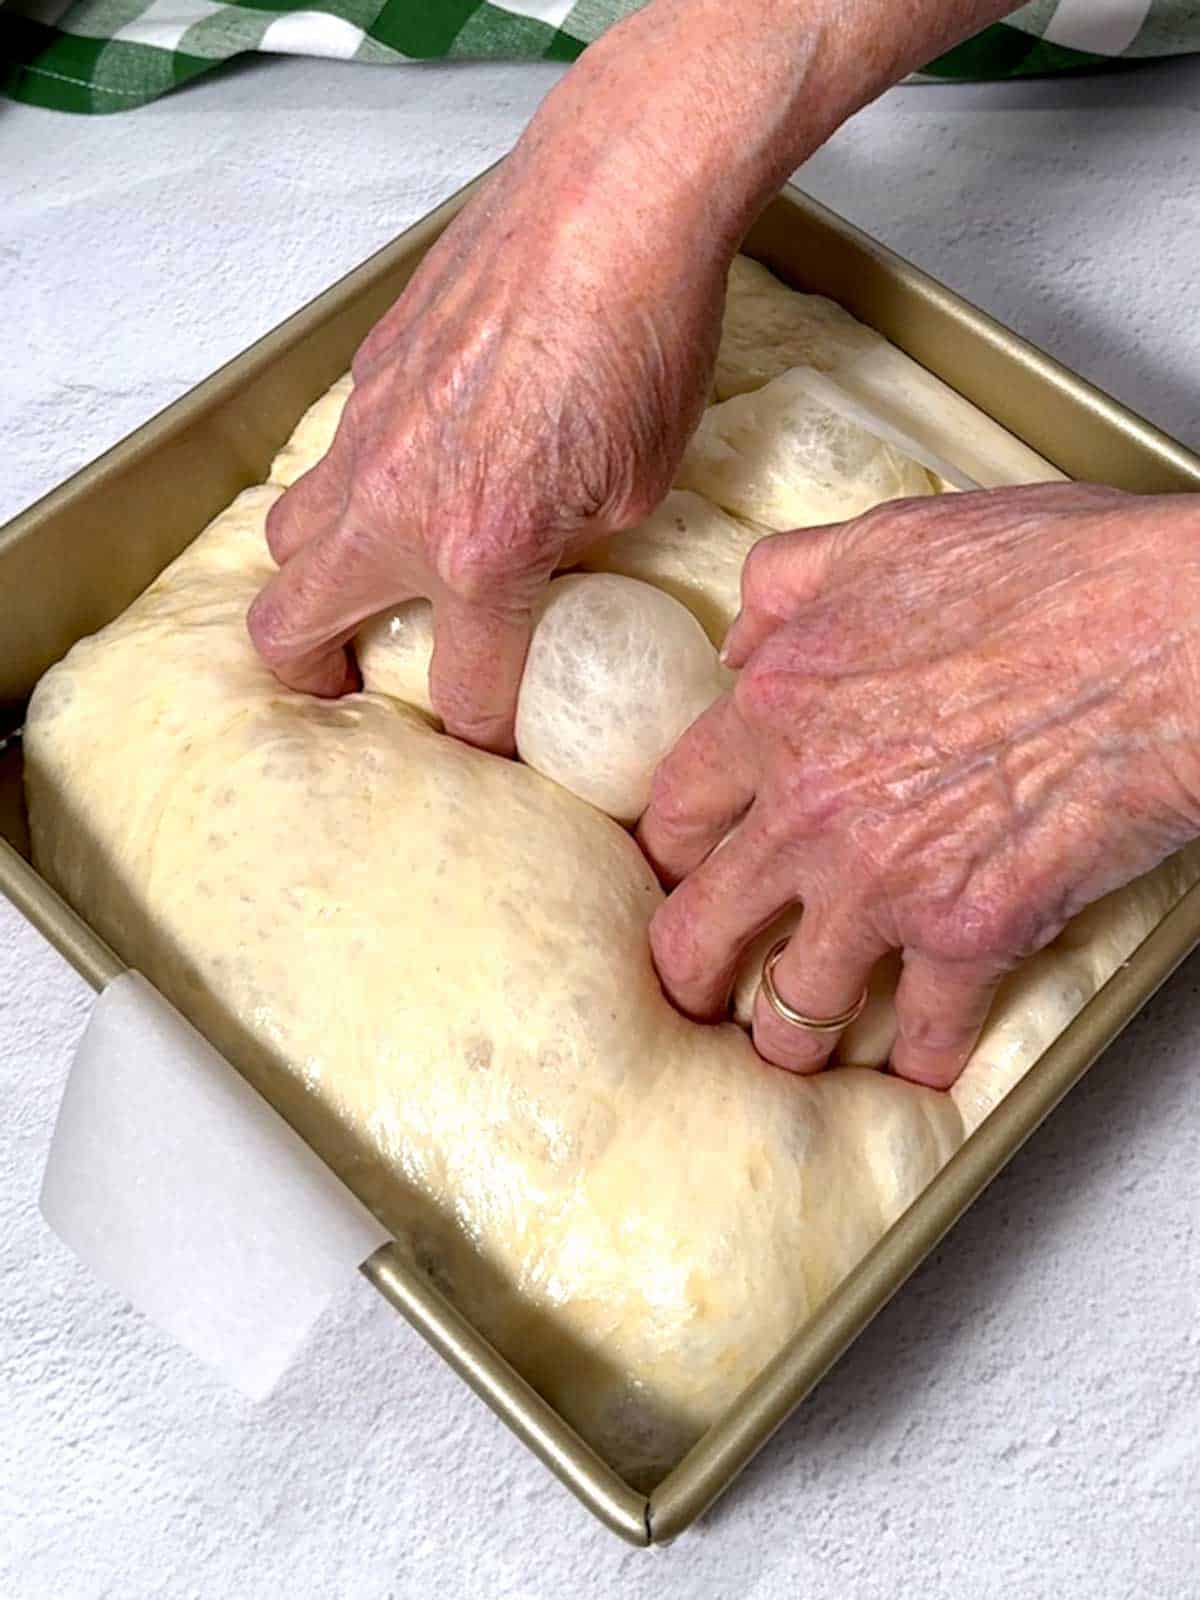
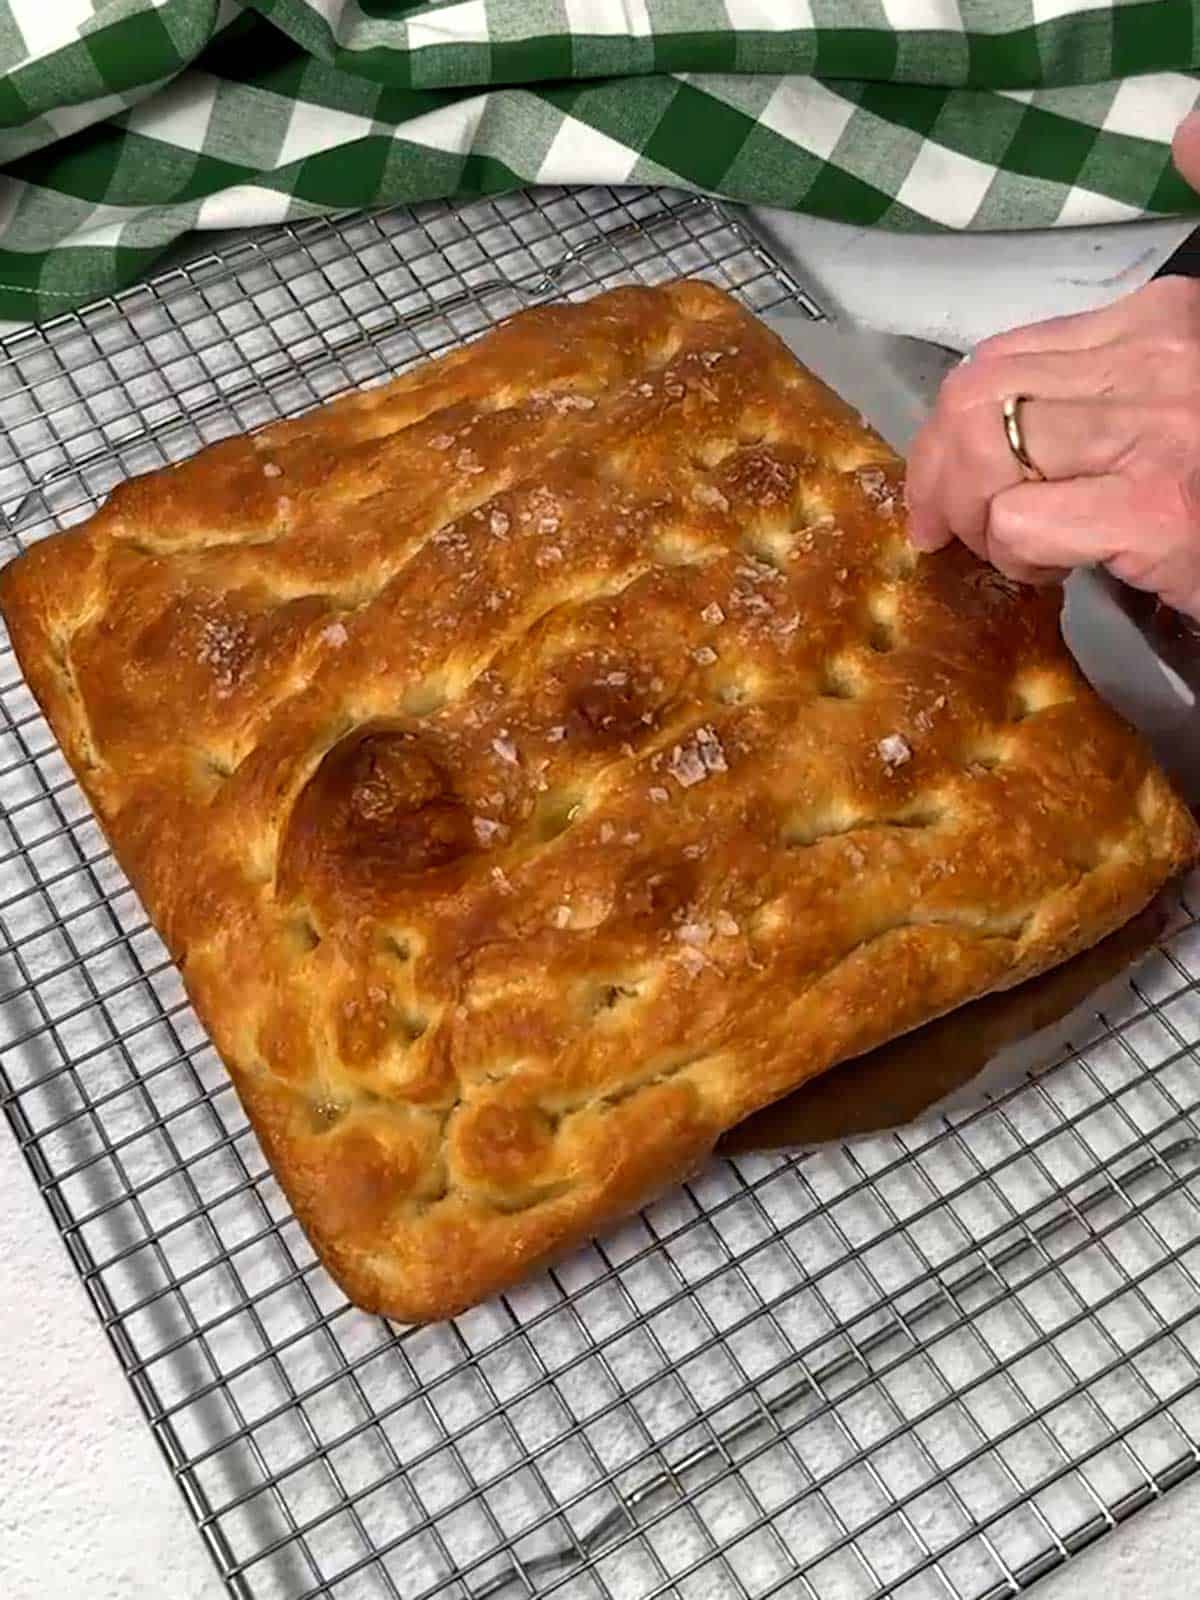
- The dough was puffy and bubbly after about an hour and a half. Starting at one edge, I pressed my fingertips, which I had lightly coated in oil, into the dough until they reached the bottom of the pan, creating dimples. I repeated this, spacing the dimples about 1 ½ inches apart until I reached the other edge of the pan.
- Then, I brushed the dough with olive oil and sprinkled flaky Maldon salt on the top.

- I baked the focaccia in a preheated 475°F oven for about 16 minutes until it was golden brown on the top. Then, I removed the focaccia from the oven.

- I lifted the focaccia from the pan using the parchment strip and transferred it to a wire rack. I removed the parchment strip, turned off the oven, and slid the focaccia back into the oven, directly on the lower rack, for 5 to 7 minutes until the sides were golden brown and crisp.
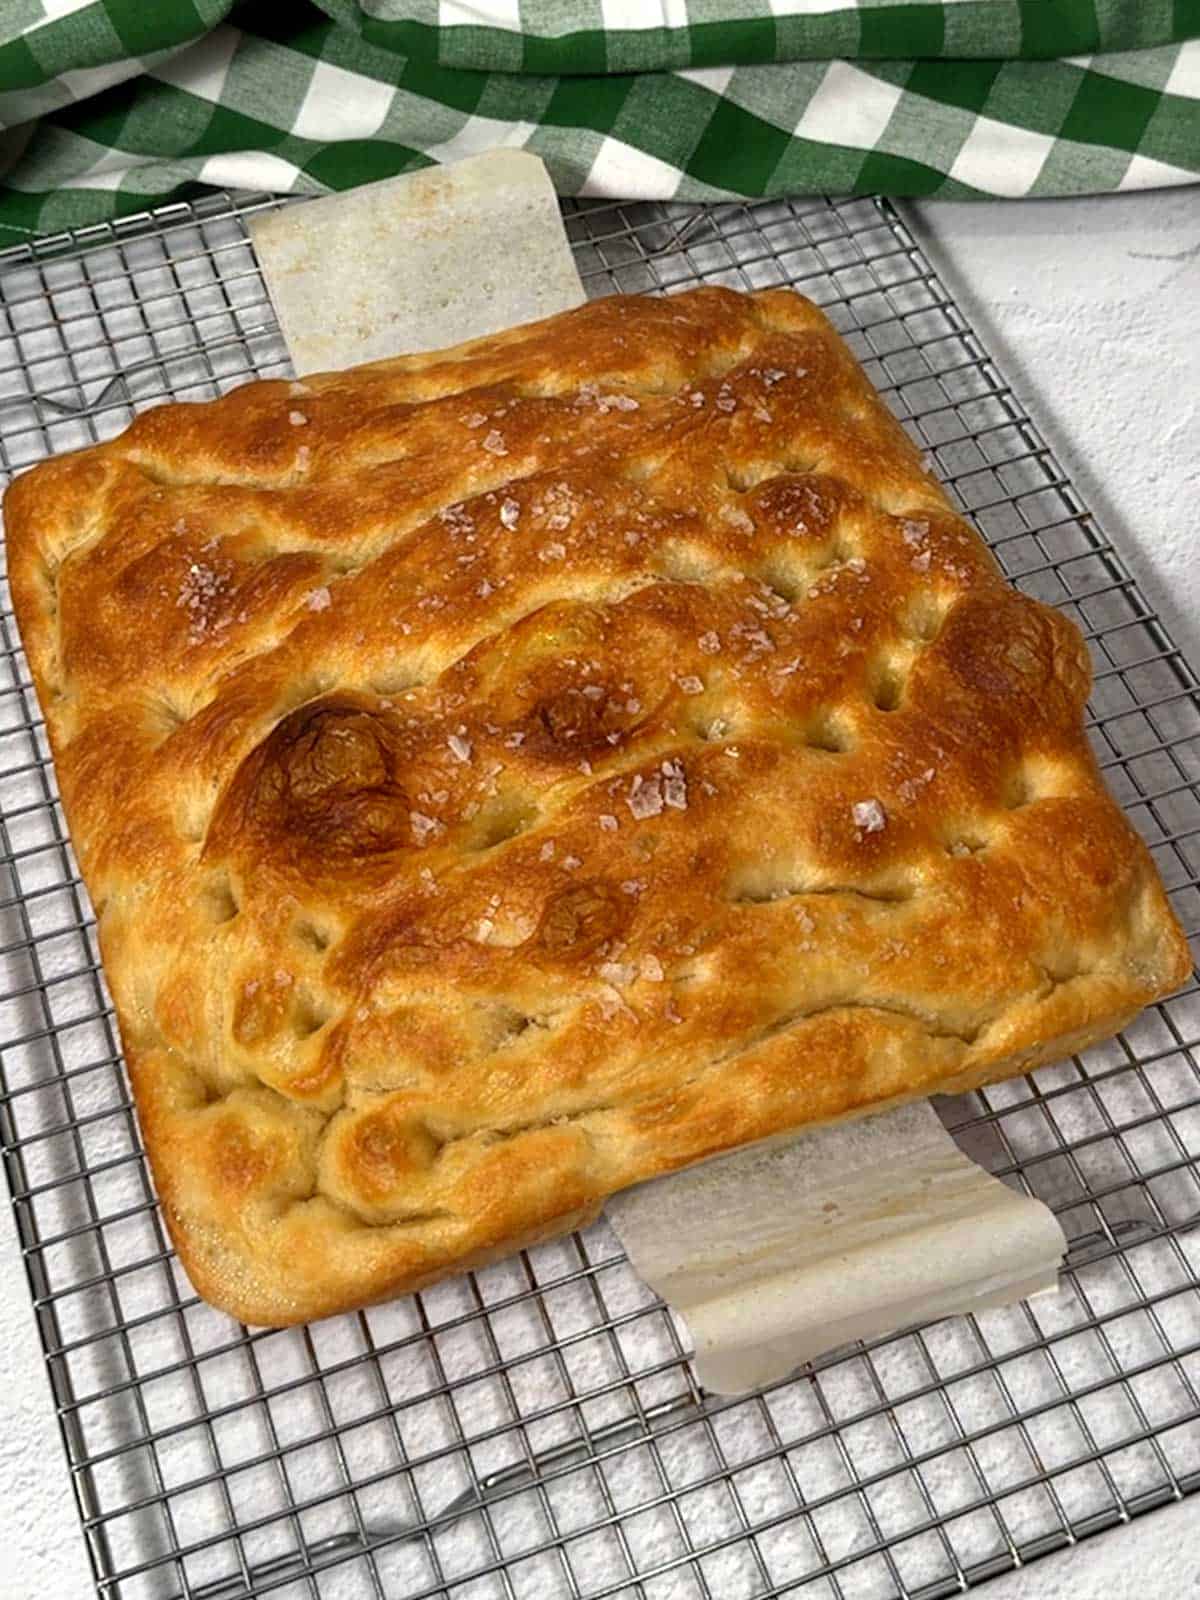
- I removed the focaccia from the oven and transferred it to a wire rack to cool completely.
Making King Arthur's Big and Bubbly Focaccia was a rewarding experience that delivered bakery-quality results with minimal effort. Whether enjoyed on its own, dipped in olive oil, or as a sandwich base, this no-knead focaccia is a must-try for home bakers.
With its airy interior, crispy crust, and rich flavor, it's perfect for beginners and seasoned bakers alike. Try this foolproof method and bring artisanal bread straight to your kitchen. Yum!

Frequently Asked Questions
Yes! After baking, store focaccia at room temperature in an airtight container for up to 2 days or freeze for longer storage. Reheat in the oven for best results.
Using high-hydration dough, long fermentation, and gentle handling (stretch-and-fold technique) helps create the signature airy texture.
A dense texture can result from overhandling the dough, not letting it proof long enough, or using too little water. Ensure a long fermentation and minimal deflation.
Classic toppings include rosemary and flaky salt as used in this recipe, but you can add cherry tomatoes, olives, caramelized onions, or Parmesan cheese for extra flavor.
Recipe Tips for a Perfect Focaccia
- Weigh ingredients: For best results, weigh your ingredients, especially the flour and water. If you don't have a kitchen scale, purchase one. They are inexpensive and invaluable, especially when making bread.
- Use high-hydration dough: The wetter the dough, the airier the focaccia.
- Be Generous with olive oil: Olive oil creates a crisp, golden crust. Don't skimp!
- Proper dimpling: Pressing your lightly oiled fingers into the dough just before baking helps distribute air pockets for an even rise.
- Baking at high heat: A hot oven (475°F) compensates for the wet dough and ensures a crispy bottom and perfect browning.
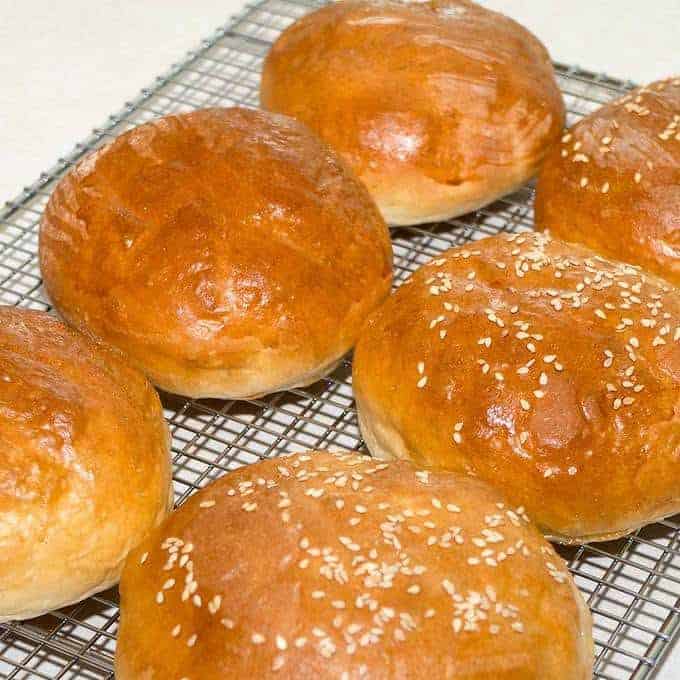
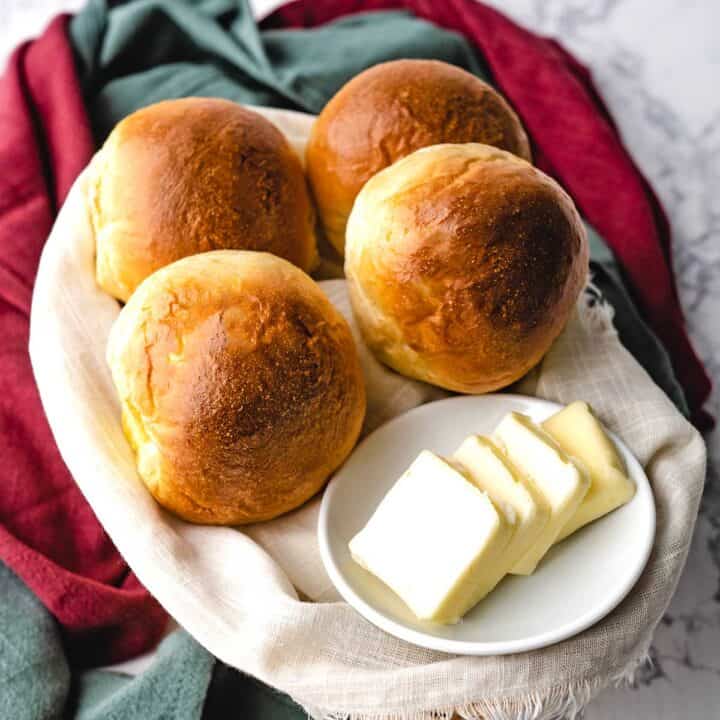
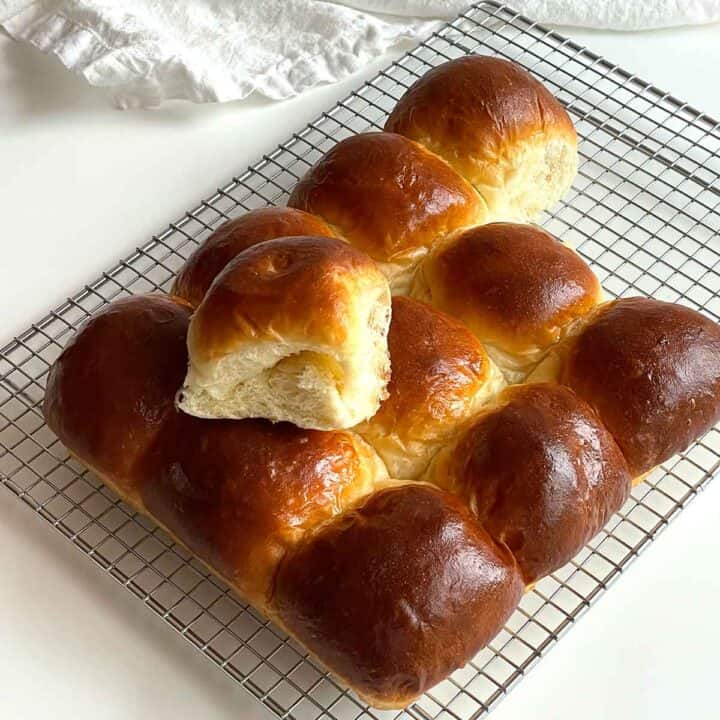
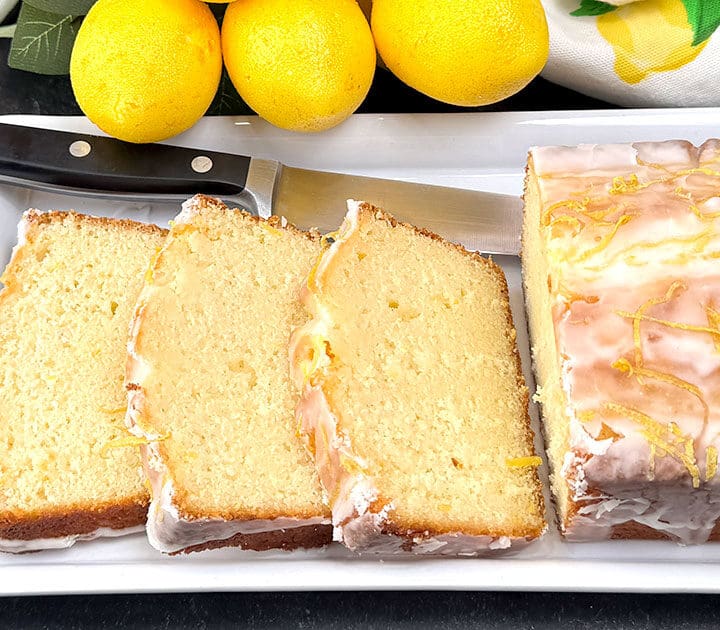
Other Delicious Yeast Bread Recipes
Making bread is one of my favorite things to do. There's something magical about the way that yeast, combined with simple ingredients, produces such amazing results.
Here are some of my favorite bread recipes.


Did you make this recipe? We'd love to know how it turned out! Leave a review below. Then, share a picture on Instagram and tag @pudgefactor so we can see it.
Don't forget to follow us on Pinterest, Facebook, YouTube, Flipboard, and Instagram.
Thank you so much for visiting PudgeFactor. We hope you'll come back!
Recipe
Want to Save This Recipe?
Enter your email & I'll send it to your inbox. Plus, enjoy weekly doses of culinary inspiration as a bonus!
By submitting this form, you consent to receive emails from Pudge Factor.
No-Knead Focaccia: Easy & Bubbly Bread
Equipment
- Dough whisk
- 9-inch square baking pan
Ingredients
Dough
- 2 ½ cups (12.5 ounces, 354 grams) all-purpose flour (See Note 1)
- 1 ½ teaspoons fine sea salt or table salt
- 1 teaspoon granulated sugar
- 1 teaspoon instant yeast (See Note 2)
- 1 ¼ cups (10 ounces, 284 grams) warm filtered water (See Notes 3 and 4)
- 1 ½ Tablespoons extra-virgin olive oil
Pan and Topping
- 2 Tablespoons extra-virgin olive oil, divided
- Maldon flaky sea salt
Instructions
Dough
- Whisk together the flour, salt, sugar, and yeast in a large bowl.
- Add water and olive oil. Stir with a dough whisk or spatula until the dough is thoroughly combined and no dry patches or lumps remain. Cover the bowl and set it aside for 15 minutes.
- Use a wet hand to grab a section of dough from one side of the bowl, then lift it up and press it into the center. Repeat this motion, grabbing a new section of dough each time, until you've made a full circle around the bowl, about 8 to 12 times. Once you've circled the bowl, flip the dough over in the bowl so that the smooth side is up. Cover the bowl and let the dough rest for 15 minutes.
- Repeat the lift and stretch, and flip the dough for the second time. Cover the bowl and let the dough rest for 15 minutes.
- Repeat the lift and stretch, and flip the dough for the third time. Cover the bowl and let the dough rest for 15 minutes.
- Repeat the lift and stretch, and flip the dough for the final time. Cover the bowl and let the dough rise at a warm room temperature (70°F to 75°F) for 1 hour. After 1 hour, the dough should have nearly doubled in size and will be very puffy; it may even have a few bubbles on the surface.
Pan and Topping
- Once the dough has risen, spray the bottom and sides of a 9 x 9-inch baking pan with nonstick spray. Cut a 3"-wide strip of parchment that's about 16" long. Lay the strip across the center of the pan, leaving a few inches of overhang on 2 sides; press it firmly into the pan and secure with two binder clips. Spray the parchment with nonstick spray, then add one tablespoon of the olive oil and tilt the pan to spread the oil evenly across the bottom.
- Use a bowl scraper or flexible spatula to gently transfer the risen dough to the center of the pan. Using your hand as paddles swiftly but gently flip the dough over so that it's coated in oil; try to handle the dough minimally to keep it from deflating.
- Cover the pan and let the dough rise in a warm location for 1 to 1 ½ hours, until it's marshmallowy and jiggly; the dough should nearly fill the corners of the pan and be very close to the top edge.
- Toward the end of the rise, preheat the oven to 475°F with racks in the upper and lower thirds.
- Once the dough has risen, lightly coat your fingers in oil. Starting at one edge, press your fingertips into the dough until they reach the bottom of the pan, creating dimples. Repeat this process, working your way from one edge to the other, spacing the dimples about 1 ½" apart. The goal is to thoroughly dimple the dough without deflating it - aim for decisive yet gentle motions. If there are any large untouched areas of the dough, add additional dimples using one finger.
- Brush the remaining one tablespoon of olive oil all over the surface of the dough. Sprinkle evenly with ½ teaspoon of Maldon flaky salt.
- Bake the focaccia on the lower rack for 15 to 18 minutes, until brown in the highest spots and golden in the crevices. Remove the focaccia from the oven. Using the parchment tabs as handles, lift the focaccia out of the pan and transfer it to a wire rack or cutting board; remove the parchment strip. Turn off the oven and slide the focaccia back into the oven, directly on the lower rack, for 5 to 7 minutes, until the sides are golden brown and crisp. Remove the focaccia from the oven once again and transfer it to a wire rack to cool completely.
- Yield: 9-inch focaccia.
Video
Tips/Notes
- For best results, weigh the flour. Significant variability exists in flour measurements based on how the flour is measured.
- Active dry yeast differs from instant or bread machine yeast used in this recipe. Active dry yeast must bloom, whereas instant yeast can be added directly to the dry ingredients.
- Avoid using tap water, which contains chlorine. Chlorine in tap water can retard the growth of the yeast and even kill the yeast if the concentration is too high.
- The temperature of the water should be between 90°F and 110°F.


Leave a Reply