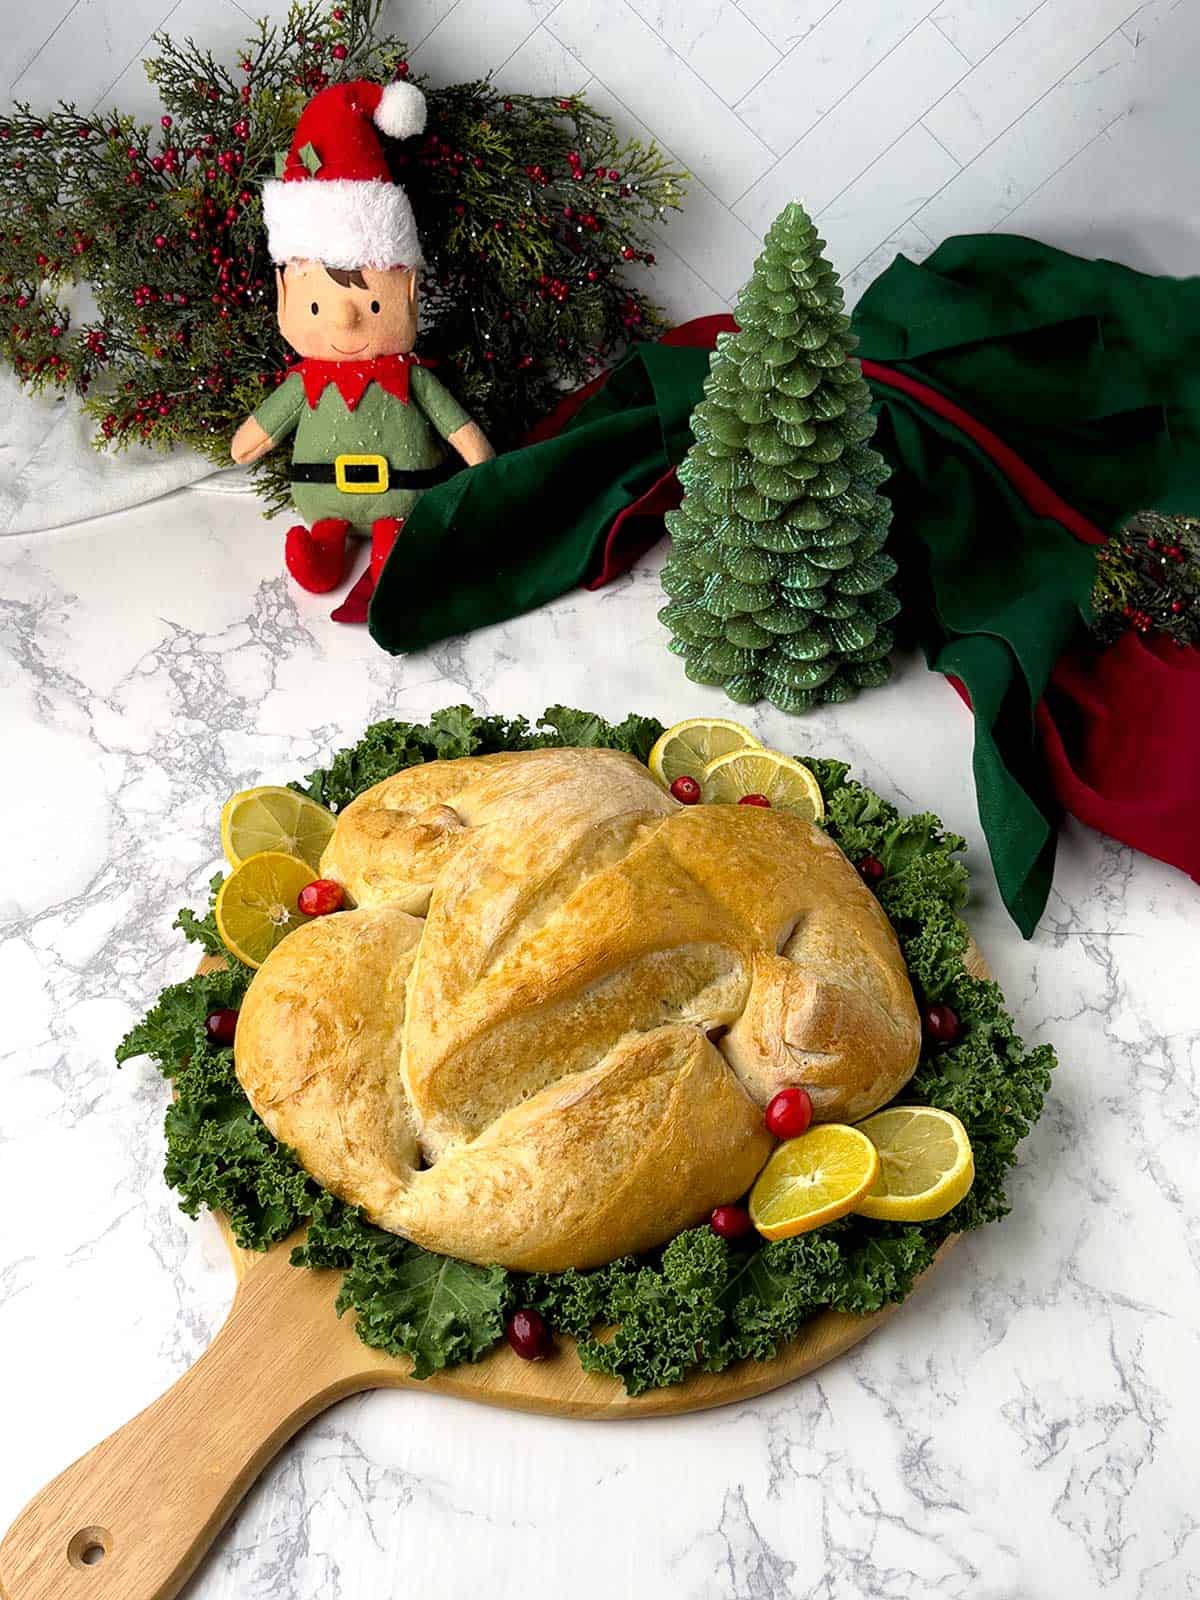
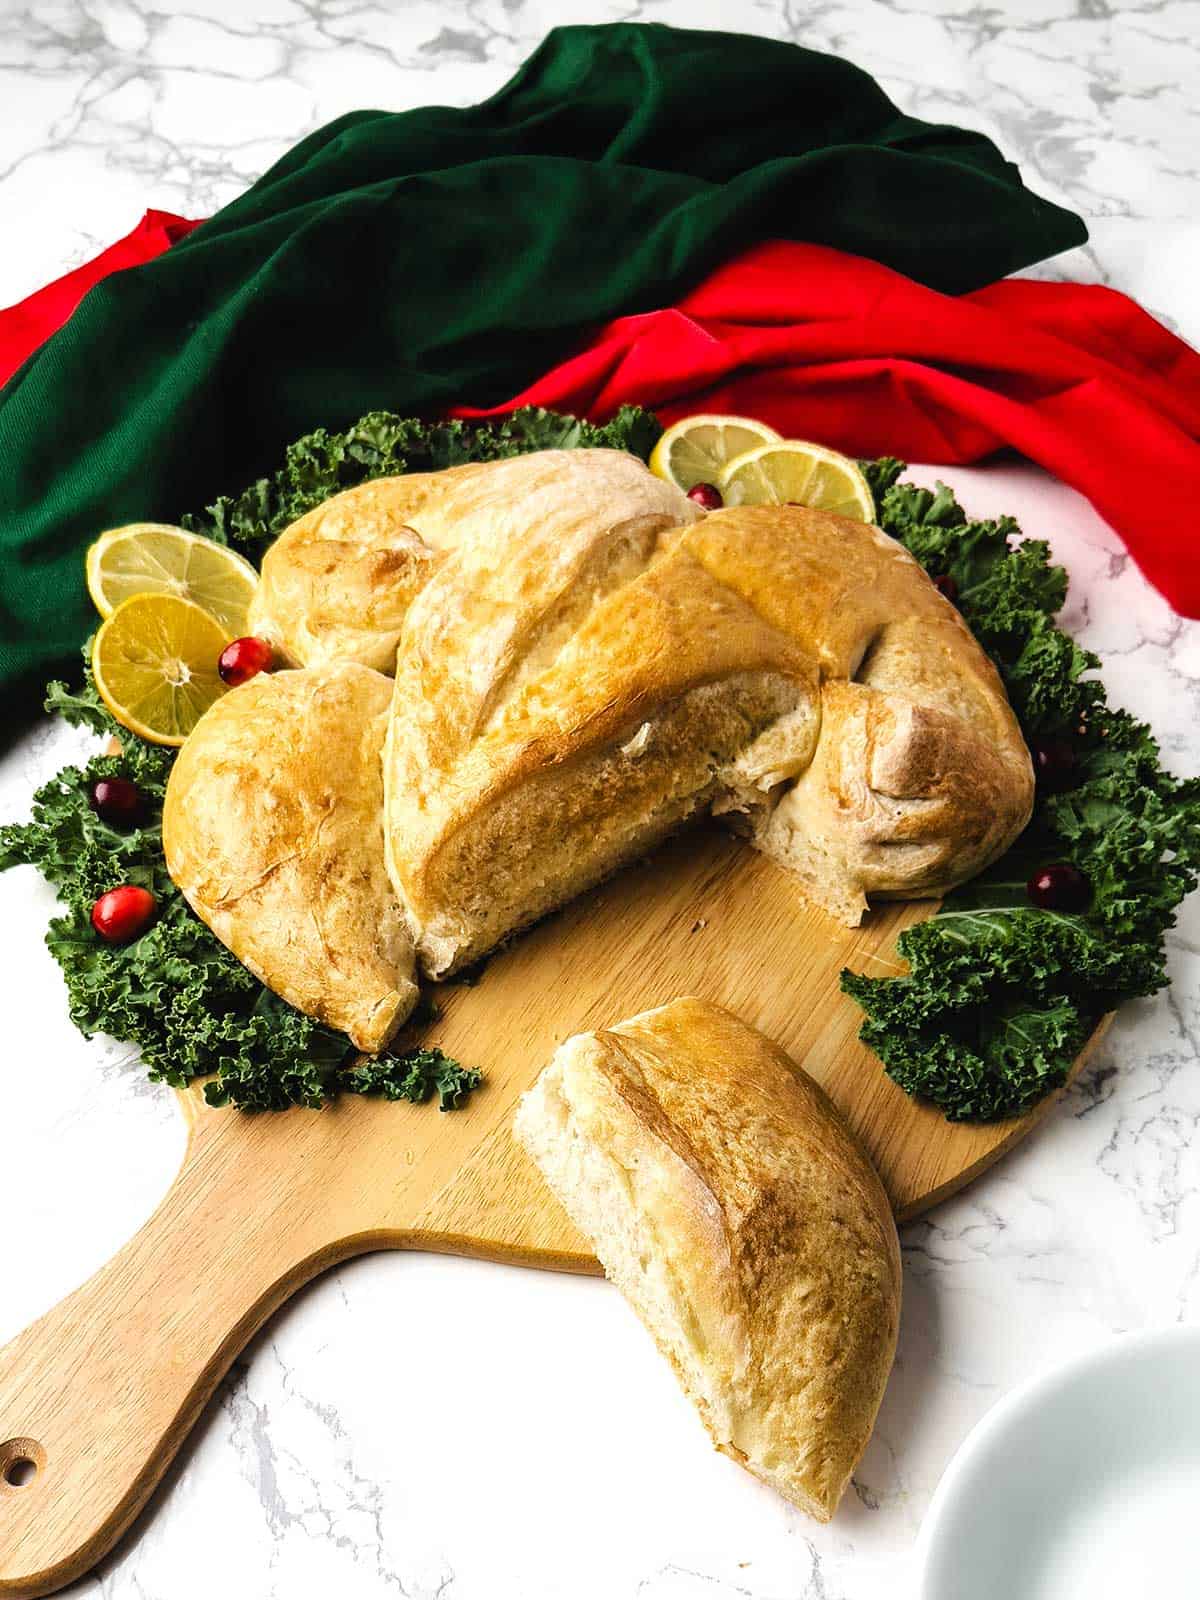
Turkey shaped French bread is an adorable, delicious, and fun twist for this holiday season! This easy bread recipe makes the perfect side dish for any holiday meal. Drizzle this crusty bread with melted butter or brush with olive oil and fresh herbs. Your guests will gobble it up!
Jump to:
Why You’ll Want To Make This Special Holiday Bread
- Fun and Festive Way to Celebrate the Holidays: Turkey Shaped French Bread is a unique and eye-catching centerpiece that adds a special touch to your holiday feast.
- Tried and True Bread Recipe: I’ve been making this delicious French bread recipe for as long as I can remember with consistent results. Why not turn it into something that your holiday guests will remember?
- Great Conversation Starter: Your family and friends will be amazed by your creativity, and they’ll have plenty to talk about as they enjoy the delicious bread.
- An Impressive Gift: Who doesn’t love homemade bread? This turkey shaped French bread is a thoughtful and unique gift that will surely be appreciated by anyone who loves homemade bread and the holidays.
Ingredients – Here’s What You’ll Need
With only a few simple ingredients, you can make this show-stopping holiday bread.

- The Flour: I used bread flour in this recipe because of its higher protein content.
- Filtered Water: When making any bread, using filtered water is important. The reason is that tap water generally contains chlorine which can retard the growth of the yeast or even kill the yeast. Sometimes, I’ll use club soda for good results!
- The Additions: I include Kosher salt and granulated sugar in the bread recipe. The salt provides flavor to the bread, and the sugar provides “food” to enhance the growth of the yeast.
- The Yeast: Yeast is an important ingredient in bread recipes. I consistently use instant yeast or bread machine yeast. The reason is that instant yeast does not require proofing before being added to the other ingredients.
Here’s How I Made the Bread Dough
Bread is one of the things that enjoy making, and I generally use my bread machine to make the dough. This recipe was no exception.
I added the filtered water, salt, sugar, bread flour, and yeast to the pan of my bread machine. Then, I selected the dough cycle and pressed start. How easy is that!
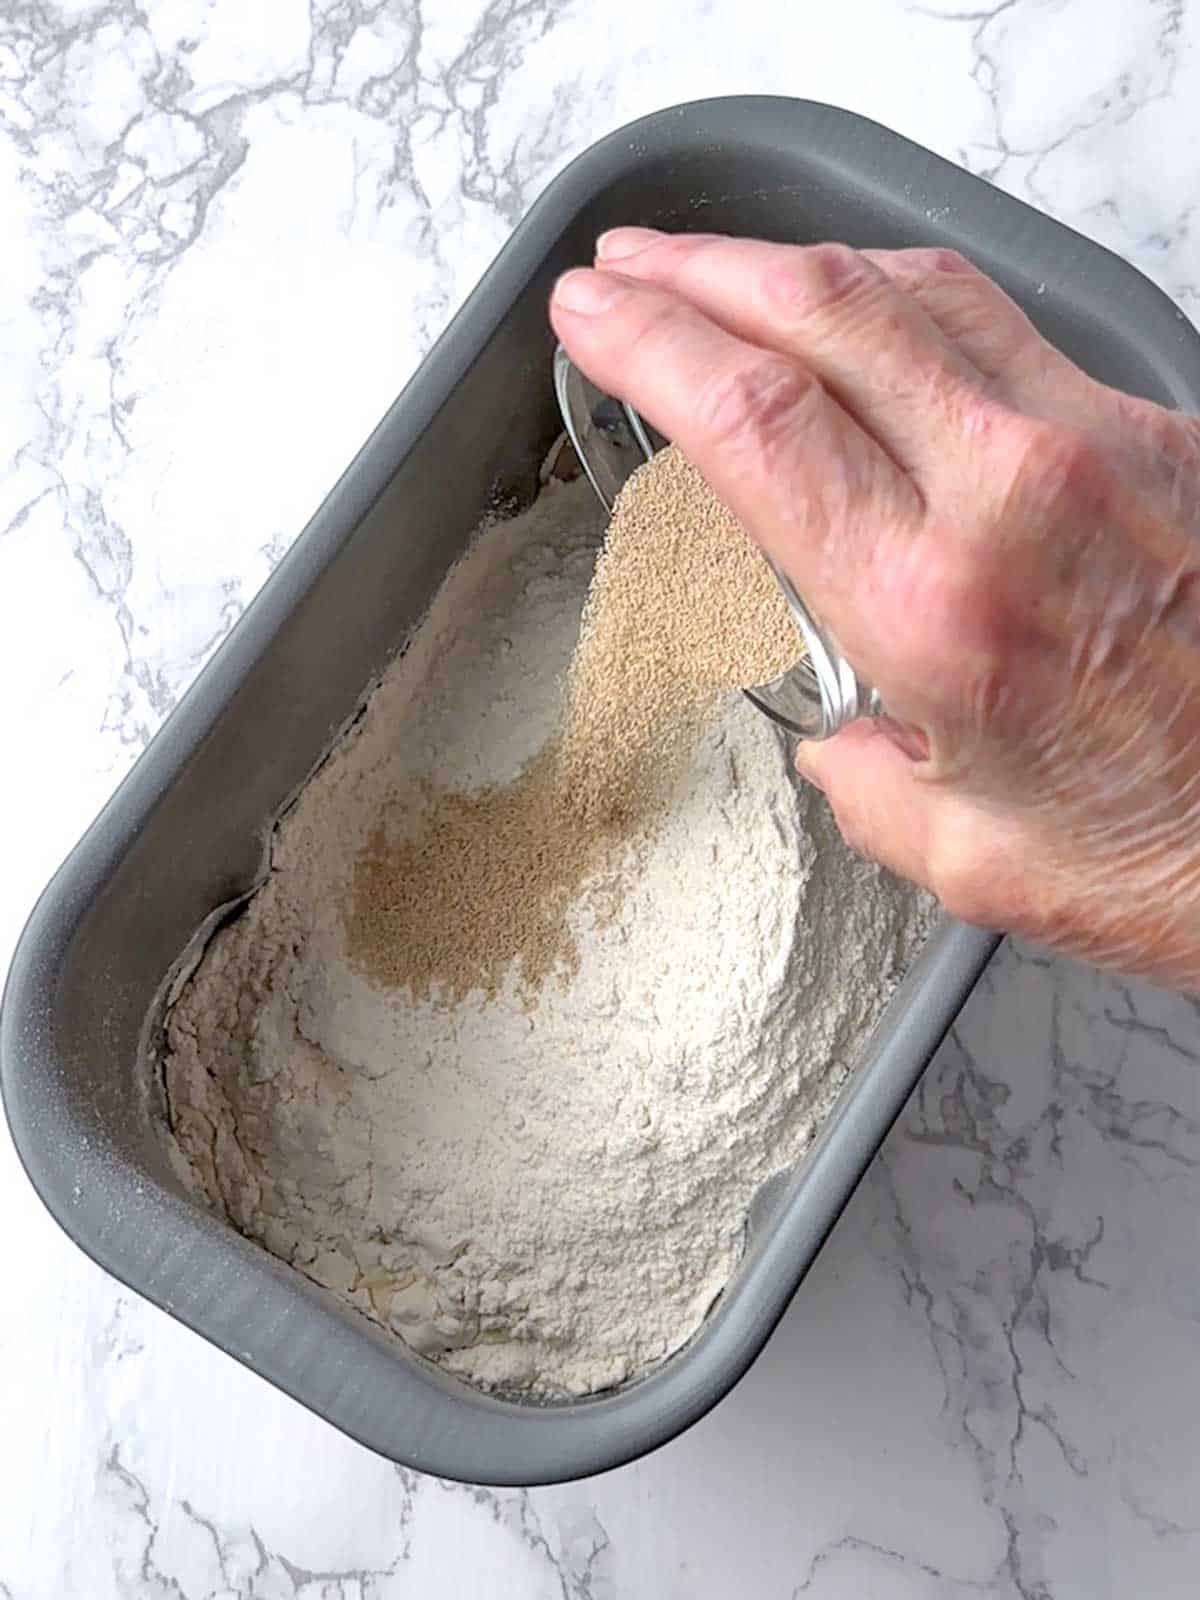
Generally, I will let the bread machine go through the full dough cycle. However, this time, I wanted to make the bread dough the night before forming the turkey bread.
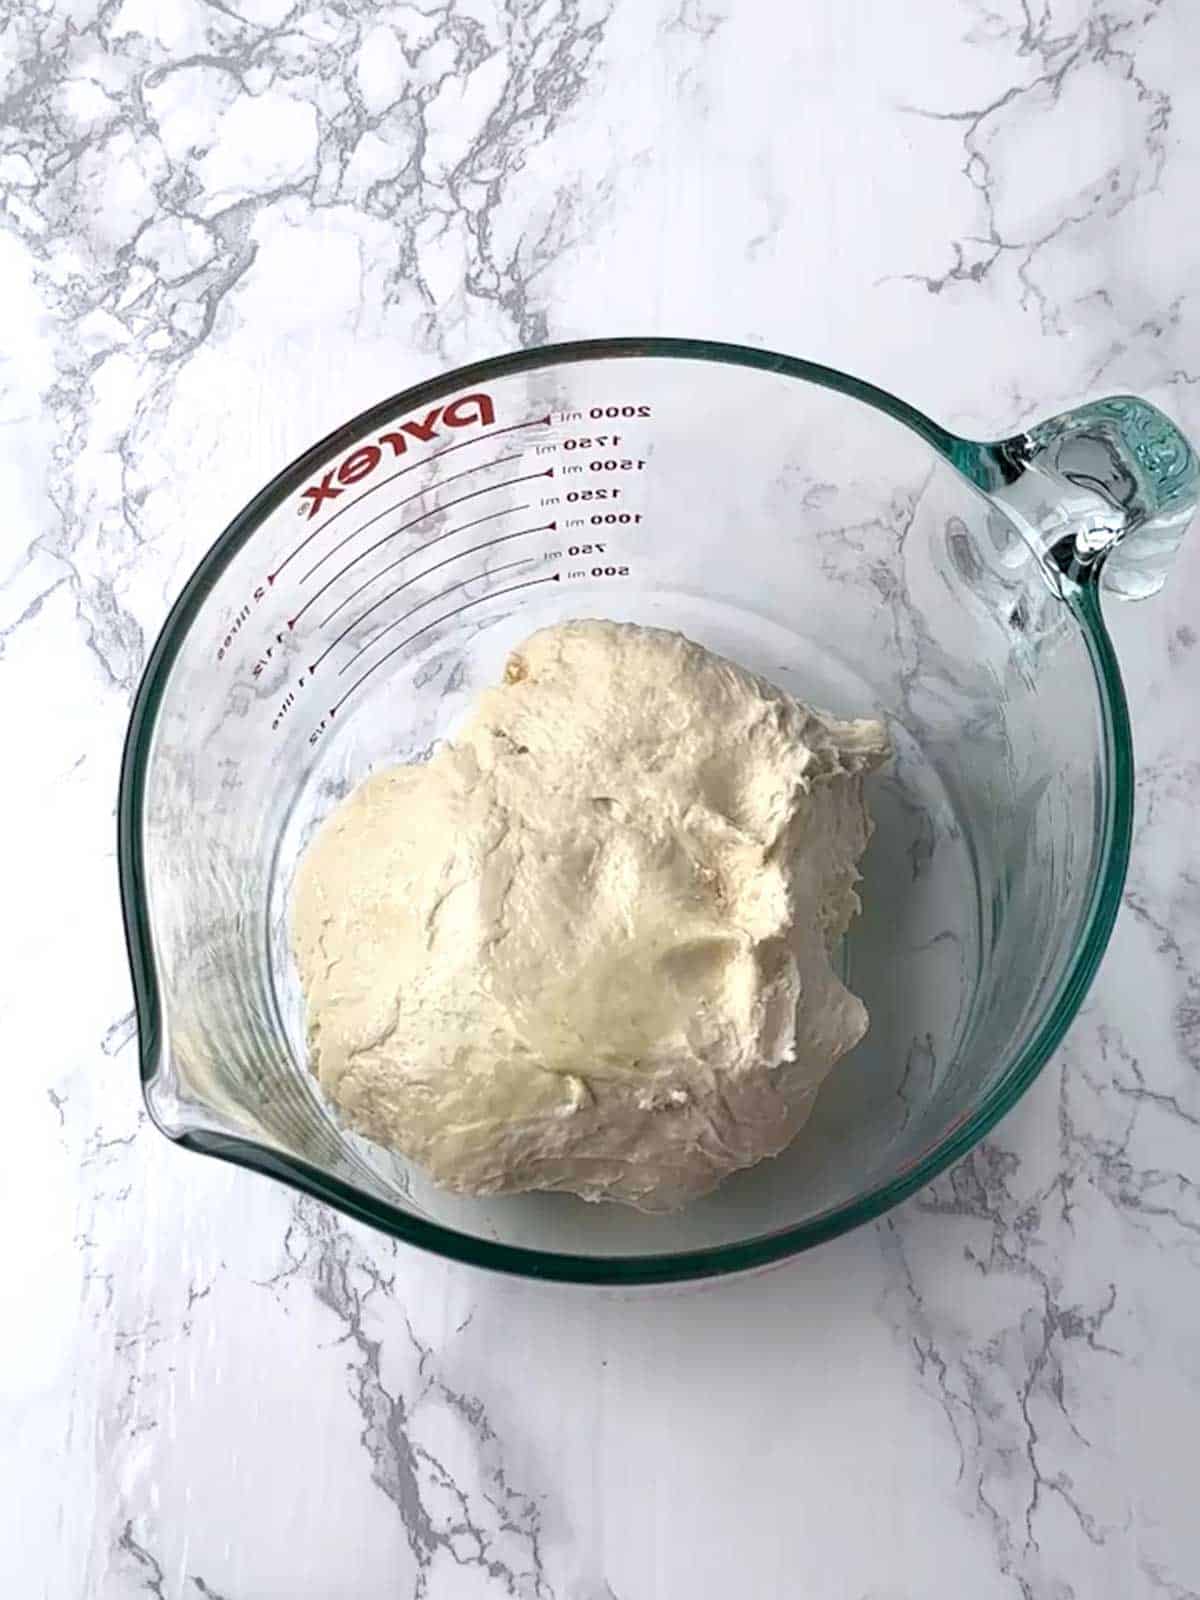
Therefore, as soon as the kneading stopped, I removed the dough from the bread machine. I transferred the dough to an oiled container. Then, I covered the container with plastic wrap and put it in the refrigerator overnight.
I could have also let the dough cycle finish and formed the turkey bread without waiting.
Shaping the Turkey Bread – Step-by-Step
- The next morning, I removed the dough from the refrigerator about an hour before shaping the turkey. I transferred the dough to a large rimmed baking sheet lined with a silicone liner that I had lightly floured.
Then, I formed the dough into a rough oval about 8 inches by 7 inches and about an inch and a half thick.

- Next, I made a vertical cut for the wings on either side of the dough. At first, I used my dough scraper, followed by kitchen shears, to complete the cuts. I made sure that I kept the wing dough connected to the turkey “body.”

- Then, starting about halfway up the sides of the dough, I made diagonal cuts on both sides for the legs. Unlike the wings, I separated the dough for the legs from the turkey “body.”

- I took the dough for each leg and rolled it between my hands to form a rough drumstick. Then, I attached each drumstick to the sides of the turkey “body.”

- After that, I took the dough for each wing, curled it around my finger, and pressed it on the turkey’s “body.” I also pressed the bottom of the drumsticks together.

- Using kitchen shears, I snipped the outside of the turkey wings.

- Finally, I cut a “V” in the top of the turkey. Using my hands, I better formed the turkey.

I placed the turkey bread in my new oven set to the proofing setting to allow the dough to roughly double in size.
Baking the Turkey Bread
After about an hour, the dough had doubled in size. I brushed the turkey with an egg wash and placed it in a preheated 400°F oven for thirty minutes. Halfway through the cooking, I rotated the baking pan to ensure even cooking on all sides of the turkey bread.
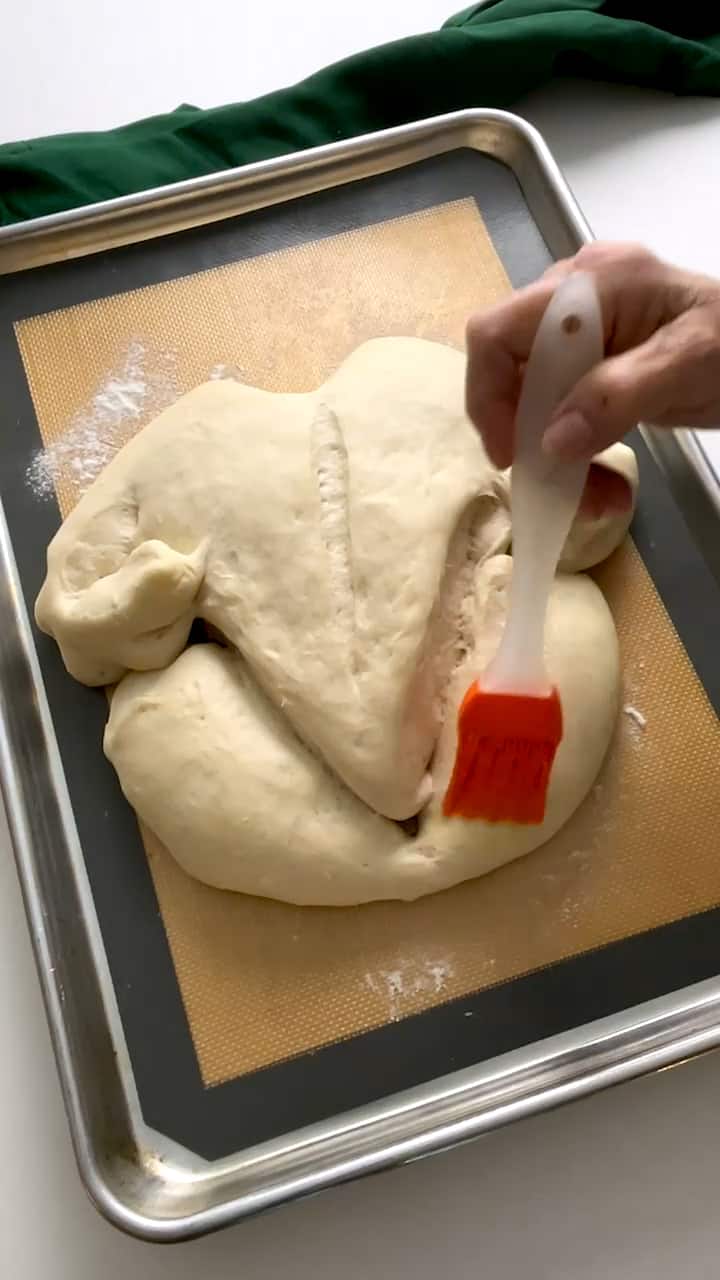
After 30 minutes, the Turkey Shaped French Bread was golden brown and perfectly cooked.
I removed the bread from the oven and transferred it to a wire rack to cool slightly before serving.

Turkey Shaped French Bread was a fun, festive, and delicious way to celebrate the holidays. It was easy to make and impressive to serve to my family and friends. Yum!
Frequently Asked Questions
My bread machine is the Zojirushi BB-CEC20 Home Bakery Supreme 2-Pound-Loaf Breadmaker. I use my bread machine all the time and absolutely love it!
I stored the dough in the refrigerator overnight for my convenience. However, you can let the dough cycle finish and form the turkey as soon as the dough comes from the bread machine.
Because I have a bread machine, I typically use it when making bread dough. However, the Turkey Shaped French Bread dough can also be made in a food processor or stand mixer.
I typically store this bread in a Ziploc bag once it’s at room temperature for several days. I also freeze the bread, wrapped well in aluminum foil for up to three months.
Recipe Tips and Tricks
- It’s important to use filtered water when making bread. The reason is that the chlorine in tap water can retard the growth of the yeast or even kill the yeast. I generally use the filtered water from my refrigerator. You could also use bottled water or even club soda.
- The recipe below is my go-to recipe for French bread. I highly recommend that you weigh your ingredients, especially the flour when making this recipe. The reason is that different techniques for measuring flour can result in significantly different quantities of the flour. If the recipe doesn’t turn out, it’s probably because the ingredients weren’t weighed.
- I always use instant or bread machine yeast in my bread recipes. The reason is that neither instant yeast nor bread machine yeast needs proofing before adding it to the other ingredients. Active dry yeast does need to be proofed before adding it to the ingredients.
- Before I got my new oven, I used Julia Child’s technique to produce the perfect environment for proofing bread. She recommended turning her electric oven on for exactly 1 minute and 45 seconds. This brings the oven temperature up to 100°F, the proofing temperature on my new oven.
Other Amazing Yeast Bread Recipes
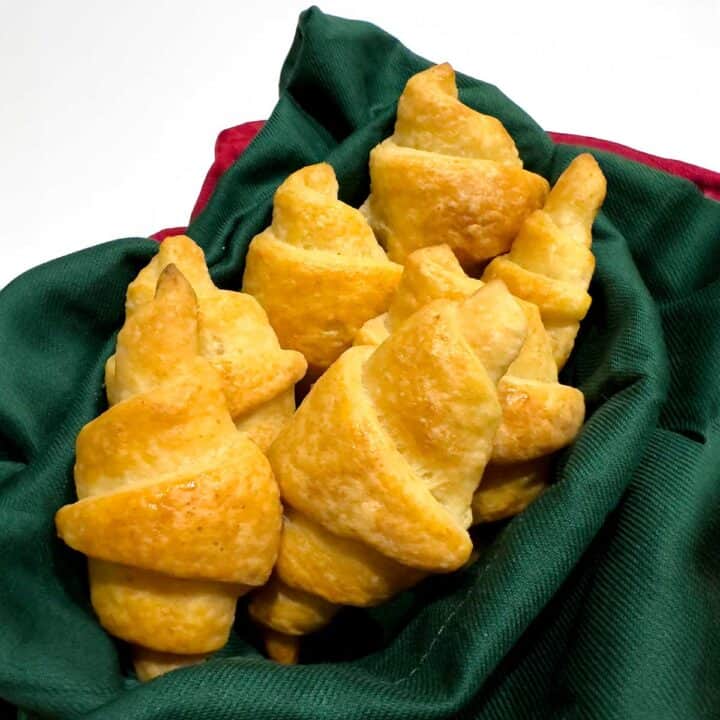
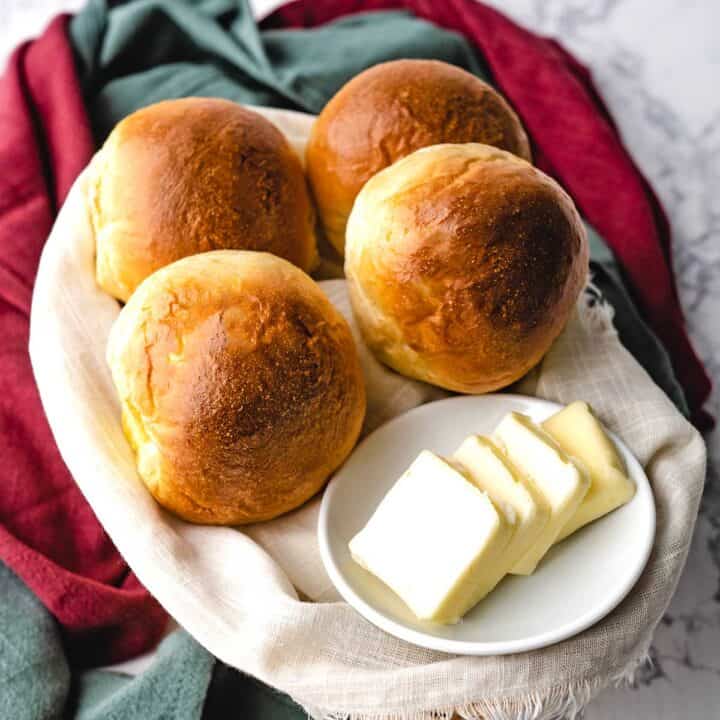
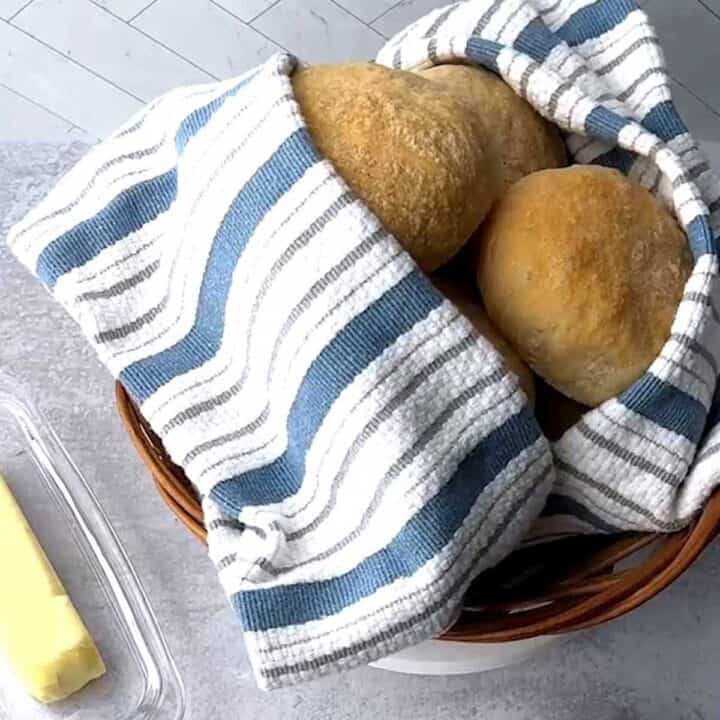
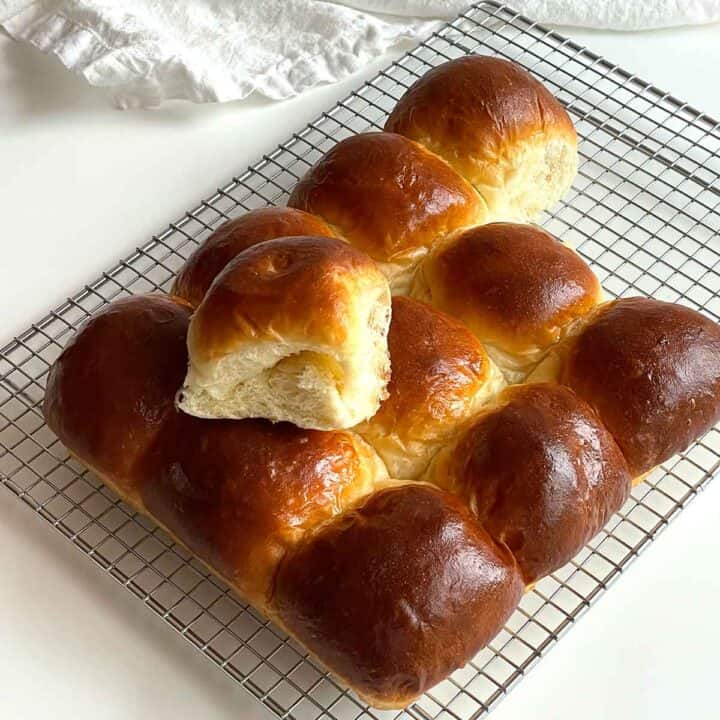
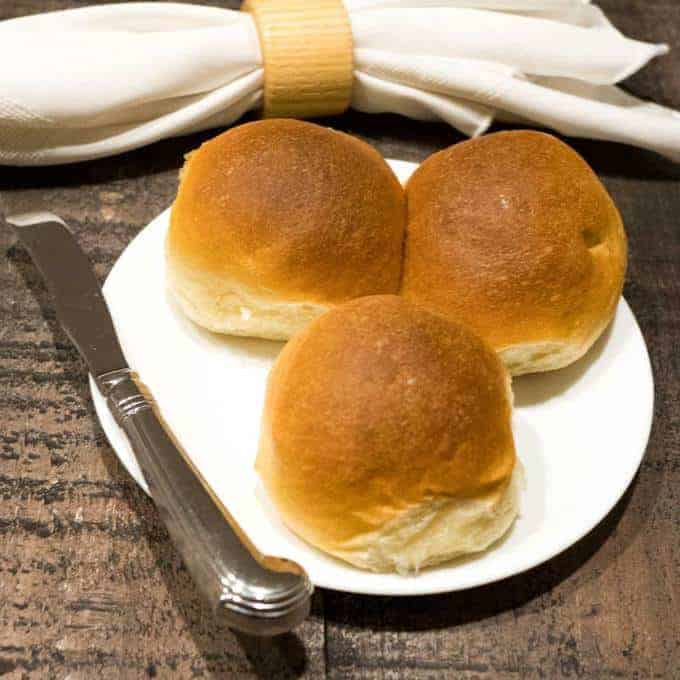
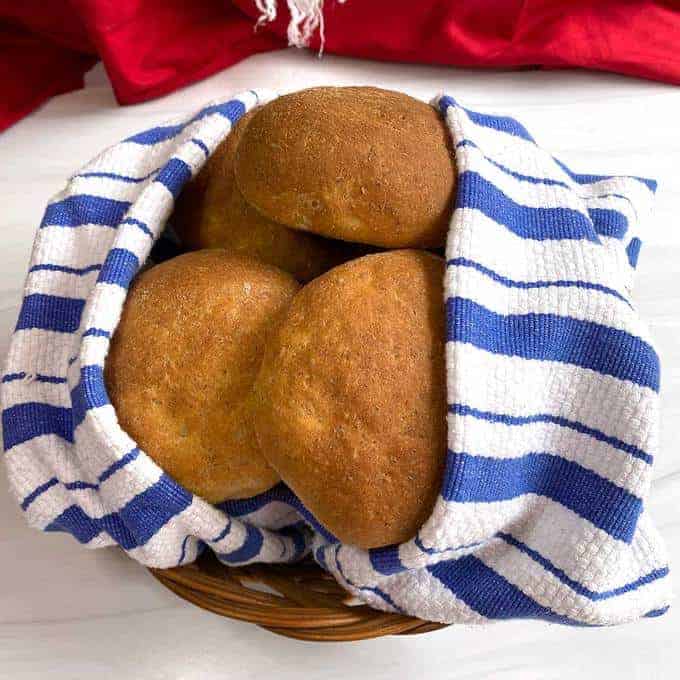
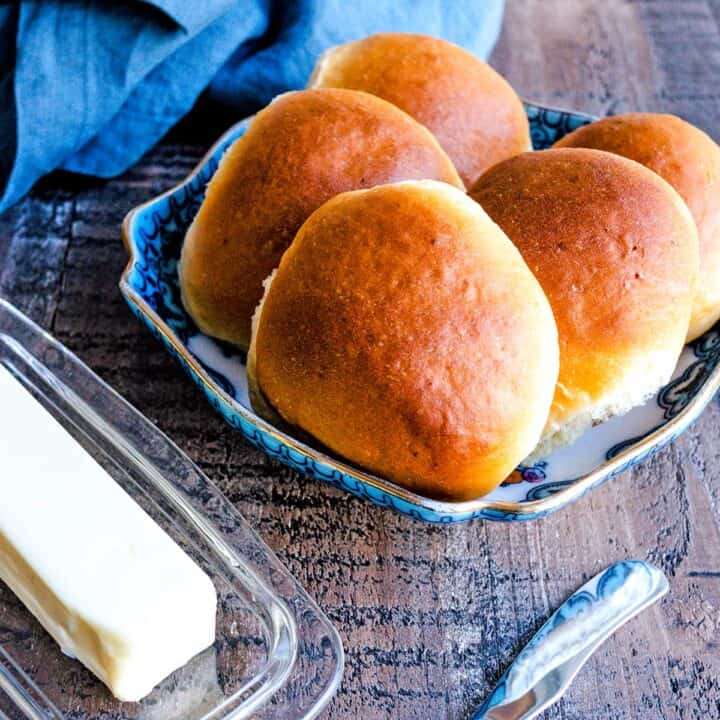
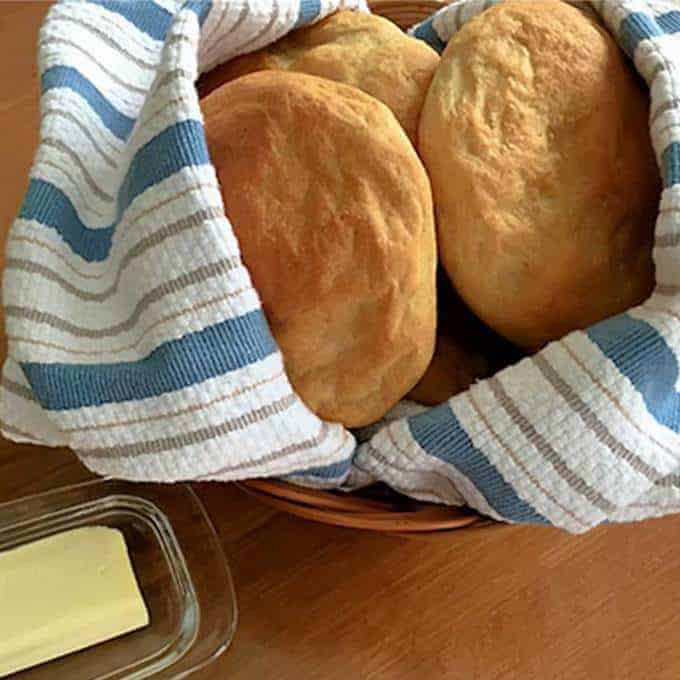
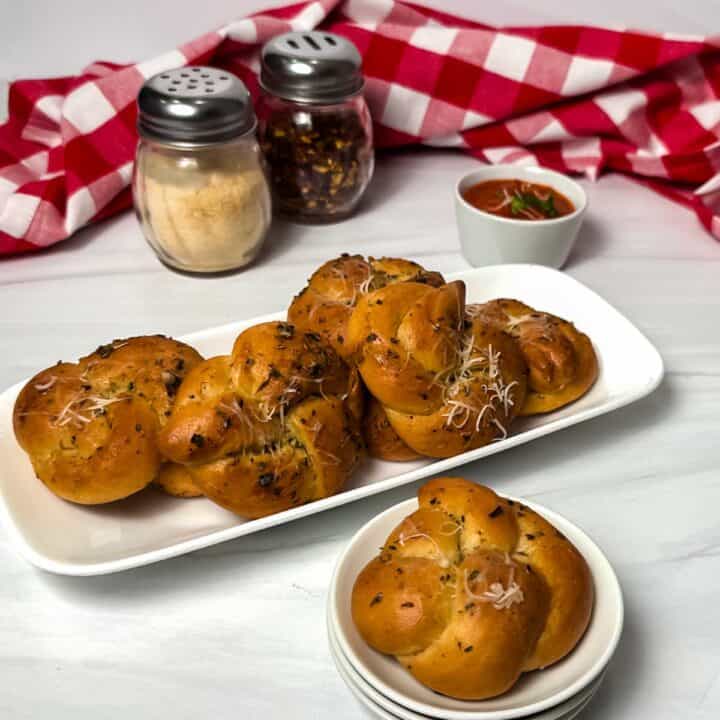
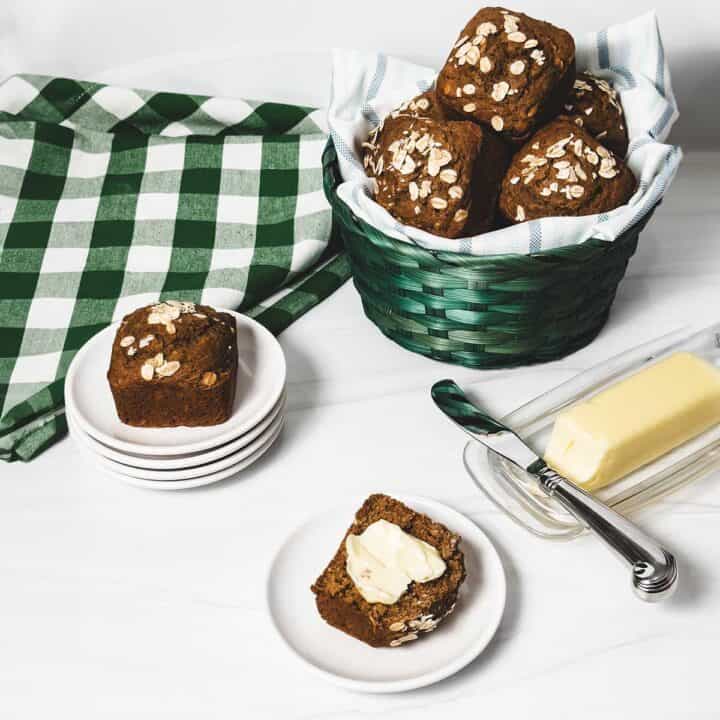
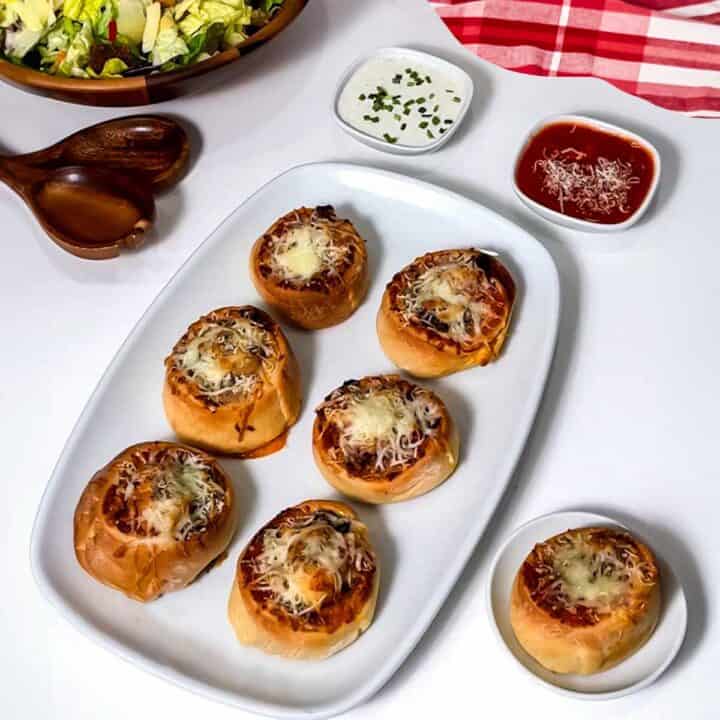
Try one of these roll recipes for a more traditional type of bread for your holiday table. They’re amazing.
I hope you liked this Turkey Shaped French Bread recipe as much as I do. If so, please consider rating it and leaving a comment. Also, if you’d like to receive notifications of new posts by email, enter your email address in the Subscribe box.
Thank you so much for visiting Pudge Factor. I hope you’ll come back!
Recipe
Want to Save This Recipe?
Enter your email & I’ll send it to your inbox. Plus, enjoy weekly doses of culinary inspiration as a bonus!
By submitting this form, you consent to receive emails from Pudge Factor.

Turkey Shaped French Bread
Equipment
- Bread Machine (See Note 1)
Ingredients
- 9.84 ounces filtered water (291 ml, about 1 cup and 4 teaspoons) (See Note 2)
- ½ Tablespoon Kosher salt
- ½ Tablespoon granulated sugar
- 15 ounces (425 grams, 3 cups) bread flour
- ½ Tablespoon instant or bread machine yeast (See Note 3)
Instructions
- Add all ingredients in the order listed to the pan of a bread machine. Select the dough cycle and press start. When the dough finishes kneading, remove it from the pan of the bread machine. Place in an oiled bowl. Cover with plastic wrap and refrigerate overnight. (See Note 4)
- Lightly flour a silicone or parchment-lined baking sheet. Transfer the dough and form into a rough oval, approximately 8 inches by 7 inches by 1 ½ inches.
- Starting towards the top of the oval, make two vertical cuts on both sides for the wings. Do not detach the dough. Make two diagonal cuts for the legs to form a V, starting at about the center of the oval, and detach the dough. Roll each piece of dough between your hands to form a drumstick. Press each drumstick onto the turkey body.
- Curl each wing piece using your finger and press the ends onto the turkey body to form the wings. Press the ends of the turkey legs together.
- Using kitchen shears, snip the edges of the wings. Then, cut a V in the top of the turkey between the wings. Using your hands, correct the shape of the turkey.
- Place the turkey shaped French bread in a warm location until doubled in size, about an hour.
- Preheat oven to 400°F.
- When the bread doubles in size, brush it with an egg wash. Bake in a preheated 400°F oven for 30 minutes, rotating the baking tray halfway through the cooking time. (See Note 5)
- When golden brown, remove the Turkey Shaped French Bread from the oven; allow to cool slightly before serving.
- Yield: 8 servings (See Note 6)
Video
Tips/Notes
- If you don’t have a bread machine, you can make the dough in a food processor or a stand mixer.
- Do not use tap water when making bread. The chlorine in the tap water can retard the growth of the yeast or even kill the yeast.
- Active dry yeast must be proofed before adding it to the other ingredients. On the other hand, instant yeast and bread machine yeast can be added directly to the ingredients.
- I desired you can allow the bread machine to complete the dough cycle and form the turkey bread after the dough cycle finishes as opposed to refrigerating the dough overnight.
- Whisk together one egg and one tablespoon of water for the egg wash.
- This bread can be made ahead of time and stored in an airtight container for a day or two. It can also be wrapped well in aluminum foil and frozen for up to three months.



Leave a Reply